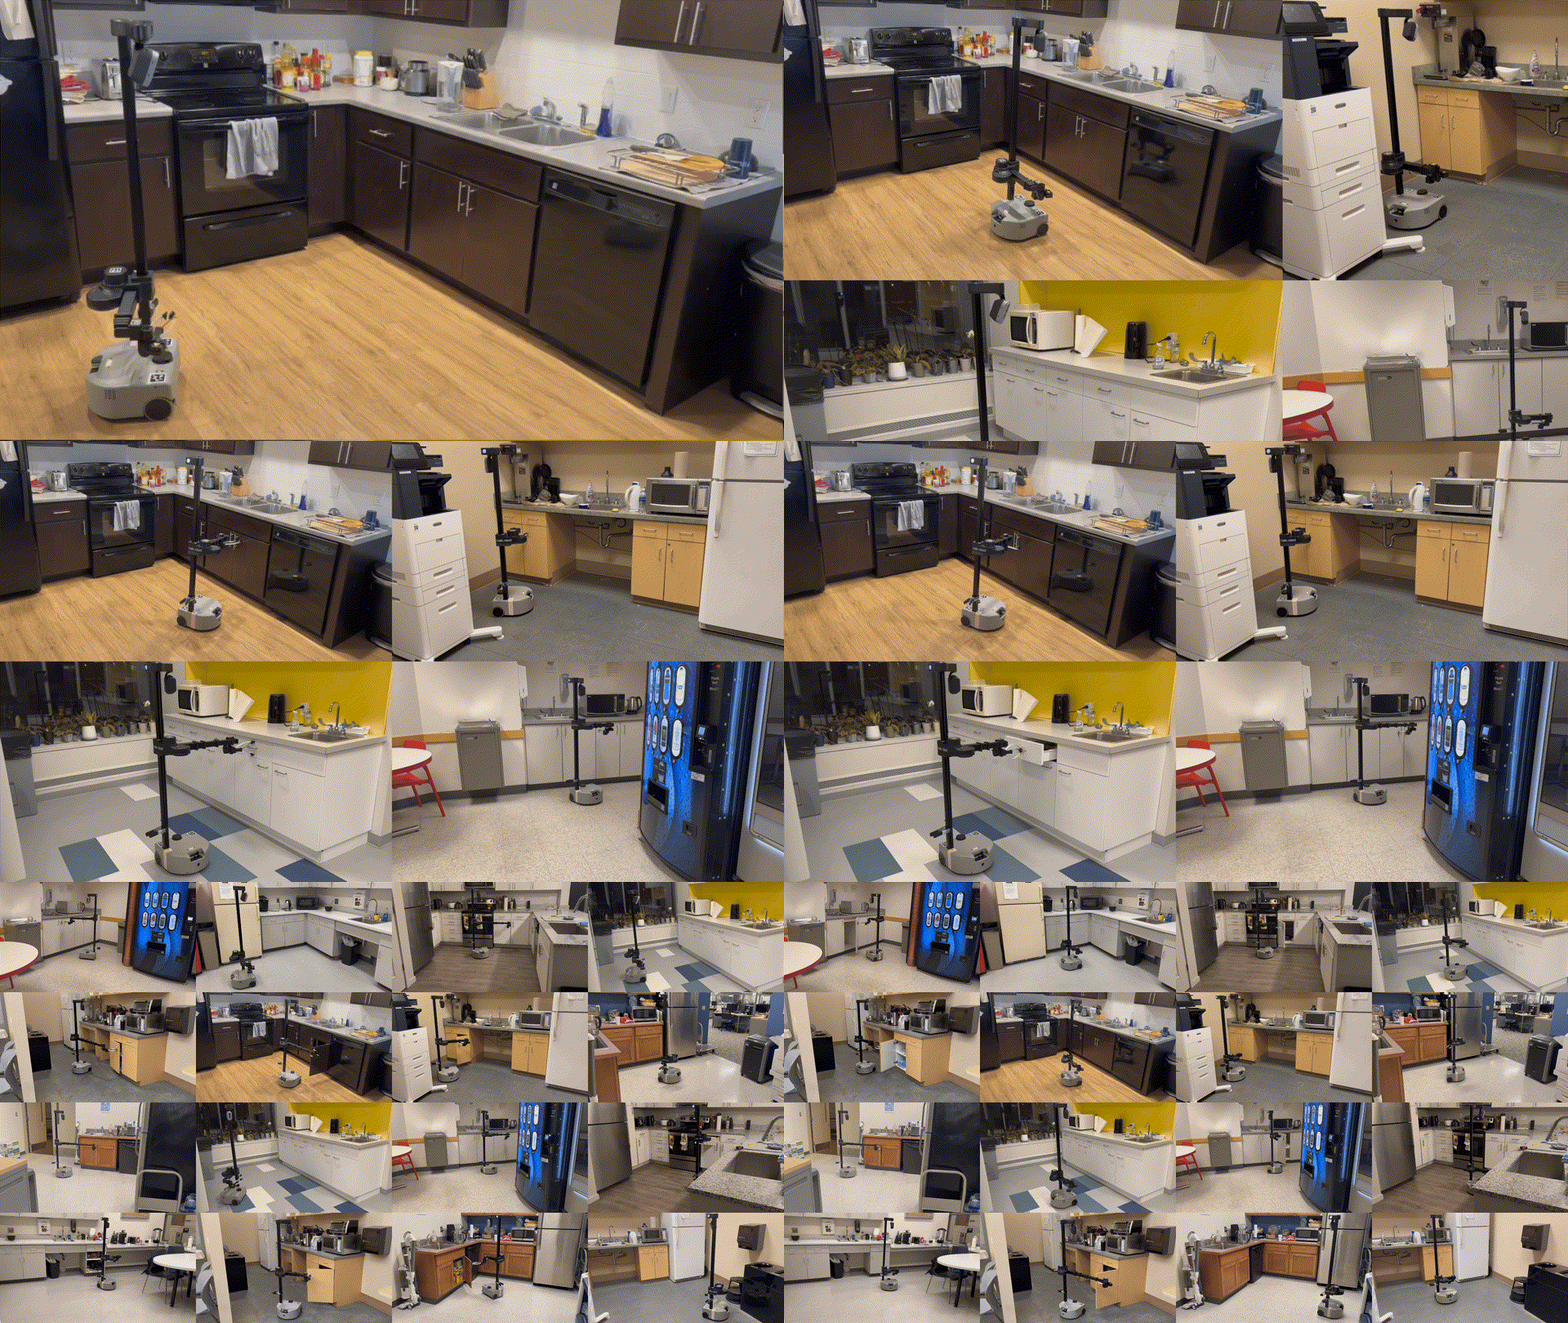
Arjun Gupta*,
Michelle Zhang*,
Rishik Sathua,
Saurabh Gupta
*denotes equal contribution.
This codebase is developed and tested on Hello Robot's Stretch RE2 with ROS 1 Noetic.
Install dependencies:
$ pip install -r requirements.txtWe recommend not using conda, as we found that conda does not play well with ROS.
Next, install detectron2 following the instructions here.
- Make sure that the robot URDF is calibrated. If not, follow the instructions here.
- Download the Mask RCNN model weights from here and save these weights in the
weights/directory. - Make sure the
catkin_wsdirectory is in the parent directory, i.e. when you are inside the repostretch-open, it can be accessed throughcd ./../catkin_ws. If not, modify the paths inmodules/motion_planning.pyandmodules/grasp_correction.py. - In
pipeline.py, replace thecamera_idinmaskrcnn = inference.Maskrcnn_Module('weights/m1.pth', 'weights/m2.pth', camera_id = '153122077062')with the serial number of your Stretch's head camera. If you do not know your camera's serial number, use the following code snippet:import pyrealsense2 as rs context = rs.context() devices = context.query_devices() # then, devices.back() should print out the serial number (S/N) of the D435i
Make sure to run stretch_robot_home.py and stretch_robot_stow.py first.
In our experiments, we positioned the Stretch RE2 ~1.5m away from a target cabinet or drawer. Once positioned, you may need to change the head camera viewpoint to have a cabinet or drawer in view.
To run the full pipeline use the following python script:
$ python pipeline.pyThis process starts by launching the perception module, which initiates a video stream and displays the Mask RCNN predictions on the current camera view. Each detected object will have a number displayed next to it. To select an object, press CTRL+C, type the corresponding number, and hit Enter. The robot will then proceed with the pipeline. For safety, we have added breakpoints after each waypoint during the motion plan execution (this feature can be turned off). Please see below for more details on each module.
The perception module feeds the current RGB image through Mask RCNN model and displays the predictions. A user has to select which detected cabinet or drawer to open. This can be done by hitting CTRL+C and entering the number written next to the handle of the target object.
To run the Mask RCNN perception module use the following code:
maskrcnn = inference.Maskrcnn_Module('m1.pth', 'm2.pth', camera_id = '153122077062')
maskrcnn_output = maskrcnn.run_inference()
The transforms module will take in the 3d camera coordinate maskrcnn module outputs and use ros to transform them into base coordinates.
To run the transforms module use the following code:
transform = transforms.Transforms_Module(maskrcnn_output)
transform_output = transform.transform_data()
The navigation module uses the stretch api to navigate to the target location output by the transform module. Currently, object avoidance is not implemented.
To run the navigation use the following code:
nav = navigation.Navigation_Module(transform_output)
nav.run_navigation()
Once Stretch has navigated to target location, generate a motion plan using:
planner = motion_planning.Motion_Plan_Module(maskrcnn_output, transform_output)
motion_plan = planner.run_motion_planning()
After a motion plan is generated, deploy the pregrasp pose using the following code:
deploy = execution.Execute(motion_plan, maskrcnn_output)
robot = deploy.start_robot()
correction_needed = deploy.execute_trajectory(skip_first_waypoint=False)
If execute_trajectory() returns 1 then grasp correction is needed. To run grasp correction use the following:
grasp_corrector = grasp_correction.Grasp_Correction(robot, motion_plan, maskrcnn_output)
contact_offset = grasp_corrector.run_correction()
To update the motion plan to take into account the movement made during grasp correction run:
updated_motion_plan = planner.run_motion_planning(contact_offset)
deploy.update_motion_plan(updated_motion_plan)
Continue executing the trajectory using the updated plan:
deploy.execute_trajectory(skip_first_waypoint=True)
Release object and stop the robot (run this regardless of if grasp correction was needed):
deploy.stop_robot()
We calibrated the Stretch's URDF using 4 additional Aruco markers placed on the floor in a 2x2 square 1-2m away from the robot's base. We have included the files we changed in order to customize the calibration process in the calibration folder. See below for further details:
Location: catkin_ws/src/stretch_ros/stretch_description/urdf/
Change: Add joints and links for custom aruco markers to end of file. In example provided, customization begins at line 907. Do not run rosrun stretch_calibration update_uncalibrated_urdf.sh after customization.
Location: catkin_ws/src/stretch_ros/stretch_core/config/
Change: Specify information regarding aruco marker ids. link_aruco_floor_* are the custom floor markers we used.
Location: catkin_ws/src/stretch_ros/stretch_calibration/nodes/
Change: Add support for collecting data for custom aruco markers. Ctrl + F 'custom' to see locations of code customization.
Location: catkin_ws/src/stretch_ros/stretch_calibration/nodes/
Change: Add support for processing and fitting to data for custom aruco markers. Ctrl + F 'custom' to see locations of code customization.
