AdeptiScanner-GI
OCR-based inventory scanner for Genshin Impact, with both a manual and automatic mode.
Please read instructions below before using. Download link for the latest version can be found here
Warnings
- While using the auto mode, the program will take control of your mouse. You can press escape during the scan to pause it. Do not move or use your mouse during auto unless paused.
- For the automated scanning mode of this program to work, it needs to run as admin.
- According to my interpretation of the Genshin TOS, use of this scanner should be allowed as I do not believe it causes an unfair competitive advantage. To my knowledge, nobody has gotten in trouble for the use of this or similar programs so far, but if you're worried about it I suggest avoiding the auto mode.
Updating for a new version
- For the vast majority of game updates, all you should need is to replace the
ArtifactInfo.jsonfile insideScannerFileswith an updated one. You can find the latest version here - Downloading the full scanner again should only be needed to get improvements to the scanner itself
How to prepare for scanning
- Set the game to run in windowed mode at a resolution of 1600x900
- It may work for other resolutions, but it's likely to run into issues for lower resolutions or different aspect ratios
- Place the game window in a position that covers the middle of your -primary- display.
- Make sure nothing is covering the game window!
- Example window position for 1080p monitor. Notice that the preview portion of the window is off-screen while doing the initial capture or using auto

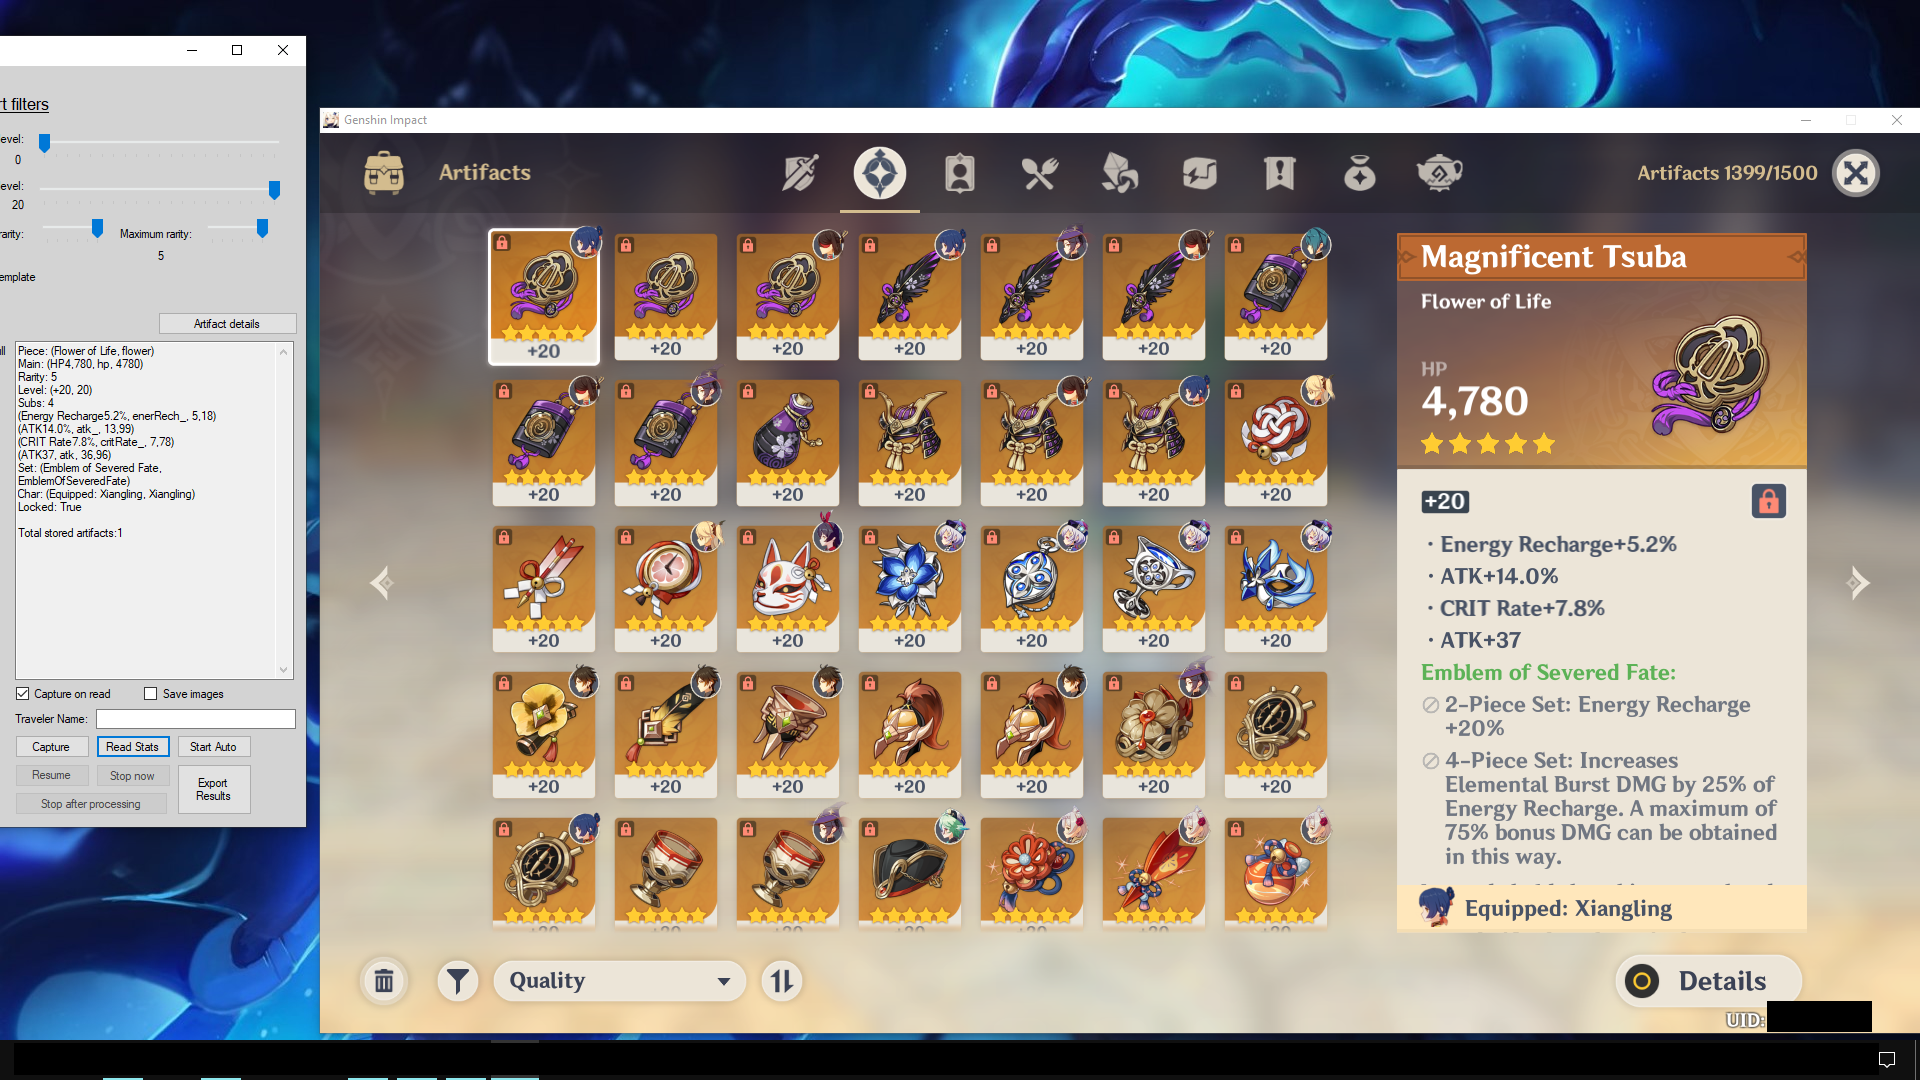
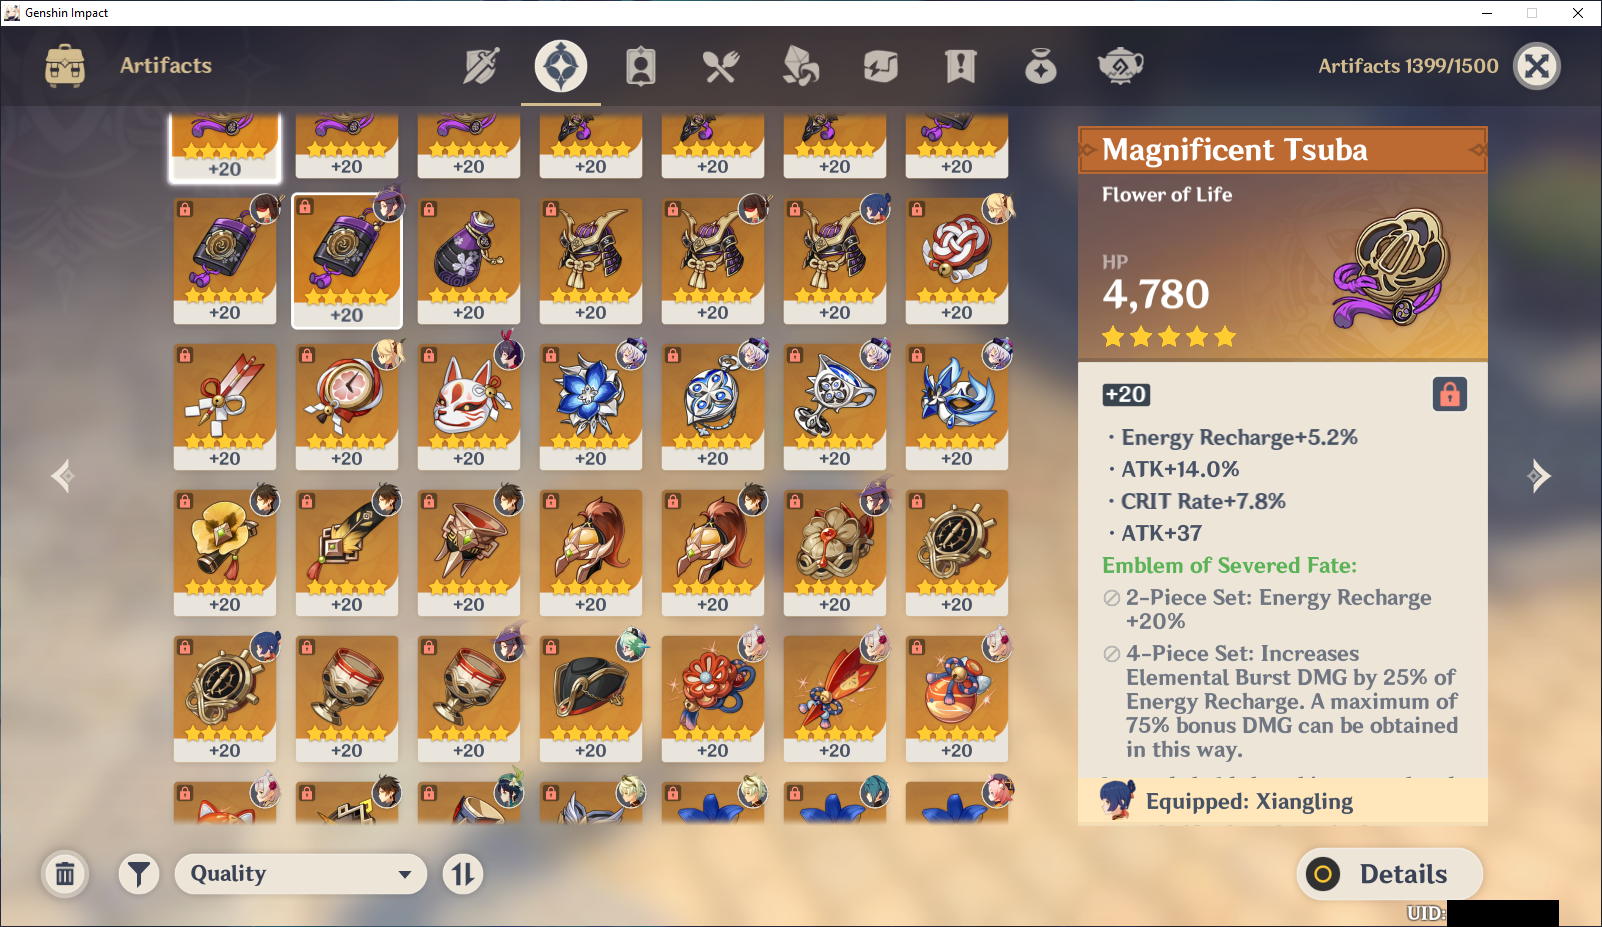
- Open the artifact section on your main backpack and select a 5 star artifact with a full length item description
- Example

- Press "Capture"
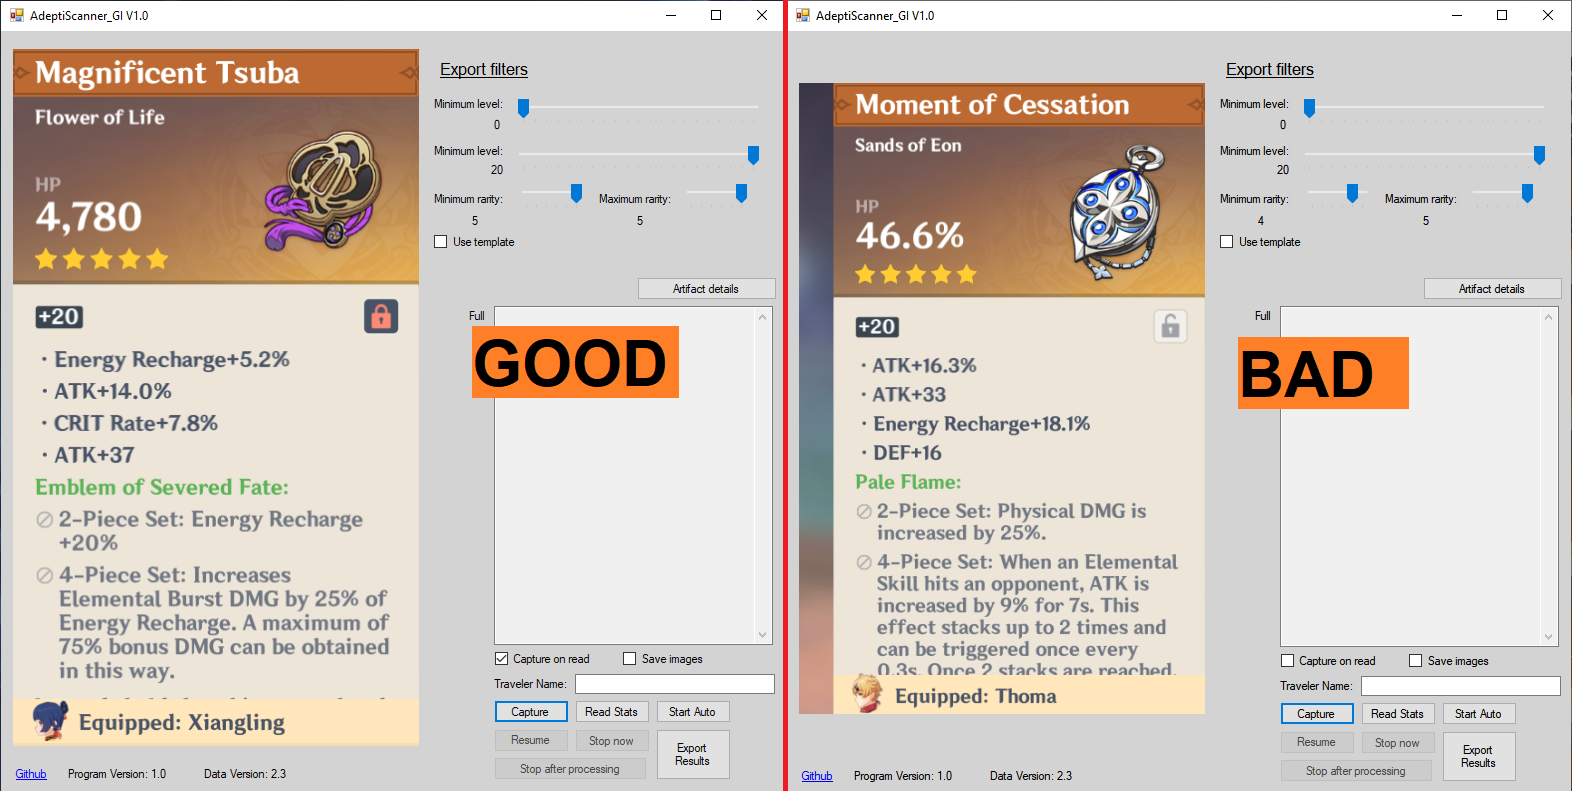
- Make sure the preview matches the good example, if it doesn't, try moving your camera around a bit in-game to change the background and repeat again from step 3

- Make sure the preview matches the good example, if it doesn't, try moving your camera around a bit in-game to change the background and repeat again from step 3

You're now ready for manual or automatic artifact scanning
Manual scanning
- Follow the instructions under
How to prepare for scanning. Do not move the game window and do not cover the captured area while scanning - Select the artifact you wish to scan and press the
Read Statsbutton- The scanner is mainly tested for 4 and 5 star artifacts. While it has the information about all tiers of artifacts, it may be unable to read some lower tier ones
- Repeat step 2 for every artifact you wish to manually scan
Automated scanning
- While using the auto mode, the program will take control of your mouse. You can press escape during the scan to pause it.
- Do not move or use your mouse during auto unless paused.
- Automated scanning will only work properly if this program is being run as admin
- Automated scanning is expected to work for 4 and 5 star artifacts, it's not expected to automatically scroll through any lower tier artifacts
- Follow the instructions under
How to prepare for scanning. Do not move the game window and do not cover ANY part of the game while using auto - (Optional) Scroll your artifact list a bit to lower the amount of times it has to scroll. Note how the stars for the top row is visible and the white/Beige label for the bottom row is fully visible.

- Press the
Start Autobutton- During the scan, you can press the escape button on your keyboard to pause it
Resumewill make the scanner resume the scanStop after processingwill make the scanner stop scrolling through new artifacts immediately, but finish processing all scanned onesStop nowwill make the scanner immediately exit automated scanning, not saving any scanner artifacts
- The scanner will automatically stop once it thinks it's done scrolling through the artifact list or finds an artifact with identical stats to a previous one.
Exporting results
- Scan artifacts using manual, automatic scanning or a combination of the two
- Configure the
Export Filterssection according to your wishes- You can use a template file that everything except artifact details will be copied from. To do this, place a GOOD-format json in the
ScannerFilesfolder and rename it toExportTemplate.json
- You can use a template file that everything except artifact details will be copied from. To do this, place a GOOD-format json in the
- Press the
Export Resultsbutton, your results will be placed in a timestamped file in theScannerFilesfolder- You can change your export filters and press the export button more than once if you so wish, each export will appear as a separate file
How to contact
- Create an issue or pull request on this repo
- I haven't created a discord, as I have no idea how much interest there will be. If one is needed in the future I'll create one
- I'm in the community-created Genshin Dev Discord, same username as on here
- I'm also in the Genshin Optimizer Discord. Feel free to @ me for smaller issues, but for longer things it's better to stick to the Genshin Dev discord or DMing me
Acknowledgements
- Some functions used are heavily based on code from WFInfo, an OCR-based companion program for Warframe
- The tesseract model used was trained and provided by the creator of this similar program
- The main purpose of this scanner is to more easily import your artifacts into Genshin Optimizer, but it should be compatible with any other program that uses the GOOD format