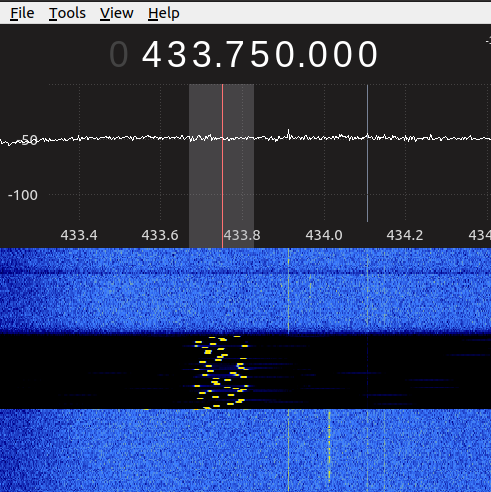
The LoRa APRS iGate will work with very cheep hardware which you can buy from amazon, ebay or aliexpress.
Try it out and be part of the APRS network.
The defult software from factory is http://github.com/lyusupov/SoftRF this software can connect to you wifi and you can get GPS data via serial or tcp / udp socket. Contect to the wifi and pw 12345678 Then connect to admin screen 192.168.4.1 to enable tcp/udp or usb gps messaging. it also can be done via bloutooth.
more info here https://github.com/lyusupov/SoftRF/wiki/Prime-Edition-MkII#bill-of-materials
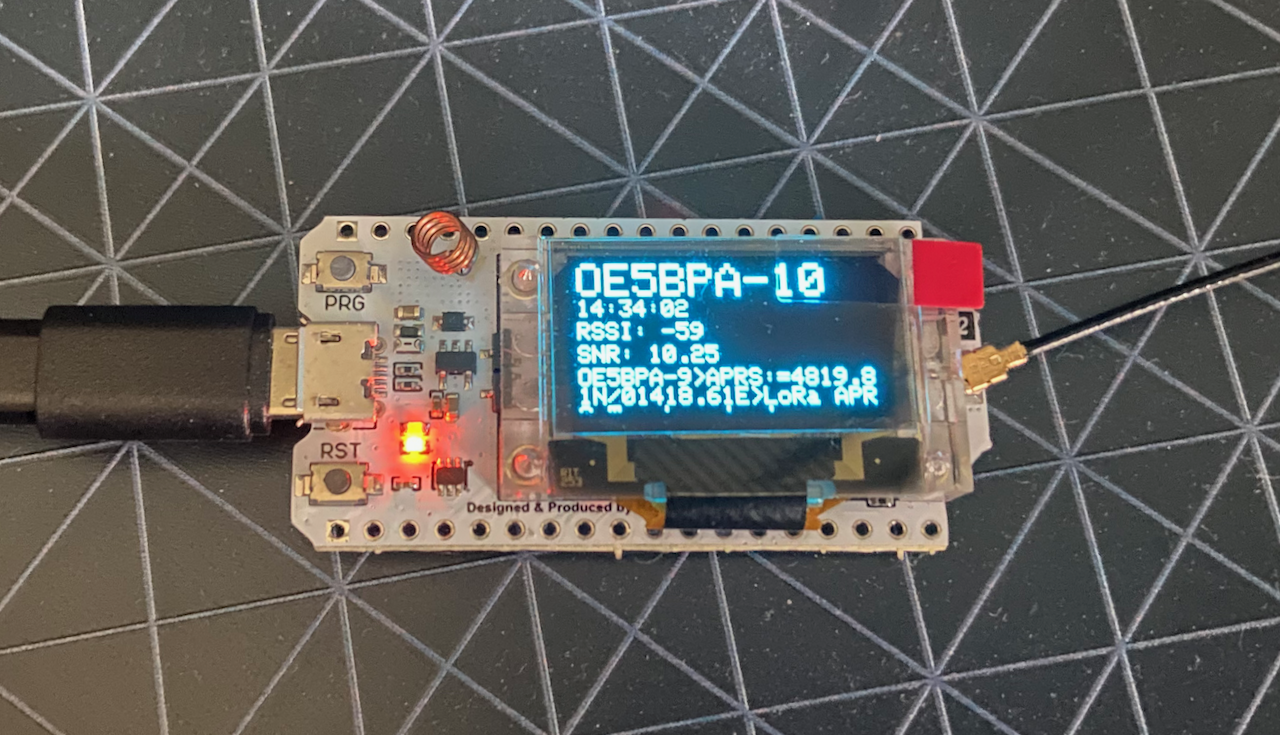
(pics/TTGO_ESP32_443_3.jpg)
I am using the TTGO_T_Beam_V1_0 board below.
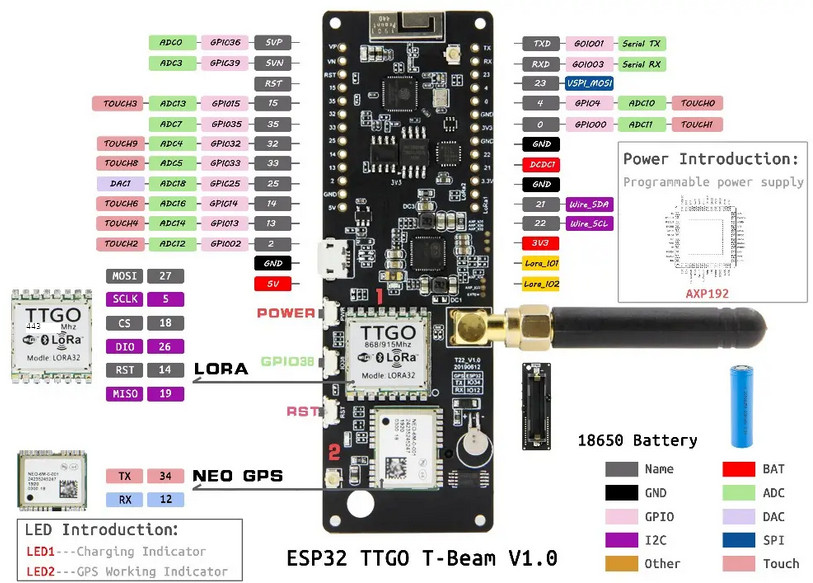
The software is not using the GPS but that is all I have.
git clone https://github.com/antonjan/LoRa_APRS_iGate
Install The development environment VS Code from here https://code.visualstudio.com/download
Start Code and click on the botom Gear icon to install Platformio.
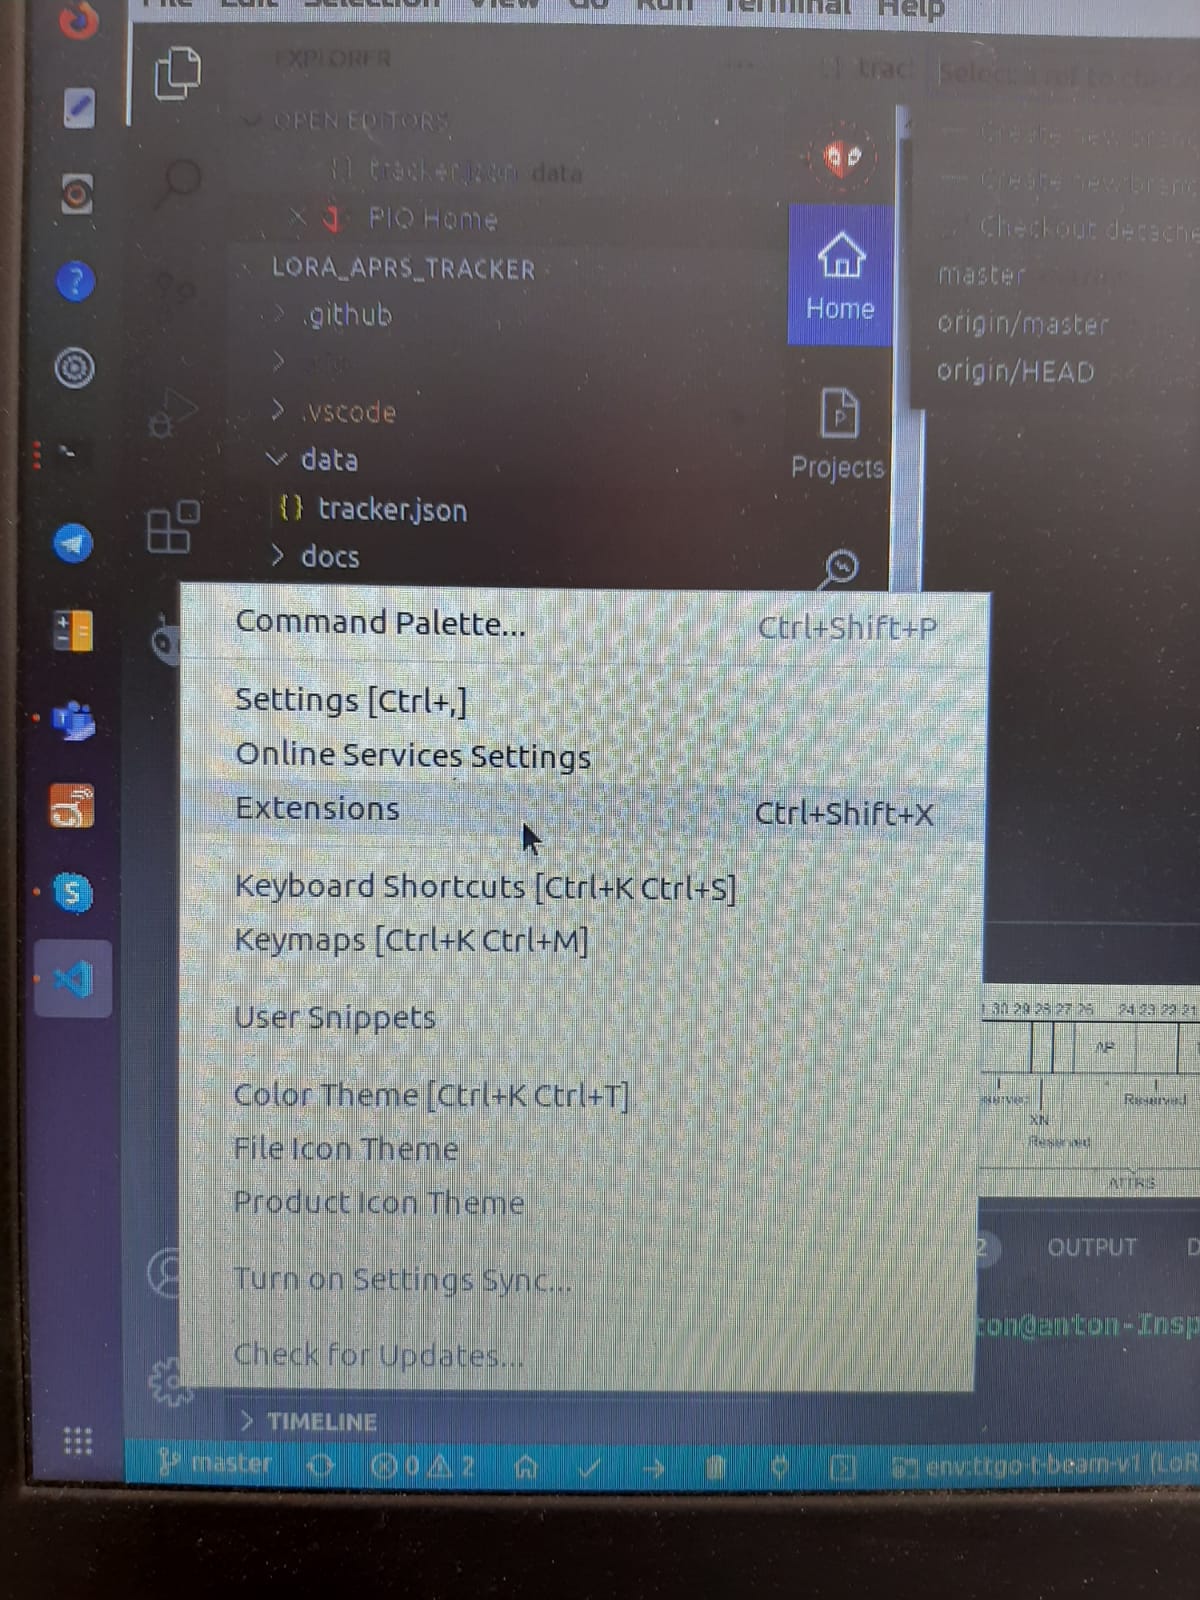
Then select Exstentions and serache for Platformio and install it.
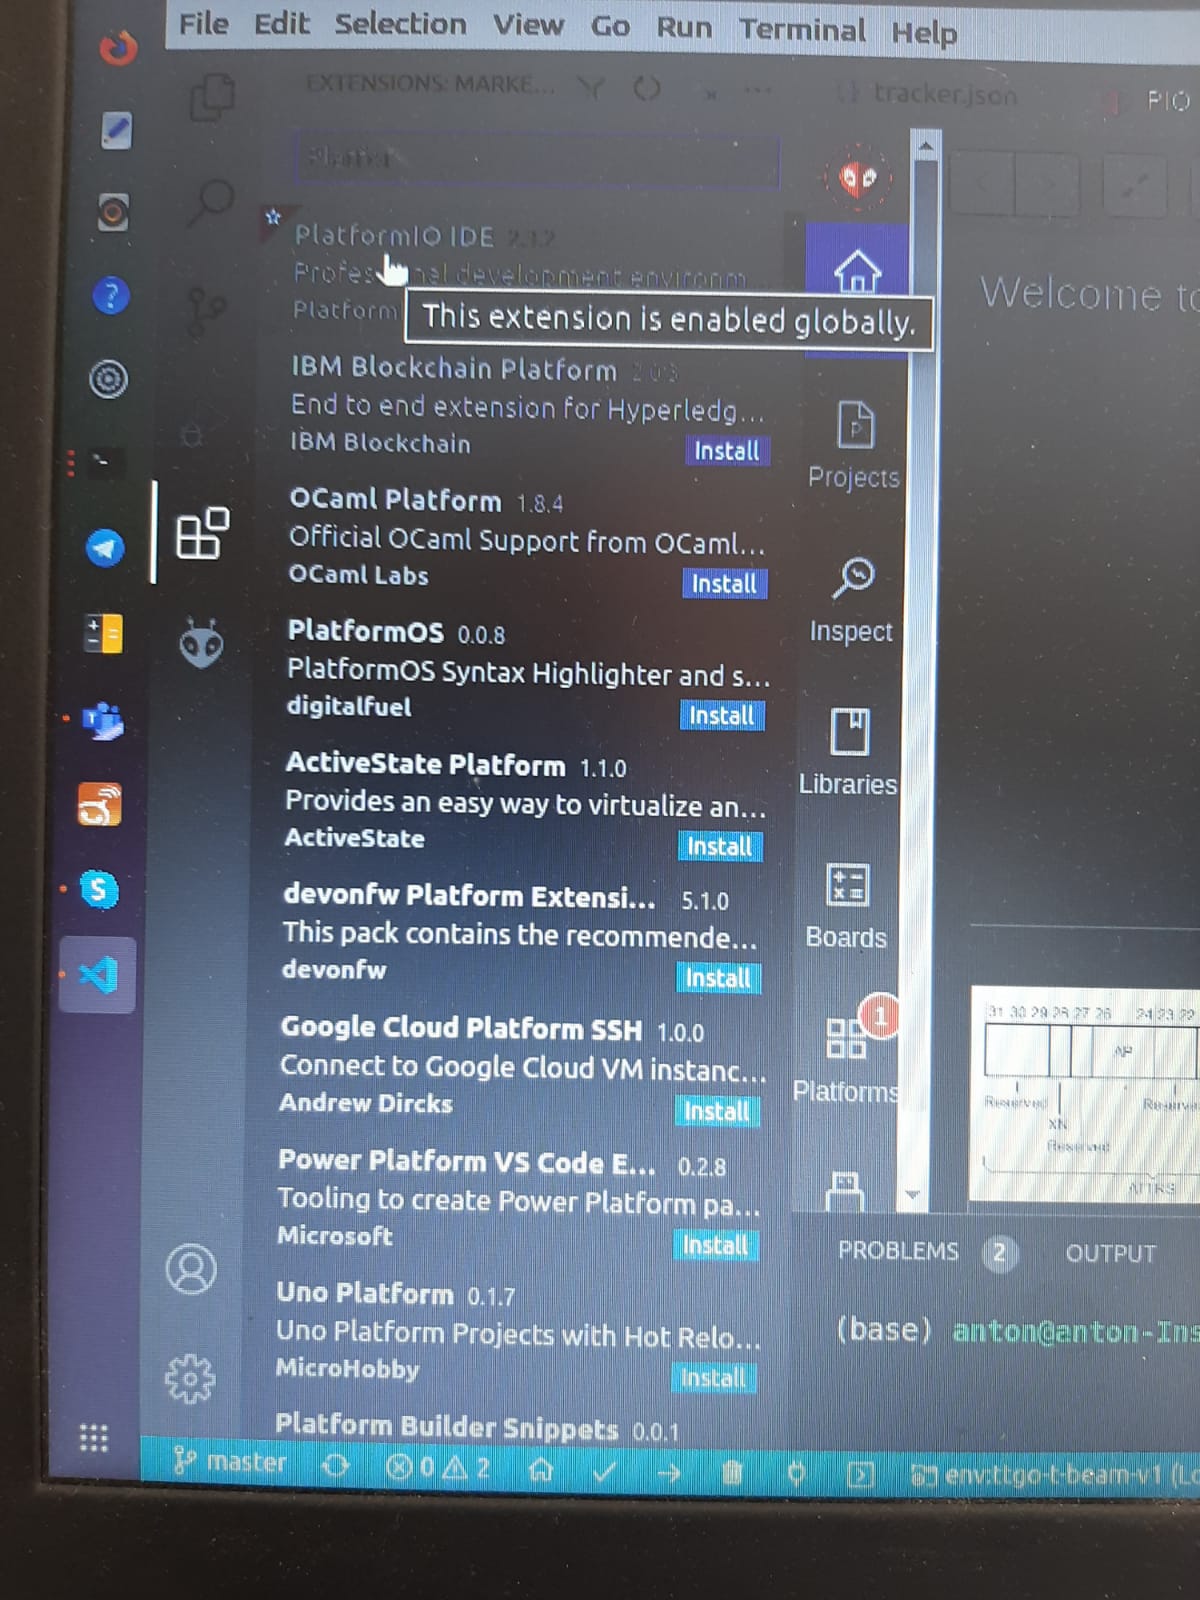
The instelation can take a while
We now need to select the LoRa_APRS_iGate folder where you have cloed the github project above. There will be a directory LoRa_APRS_iGate
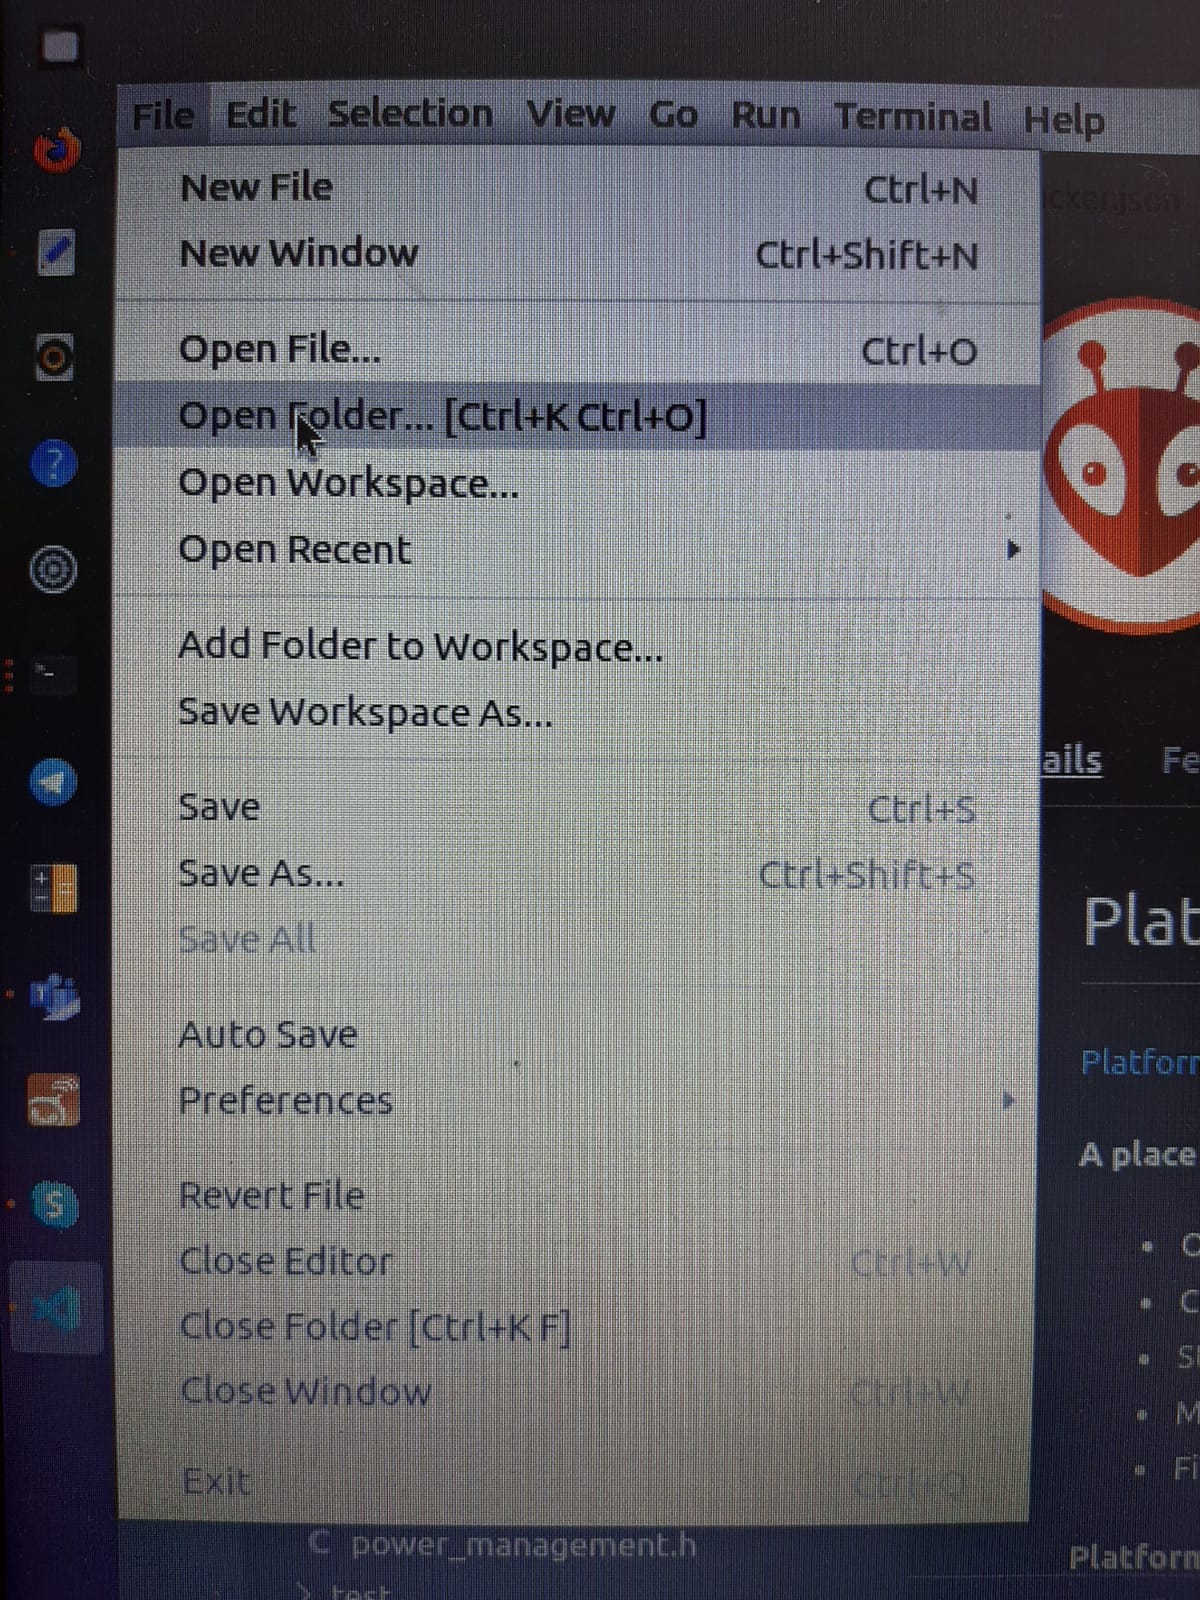
Then select the tracker.json and edit with the following information.
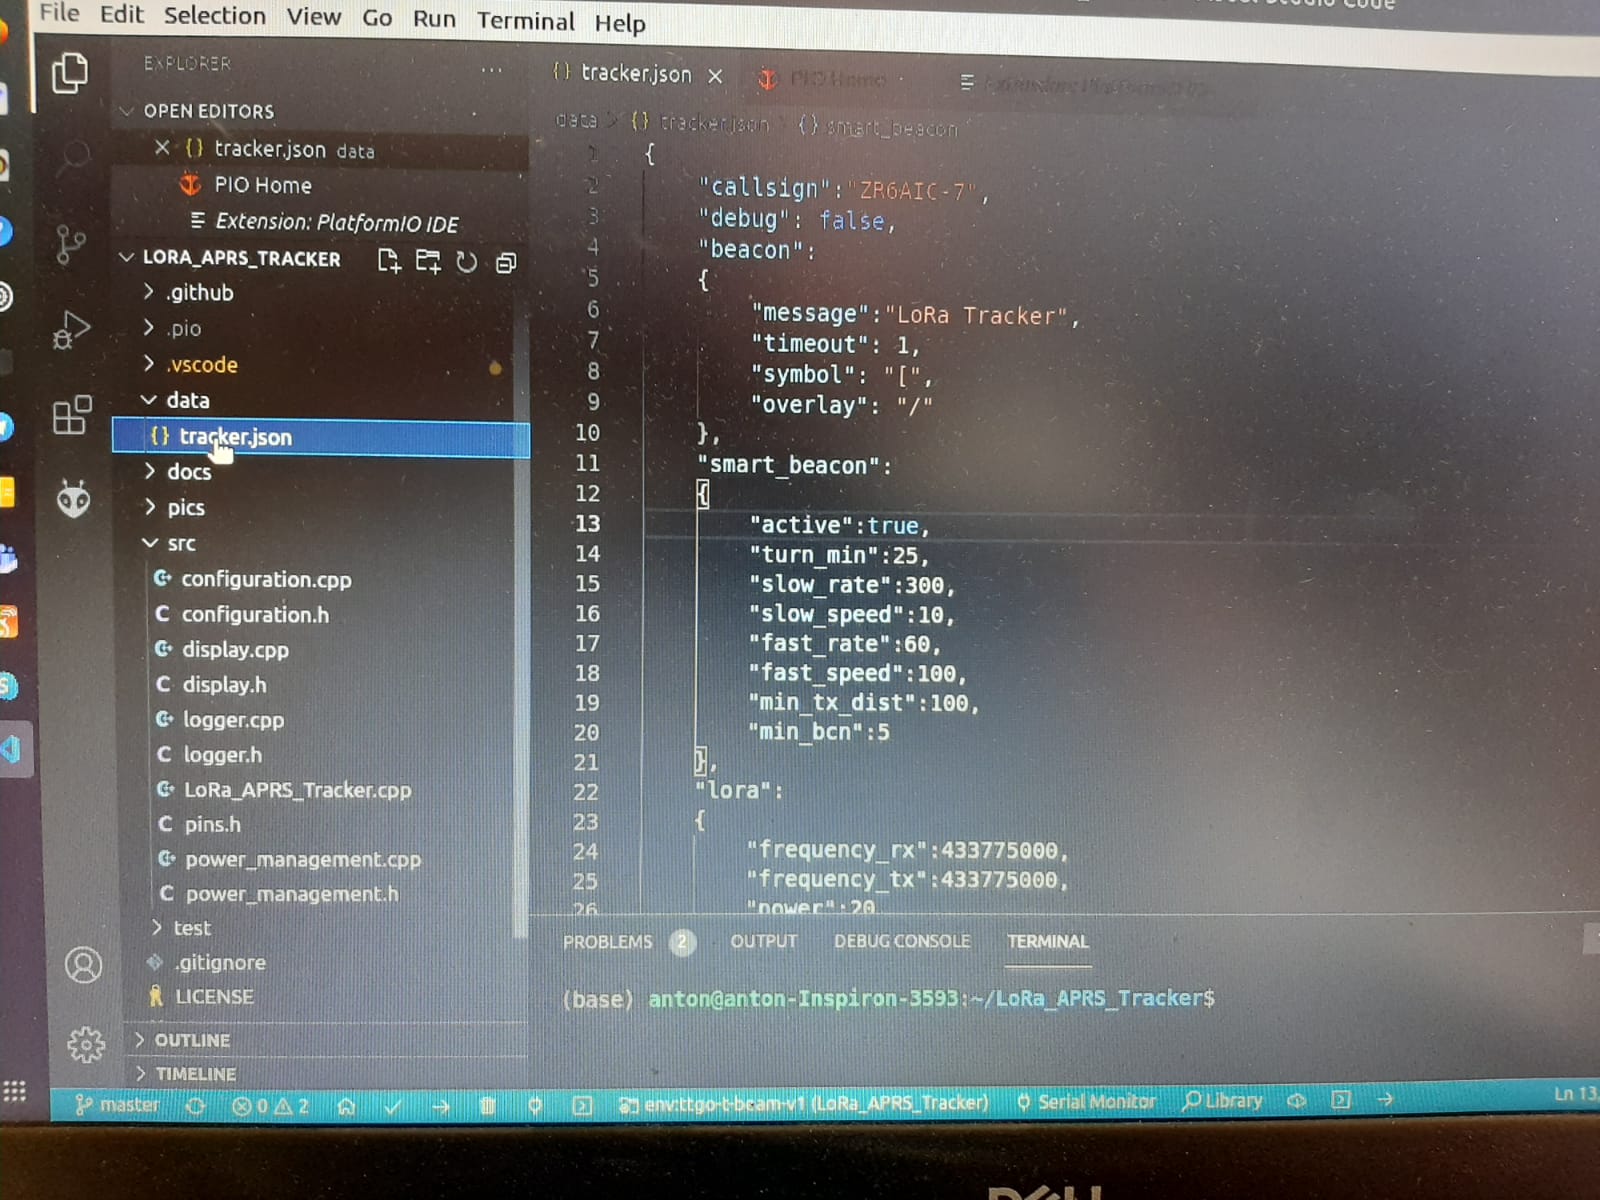
Edit the tracker.json file in the data directory to look like this changing your callsign and save the file. [CTRL-s]
{
	"callsign":"NOCALL-7",
	"debug": false,
	"beacon":
	{
		"message":"LoRa Tracker",
		"timeout": 1,
		"symbol": "[",
		"overlay": "/"
	},
	"smart_beacon":
	{
		"active":true,
		"turn_min":25,
		"slow_rate":300,
		"slow_speed":10,
		"fast_rate":60,
		"fast_speed":100,
		"min_tx_dist":100,
		"min_bcn":5
	},
	"lora":
	{
		"frequency_rx":433775000,
		"frequency_tx":433775000,
		"power":20,
		"spreading_factor":12,
		"signal_bandwidth":125000,
		"coding_rate4":5
	}
}
We now need to compile the program.
This can be done by Clicking on the icon belo red 1 on the botom toolbaar.

Now connect your LORA-APRS board to usb port of you computer.
We now need to upload the compeld ferware.bi fie to the Board
Click on the icon below red 2 to upload the file to your board.
You should see details in the log terminal if all was sucess

- OE1ROT (blog post - german) 14.11.2020
- DL7AG (blog post - german) 08.11.2020
- Manuel Lausmann - iGate (youtube - german) 06.11.2020
- Manuel Lausmann - Tracker (youtube - german) 02.11.2020
- OE1ROT (blog post - german) 09.12.2019
feel free to add yours or create a ticket if you want to be added.
You can use one of the Lora32 boards without changings:
- Heltec WiFi LoRa 32 V1 (433MHz SX1278)
- Heltec WiFi LoRa 32 V2 (433MHz SX1278)
- TTGO LoRa32 V1 (433MHz SX1278)
- TTGO LoRa32 V2 (433MHz SX1278)
- TTGO LoRa32 V2.1 (433MHz SX1278)
- TTGO T-Beam V0.7 (433MHz SX1278)
- TTGO T-Beam V1 (433MHz SX1278)
- Tracker D from OE1ACM and OE1CGC
- and sure many more...
Here are some amazon-de links for some example boards:
This boards cost around 20 Euros, they are very cheap and perfect for an LoRa iGate. Keep in minde: you need a 433MHz version!
There is a german quick start page! Take a look ;)
There is a french quick start page! Take a look ;)
The best success is to use PlatformIO (and it is the only platform where I can support you).
- Go to PlatformIO download and install the IDE.
- If installed open the IDE, go to the left side and klick on 'extensions' then search for 'PatformIO' and install.
- When installed click 'the ant head' on the left and choose import the project on the right.
- Just open the folder and you can compile the Firmware.
- You can find all nessesary settings to change for your configuration in data/is-cfg.json.
- To upload it to your board you have to do this via Upload File System image in PlatformIO!
- To find the 'Upload File System image' click the PlatformIO symbol (the little alien) on the left side, choos your configuration, click on 'Platform' and search for 'Upload File System image'.
This firmware is developed in a rolling release system: everyday a new release could be created. But there are still rules where new pull requests has to go and and how the version system looks like.
There are 2 main branches:
- master and
- develop
The master branch has all releases and is the most stable one. With the different tags you can jump to different versions or if you take the most current master branch you will just get the latest, stable version. There will be no side releases which are branched of from master. If there is a bugfix version it will be done directly on the master branch and a tag will be generated with a new version.
The develop branch is used for new feature development. It will be also used to stabilize the current development to create a new stable version (pull request to master branch). Again: all new development (pull requests) has to go directly into the develop branch!
If the develop branch is stable enough for a new release it will be merged with a pull request to the master branch and a new version will be generated.
The versions are based on this settings:
- major: the current year (2 digits)
- minor: the current week of the year
- patch: if there is a important fix for an release, just increment the number, otherwise 0
example: a new release will be created on the 11/14/2020, this version numbers will be used:
- major: 20
- minor: 46
- patch: 0
so the version will be: 20.46.0
- show time until next beaconing
- show login issues from IS server
- add better OLED library to support multiple different OLEDs
- add support to turn OLED on, off and dimming
- add support for temperature chips (BMExxx)
- add FTP server support to upload configuration
- add web server for configuration and other things
- add statistics for received packages
- show received packages on a map
- etc.
Look at my other project: a LoRa Tracker
- TTGO T-Beam V1
When adding a 0,96" OLED display direct to the board you have to be careful, there are two different pinout versions on the market. For direct mount you need a display with this Pinout -> VCC - GND - SCL - SDA. A direct mount of the other display is not possible without damage the display! The 'wrong' display works too but you have to change VCC and GND by wire !
feel free to add hints!
