This document should help you get a remote GitHub repository linked to your Udacity Workspace. Please note that each Workspace will need its own repo.
I. Instructions
II. Troubleshooting
- Initialize the git repo
git init- Configure your name and email
git config --global user.email "you@example.com"
git config --global user.name "Your Name"- Add and commit existing files:
git add -A
git commit -m "Initial Commit"
Your Workspace terminal should look something like this:

Go to GitHub.com and log in:
-
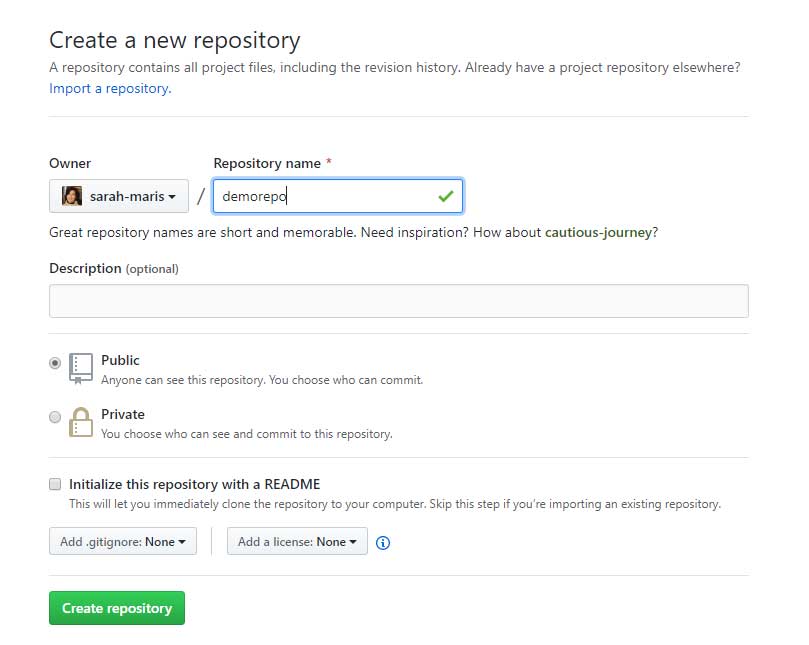
Create a new repository
-
Do not check the "Initialize this repository with a README" radio button Create a new repository
-
On the next page, copy the code in the push an existing repository from the command line section:
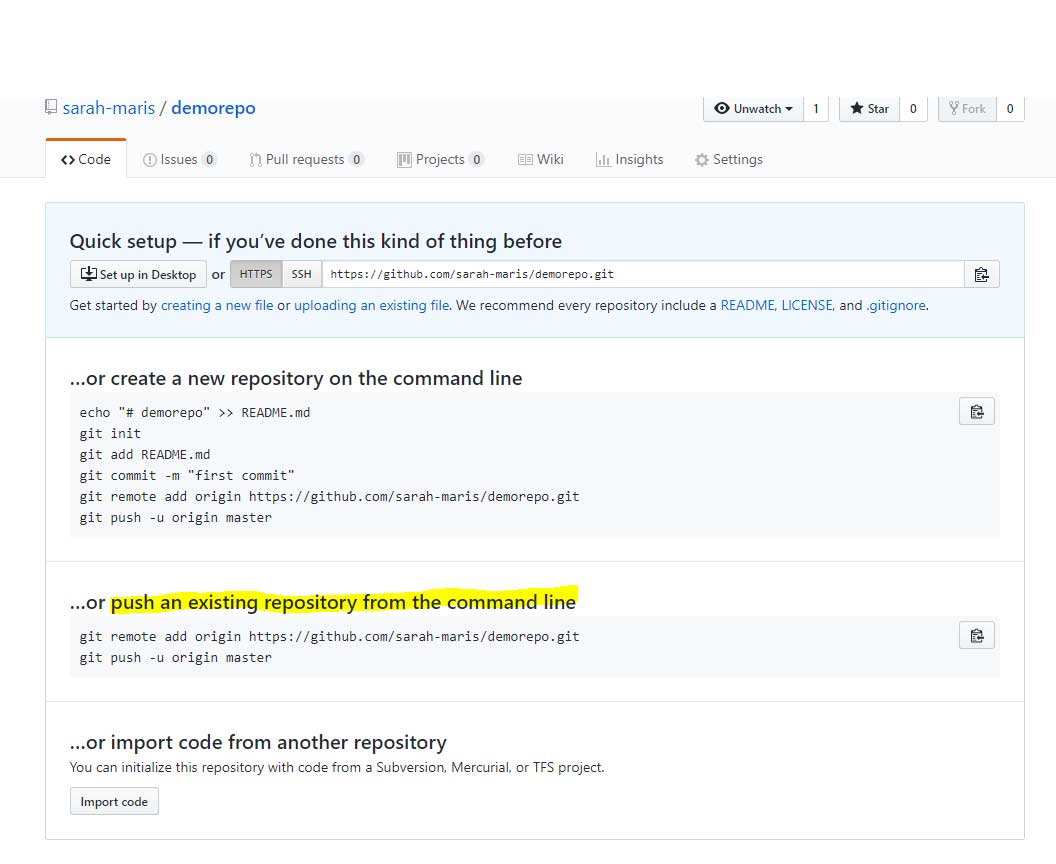


- Paste in the terminal:
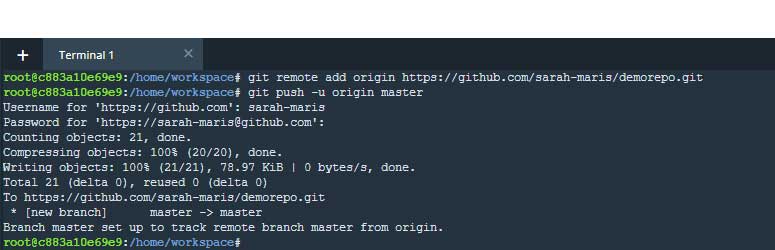
git remote add origin https://github.com/your-name/yourrepo.git
git push -u origin master- Enter your GitHub username and password when prompted:

- Go to the root of the project and delete the repo with this code:
rm -fr .git- Start over at step 1 above