This is a sample REST API for creating task notes, and checking them off as complete. Django creates several views automatically so it is easy to demo the REST endpoints. This project is to focus on the REST API however.
Django expects you to name certain files by certain names and to be put in specific places.
This folder contains some Django-specific configurations.
manage.pycontains the start scripts -- not to be touchedrequirements.txtis the python equivalent to apackage.jsonin a node project, and stores all dependency requirements.settings.pyis where we configure the postgres (sqlite used by default)urls.pystores Django config of urls. This is the base urls and requests can be forwarded to specific aps for them to handle further routing.
The business logic appears in the /api folder, which is the "App" we created. (note, we created the name of this app)
/migrationsautomates database setup (useful when deploying to multiple environments, for one)models.pystores db models (ORM versions of tables)urls.py(note the name is the same as in/todo_drf) stores urls specific to this appviews.pyview that actually renders to the user on the website, not focus of this appserializers.pyhelp turn json-formatted requests to translate nicely to the ORM models
First we'll install the postgres database and start it, then setup and install the app itself, migrate new tables, including admin user and start the app.
PostgreSQL is a SQL language, object-relationial database. The actual postgres is installed and started with a password. We will then install pgadmin, which is software that lets us view our tables.
// download postgresql with homebrew
brew install postgres

// clean up clusters, in case
rm -fr /usr/local/var/postgres

// start a cluster
initdb /usr/local/var/postgres

// start postgres in daemon mode (runs in background, so you can keep using terminal)
postgres -D /usr/local/var/postgres

// create admin... will be handy for pgadmin
create user -P -s Postgres

// Also install this thing so postgres has a good time talking to python
pip install psycopg2
Now you can install pgadmin link Once it downloads, and you start it, it will start in your browser. When it asks for login, use the password you created in the previous step.
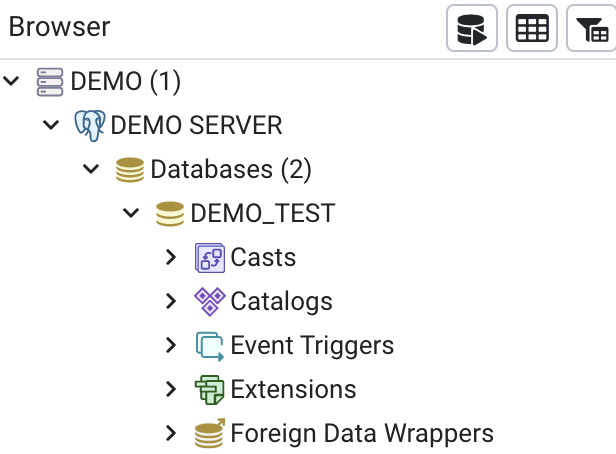
In the dashboard, right click on left panel to create:
- a server group named
DEMO - a server named
DEMO SERVERand connect tolocalhost, keep port number as default - a database named
DEMO_TEST
If you get lost check this tutorial video here that this project is based off.
It should look like this:
Python3 should be installed on mac by default. Clone this repository and start a python environment.
git clone git@github.com:angieology/django-task-api.git && cd django-task-api

// create virtual environment
python3 -m venv env

// activate it
source env/bin/activate

// you can run downloading of all your dependencies within this environment now
pip3 install -r requirements.txt
The virtual environment is recommended, and it will keep all installed dependencies local to this project, so that it will not clash with other python projects.
Now we will start setting up the Django app.
In /todo_drf/settings.py, go to the database config section, and add your postgres (pgadmin) password in place of the empty string.
One of the most-loved features of Django is the automatically generated admin login panel where you can make changes to the database with a nice UI. create a admin user (to login to the admin part of the page)
python manage.py createsuperuser
The admin info lives in a users table. Now we will migrate all our tables in two steps. First step creates the migration script, and the second will run it.
📝when making changes to the tables you need to re-run these two steps
python manage.py makemigrations api
python manage.py migrate
If you check the dbshell you should see some tables now, including our task table
// enter shell
python manage.py dbshell

// display tables
>> .tables

// display one specific table
>> .schema —indent api_task
Last step, start the server
python manage.py runserver
You can view the site on localhost:8000
The REST API has an admin panel which you can log in with the username and password created in the createsuperuser step. Here you have admin priviledges to view and modify all tables.
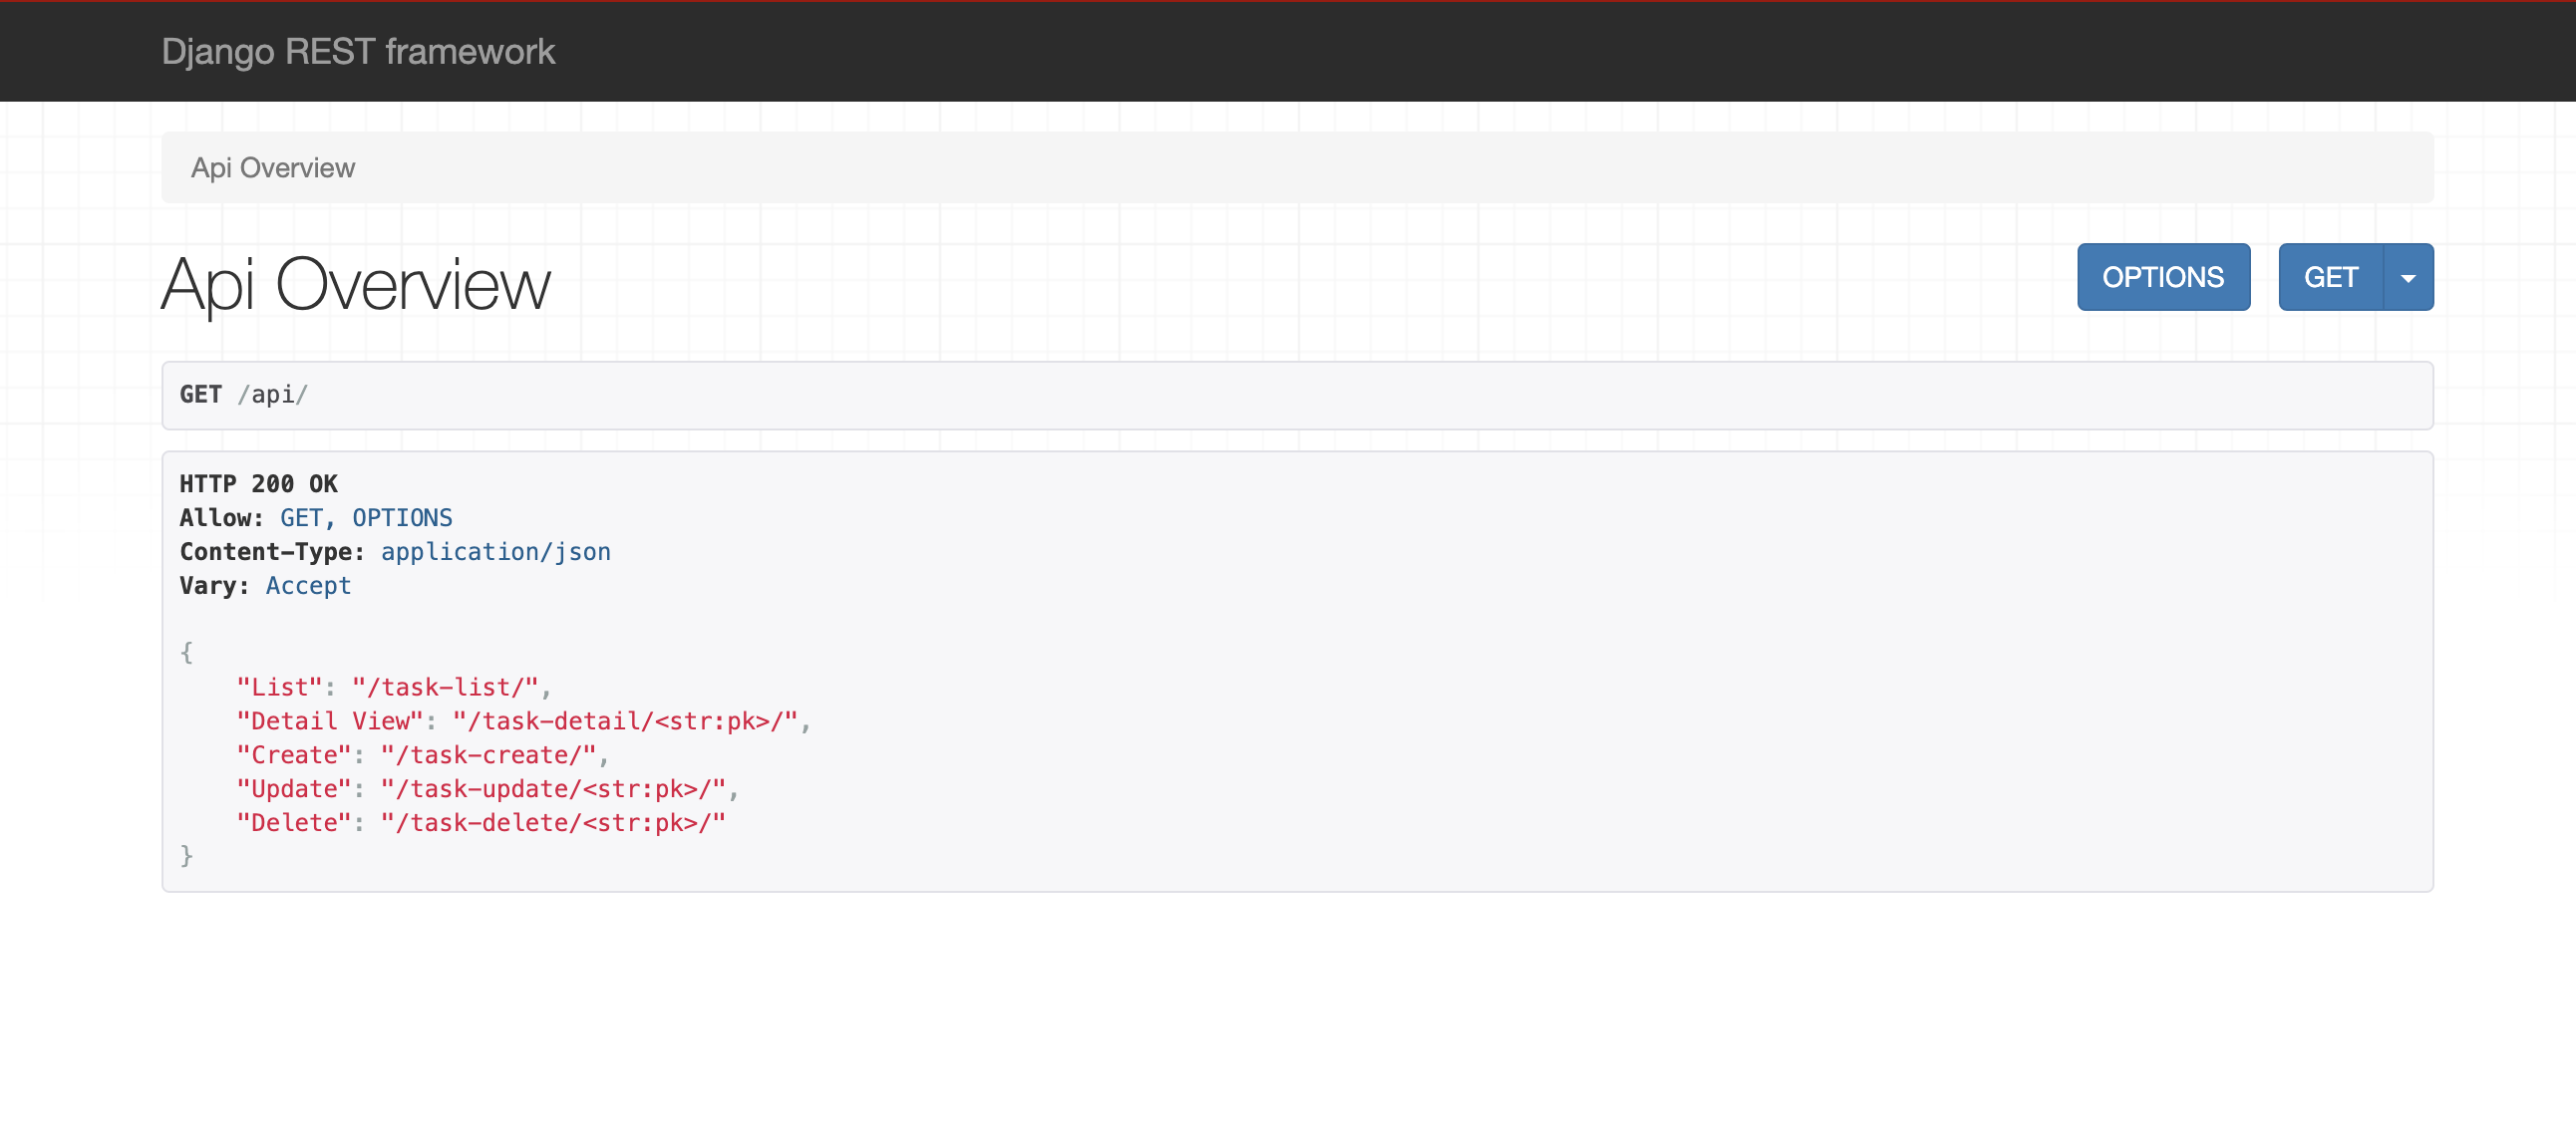
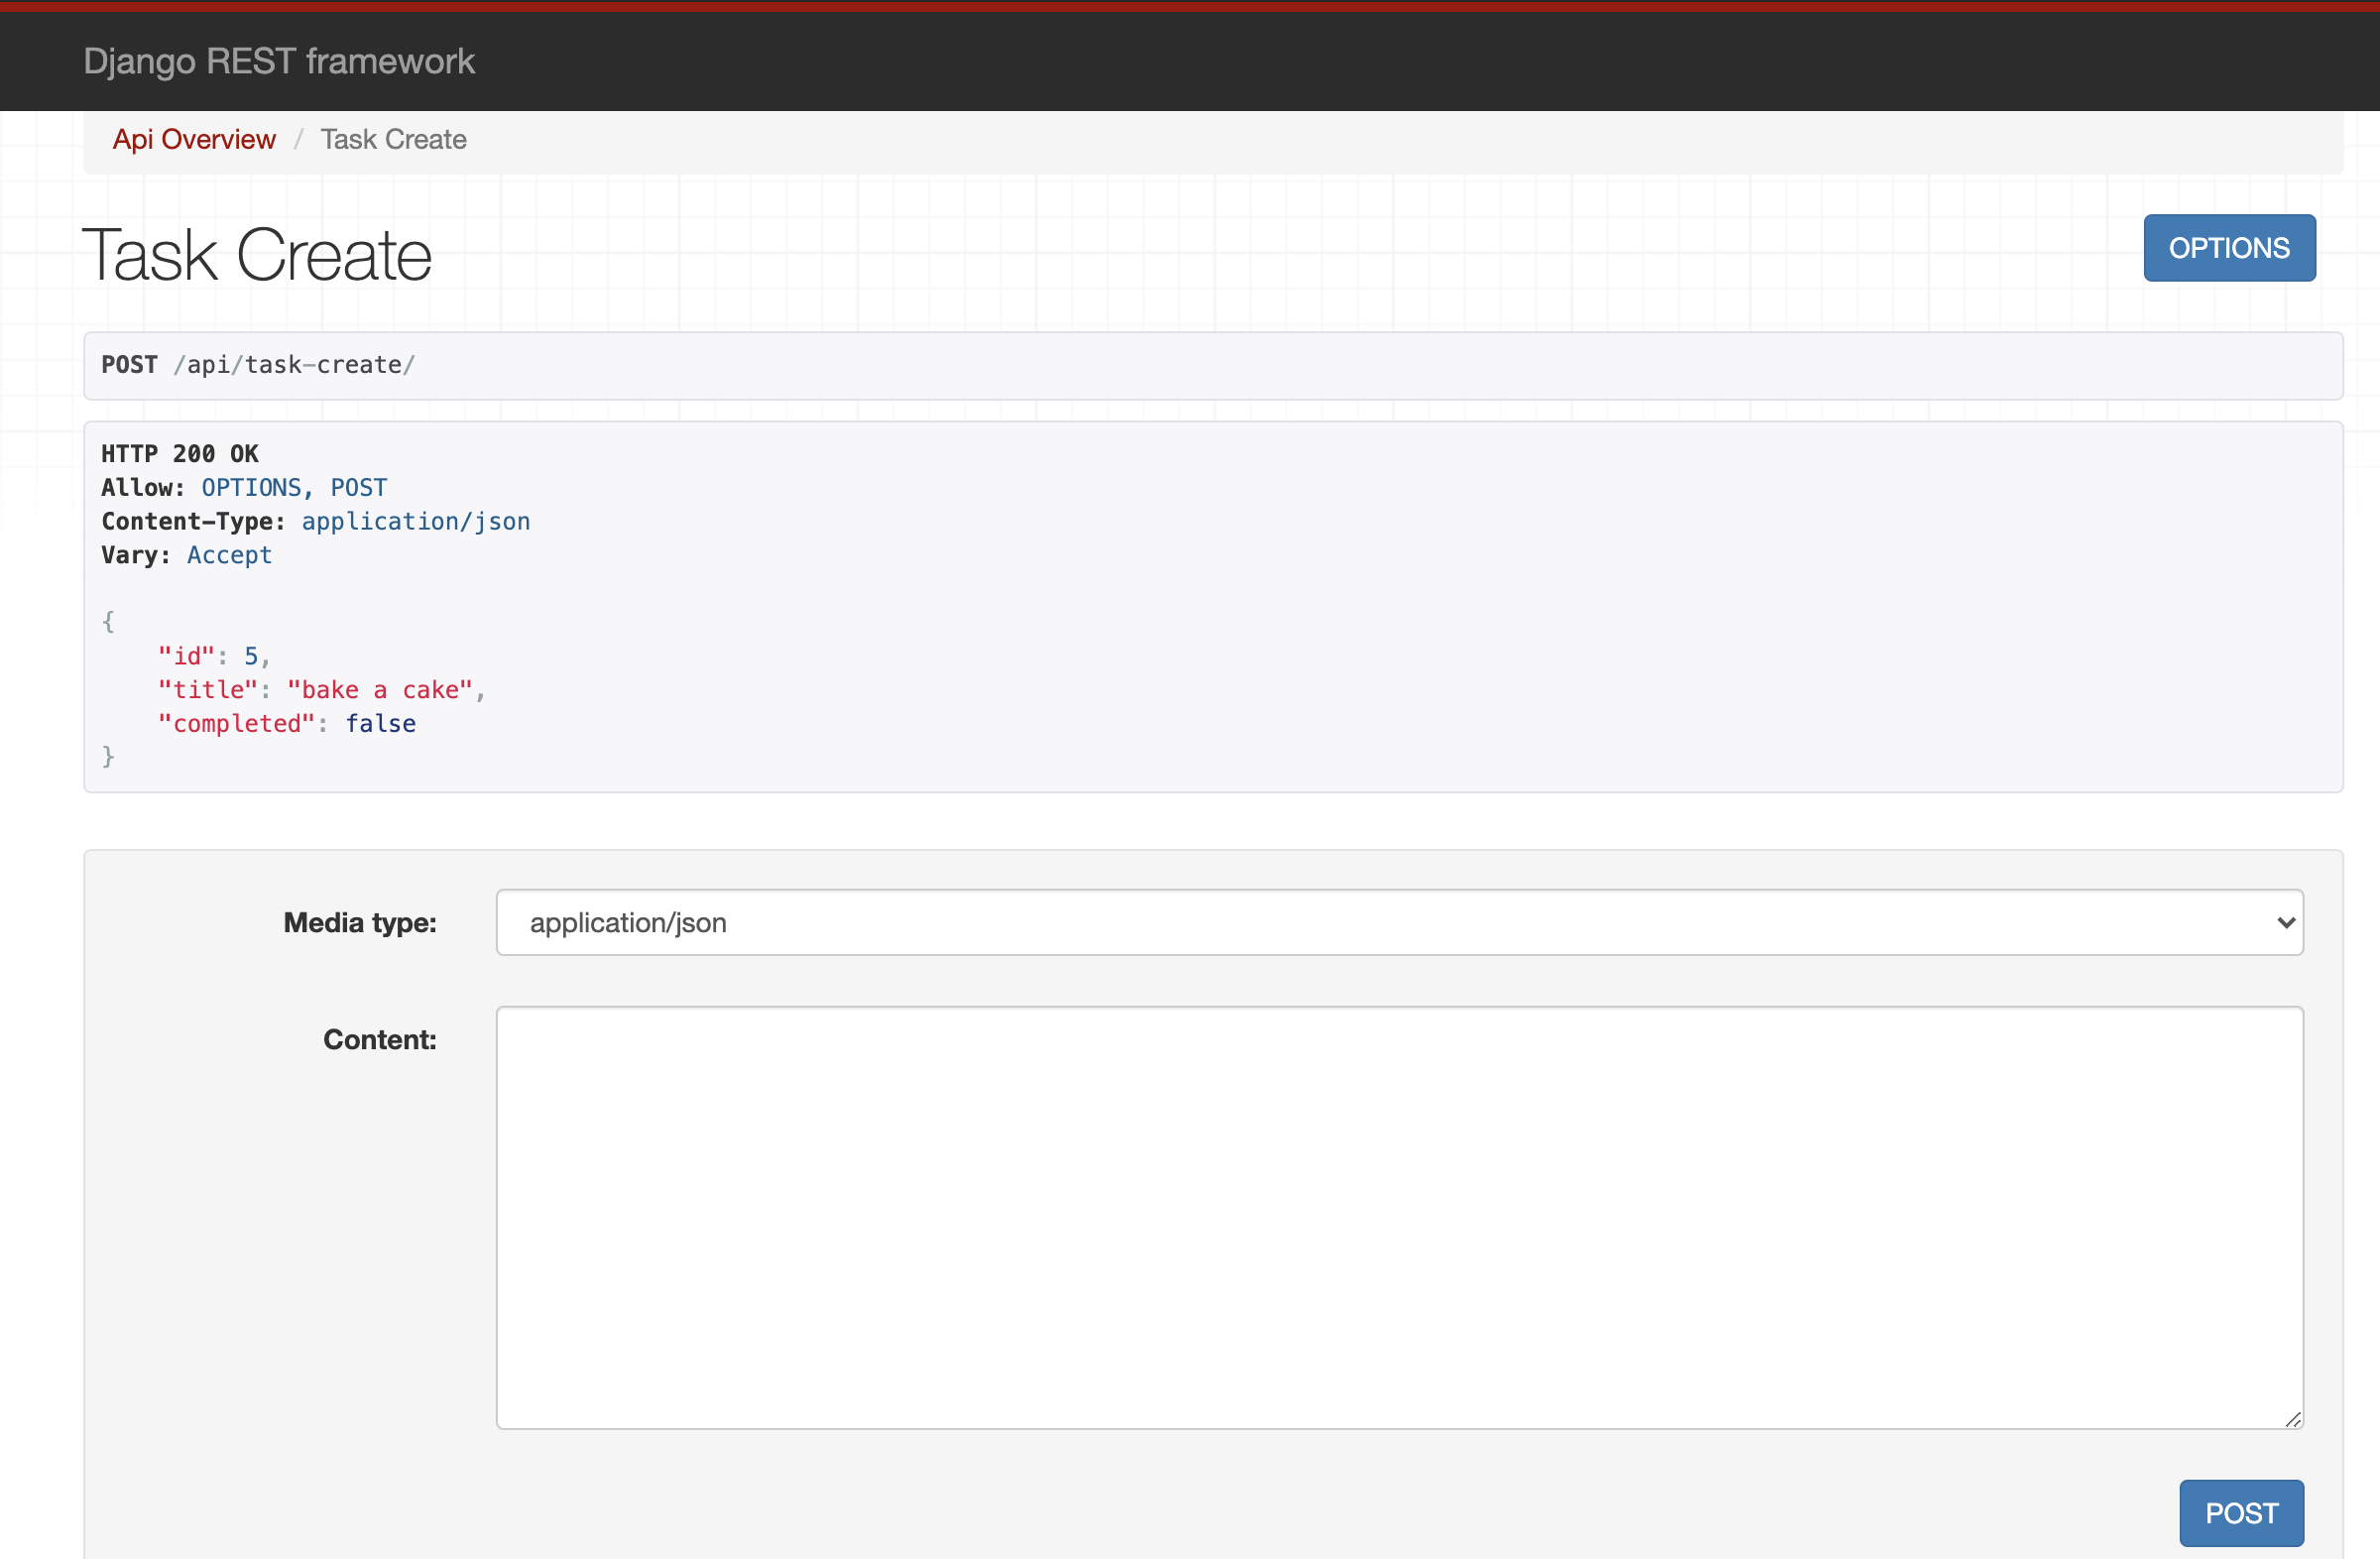
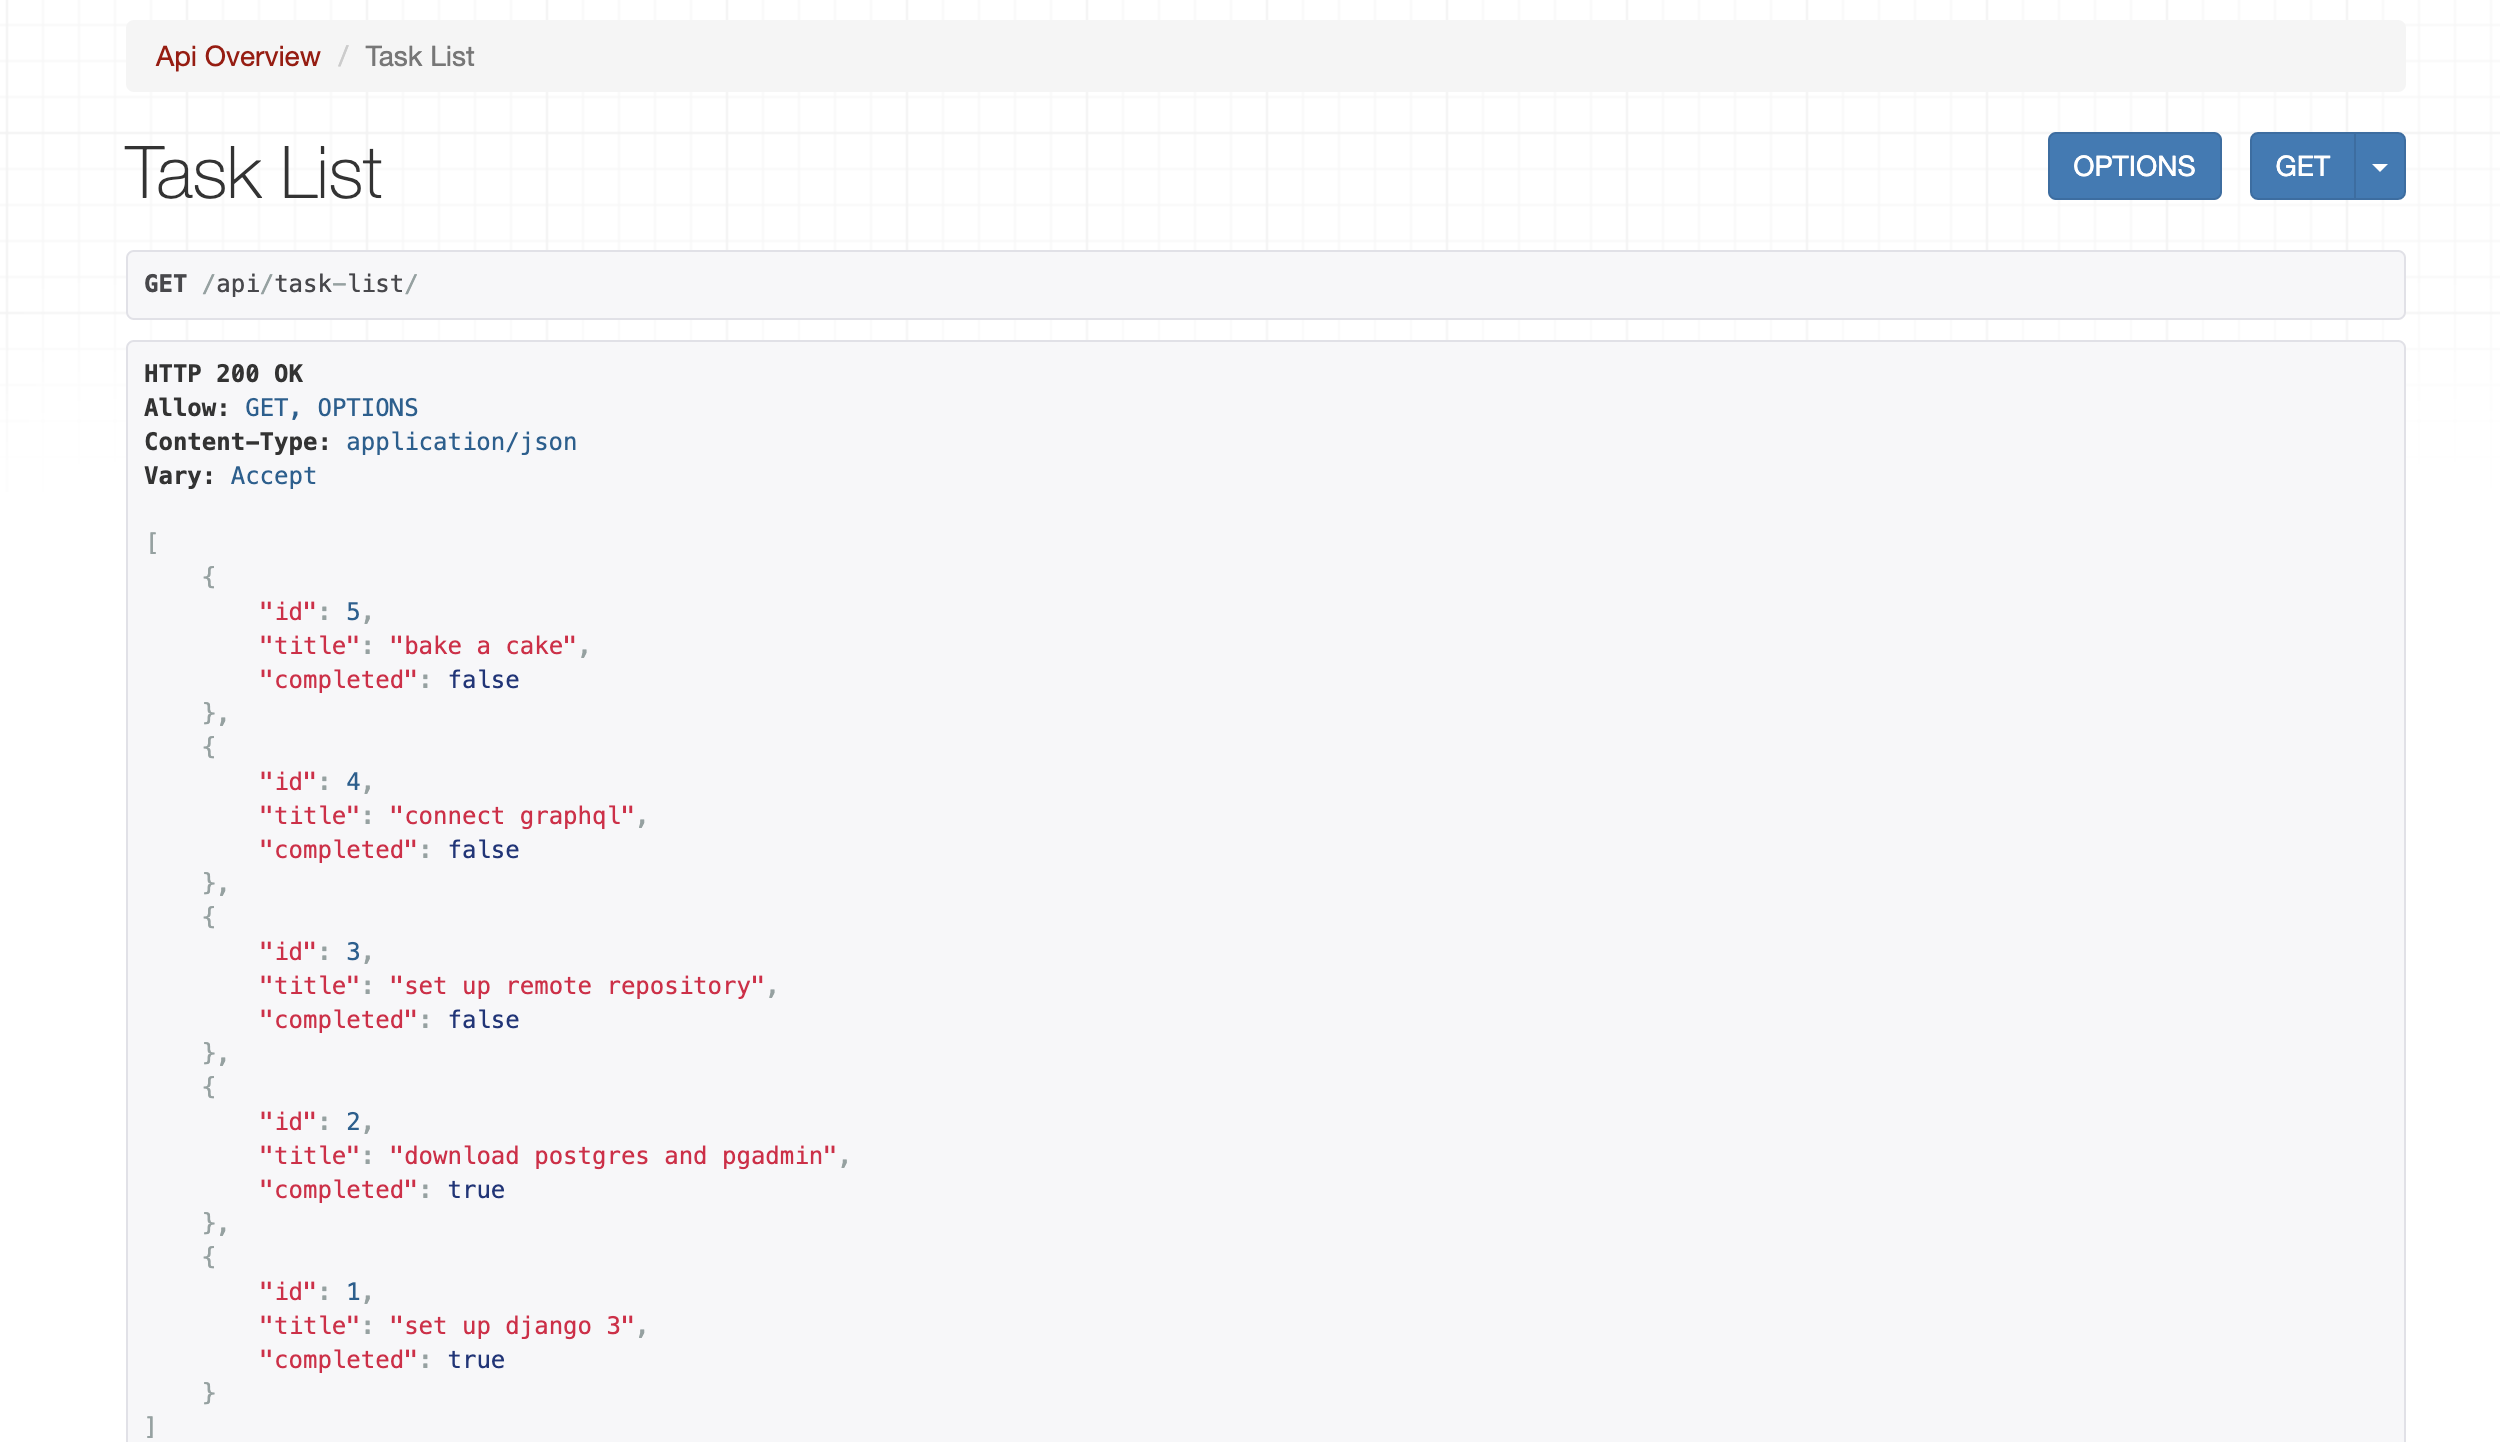
Under the /api path there is a list of available urls for all CRUD operations, try it out.
Use format:
{
    "title": "Your task title",
    "completed": Boolean
}
There is something called a signal in Django, which is a way to send out events. Here it is used like middleware for your model changes, which are automatically triggered methods for before or after you save a task (model).
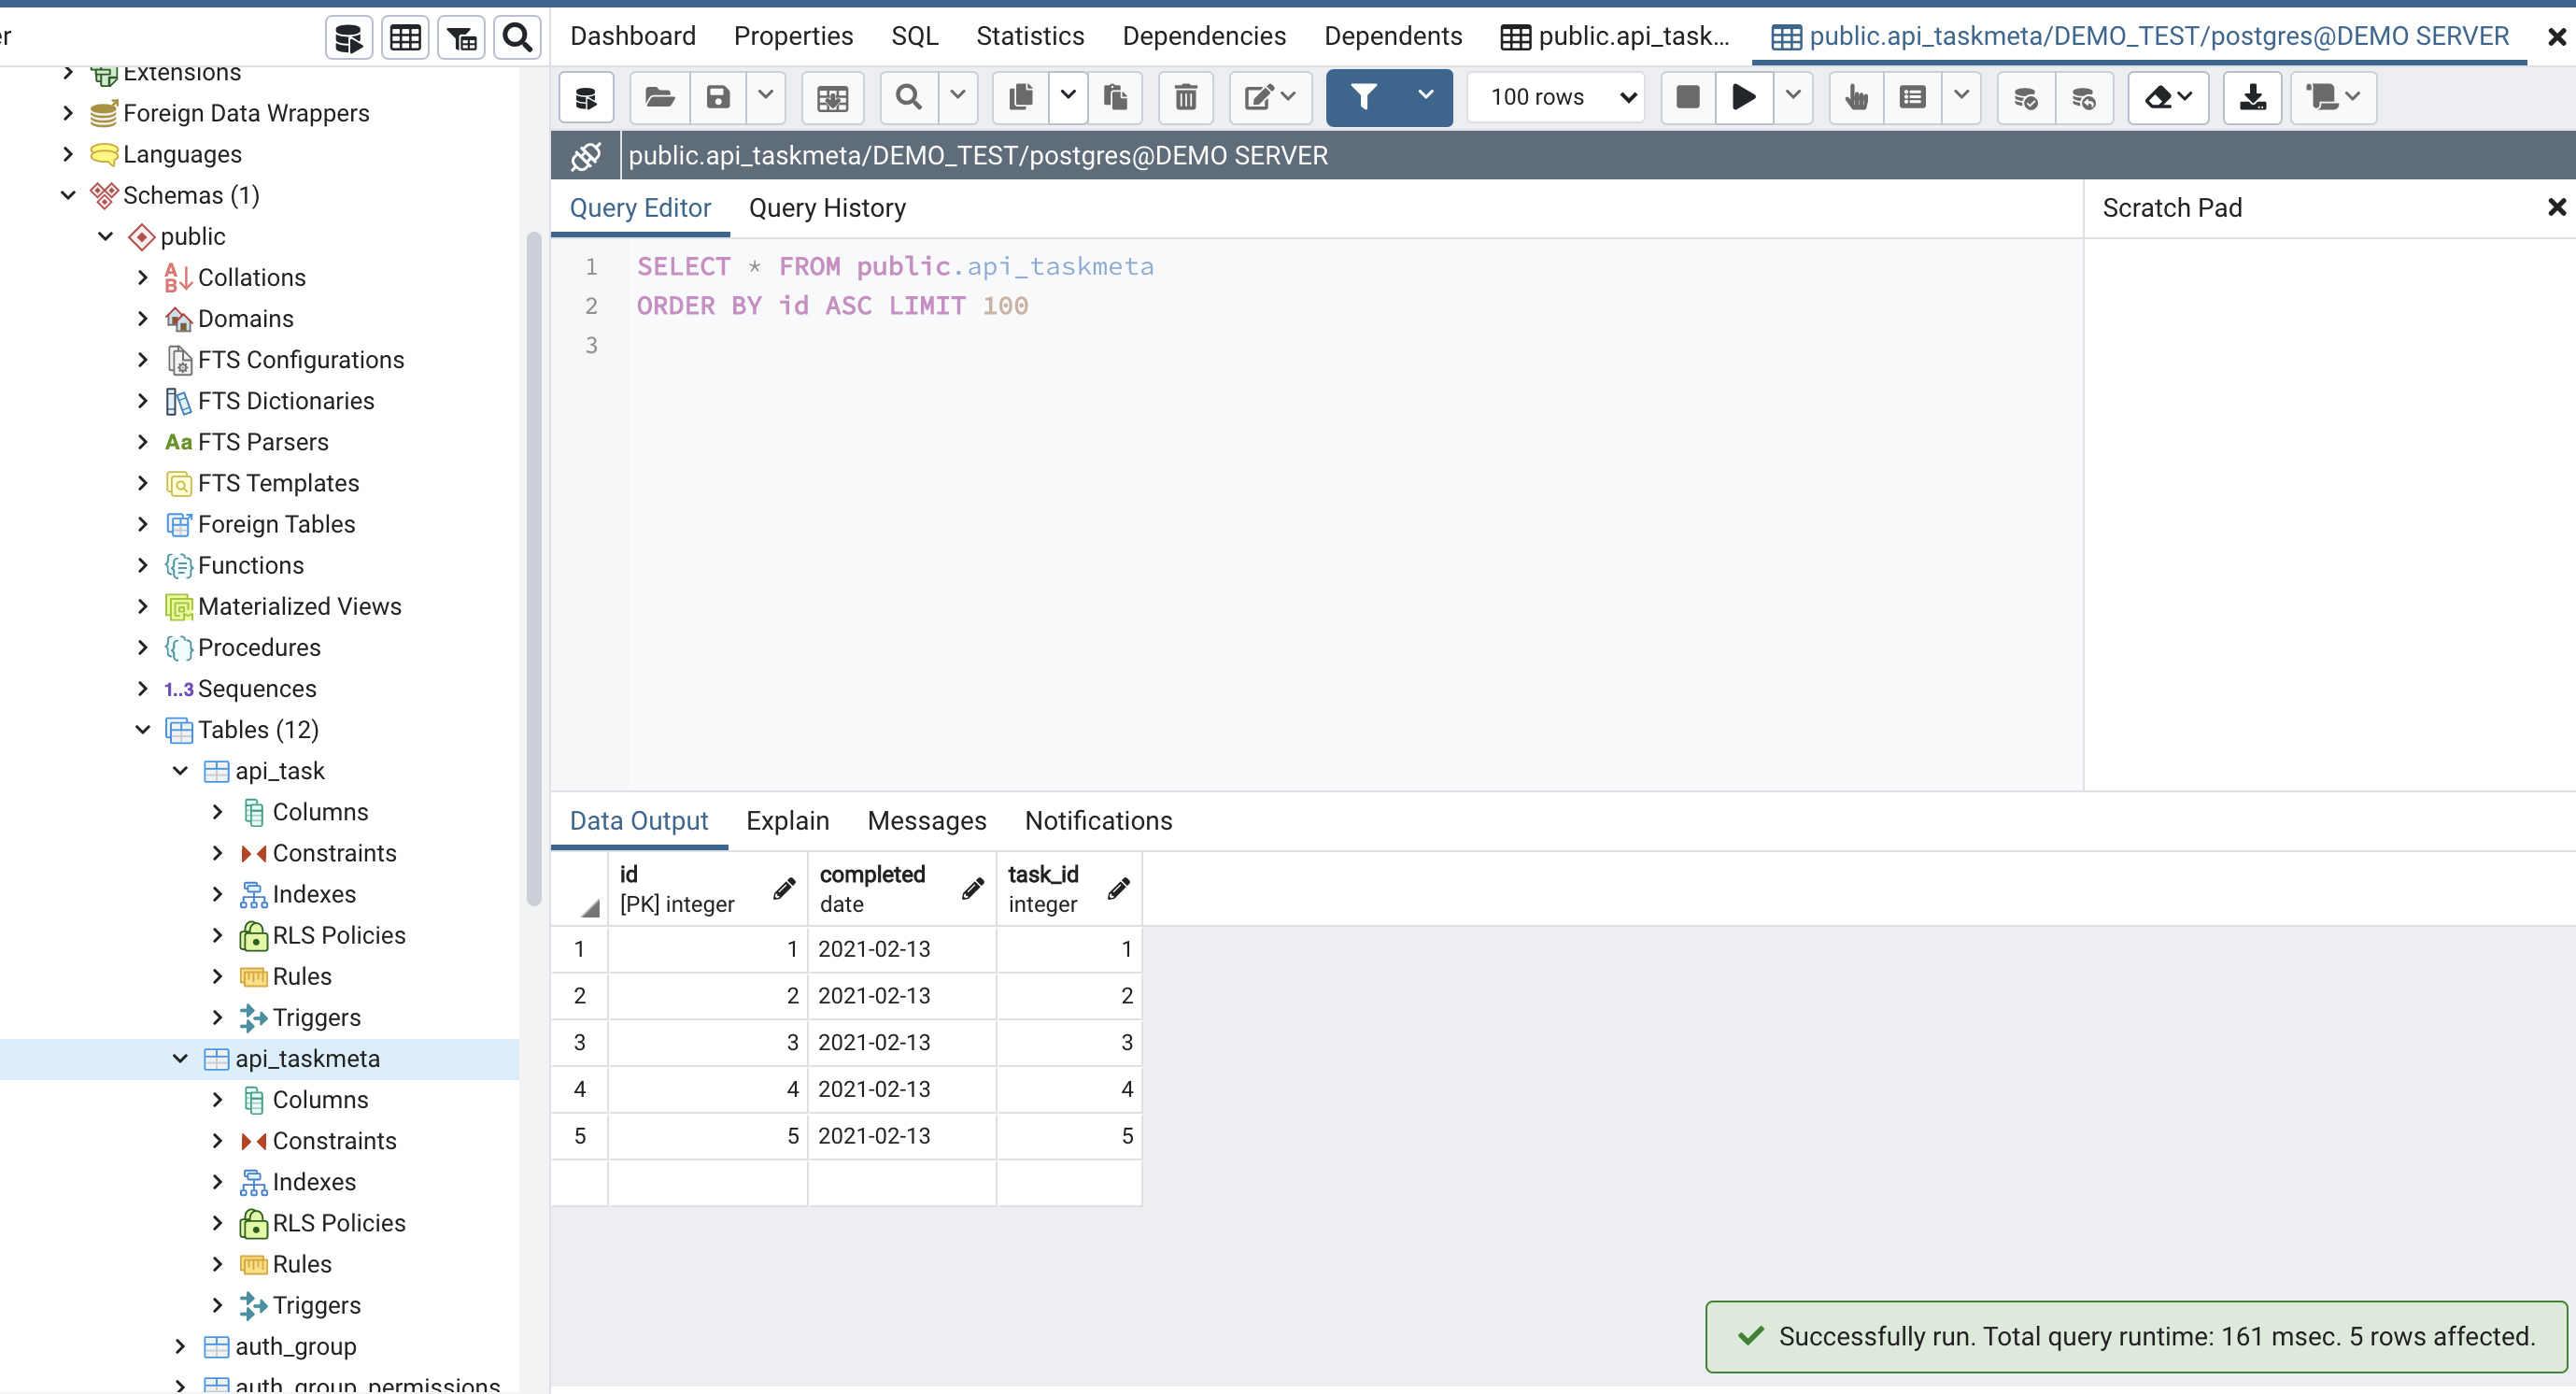
The signal used here is a 'task meta' model that is automatically created for every task created. (see /api/models.py)
A more realistic use case would be to automatically create a 'User Profile' whenever a 'User' is created.
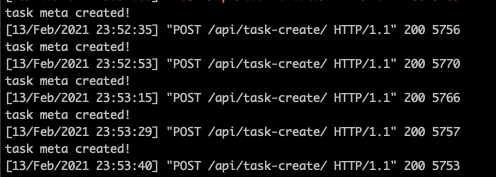
log of task-meta being created whenenver a task is added in the view:
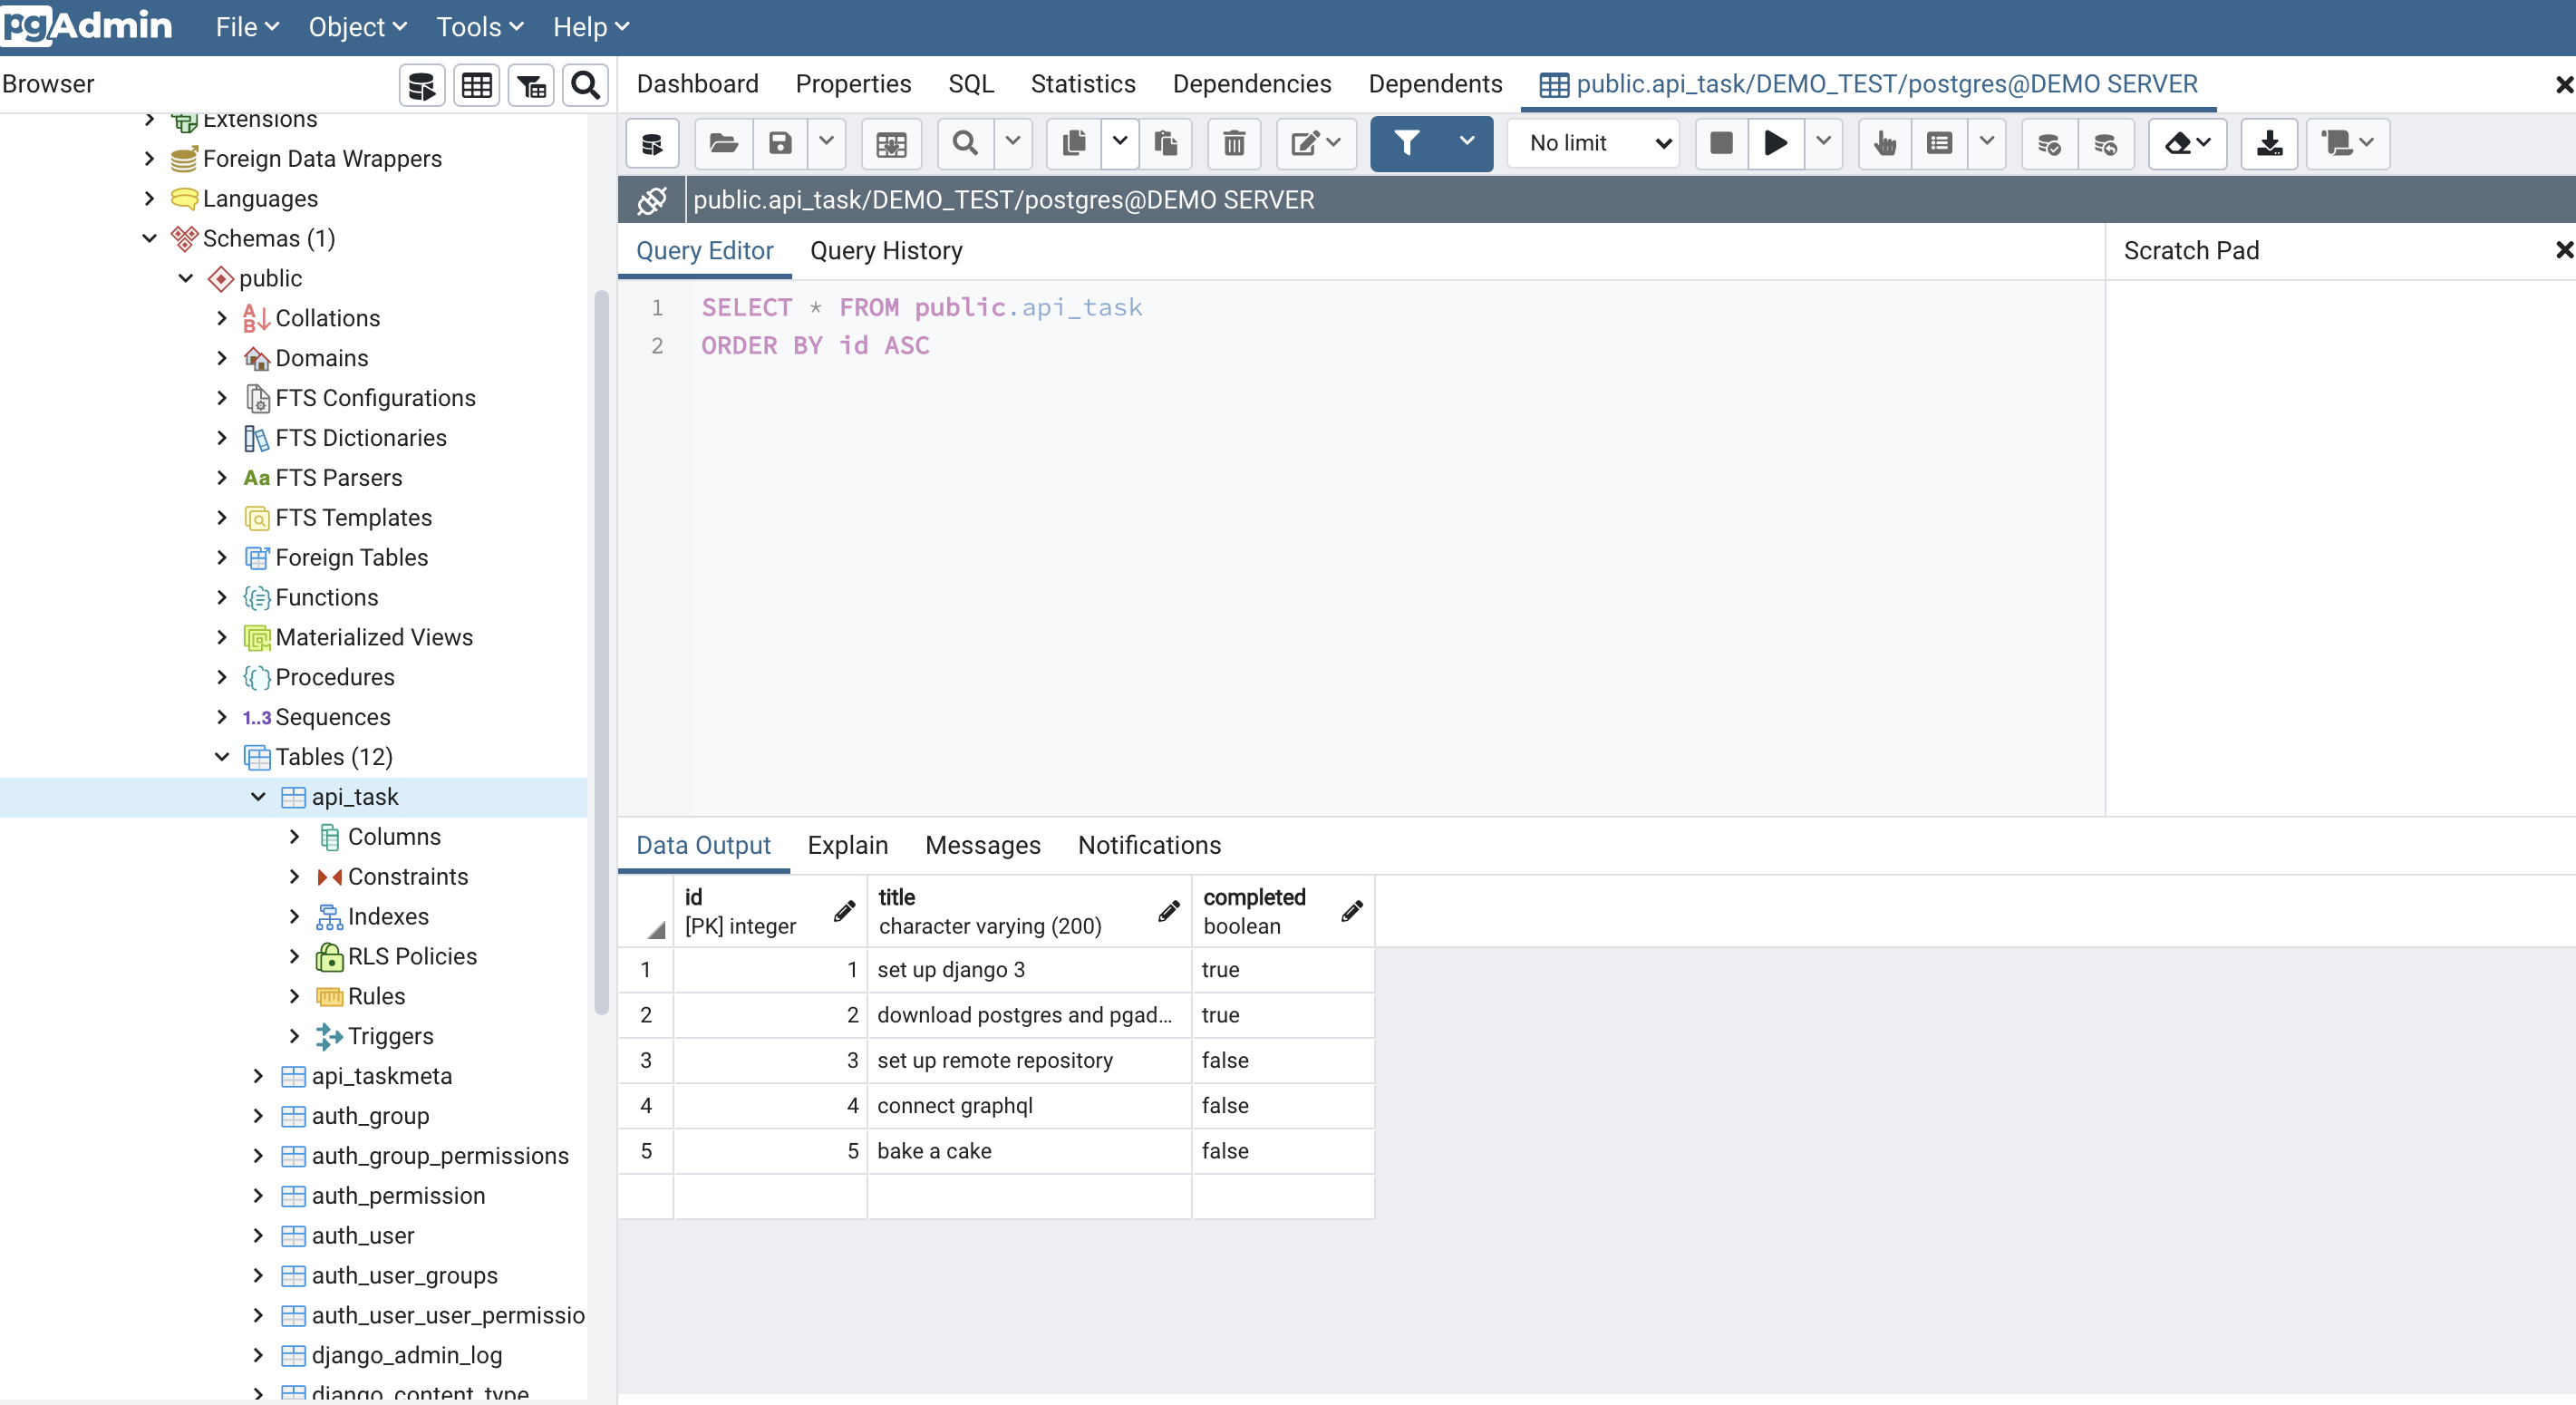
Once a few rows are populated, check pgadmin for updated rows:
- convert the 'view' urls to REST-only
- investigate SQL or noSQL
Project is based on this series, refer to this for clarification.
