Before using this sample familiarize yourself with Miro's Developer Platform. Visit the Miro Developer Platform documentation (https://developers.miro.com/docs) to learn about the available APIs, SDKs, and other resources that can help you build your app.
This sample demonstrates the deployment of a Miro App on AWS using the AWS Cloud Development Kit (CDK).
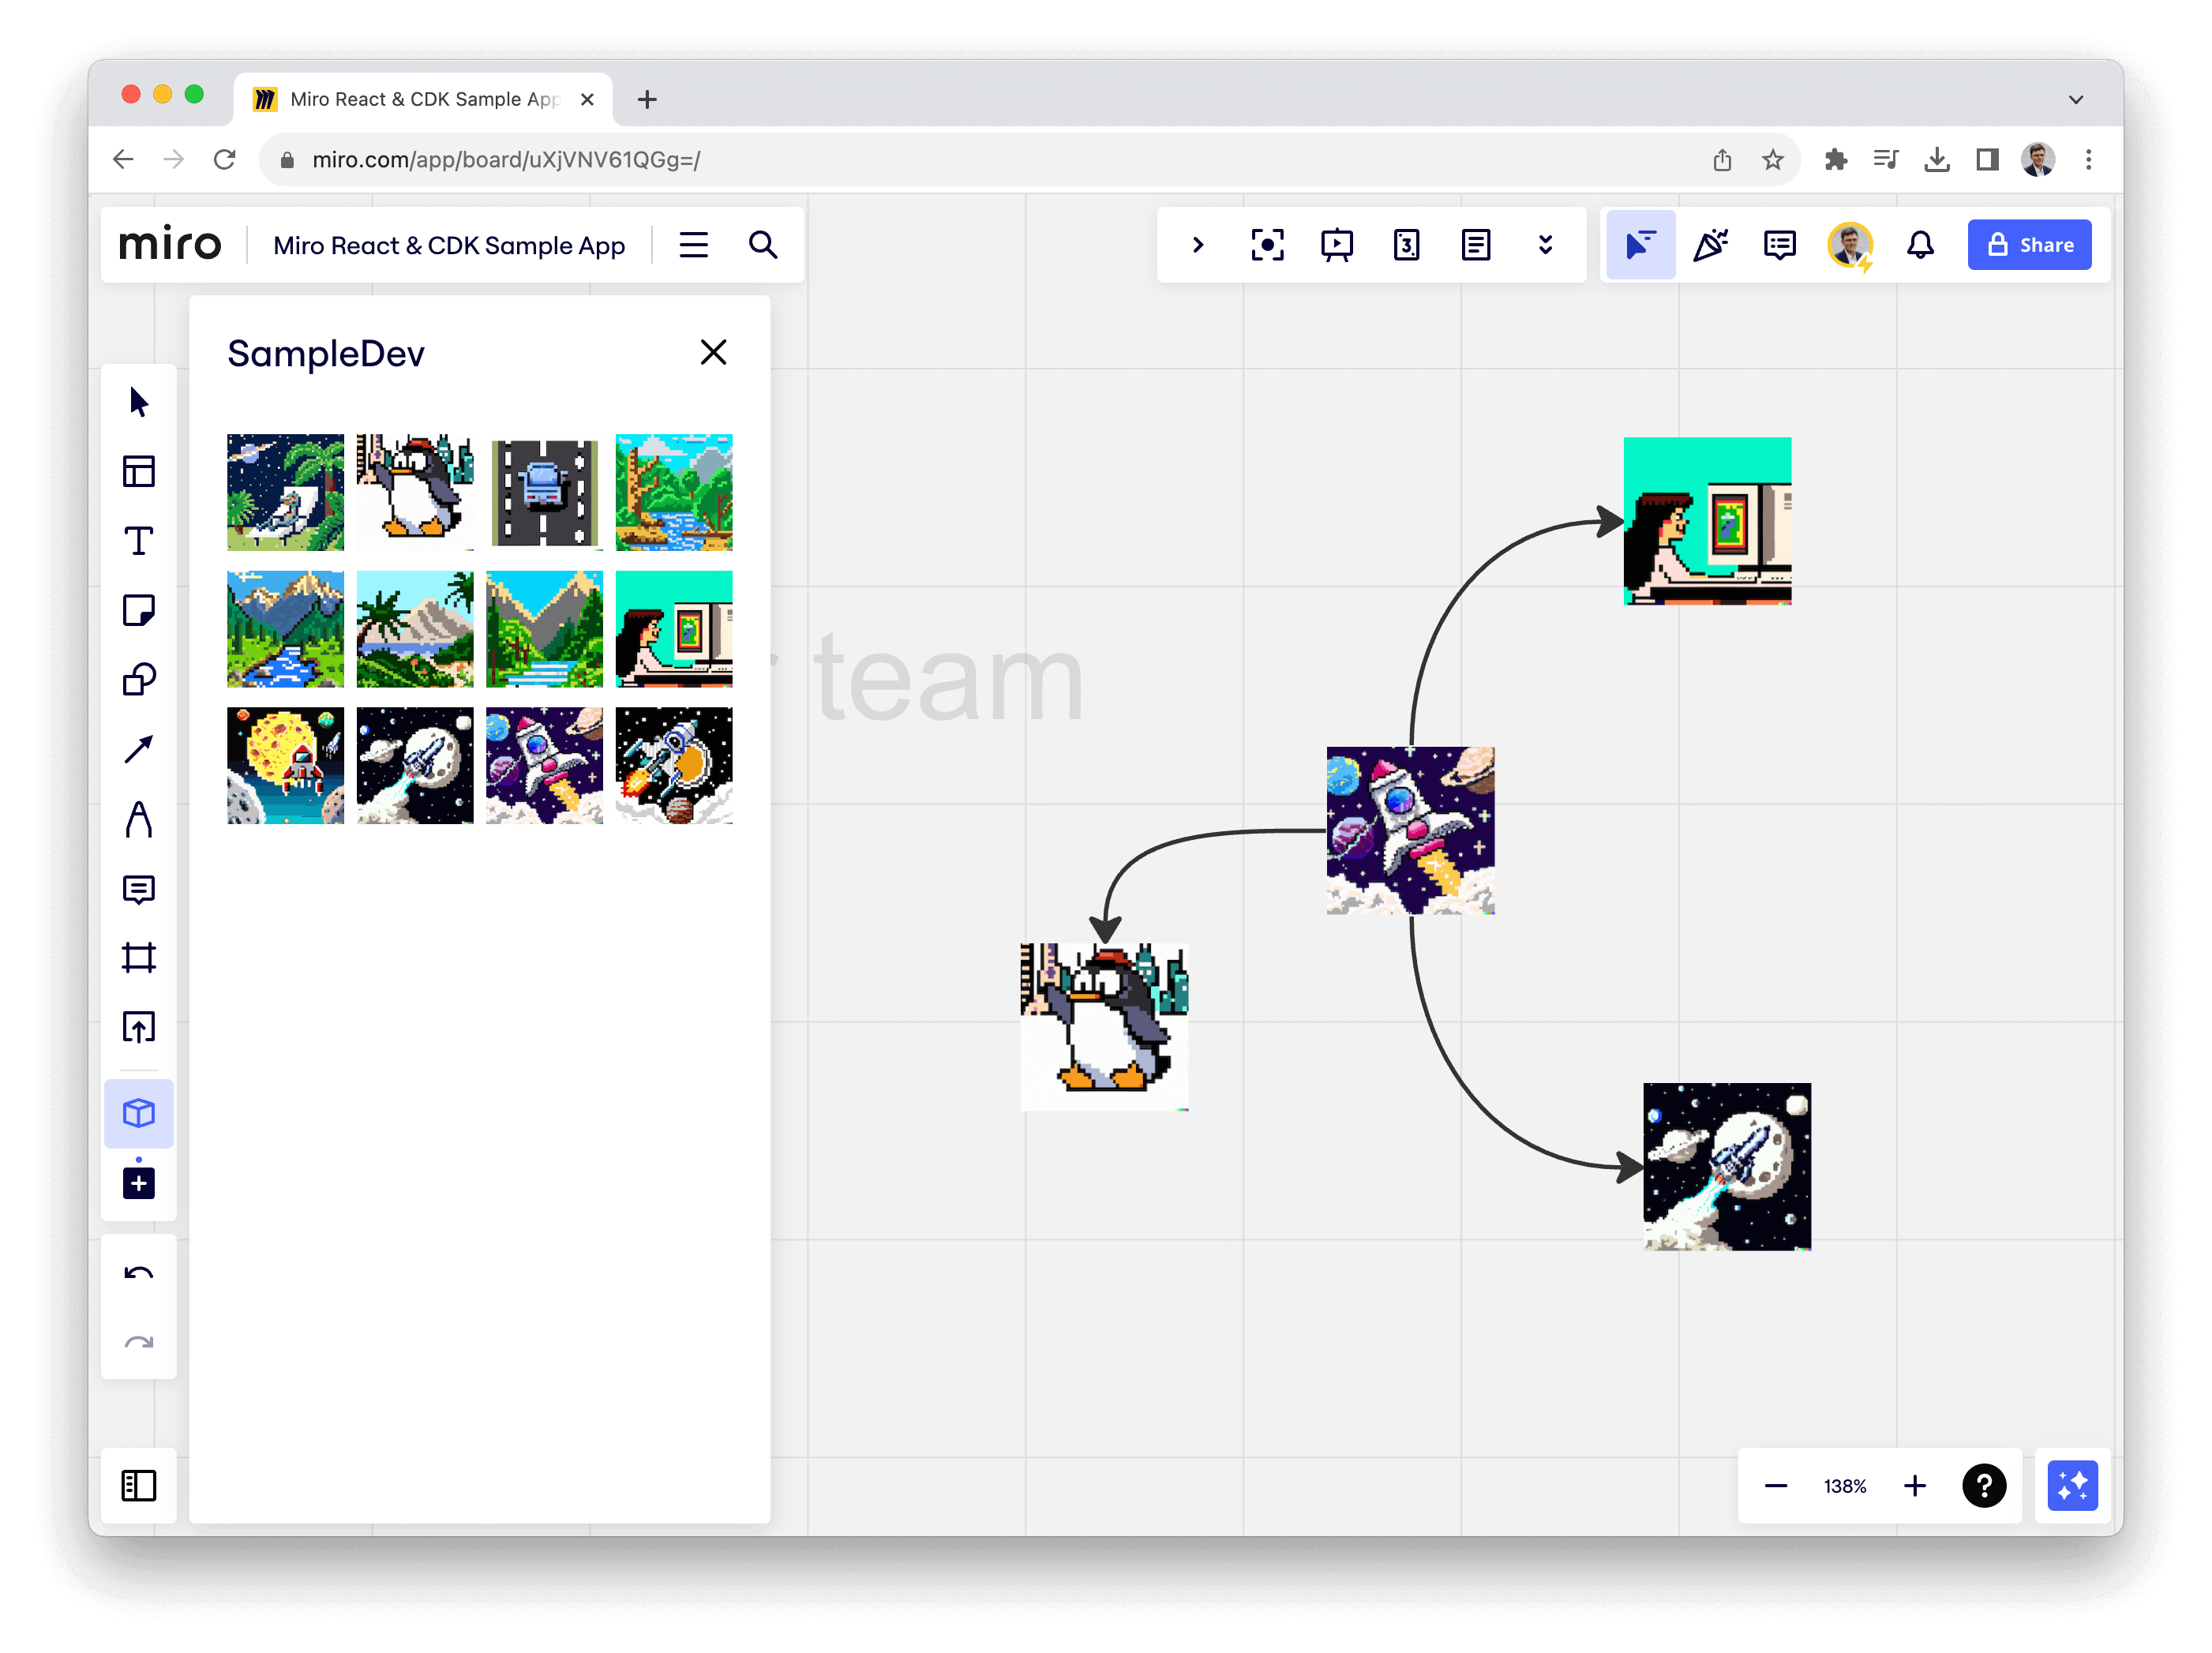
It features a React app that enables users to add shapes to the Miro board, take notes on those shapes, and summarize these notes with Amazon Bedrock.
The sample utilizes Amazon CloudFront and Amazon API Gateway with a custom Lambda authorizer that allows the retrieval of Miro user IDs on the backend.
We recommend deploying with AWS Cloud9. If you'd like to use Cloud9 to deploy the solution, you will need the following before proceeding:
- use
Ubuntu Server 22.04 LTSas the platform.
If you'd like to use GitHub Codespaces to deploy the solution, you will need the following before proceeding:
- An AWS account
- An IAM User with:
AdministratorAccesspolicy granted to your user (for production, we recommend restricting access as needed)- Take note of
Access keyandSecret access key.
To get started, click on the button below.
Once in the Codespaces terminal, set up the AWS Credentials by running
aws configureAWS Access Key ID [None]: <the access key from the IAM user generated above>
AWS Secret Access Key [None]: <the secret access key from the IAM user generated above>
Default region name: <the region you plan to deploy the solution to>
Default output format: jsonYou are all set for deployment; you can now jump to deployment.
If you have decided not to use AWS Cloud9 or GitHub Codespaces, verify that your environment satisfies the following prerequisites:
You have:
- An AWS account
AdministratorAccesspolicy granted to your AWS account (for production, we recommend restricting access as needed)- Both console and programmatic access
- NodeJS 18 installed
- If you are using
nvmyou can run the following before proceeding -
nvm install 18 && nvm use 18
- If you are using
- AWS CLI installed and configured to use with your AWS account
- Typescript 3.8+ installed
- AWS CDK CLI installed
- Docker installed
- N.B.
buildxis also required. For Windows and macOSbuildxis included in Docker Desktop
- N.B.
- Clone the repository
git clone https://github.com/aws-samples/miro-react-cdk-sample- Move into the cloned repository
cd miro-react-cdk-sample3. Install the project dependencies by running this command
npm install- (Optional) Bootstrap AWS CDK on the target account and region
Note: This is required if you have never used AWS CDK on this account and region combination. (More information on CDK bootstrapping).
npx cdk bootstrap aws://{targetAccountId}/{targetRegion}You can now deploy by running:
npx cdk deployNote: This step duration can vary greatly, depending on the Constructs you are deploying.
You can view the progress of your CDK deployment in the CloudFormation console in the selected region.
- Once deployed, take note of the
DomainNameand, theSecretNamethat will hold theClient secretthat you should get from the Miro App.
...
Outputs:
MiroAppStack.DomainName = https://dxxxxxxxxxxxxx.cloudfront.net
MiroAppStack.SecretName = MiroAppSecretXXXXXXXX-XXXXXXXXXXXX
...Base Models Access
This sample uses anthropic.claude-instant-v1 model from Amazon Bedrock in us-east-1. You can change the model and the region in bin/miro-app.ts.
new MiroAppStack(app, "MiroAppStack", {
  bedrockRegion: "us-east-1",
  bedrockModelId: "anthropic.claude-instant-v1",
});
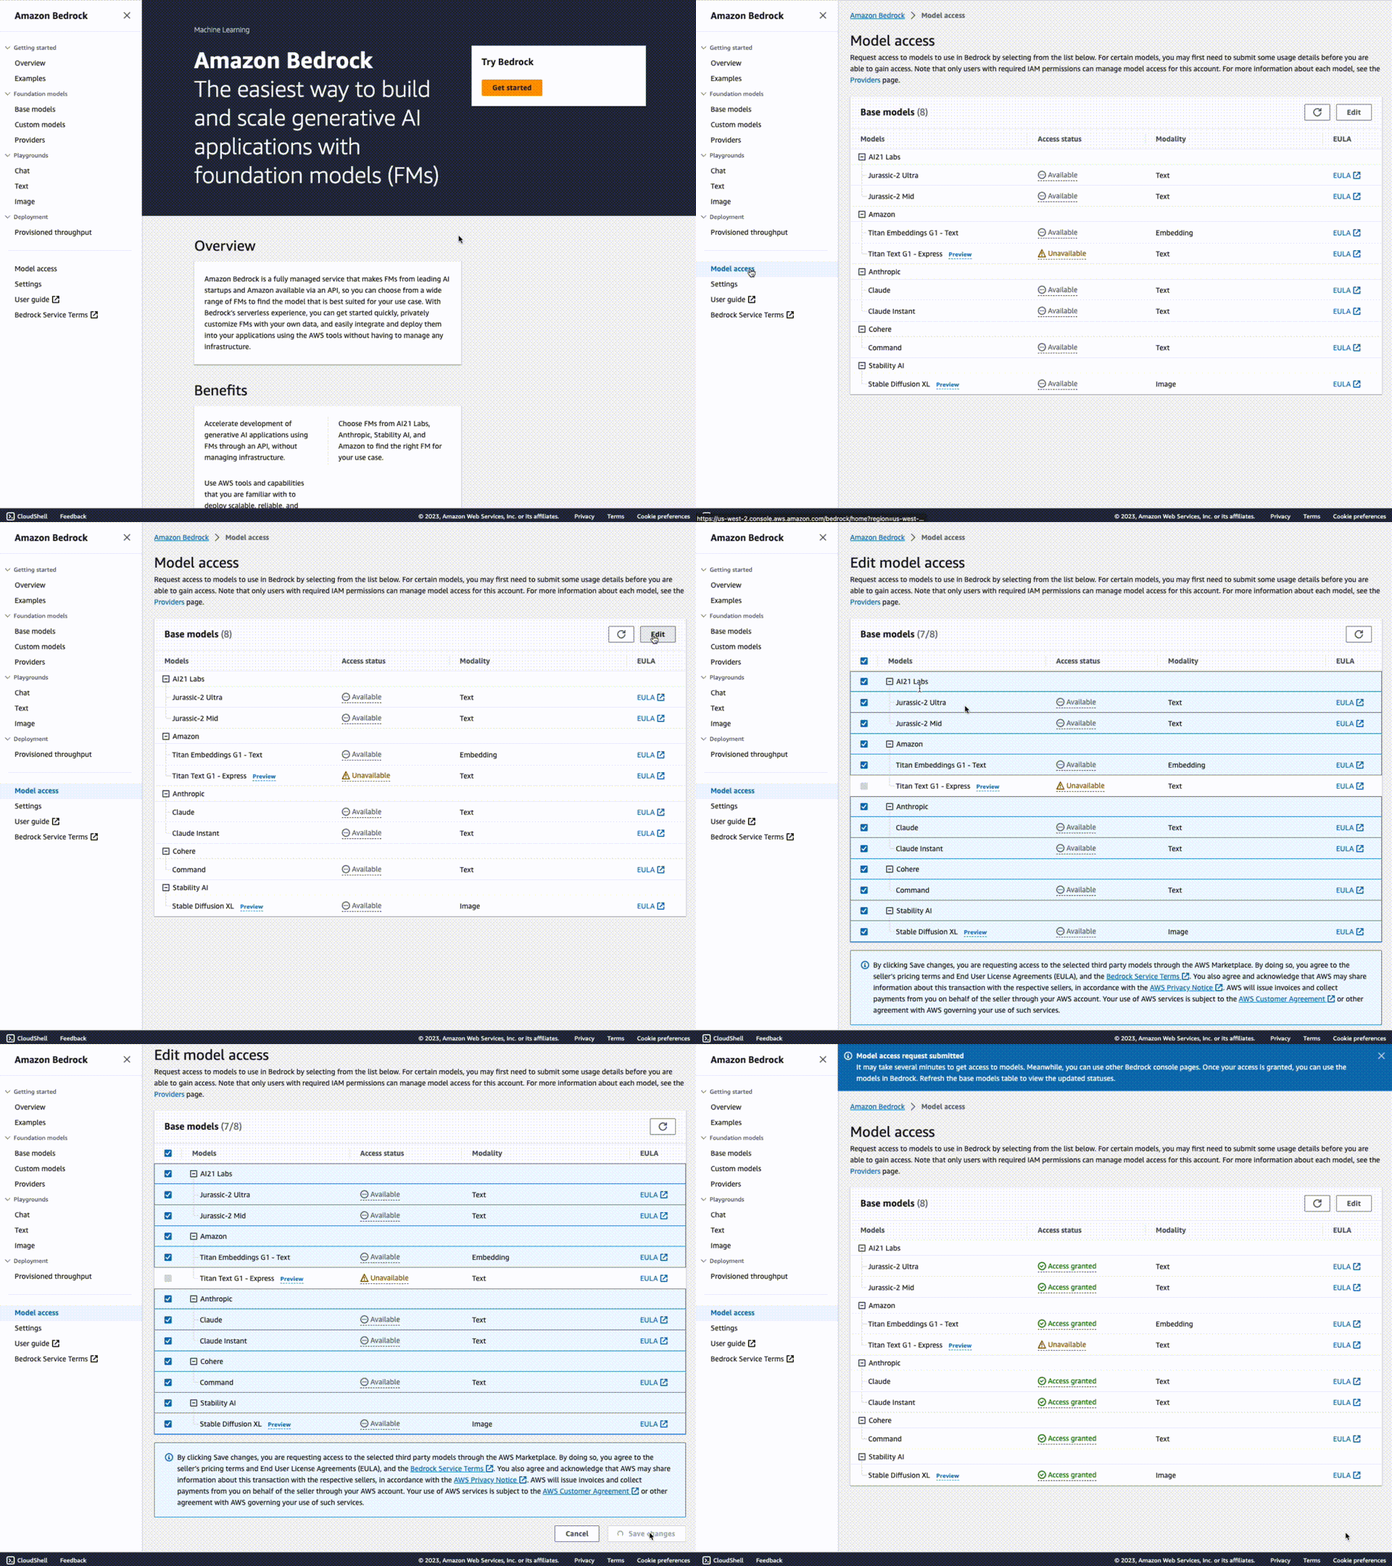
You you need to request access to the base models in one of the regions where Amazon Bedrock is available. Make sure to read and accept models' end-user license agreements or EULA.
Note:
- You can deploy the solution to a different region from where you requested Base Model access.
- While the Base Model access approval is instant, it might take several minutes to get access and see the list of models in the UI.
1. Create Miro Developer Team
💡 If you already have Miro Developer Team in you account, skip this step.
2. Go to the Miro App management Dashboard (https://miro.com/app/settings/user-profile/apps/)
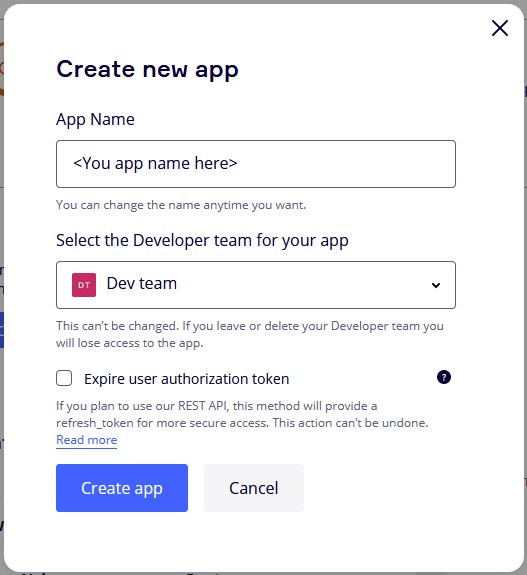
and click Create new app.
 Fill in the necessary information about your app, such as its name, select Developer team. Note: you don't need to check the "Expire user authorization token" checkbox. Click
 Create app to create your app.
Set App URL of the newly created app to the value of MiroAppStack.DomainName
Grant the following permissions to the app.
boards:read
boards:write
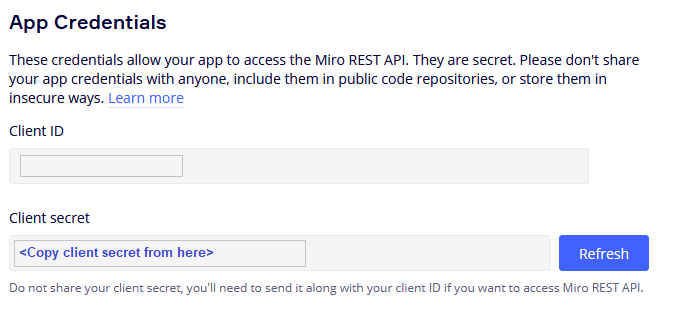
Copy the Client secret of newly created app and add it to the AWS Secrets Manager secret MiroAppStack.SecretName that you've got on the deployment step. This will authorise the app to call the backend.
- Go to AWS Secrets Manager
- Open your secret
- Go to
Secret value - Click
Editbutton - Edit secret as Plaintext
Insert the following JSON into the secret field and save it.
{
  "clientSecrets": ["YOUR_APP_SECRET"]
}Return to the Miro Developer Dashboard, click the "More apps" icon on the application bar, locate the app you just installed in the list, and begin working with it.
After deployment, to run the application locally, set VITE_API_BASE in the react-app/.env.development file to the MiroAppStack.DomainName you received in the previous stage. For example:
VITE_API_BASE=https://dxxxxxxxxxxxxx.cloudfront.netThis will configure your local version to use the backend hosted in the cloud. Also you now need to create dev app in Miro.
Create a new app within Miro and set the App URL to http://localhost:3000.
Grant the following permissions to the app.
boards:read
boards:write
Copy the Client secret of newly created app and add it to the AWS Secrets Manager secret MiroAppStack.SecretName that you've got on the deployment step. As a result, the backend will trust both applications.
{
  "clientSecrets": ["PRODUCTION_APP_SECRET", "DEV_APP_SECRET"]
}
Now you can run app locally and test it on your Miro board. To run a React app locally, execute the following commands:
cd react-app
npm run devYou can remove the stacks and all the associated resources created in your AWS account by running the following command:
npx cdk destroyThis library is licensed under the MIT-0 License. See the LICENSE file.
- Changelog of the project.
- License of the project.
- Code of Conduct of the project.
- CONTRIBUTING for more information.


