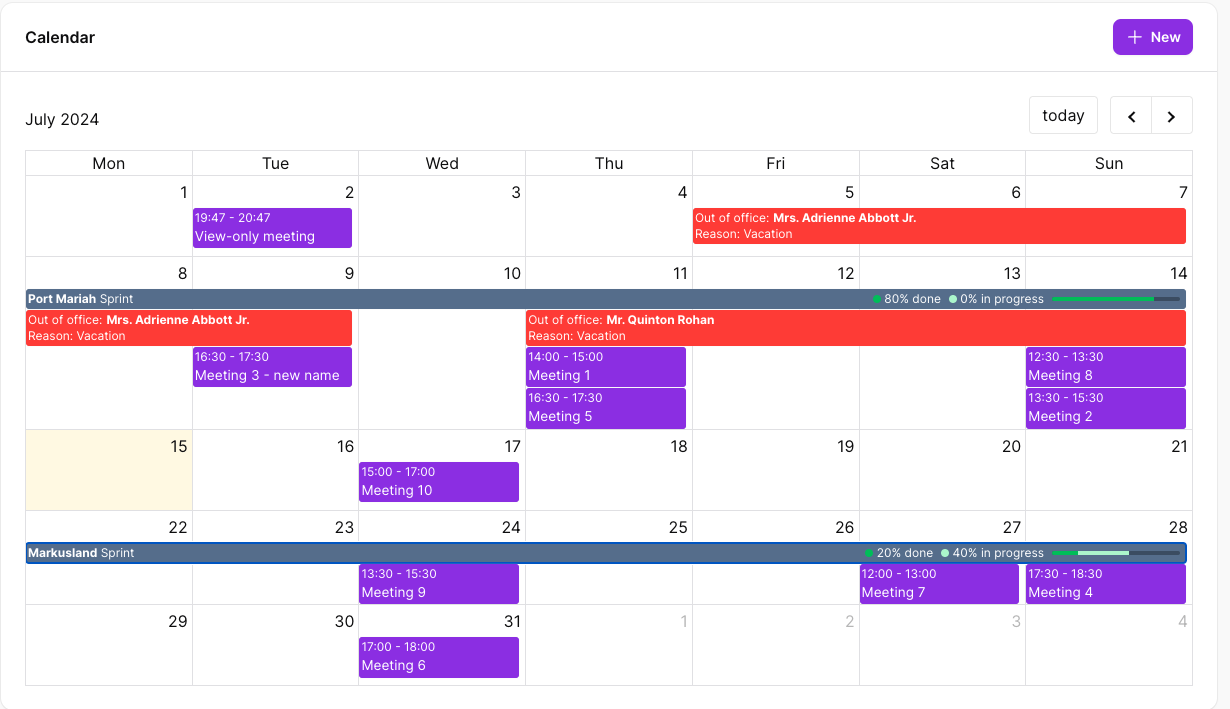
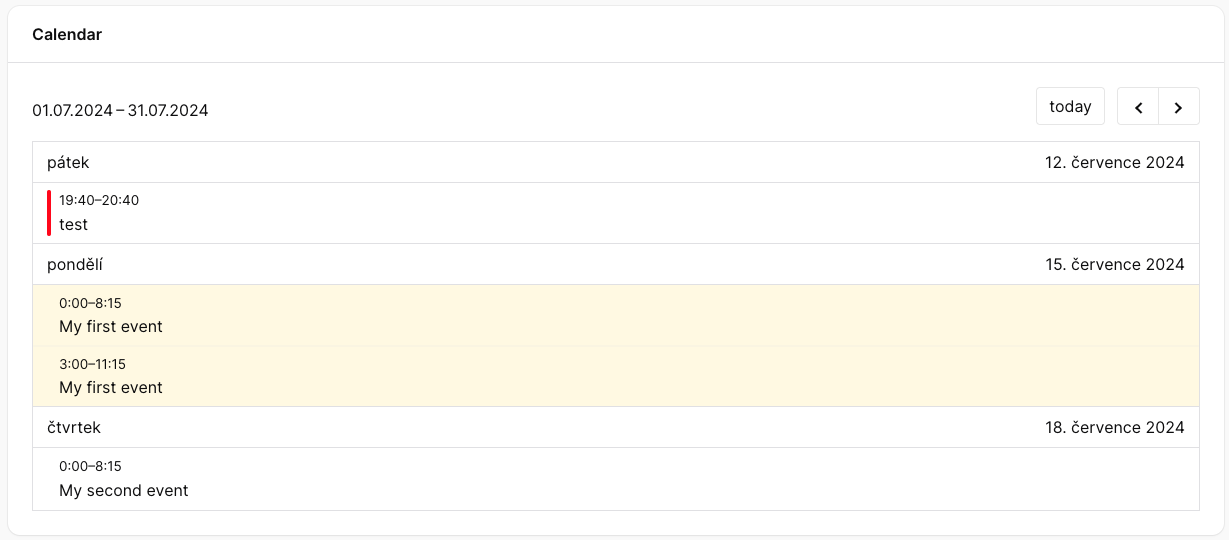
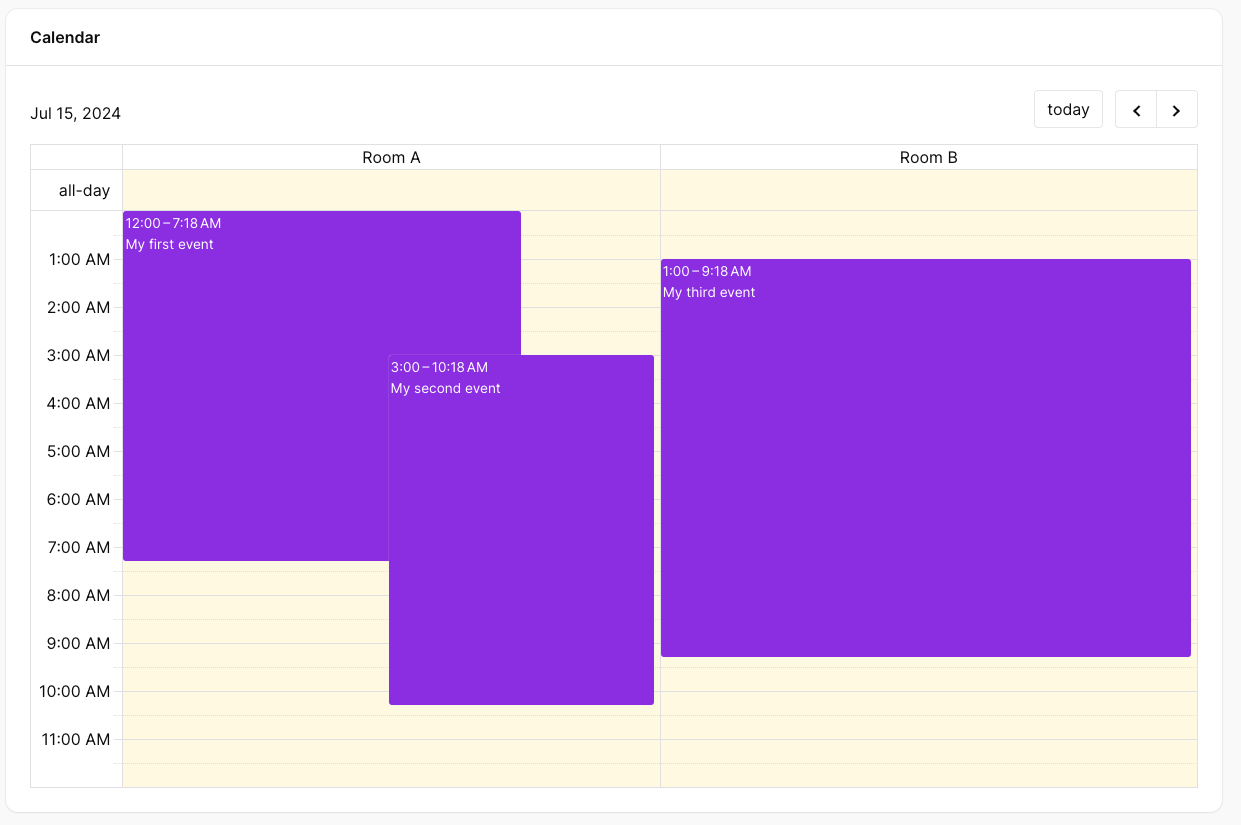
This package adds support for vkurko/calendar (free, open-source alternative to FullCalendar) to your FilamentPHP panels.
Screen.Recording.2024-07-15.at.9.31.47.mp4
Your support is key to the continual advancement of our plugin. We appreciate every user who has contributed to our journey so far.
While our plugin is available for all to use, if you are utilizing it for commercial purposes and believe it adds significant value to your business, we kindly ask you to consider supporting us through GitHub Sponsors. This sponsorship will assist us in continuous development and maintenance to keep our plugin robust and up-to-date. Any amount you contribute will greatly help towards reaching our goals. Join us in making this plugin even better and driving further innovation.
You can install the package via composer:
composer require guava/calendarFirst you need to create a custom widget and extend the CalendarWidget class. Make sure to remove the view property from the generated widget class!
Either use the artisan command or simply create an empty class and extend CalendarWidget:
php artisan filament:make-widgetThe widget class should look like this:
use \Guava\Calendar\Widgets\CalendarWidget;

class MyCalendarWidget extends CalendarWidget
{
}
Add the widget like a regular widget to any filament page you like, such as your Dashboard.
By default, we show the dayGridMonth view. You can customize the view by overriding the calendarView property on the widget class:
protected string $calendarView = 'resourceTimeGridWeek';All available views are listed in the calendar documentation.
By default, the calendar will be empty. To add events, simply override the getEvents method:
public function getEvents(): Collection|array
    {
        return [
            // Chainable object-oriented variant
            Event::make()
                ->title('My first event')
                ->start(today())
                ->end(today()),

            // Array variant
            ['title' => 'My second event', 'start' => today()->addDays(3), 'end' => today()->addDays(3)],

            // Eloquent model implementing the `Eventable` interface
            MyEvent::find(1),
        ];
}As shown in the example, there are multiple ways to create events. At the very least, an array object with a title, start and end properties is required.
To help you with creating events, we provide an Event ValueObject which contains methods with all available properties an event can have.
This is possible because the Event clas implements the Eventable interface, which returns the array object. You can add this interface to any class you want which should be treated as an event, such as your eloquent models.
Here is an example:
class Foo extends Model implements Eventable
{
    // ...

    public function toEvent(): Event|array {
        return Event::make($this)
            ->title($this->name)
            ->start($this->starts_at)
            ->end($this->ends_at);
    }
}
Notice that the model is passed to the Event constructor in the make method. This sets the key and model properties to the event object, so it can be used to trigger actions.
The event object takes all available options like the underlying calendar package, for more info read here.
Below is a list of available methods on the event object:
Sets the title of the event that is rendered in the calendar.
Event::make()->title('My event');Sets the start or end date (and time) of the event in the calendar.
Event::make()
    ->start(today())
->end(today()->addDays(3));Sets whether the event is an all-day event or not.
Event::make()->allDay();Sets the background color of the event (by default it is the primary color of the panel).
Event::make()
->backgroundColor('#ff0000')
->textColor('#ffffff');This sets the action that should be mounted when the event is clicked. It can be any name of a filament action you defined in your widget, such as edit or view.
By default, all CalendarWidget classes already include a view and edit action.
Event::make()->action('edit');To mount the action with the correct record, we need to pass the model type and primary key of the record.
The model is also required if you want to display multiple types of events and have each be rendered differently (see customizing event content).
$record = MyModel::find(1);
// 1. variant
Event::make($record);

// 2. variant
Event::make()
    ->model($record::class)
->key($record->getKey());You can pass any custom data to the event that you wish:
Event::make()
->extendedProp('foo', 'bar')
// or
->extendedProps(['baz' => 'qux', 'quux' => 'corge']);By default, we use the default view from the calendar package. However, you are able to use your own by overriding the getEventContent method on your calendar widget class.
Due to the nature of the calendar package, it currently is not possible to pass blade parameters to the view. However, each view is wrapped in an alpine component, which has access to the event data. You can use any alpine functionality to display the data any way you seem fit.
If you only have one type of events or events that render the same way, you can simply return a view or a HtmlString from the getEventContent method:
public function getEventContent(): null|string|array
{
    // return a blade view
    return view('calendar.event');

    // return a HtmlString
    return new HtmlString('<div>My event</div>');
}
Example of the calendar.event view blade file:
<div class="flex flex-col items-start">
    <span x-text="event.title"></span>
    <template x-for="user in event.extendedProps.users">
        <span x-text="user.name"></span>
    </template>
</div>
If you want to render events differently based on their model type, you can return an array like so:
public function getEventContent(): null|string|array
{
    return [
        MyModel::class => view('calendar.my-model-event'),
        AnotherModel::class => view('calendar.another-model-event'),
    ];
}When an event triggers an action (such as view or edit actions), a modal with a form is opened.
You can customize the form schema by overriding the getSchema method in your widget class:
public function getSchema(?string $model = null): ?array
{
    // If you only work with one model type, you can ignore the $model parameter and simply return a schema
    return [
        TextInput::make('title')
    ];

    // If you have multiple model types on your calendar, you can return different schemas based on the $model property
    return match($model) {
        Foo::class => [
            TextInput::make('name'),
        ],
        Bar::class => [
            TextInput::make('title'),
            TextArea::make('description'),
        ],
    }
}Resource views (their names start with resource) allow you to group events into resources (such as rooms, projects, etc.).
To use resource views, you need to create resources and assign your events to these resources.
To create resources, you need to override the getResources method on your calendar widget class. Just like events, there are three options you can choose from to create resources:
public function getResources(): Collection|array
{
    return [
        // Chainable object-oriented variant
        Resource::make('foo')
            ->title('Room 1'),

        // Array variant
        ['id' => 'bar', 'title' => 'Room 2'],

        // Eloquent model implementing the `Resourceable` interface
        MyRoom::find(1),
    ];
}by default, a click event fires the view action.
You can set the default click action by overriding the defaultEventClickAction property of the widget:
protected ?string $defaultEventClickAction = 'edit';If you want to handle the event click logic completely by yourself, you may override the onEventClick method:
public function onEventClick($info): void
{
    // do something on click
    // $info contains the event data
}Due to security reasons, actions use Laravel's default authorization mechanism to check if user is allowed to perform actions.
This means that most likely your actions might not work when you add them (such as view or edit actions on event click). If that's the case, please create a policy for your model and add the necessary checks to the policy.
composer testPlease see CHANGELOG for more information on what has changed recently.
Please see CONTRIBUTING for details.
Please review our security policy on how to report security vulnerabilities.
- Lukas Frey
- All Contributors
- Spatie - Our package calendar is a modified version of Spatie's Package Calendar
- vkurko/calendar - free, open-source alternative to FullCalendar
- saade/filament-fullcalendar - heavy inspiration for this package
The MIT License (MIT). Please see License File for more information.


