A drop-in replacement for the scaffolded ASP.NET Identity UI based on Preline
A general introduction to this project and what you get.
- 2024-09-14: Implemented rate limiting (standard and redis backed) including page extensions for applying rate limiting policies to pages, folders and areas.
- 2024-06-26: Changed Altcha implementation to use expiring challenges to avoid replay attacks
- 2023-02-08: First version of Altcha implementation and usage in ASP.NET Identity UI.
- 2023-02-08: Fixed for dark mode version of all forms.
- 2023-02-01: First version of Preline styled UI for ASP.NET Identity UI.
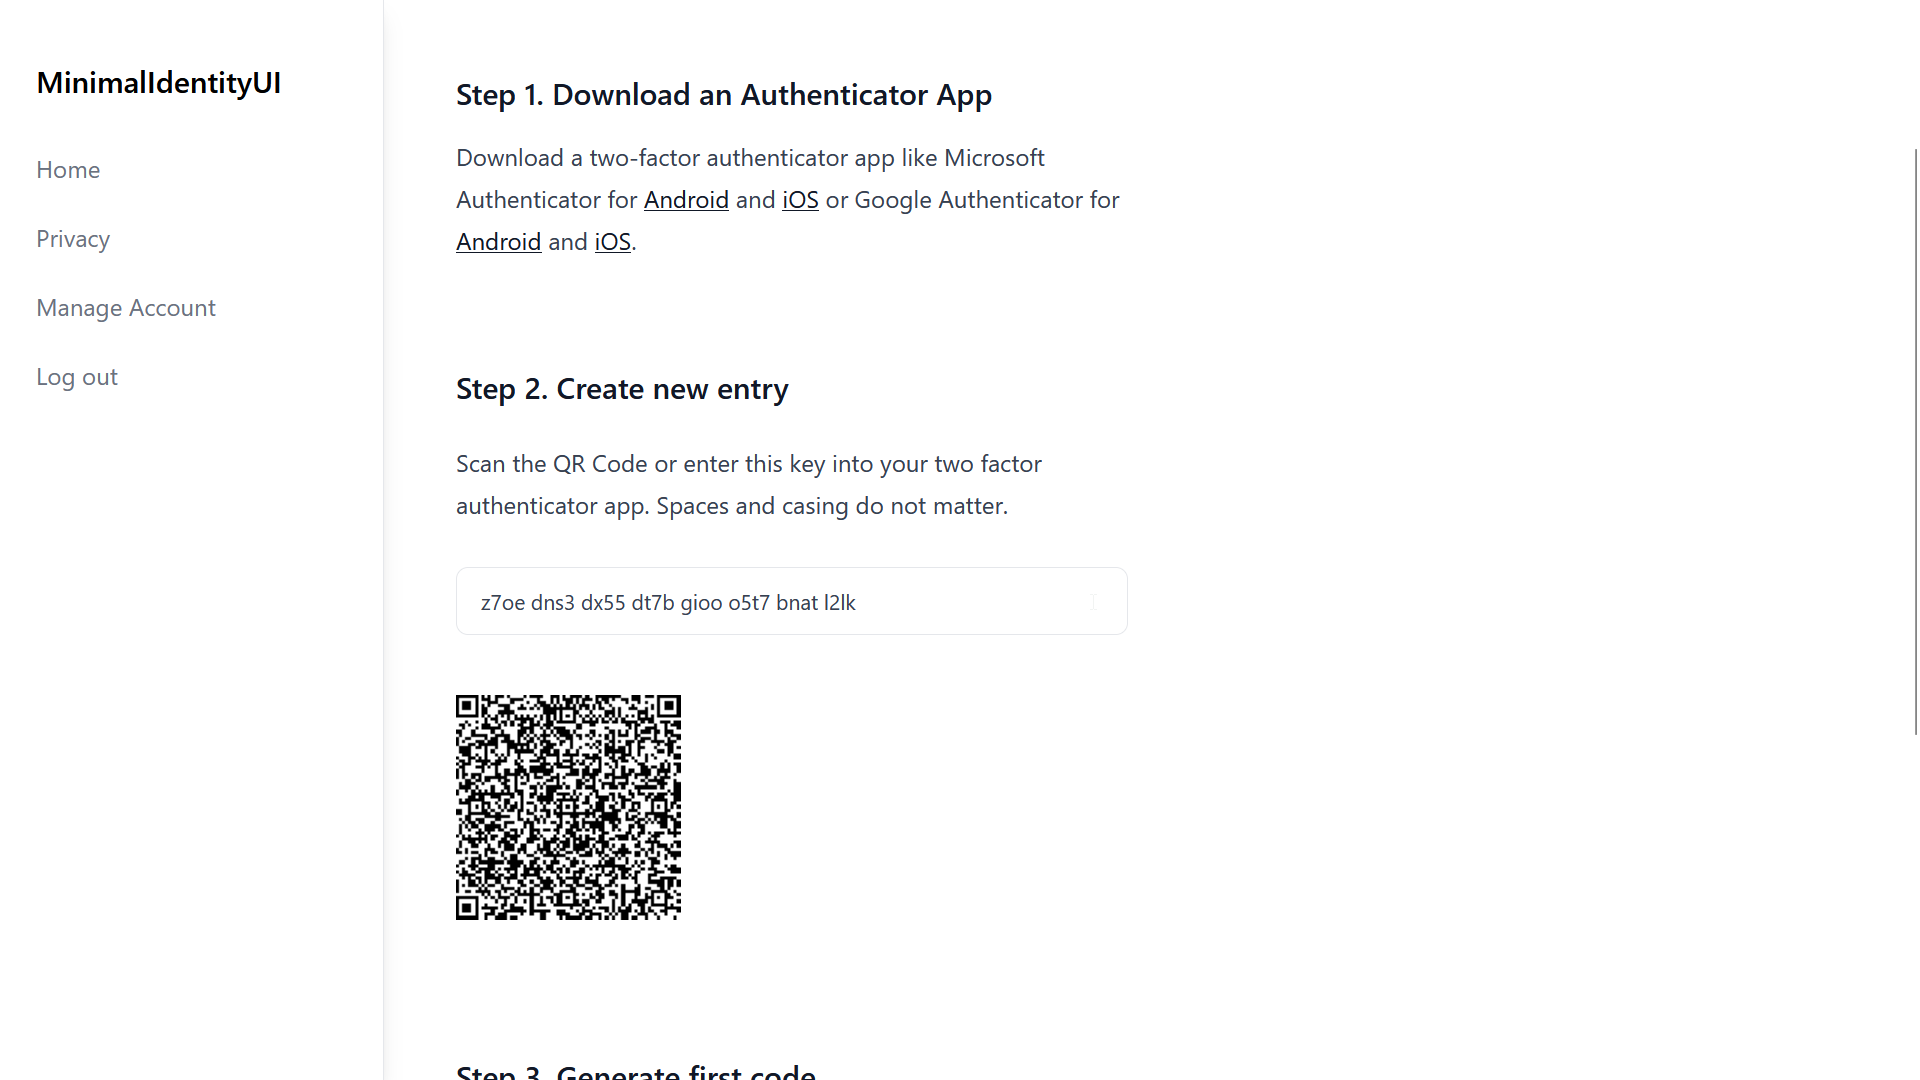
Account management has a secondary top navigation

All Identity UIs have been adapted even the lesser used ones

Basic App Layout with Side Navbar, Page Title and Footer.

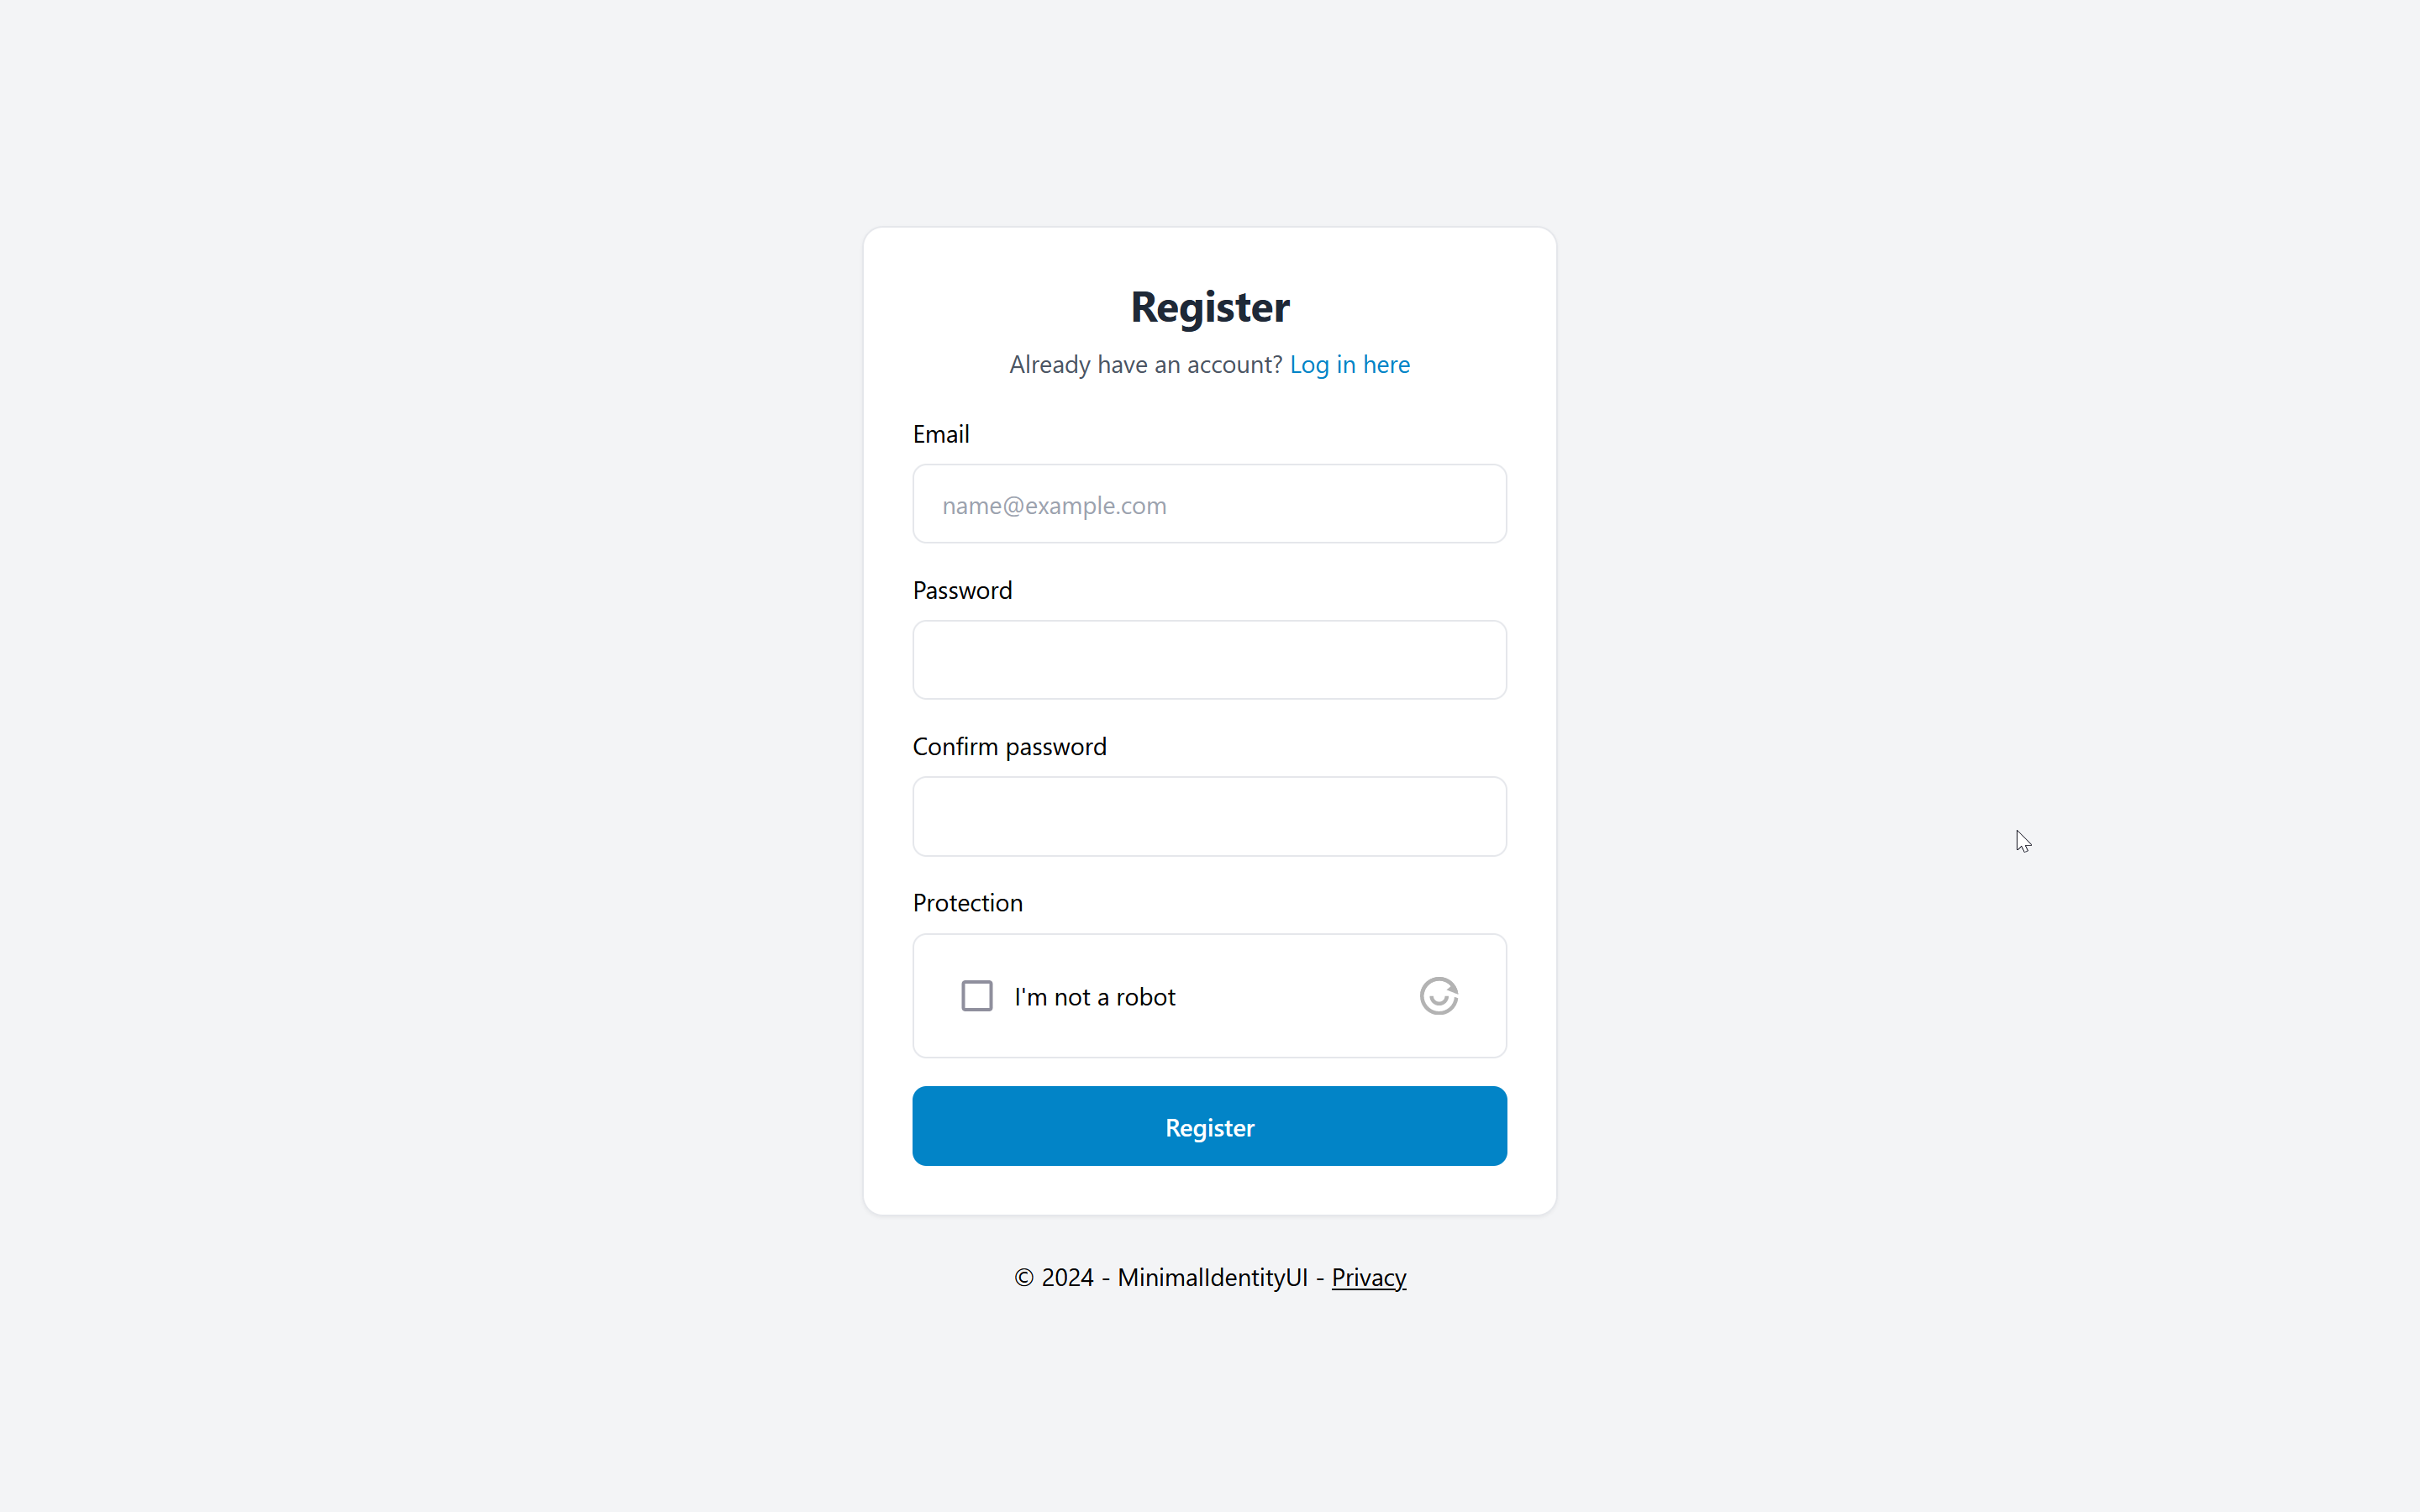
Register page with Altcha (Recaptcha Alternative) - see altcha branch

The project uses components from:
How to implement the assets in this project into your project.
It's easiest to use MinimalIdentityUI if you are starting a new ASP.NET project.
- Create a new Visual Studio Project and use the default ASP.NET Web App template and configure authentication to "Individual accounts".
- Run the project and ensure the default UI works (just to test the authentication has been setup correctly).
- Then it's recommended to first scaffold the default built-in UI and commit that change to your version control repository.
With this starting point you can now add Tailwind to your project. You will need a working node and npm installation on your development machine.
Run these three commands in the directory of your web project:
npm init
npm install -D tailwindcss @tailwindcss/typography
npx tailwindcss init
Then replace the tailwind.config.js with the following content (specifically the content and plugins section):
module.exports = {
    content: [
        "./Areas/**/*.{cs,cshtml,html,js}",
        "./Pages/**/*.{cs,cshtml,html,js}",
    ],
    theme: {
        extend: {},
    },
    variants: {
        extend: {},
    },
    plugins: [require('@tailwindcss/typography')],
}
Then replace the package.json with the following content (specifically the scripts section):
{
  "name": "your-project",
  "version": "1.0.0",
  "scripts": {
    "tailwind": "npx tailwind -i ./wwwroot/css/site.css -o ./wwwroot/dist/all.css --watch",
    "tailwind:build": "npx tailwind -i ./wwwroot/css/site.css -o ./wwwroot/dist/all.css --minify"
  },
  "devDependencies": {
    "@tailwindcss/typography": "^0.5.10",
    "tailwindcss": "^3.4.1"
  }
}
Then replace the /wwwroot/css/site.css file with the following content:
/*! @import */
@tailwind base;
@tailwind components;
@tailwind utilities;

/* ASP.NET Validation fields set this when valid, so we can hide it */
.field-validation-valid {
    display: none !important;
}
It's recommended to use a .gitignore file that excludes the node_modules folder from your version control.
In your .csproj file paste the following build target just before </Project> to ensure tailwind is built when you compile the project.
<Target Name="Tailwind" BeforeTargets="Build">
 <Exec Command="npm run tailwind:build" />
</Target>
For local development you just run npm run tailwind to run the tailwind compiler and keep it watching for file changes.
The replacement UI is designed to be a drop-in replacement and will overwrite the default scaffolded files of Identity UI and the Shared layout files.
- Copy the complete folder structure including all files from the demo ASP.NET project in this repo under
/Areas/Identityand/Pages/Shared/to your project. - Use your version control to ensure no unexpected changes were made (see below) and if you're happy run the app and you should see your new UI.
In the Identity Area:
- Every single .cshtml file in the Identity folder has changes.
- ManageNavPages.cs has been modified to add tailwind specific classes instead of
active. - There are few additional utility classes (e.g. Classes.cs) that provide common styles.
In the Pages/Shared Layout:
- Overwrites
_Layout.cshtmland_LoginPartial.cshtmland adds a new Layout files. - These create a basic application layout with a navigation on the left.
For existing projects (assuming you are already using TailwindCSS) it's recommended to copy only the .cshtml files and the Classes.cs file from the Identity Area. This will have the least impact on your existing code.
A number of Identity UIs require a layout file for an unauthenticated state. This is referenced in the /Areas/Identity/Pages/_ViewStart.cshtml file.
@{
    Layout = "/Pages/Shared/_LayoutWithoutNavigation.cshtml";
}
Change the file to an appropriate layout file in your project.
Further in the /Areas/Identity/Pages/Account/Manage/_Layout.cshtml file change the body and top nav part to (removing the TopNav section reference):
<partial name="_ManageNav" />
@RenderBody()
This will render the management navigation at the top of the page and doesn't require any changes to your primary layout file.
One further change is recommended to enable the active state for this top navigation:
- Adopt the one change (class) made to the
ManageNavPages.cshtmlfile.
Contributing and technical details of the project.
To build tailwind locally and watch for changes in Pages and Areas execute in the root of the web project.
npm install
npm run tailwind
The source file is wwwroot\css\site.css and the output file is wwwroot\dist\all.css.
To use BrowserLink execute the following in the web directory.
dotnet watch
The project has a build target that will execute a NPM script to build and minify the css file.
npm run tailwind:build
to compile the CSS on build.
To ease the implementation of a "Recaptcha-like" bot protection method this project contains a C# implementation of the Altcha challenge protocol.
To use Altcha in an ASP.Net project:
- Add the widget script to your page (Example)
- Add the widget web component to your form (Example)
- Add and bind a Altcha string parameter in the code-behind (Example)
- Use the Altcha class to generate and verify the challenge (Example)
- Change the HMAC Key to your own unique value (Here)
The project provides two rate limiting setups depending on your use case. The standard use case uses the built-in rate limiting in ASP.NET 8, the other extends on that using a Redis backplane for the rate limiting middleware which lets you use the rate limiting in a server cluster (e.g. Azure App Service Plan).
Switch between the two versions in Program.cs by setting the useRedisRateLimiter variable.
If Redis is used you must set the redis connection string in the appSettings.json.
The default response code for ASP.NET rate limiting is 503, which was changed to 429 by configuration to better align with standard practices on the web.
By default three sliding window policies are implemented:
- a global rate limiter to 100 requests per minute per IP
- a rate limiter for login and register pages at 10 requests per minute per IP
- a rate limiter for forgot password pages at 5 requests per minute per IP
Note: The Altcha challenge is reloaded after the page is loaded, so each request to a page with a challenge consumes 2 requests. The challenge expires every minute, which therefore does not contribute to the same rate limiting window.
If using a reverse proxy you must use app.UseForwardedHeaders(); to overwrite the RemoteIPAddress used in the policy with the forwarded IP address from the reverse proxy.
An extension method was implemented to mimick the page conventions ASP.NET provides for Authorization but for applying rate limiting policies instead. This allows for easy configuration of the policies on the identity are pages.
var razorPageBuild = builder.Services.AddRazorPages(options =>
{
    options.Conventions.RateLimitAreaPage("Identity", "/Account/Register", RateLimiterPolicy.LoginAndRegister);
    options.Conventions.RateLimitAreaPage("Identity", "/Account/Login", RateLimiterPolicy.LoginAndRegister);
    options.Conventions.RateLimitAreaPage("Identity", "/Account/ForgotPassword", RateLimiterPolicy.ForgotPassword);
});
Important: the extension methods assume you are using endpoint routing and the order of pipeline is important when using rate limiting in general. If your rate limiting policy is not being picked up then most likely you have switched around the UseX statements in your Program.cs.
The correct order is Routing > Rate Limiter > Auth > MapRazorPages:
app.UseRouting();
app.UseRateLimiter();
app.UseAuthorization();
app.MapRazorPages();
