Amazon SageMaker is a fully managed service that removes the heavy lifting from each step of the machine learning workflow, and provides every developer and data scientist with the ability to build, train, and deploy machine learning (ML) models quickly. In this interactive workshop, we will work on the different aspects of the ML workflow to build, train, and deploy a model using all the capabilities of Amazon SageMaker including the ones that we announced at re:Invent 2019. We will use the Amazon SageMaker to build, train & debug models with Amazon SageMaker Debugger, and deploy & monitor with Amazon SageMaker Model Monitor. Let’s build together!
In this workshop, we will go through the steps of training, debugging, deploying and monitoring a network traffic classification model.
For training our model we will be using datasets CSE-CIC-IDS2018 by CIC and ISCX which are used for security testing and malware prevention. These datasets include a huge amount of raw network traffic logs, plus pre-processed data where network connections have been reconstructed and relevant features have been extracted using CICFlowMeter, a tool that outputs network connection features as CSV files. Each record is classified as benign traffic, or it can be malicious traffic, with a total number of 15 classes.
The goal is to demonstrate how to execute training of a network traffic classification model using the Amazon SageMaker framework container for XGBoost, training and debugging. Once trained how to then deploy and monitor the model performance.
Initially have an open AWS account, with privileges to create and run Amazon SageMaker notebooks and access to S3 buckets.
You can run this workshop in all commercial AWS regions where Amazon SageMaker is GA.
First, let's create an Amazon SageMaker managed Jupyter notebook instance. An Amazon SageMaker notebook instance is a fully managed ML compute instance running the Jupyter Notebook application. Amazon SageMaker manages creating the instance and related resources.
-
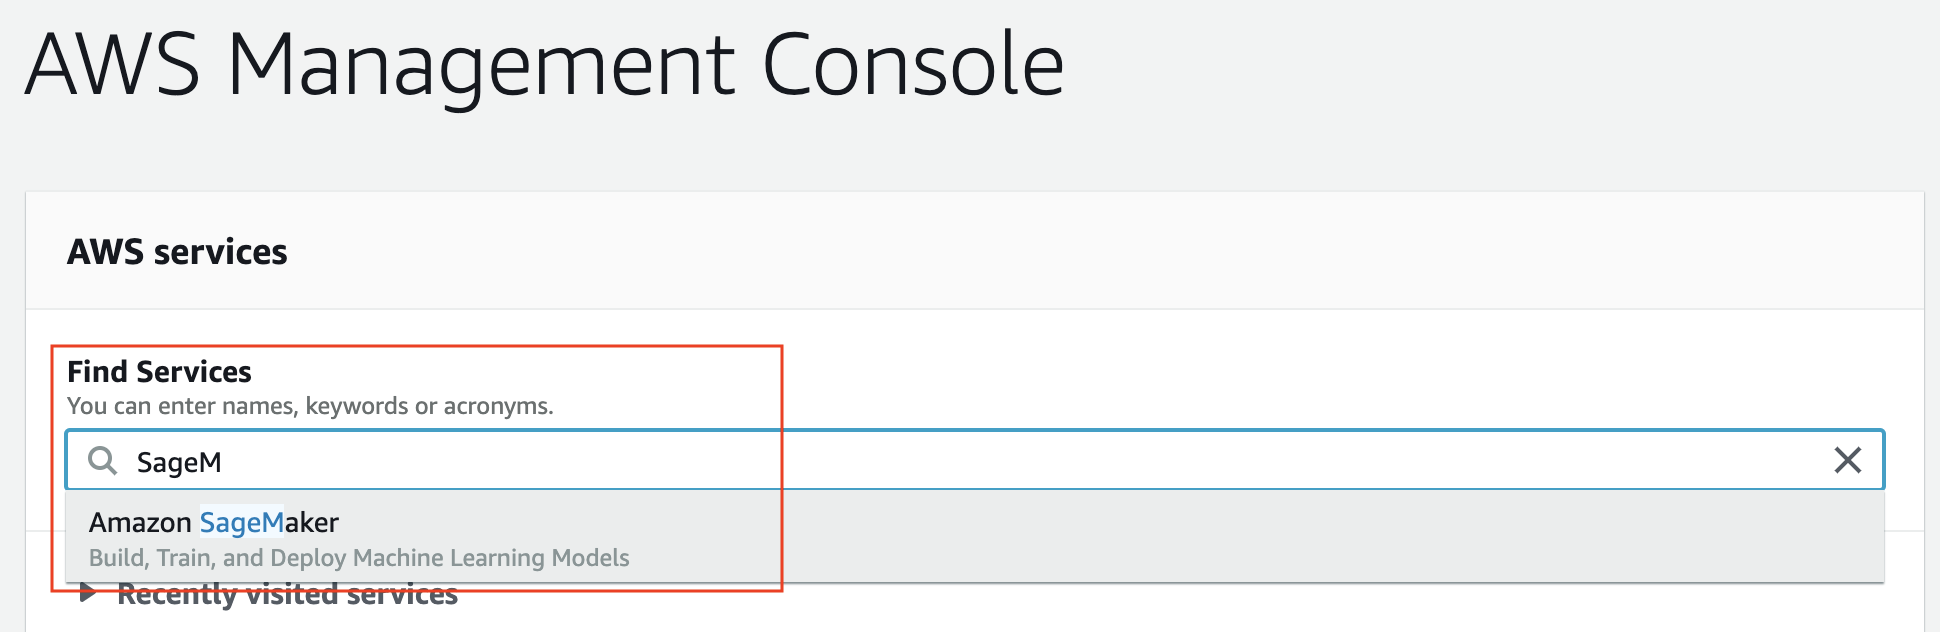
In the AWS Management Console, click on Services, type “SageMaker” and press enter.
-
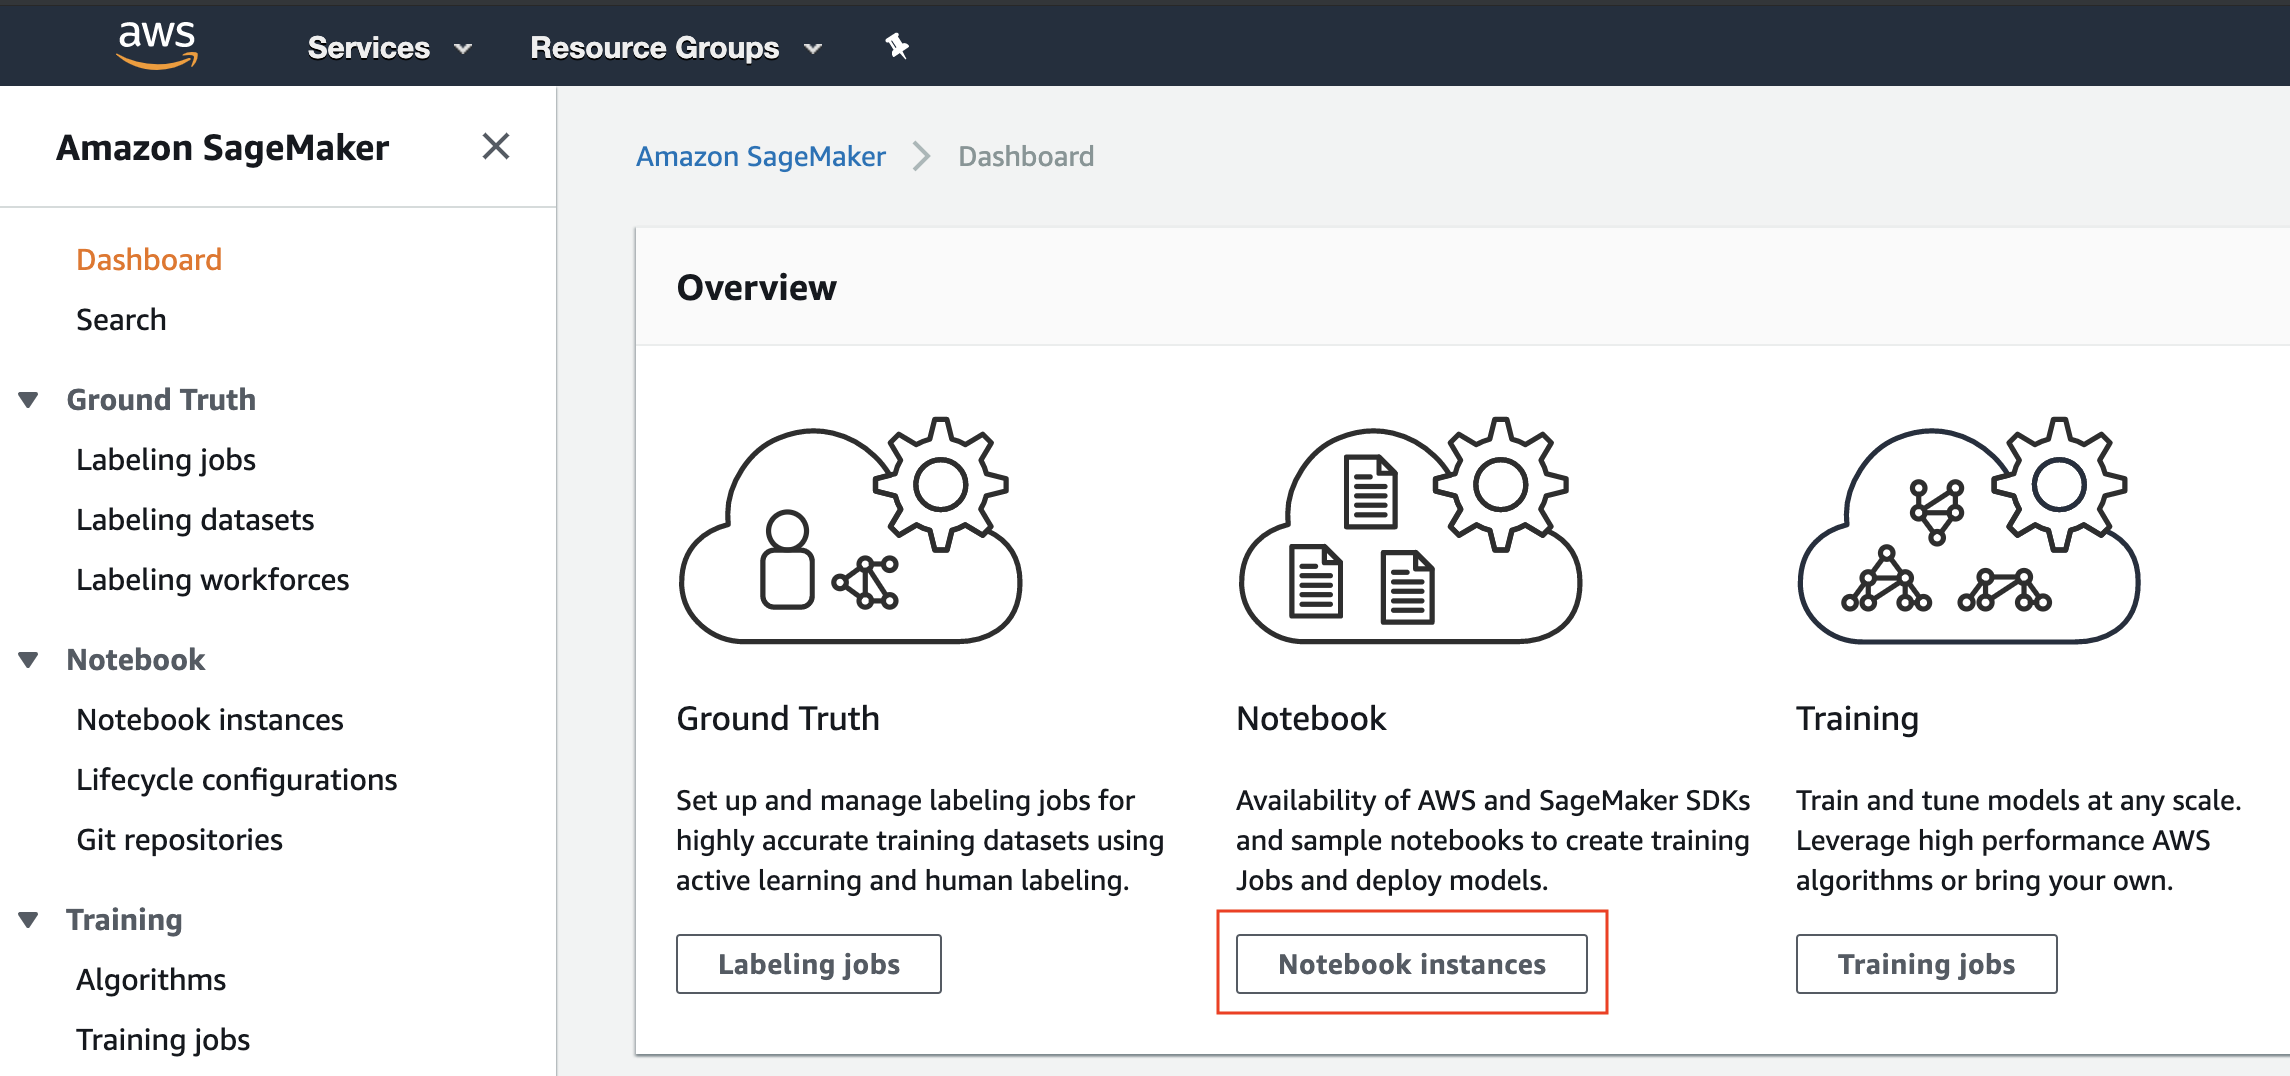
You’ll be placed in the Amazon SageMaker dashboard. Click on Notebook instances either in the landing page or in the left menu.
-
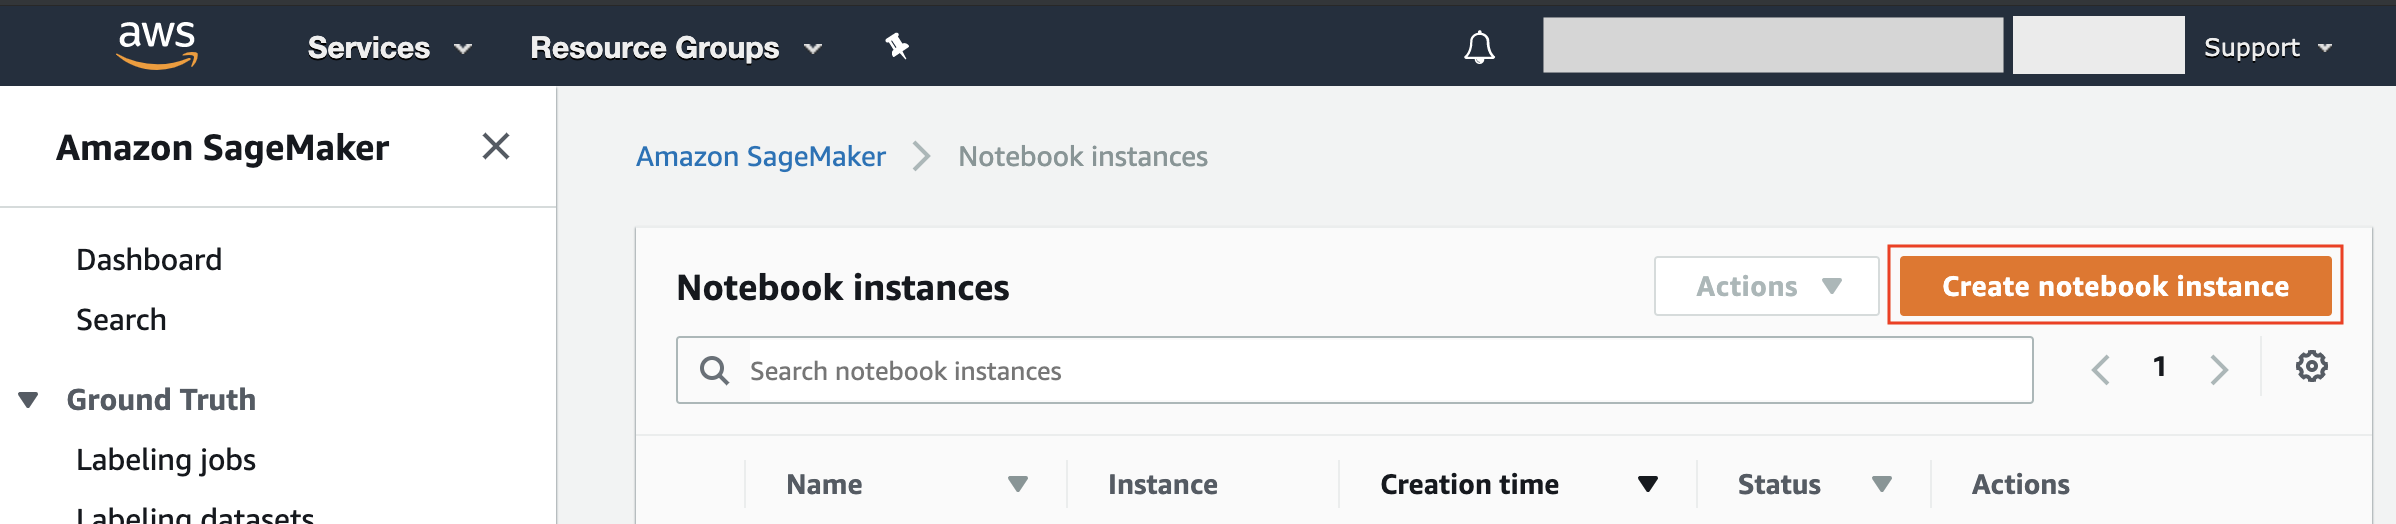
Once in the Notebook instances screen, click on the top-righ button Create notebook instance.
-
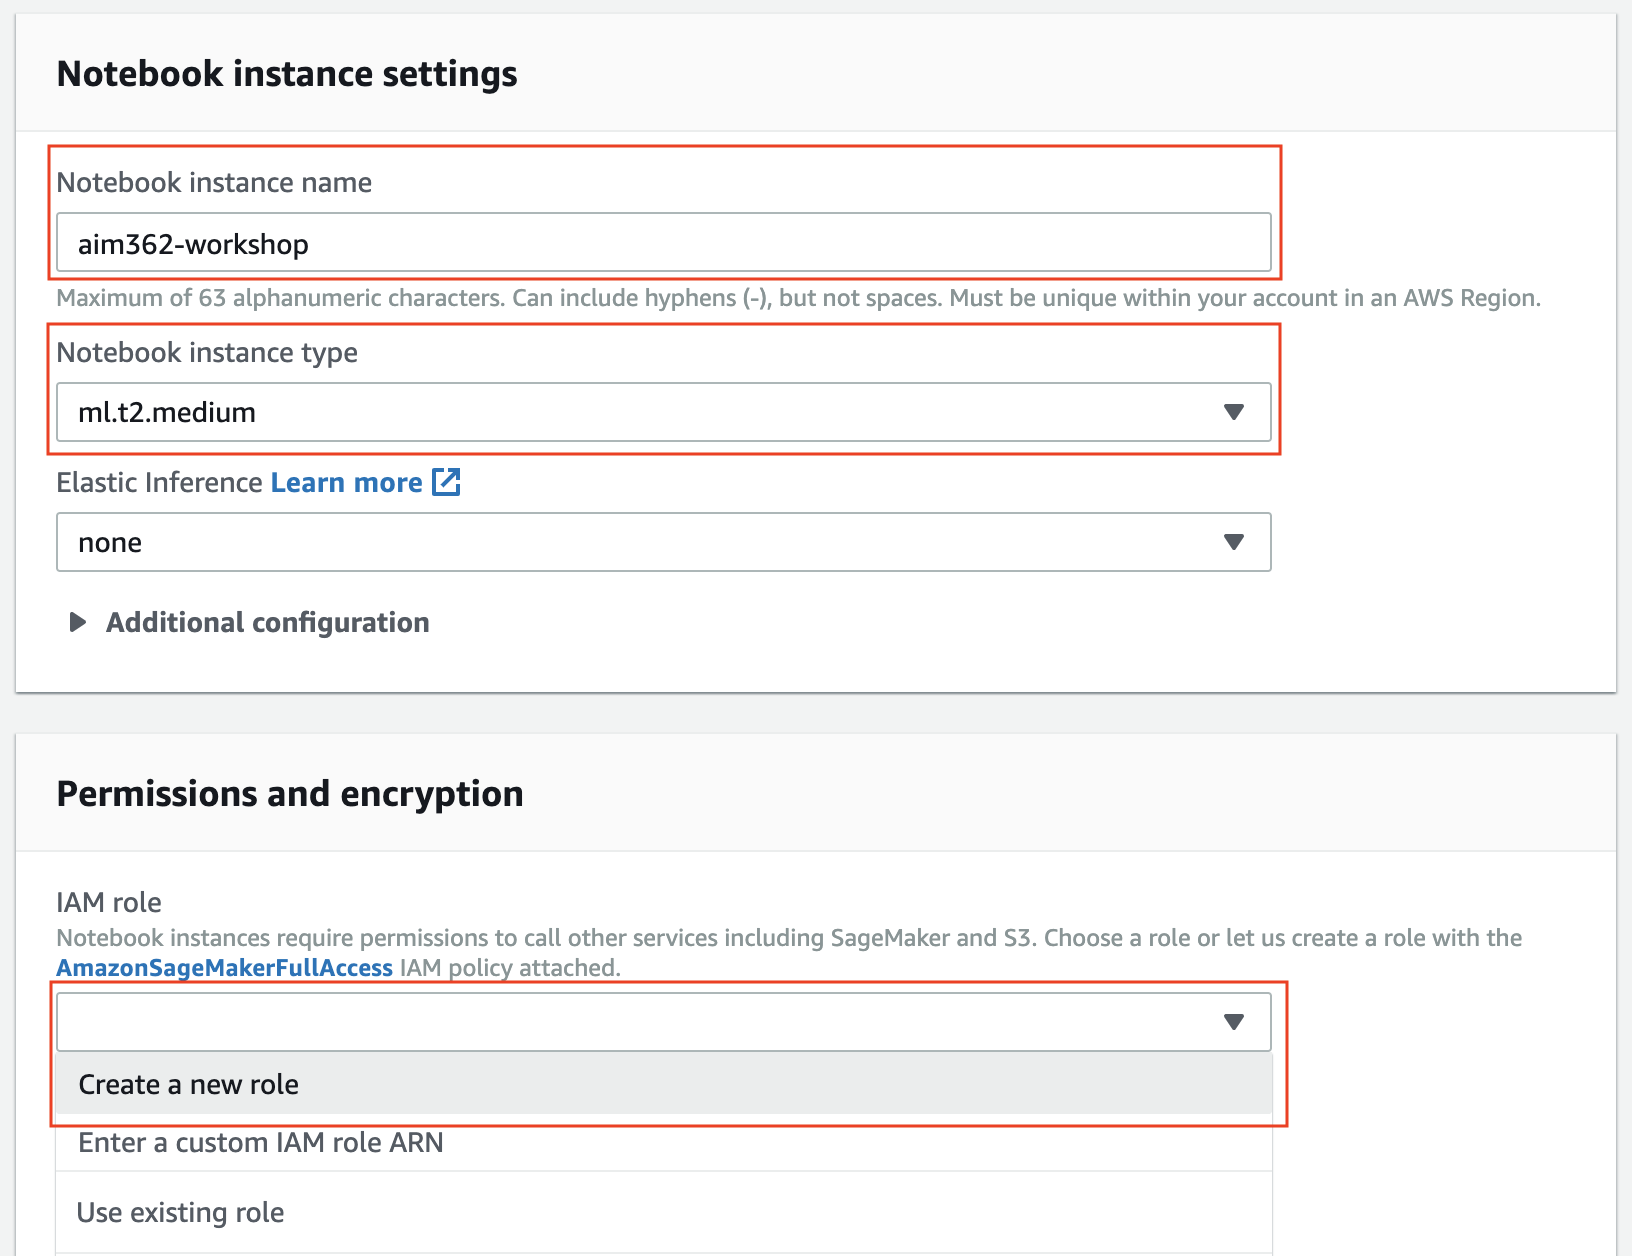
In the Create notebook instance screen
-
Give the Notebook Instance a name like aim362-workshop or what you prefer
-
Choose ml.t2.medium as Notebook instance type
-
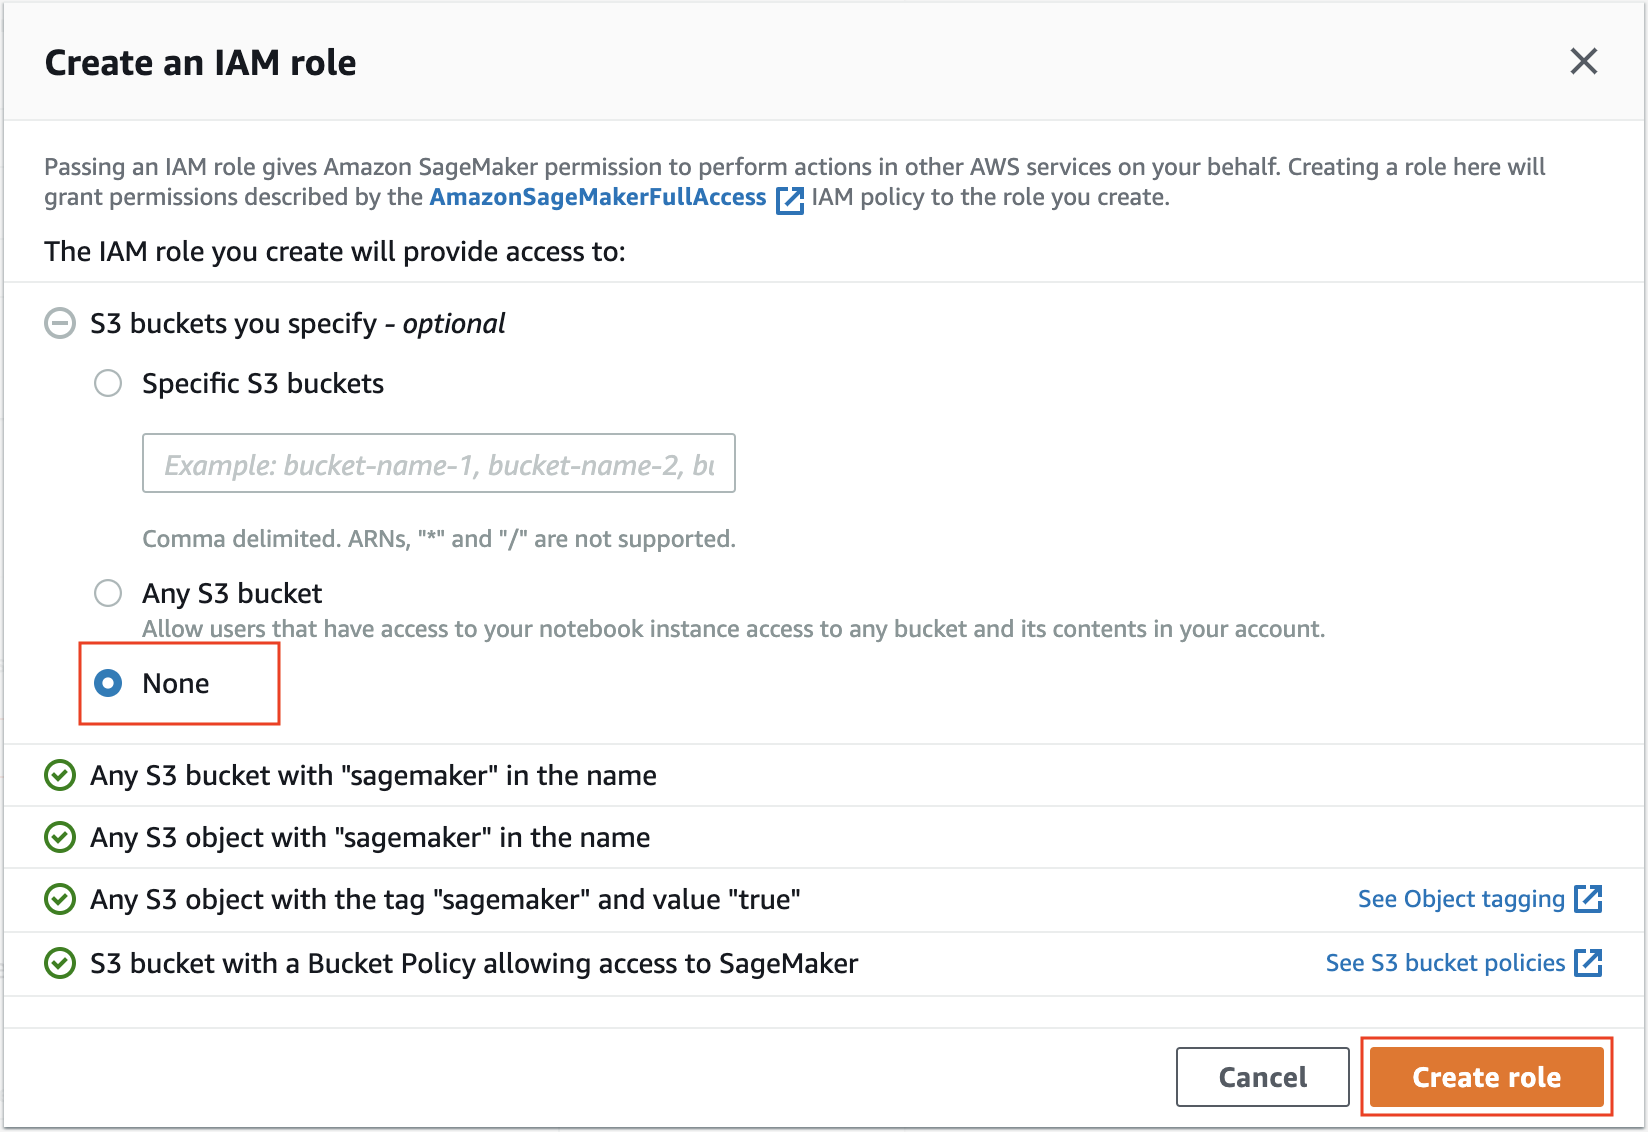
In the IAM role dropdown list you need to select an AWS IAM Role that is configured with security policies allowing access to Amazon SageMaker (full access) and Amazon S3 (default SageMaker buckets). If you don't have any role with those privileges, choose Create New Role and configure the role as follows:
-
Keep No VPC selected in the VPC dropdown list
-
Keep No configuration selected in the Lifecycle configuration dropdown list
-
Keep No Custom Encryption selected in the Encryption key dropdown list
-
Finally, click on Create notebook instance
-
-
You will be redirected to the Notebook instances screen and you will see a new notebook instance in Pending state.
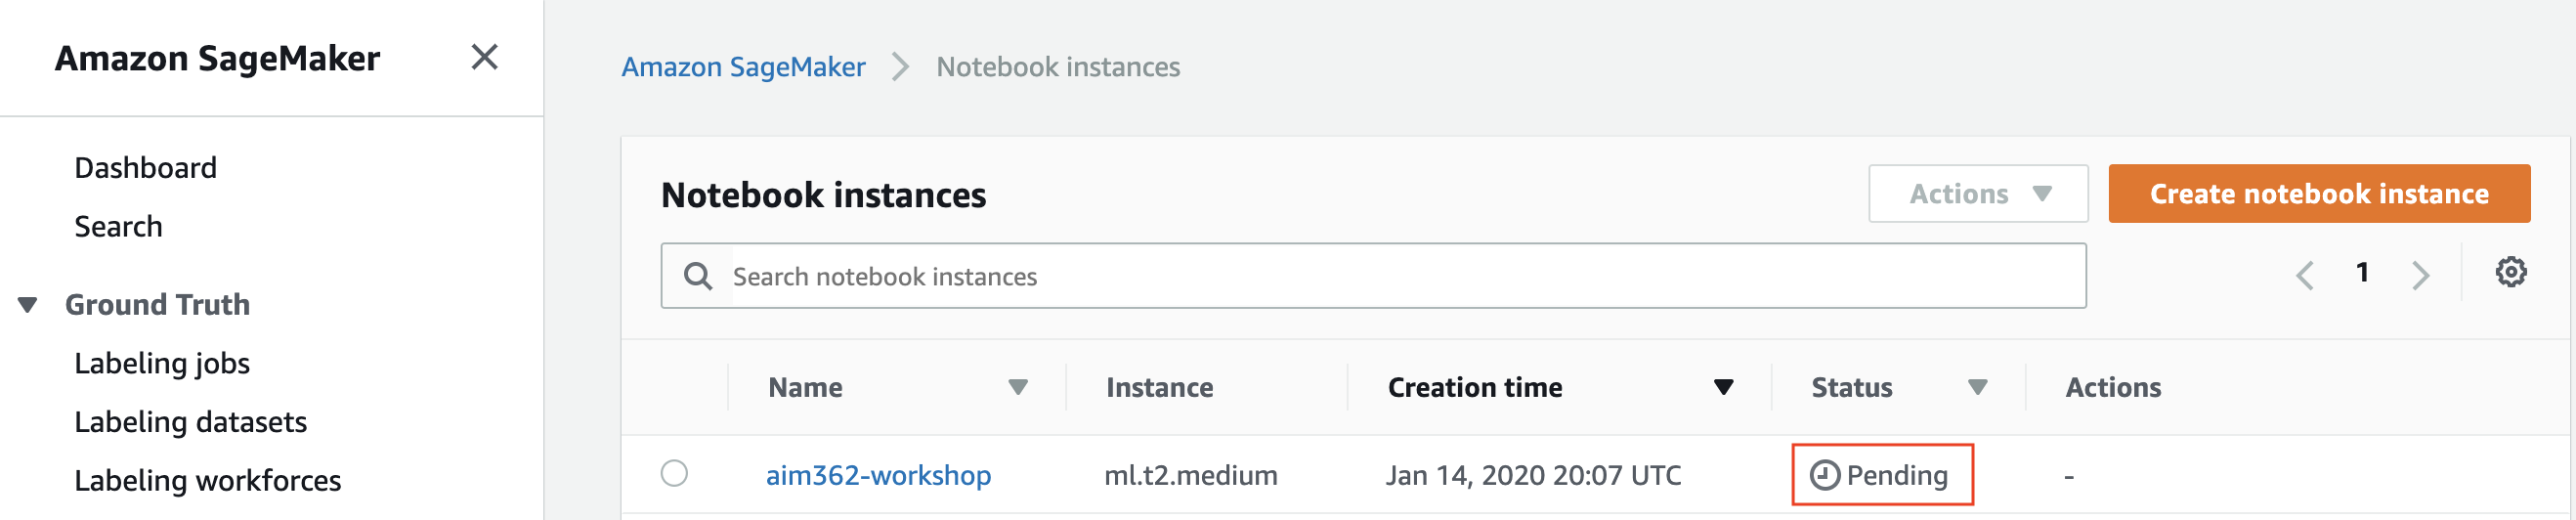
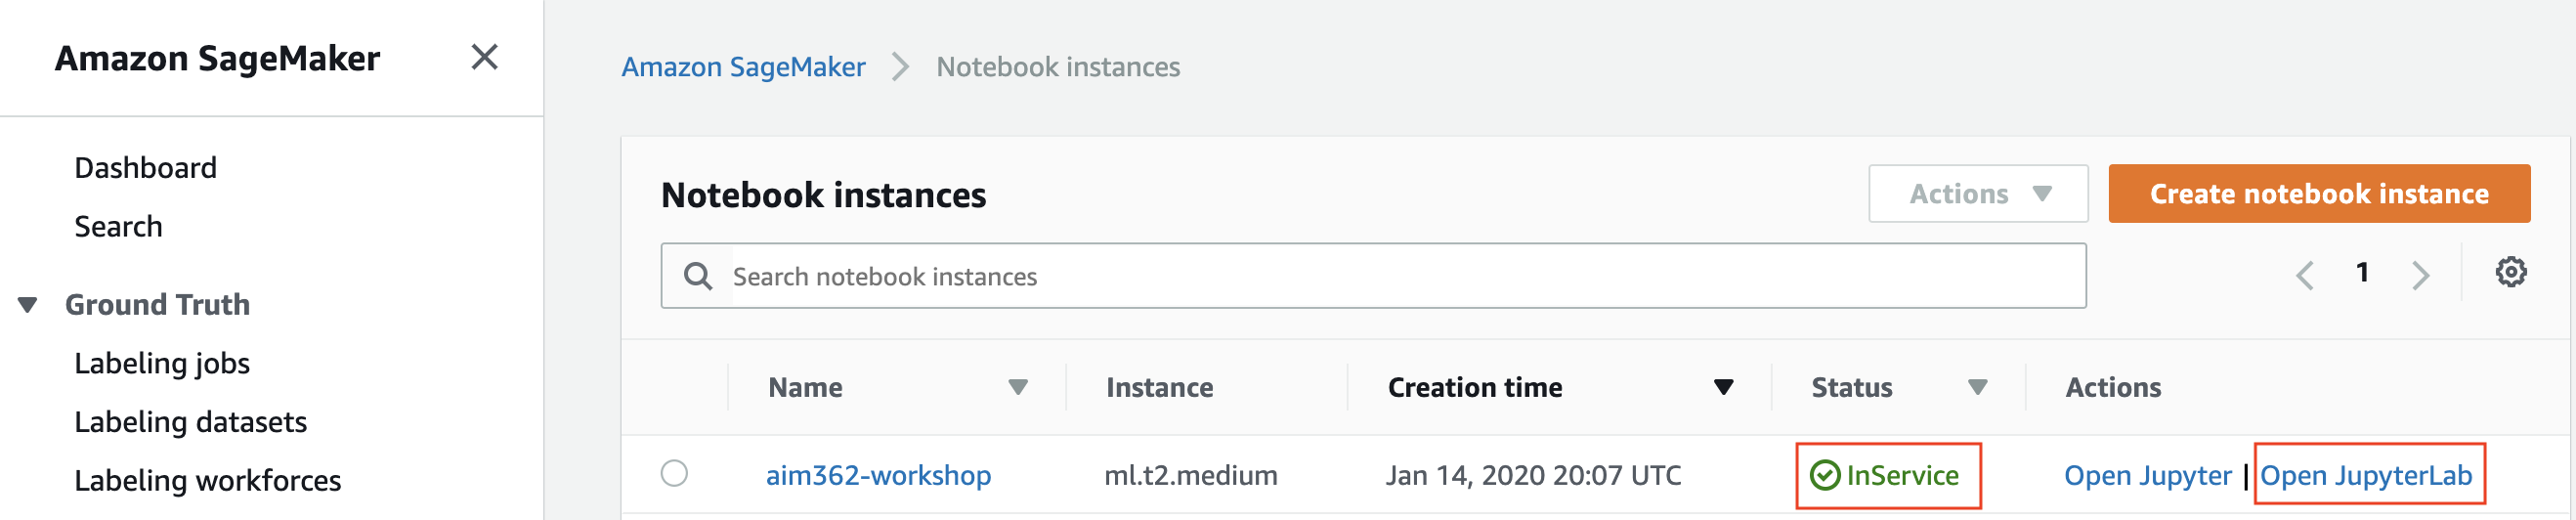
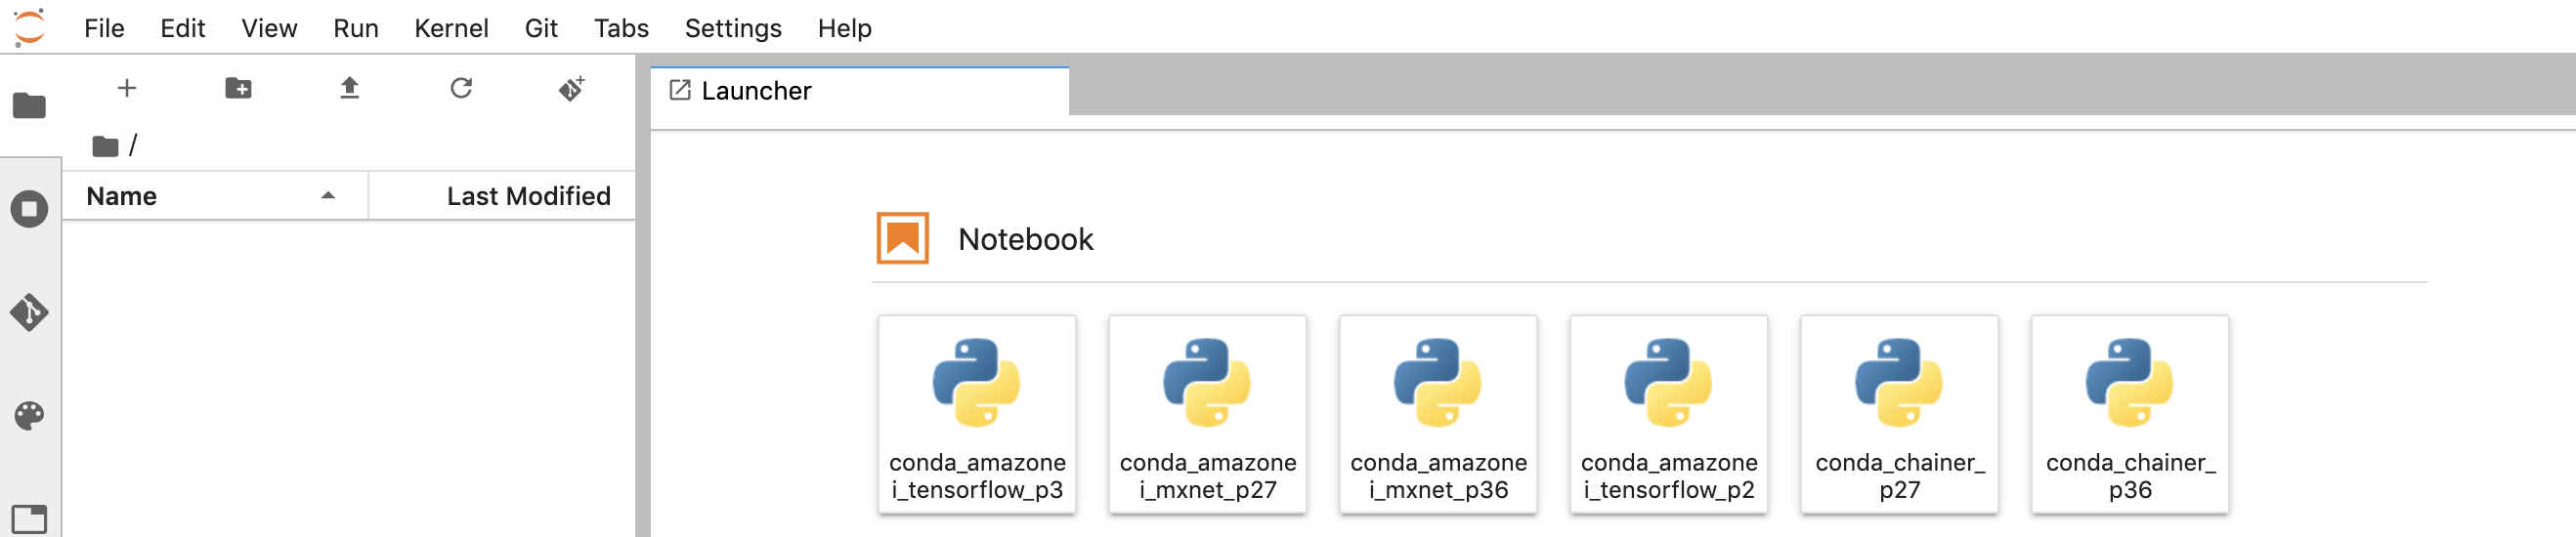
Wait until the notebook instance is status is In Service and then click on the Open Jupyter Lab button to be redirected to Jupyter Lab.
The Jupyter Lab interface will load, as shown below.


All the code of this workshop is implemented and available for download from this GitHub repository.
As a consequence, in this section we will clone the GitHub repository into the Amazon SageMaker notebook instance and access the Jupyter Notebooks to run the workshop.
-
From the file menu, click on New > Terminal
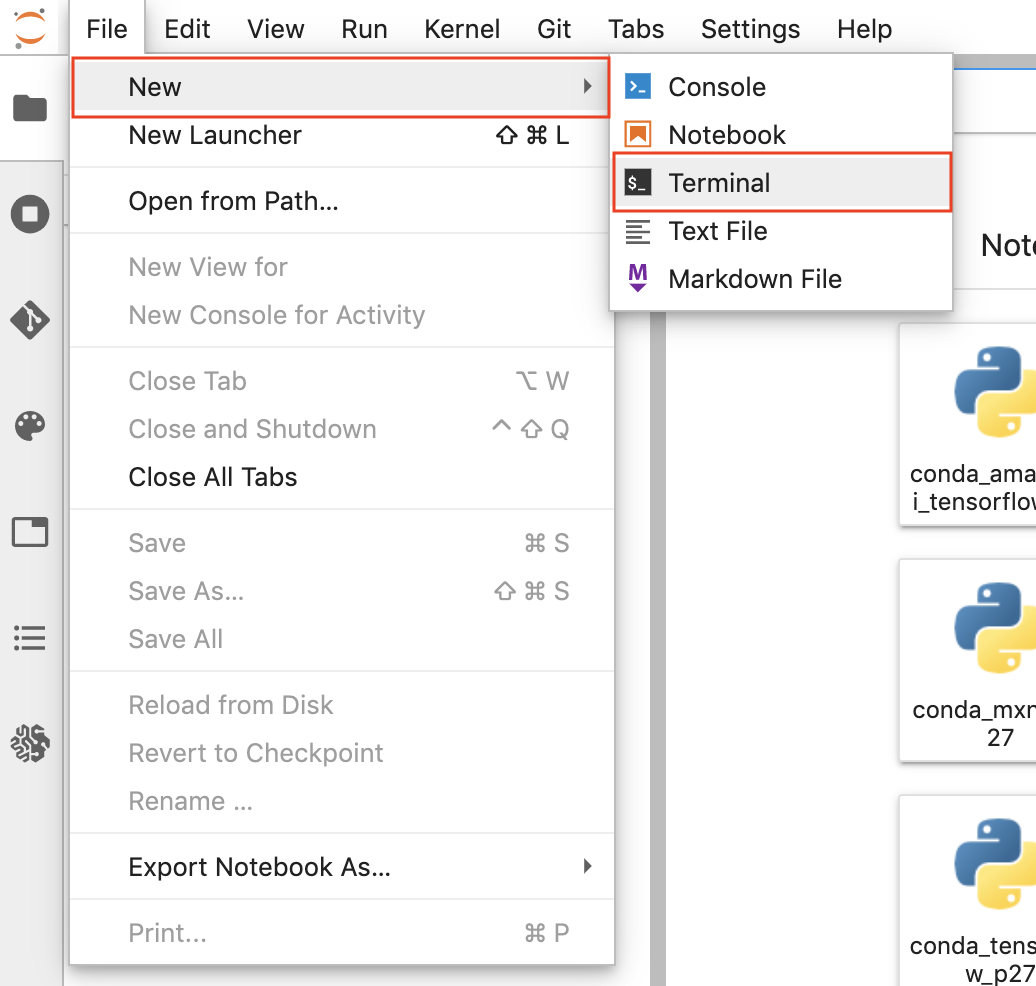
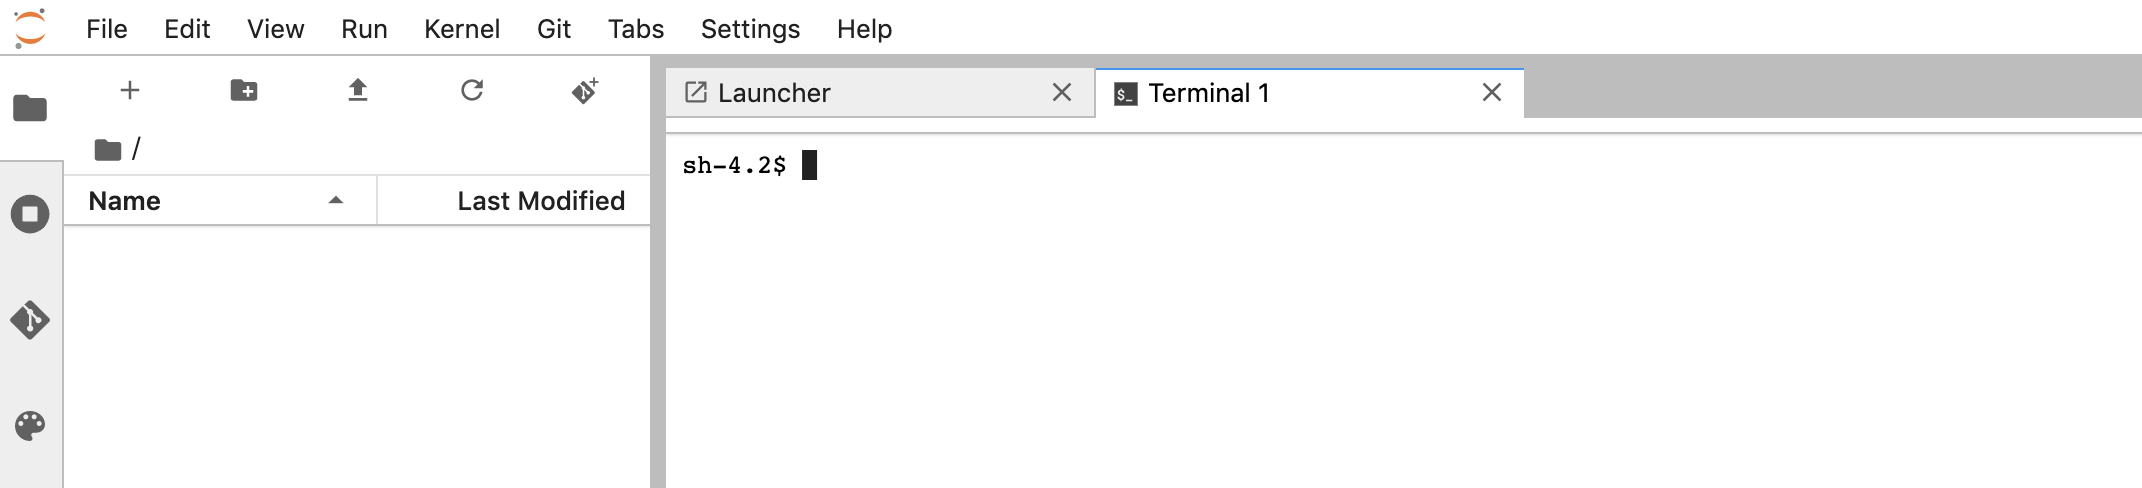
This will open a terminal tab in the Jupyter Lab interface
-
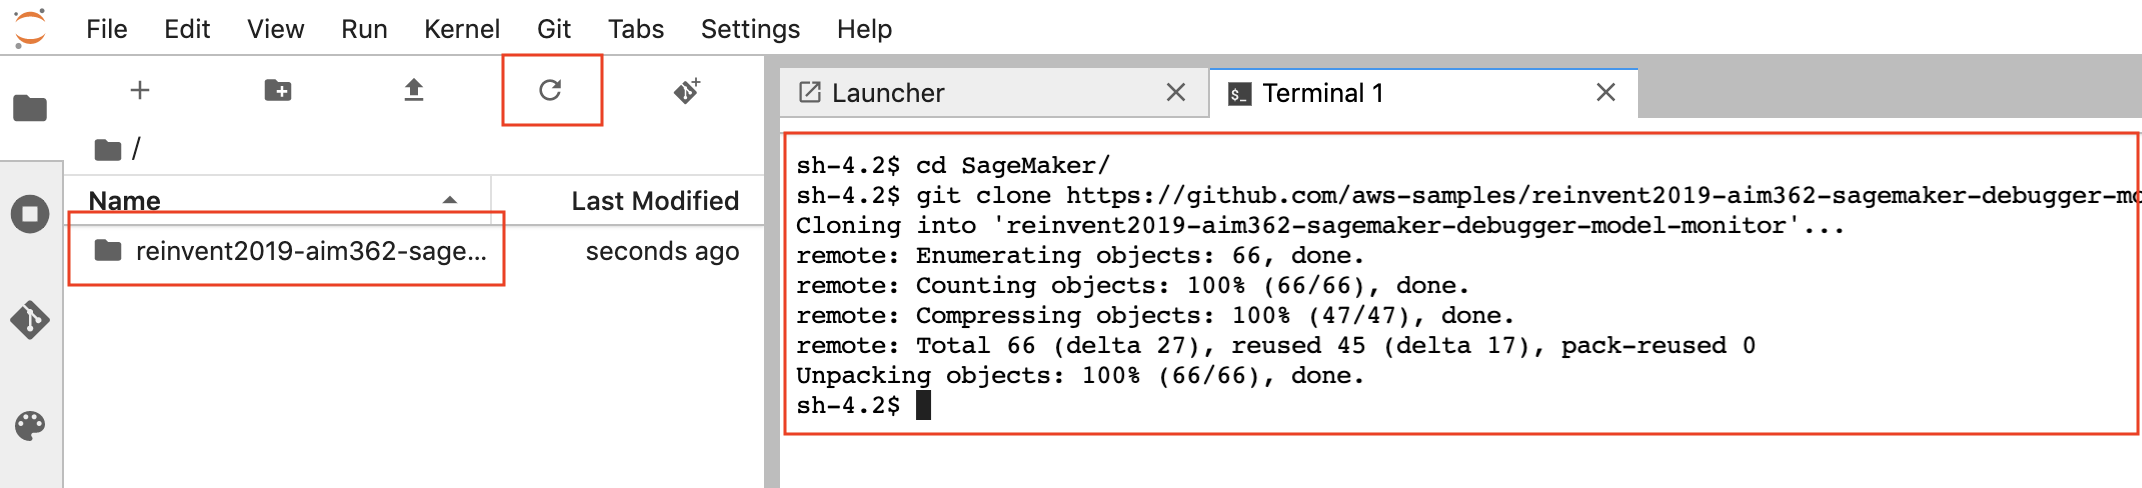
Execute the following commands in the terminal
cd SageMaker/ git clone https://github.com/aws-samples/reinvent2019-aim362-sagemaker-debugger-model-monitor.git -
When the clone operation completes, the folder reinvent2019-aim362-sagemaker-debugger-model-monitor will appear automatically in the file browser on the left (if not, you can hit the Refresh button)
-
Browse to the folder 01_train_and_debug and open the file train_and_debug.ipynb to get started.


This workshops consists of 2 modules:
- 01_train_and_debug - Train and debug with Amazon SageMaker Debugger
- 02_deploy_and_monitor - Deploy and Monitor with Amazon SageMaker Model Monitor
You must comply with the order of modules, since the outputs of a module are inputs of the following one.
The contents of this workshop are licensed under the Apache 2.0 License.
Giuseppe A. Porcelli - Principal, ML Specialist Solutions Architect - Amazon Web Services EMEA
Paul Armstrong - Principal Solutions Architect - Amazon Web Services EMEA