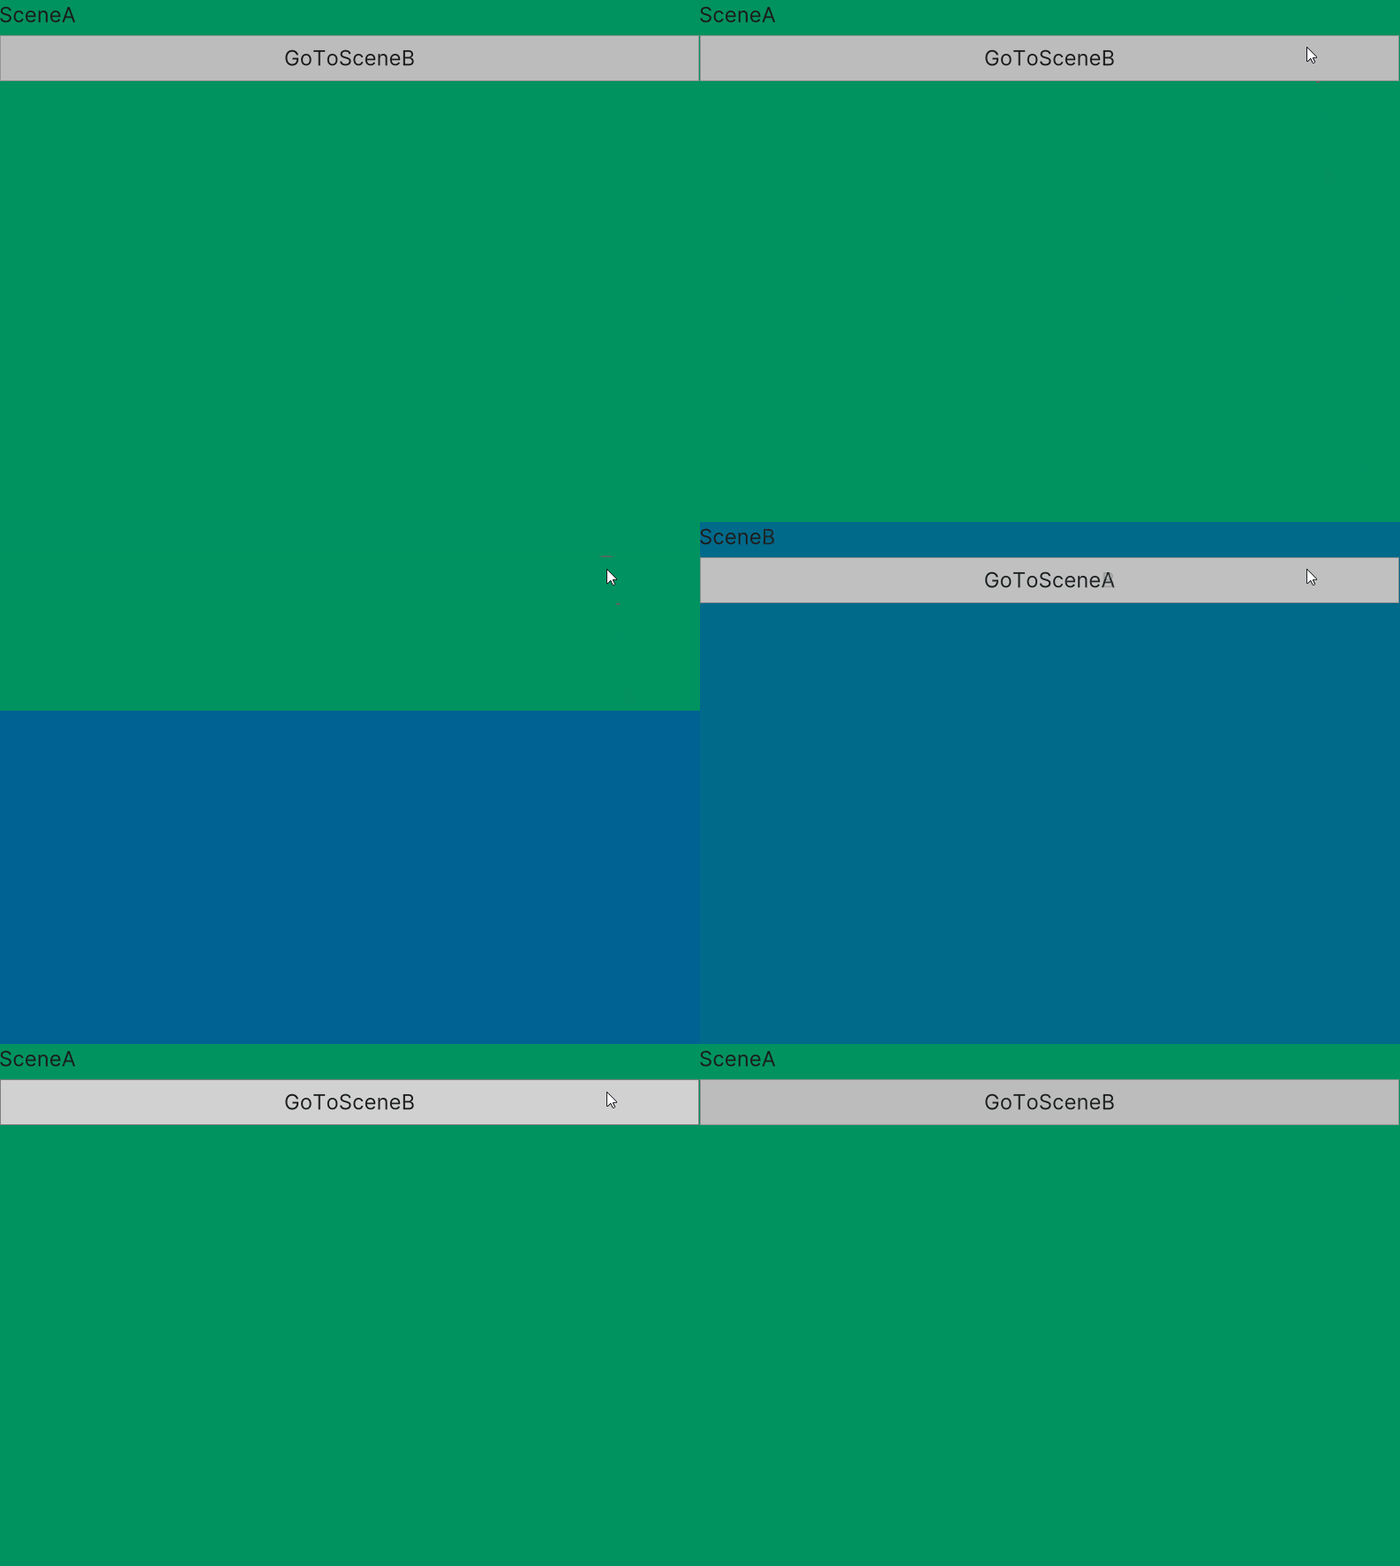
Simply create an animation from one scene to the next using Unity's UIToolkit.
- You can add a dependency to your
Packages/manifest.jsonusing a Git URL in the following form:"com.achimmihca.scenechangeanimations": "https://github.com/achimmihca/SceneChangeAnimations.git?path=SceneChangeAnimations/Packages/com.achimmihca.scenechangeanimations#v1.0.0"- Note that
#v1.0.0can be used to specify a tag or commit hash.
- Note that
- The package ships with a sample that can be imported to your project using Unity's Package Manager.
// inside some MonoBehaviour...

private void ChangeScene()
{
    // The sceneChangeAnimationControl will take a "screenshot" of the old scene,
    // then the first passed method is used to load the next scene,
    // then a VisualElement with the "screenshot" of the old scene is added,
    // and finally animated away using the second passed method.
    sceneChangeAnimationControl.AnimateChangeToScene(
        () => SceneManager.LoadScene("MyNextScene"),
        StartFadeOutAnimation);
}

private void StartFadeOutAnimation(VisualElement visualElement)
{
    // Example animation using coroutine. Could also use LeanTween or other libraries here.
    sceneChangeAnimationControl.StartCoroutine(FadeOut(visualElement));
}

private static IEnumerator FadeOut(VisualElement visualElement)
{
    return AnimationFunctions.TimeBasedAnimation(
        // Animation time in seconds
        0.5f,
        // Set opacity based on percent value of animation time.
        animTimePercent => visualElement.style.opacity = 1 - animTimePercent,
        // Remove VisualElement when animation is complete.
        () => visualElement.RemoveFromHierarchy());
}Render to Texture approach
- Take "screenshot" (see below) of old scene, load new scene, add full size VisualElement with the screenshot, animate the VisualElement away (e. g. using opacity)
- This allows for simple animations of the whole scene.
- Tip: You can use LeanTween or a similar library to create complex animations with little code.
Taking the "screenshot":
- A
RenderTextureis created with the same size of the screen (Screen.width,Screen.height). - The RenderTexture is used as
targetTextureof aPanelSettingsobject. - The
UIDocumentin the scene is set to use thePanelSettingswith the RenderTexture.- Thus, the RenderTexture holds a "screenshot" of the UIDocument
See also the Unity forums where this approach had been discussed.
Note that this approach should also work to animate the change from one UXML file to another on a UIDocument in a 3D scene. However, the current implementation of this package only covers the use case of scene changes for 2D apps with a single UIDocument in it.
This project has been created originally for UltraStar Play. If you like singing along your favorite songs then go check it out ;)
