


Universal JavaScript applications are tough to setup. Either you buy into a framework like Next.js or react-server, fork a boilerplate, or set things up yourself. Aiming to fill this void, Razzle is a tool that abstracts all complex configuration needed for SSR into a single dependency--giving you the awesome developer experience of create-react-app, but then leaving the rest of your app's architectural decisions about frameworks, routing, and data fetching up to you. With this approach, Razzle not only works with React, but also Reason, Elm, Vue, Angular, and most importantly......whatever comes next.
Razzle comes with the "battery-pack included":
- 🔥 Universal Hot Module Replacement, so both the client and server update whenever you make edits. No annoying restarts necessary
- Comes with your favorite ES6 JavaScript goodies (through
babel-preset-razzle) - Comes with the same CSS setup as create-react-app
- Works with React, Preact, Elm, Reason-React, Inferno, and Rax as well as Angular and Vue if that's your thing
- Escape hatches for customization via
.babelrc,.eslintrcandrazzle.config.js - Jest test runner setup with sensible defaults via
razzle test
npm install -g create-razzle-app
create-razzle-app my-app
cd my-app
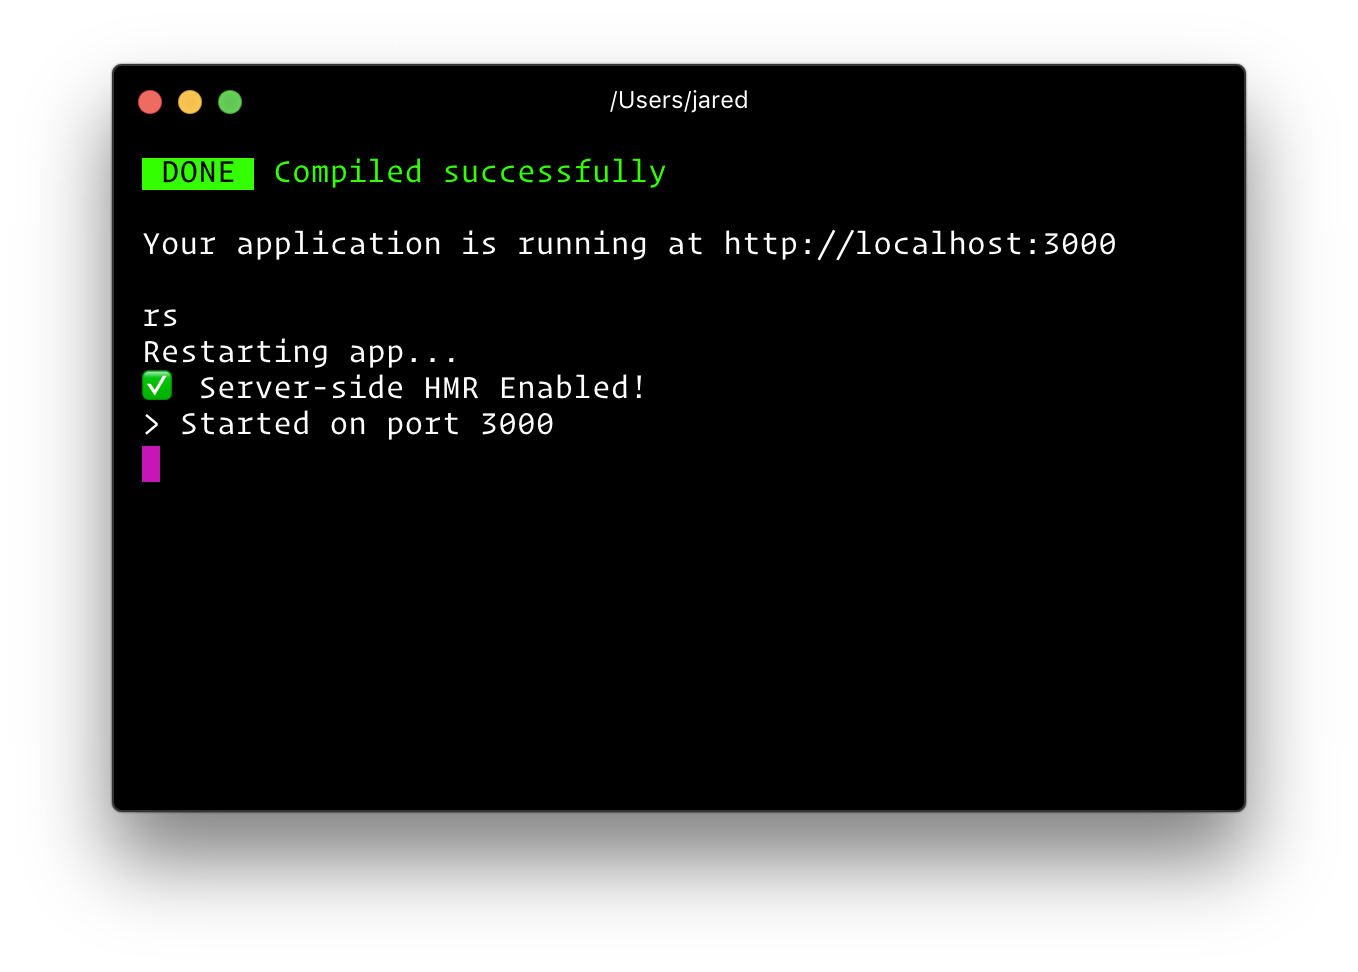
npm startThen open http://localhost:3000/ to see your app. Your console should look like this:

That's it. You don't need to worry about setting up multiple webpack configs or other build tools. Just start editing src/App.js and go!
Below is a list of commands you will probably find useful.
Runs the project in development mode.
You can view your application at http://localhost:3000
The page will reload if you make edits.
Builds the app for production to the build folder.
The build is minified and the filenames include the hashes. Your app is ready to be deployed!
Runs the compiled app in production.
You can again view your application at http://localhost:3000
Runs the test watcher (Jest) in an interactive mode. By default, runs tests related to files changed since the last commit.
To debug the node server, you can use razzle start --inspect. This will start the node server and enable the inspector agent. The =[host:port] is optional and defaults to =127.0.0.1:9229. For more information, see this.
This is the same as --inspect, but will also break before user code starts. (to give a debugger time to attach before early code runs) For more information, see this.
If your application is running, and you need to manually restart your server, you do not need to completely kill and rebundle your application. Instead you can just type rs and press enter in terminal.
As of Razzle 2.0, you can add your plugins to modify your setup.
You can use Razzle plugins by installing in your project and adding them to your razzle.config.js. See the README.md of the specific plugin, but generally speaking, the flow is something like...
yarn add razzle-plugin-xxxx//./razzle.config.js
module.exports = {
plugins: ['xxxx'],
};Plugins are simply functions that modify and return Razzle's webpack config.
'use strict';

module.exports = function myRazzlePlugin(config, env, webpack, options) {
  const { target, dev } = env;

  if (target === 'web') {
    // client only
  }

  if (target === 'server') {
    // server only
  }

  if (dev) {
    // dev only
  } else {
    // prod only
  }

  // Do some stuff...
  return webpackConfig;
};Razzle comes with most of ES6 stuff you need. However, if you want to add your own babel transformations, just add a .babelrc file to the root of your project.
{
  "presets": [
    "razzle/babel", // NEEDED
    "stage-0"
   ],
   "plugins": [
     // additional plugins
   ]
}
A word of advice: the .babelrc file will replace the internal razzle babelrc template. You must include at the very minimum the default razzle/babel preset.
You can also extend the underlying webpack config. Create a file called razzle.config.js in your project's root.
// razzle.config.js

module.exports = {
  modify: (config, { target, dev }, webpack) => {
    // do something to config

    return config;
  },
};
A word of advice: razzle.config.js is an escape hatch. However, since it's just JavaScript, you can and should publish your modify function to npm to make it reusable across your projects. For example, imagine you added some custom webpack loaders and published it as a package to npm as my-razzle-modifictions. You could then write your razzle.config.js like so:
// razzle.config.js
const modify = require('my-razzle-modifictions');

module.exports = {
  modify
}
Last but not least, if you find yourself needing a more customized setup, Razzle is very forkable. There is one webpack configuration factory that is 300 lines of code, and 4 scripts (build, start, test, and init). The paths setup is shamelessly taken from create-react-app, and the rest of the code related to logging.
Razzle comes with Create React App's ESLint configuration. Add a .eslintrc file to the root of your project to use your own configuration.
{
  "extends": "react-app",
  "rules": {
    // modify default rules
  }
}Razzle supports CSS Modules using Webpack's css-loader. Simply import your CSS file with the extension .module.css and Razzle will process the file using css-loader.
import React from 'react';
import styles from './style.module.css';

const Component = () => <div className={styles.className} />;

export default Component;The following environment variables are embedded during the build time.
process.env.RAZZLE_PUBLIC_DIR: Path to the public directory.process.env.RAZZLE_ASSETS_MANIFEST: Path to a file containing compiled asset outputsprocess.env.REACT_BUNDLE_PATH: Relative path to where React will be bundled during development. Unless you are modifying the output path of your webpack config, you can safely ignore this. This path is used byreact-error-overlayand webpack to power up the fancy runtime error iframe. For example, if you are using common chunks and an extra entry to create a vendor bundle with stuff like react, react-dom, react-router, etc. calledvendor.js, and you've changed webpack's output to[name].jsin development, you'd want to set this environment variable to/static/js/vendor.js. If you do not make this change, nothing bad will happen, you will simply not get the cool error overlay when there are runtime errors. You'll just see them in the console. Note: This does not impact production bundling.process.env.VERBOSE: default is false, setting this to true will not clear the console when you make edits in development (useful for debugging).process.env.PORT: default is3000, unless changedprocess.env.HOST: default is0.0.0.0process.env.NODE_ENV:'development'or'production'process.env.BUILD_TARGET: either'client'or'server'process.env.PUBLIC_PATH: Only in used inrazzle build. You can alter thewebpack.config.output.publicPathof the client assets (bundle, css, and images). This is useful if you plan to serve your assets from a CDN. Make sure to include a trailing slash (e.g.PUBLIC_PATH=https://cdn.example.com/). If you are using React and altering the public path, make sure to also include thecrossoriginattribute on your<script>tag insrc/server.js.
You can create your own custom build-time environment variables. They must start
with RAZZLE_. Any other variables except the ones listed above will be ignored to avoid accidentally exposing a private key on the machine that could have the same name. Changing any environment variables will require you to restart the development server if it is running.
These environment variables will be defined for you on process.env. For example, having an environment variable named RAZZLE_SECRET_CODE will be exposed in your JS as process.env.RAZZLE_SECRET_CODE.
Using the dotenv package, or by defining variables in your shell (see below), you can get access to runtime environment variables. This is useful for services like Heroku which dynamically set process.env.PORT for example. Be careful when referencing runtime variables in isomorphic code as they will be undefined in the browser, but defined when running in Node. This can lead to weird behavior. If you need to make runtime variables available to the browser, it is up to you to deliver them. You can stringify them and place them on window...
// config.js
export const runtimeConfig =
  typeof window !== 'undefined'
    ? {
        // client
        myThing: window.env.myThing,
        anotherThing: window.env.anotherThing,
      }
    : {
        // server
        myThing: process.env.MY_THING,
        anotherThing: process.env.ANOTHER_THING,
      };
Now we set window.env as runtimeConfig when we go to render the HTML.
import App from './App';
import React from 'react';
import express from 'express';
import { renderToString } from 'react-dom/server';
import serialize from 'serialize-javascript'; // Safer stringify, prevents XSS attacks
import { runtimeConfig } from './config';
const assets = require(process.env.RAZZLE_ASSETS_MANIFEST);

const server = express();

server
  .disable('x-powered-by')
  .use(express.static(process.env.RAZZLE_PUBLIC_DIR))
  .get('/*', (req, res) => {
    const markup = renderToString(<App />);
    res.send(
      // prettier-ignore
      `<!doctype html>
    <html lang="">
    <head>
        <meta http-equiv="X-UA-Compatible" content="IE=edge" />
        <meta charSet='utf-8' />
        <title>Welcome to Razzle</title>
        <meta name="viewport" content="width=device-width, initial-scale=1">
        ${
          assets.client.css
            ? `<link rel="stylesheet" href="${assets.client.css}">`
            : ''
        }
    </head>
    <body>
        <div id="root">${markup}</div>
        <script>window.env = ${serialize(runtimeConfig)};</script>
        <script src="${assets.client.js}" defer crossorigin></script>
    </body>
</html>`
    );
  });

export default server;Defining environment variables can vary between OSes. It’s also important to know that this manner is temporary for the life of the shell session.
set RAZZLE_SECRET_CODE=abcdef&&npm start(Note: the lack of whitespace is intentional.)
RAZZLE_SECRET_CODE=abcdef npm startTo define permanent environment variables, create a file called .env in the root of your project:
RAZZLE_SECRET_CODE=abcdef
.env: Default..env.local: Local overrides. This file is loaded for all environments except test..env.development,.env.test,.env.production: Environment-specific settings..env.development.local,.env.test.local,.env.production.local: Local overrides of environment-specific settings.
Files on the left have more priority than files on the right:
npm start:.env.development.local,.env.development,.env.local,.envnpm run build:.env.production.local,.env.production,.env.local,.envnpm test:.env.test.local,.env.test,.env(note.env.localis missing)
These variables will act as the defaults if the machine does not explicitly set them.
Please refer to the dotenv documentation for more details.
Note: If you are defining environment variables for development, your CI and/or hosting platform will most likely need these defined as well. Consult their documentation how to do this. For example, see the documentation for Travis CI or Heroku.
TL;DR: 2 configs, 2 ports, 2 webpack instances, both watching and hot reloading the same filesystem, in parallel during development and a little webpack.output.publicPath magic.
In development mode (razzle start), Razzle bundles both your client and server code using two different webpack instances running with Hot Module Replacement in parallel. While your server is bundled and run on whatever port you specify in src/index.js (3000 is the default), the client bundle (i.e. entry point at src/client.js) is served via webpack-dev-server on a different port (3001 by default) with its publicPath explicitly set to localhost:3001 (and not / like many other setups do). Then the server's html template just points to the absolute url of the client JS: localhost:3001/static/js/client.js. Since both webpack instances watch the same files, whenever you make edits, they hot reload at exactly the same time. Best of all, because they use the same code, the same webpack loaders, and the same babel transformations, you never run into a React checksum mismatch error.
MIT License
Thanks goes to these wonderful people (emoji key):
 Jared Palmer 💬 💻 🎨 📖 💡 🤔 👀 |
 Jari Zwarts 💬 💻 🤔 🔌 👀 |
 Dan Abramov 💻 🤔 |
 Eric Clemmons 💻 🤔 |
 Zino Hofmann 💡 |
 Lucas Terra 💻 💡 🔌 |
 Erik Engi 📖 📝 💡 🐛 |
|---|
This project follows the all-contributors specification. Contributions of any kind welcome!