
- Mission_to_Mars(Code) :
- CSS
- Template
- Jupyter Notebook 'mission_to_mars.ipynb'. Scraping code
- Python file 'scrape_mars.py'. scrape() function using scraping code developed in the Jupyter notebook
- Flask app file 'app.py'
- App Screen Shots
- Images for Readme
This web application scrapes various websites for data related to the Mission to Mars and displays the information in a single HTML page. Following outlines the process.
Used Jupyter Notebook, BeautifulSoup, Pandas, and Requests/Splinter.
- Jupyter Notebook 'mission_to_mars.ipynb' has the code that was built to complete all scraping and analysis tasks. The following outlines what data was scraped.
- Scraped the Mars News Site and collected the latest News Title and Paragraph Text. Stored to variables. Also scraped the date of the article.
Click to see an example!
# Example:
news_date = "August 16, 2021"
news_title = "Two Rovers to Roll on Mars Again: Curiosity and Mars 2020"
news_p = "They look like twins. But under the hood, the rover currently exploring the Red Planet and the one launching there this summer have distinct science tools and roles to play."-
Visited url for the Featured Space Image site here.
-
Used splinter to navigate the site and find the image url for the current Featured Mars Image and assign the url string to a variable called
featured_image_url. -
Searched for full size
.jpgimage. -
Saved url string for this image.
# Example:
featured_image_url = 'https://spaceimages-mars.com/image/featured/mars3.jpg'-
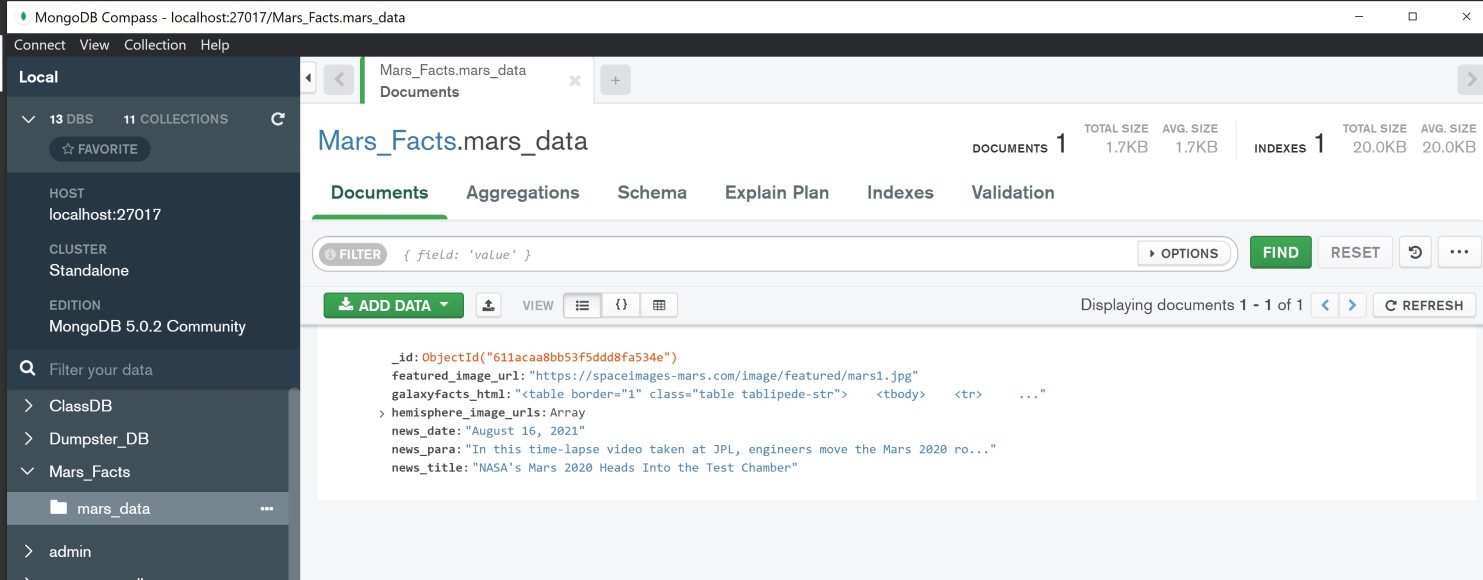
Visited the Mars Facts webpage here and used Pandas to scrape the table containing facts about the planet including Diameter, Mass, etc.
-
Used Pandas to convert the data to a HTML table string.
-
Saved the HTML string to a variable 'galaxyfacts_html'.
Click to see an example!
# Example:
galaxyfacts_html = '<table border="1" class="table tablipede-str">
<tbody>
<tr>
<td>Equatorial Diameter:</td>
<td>6,792 km</td>
</tr>
<tr>
<td>Polar Diameter:</td>
<td>6,752 km</td>
</tr>
<tr>
<td>Mass:</td>
<td>6.39 × 10^23 kg (0.11 Earths)</td>
</tr>
<tr>
<td>Moons:</td>
<td>2 ( Phobos & Deimos )</td>
</tr>
<tr>
<td>Orbit Distance:</td>
<td>227,943,824 km (1.38 AU)</td>
</tr>
<tr>
<td>Orbit Period:</td>
<td>687 days (1.9 years)</td>
</tr>
<tr>
<td>Surface Temperature:</td>
<td>-87 to -5 °C</td>
</tr>
<tr>
<td>First Record:</td>
<td>2nd millennium BC</td>
</tr>
<tr>
<td>Recorded By:</td>
<td>Egyptian astronomers</td>
</tr>
</tbody>
</table>'
-
Visited the astrogeology site here to obtain high resolution images for each of Mar's hemispheres.
-
Wrote a loop to click each of the links to the hemispheres in order to find the image url to the full resolution image.
-
Saved both the image url string for the full resolution hemisphere image, and the Hemisphere title containing the hemisphere name. Used a Python dictionary to store the data using the keys
img_urlandtitle. -
Appended the dictionary with the image url string and the hemisphere title to a list. This list will contain one dictionary for each hemisphere.
Click to see an example!
# Example:
hemisphere_image_urls = [{'title': 'Cerberus Hemisphere Enhanced',
  'img_url': 'https://marshemispheres.com/images/full.jpg'},
 {'title': 'Schiaparelli Hemisphere Enhanced',
  'img_url': 'https://marshemispheres.com/images/schiaparelli_enhanced-full.jpg'},
 {'title': 'Syrtis Major Hemisphere Enhanced',
  'img_url': 'https://marshemispheres.com/images/syrtis_major_enhanced-full.jpg'},
 {'title': 'Valles Marineris Hemisphere Enhanced',
'img_url': 'https://marshemispheres.com/images/valles_marineris_enhanced-full.jpg'}]Used MongoDB with Flask templating to create a new HTML page that displays all of the information that was scraped from the URLs above.
-
Started by converting Jupyter notebook into a Python script called 'scrape_mars.py'. Created a function called
scrapethat will execute all scraping code from above and return one Python dictionary containing all of the scraped data. -
Next, created a route called
/scrapethat will import 'scrape_mars.py' script and callscrapefunction.- Stored the return value in MongoDB
-
Created a root route
/that will query Mongo database and pass the mars data into an HTML template to display the data. -
Created a template HTML file called 'index.html' that takes the mars data and displays it in the appropriate HTML elements.
- used jinja to render the final HTML document.

Click to sample jinja!
    {%for each_url in mars_data['hemisphere_image_urls']%}

        {% if loop.index is not divisibleby 2 %}
        <div class="row d-flex justify-content-around row_s">
        {% endif %}
        <div class="col-sm-12  col-md-12 col-lg-5 col_s">
        <img src="{{each_url['img_url']}}" width="100%">
        <br />
        <h6 class="visualization_page_h"><center>{{each_url['title']}}</center></h6><br />
        </div>
        {% if loop.index is divisibleby 2 %}
        </div>
        {% endif %}

    {% endfor %}

    {% if mars_data['hemisphere_image_urls']|length is not divisibleby 2 %}
    </div>
{% endif %} - Used bootstarp for HTML template and css for styling the template.
- Image of page before the intital scrape, when there was no data in the database to render. Clicking the 'Scarpe New Data' button would intitiate the process by calling scrape() function.

- Images of the page after the scrape has been completed. Upon scraping, Data that has been stored to the database is rendered to a HTML template and displayed.


-
Used Splinter to navigate the sites when needed and BeautifulSoup to help find and parse out the necessary data.
-
Used Pymongo for CRUD applications for database.
-
Fot this project, only one document (record) was saved by overwriting the existing document each time the
/scrapeurl is visited and new data is obtained. The code can easily be adapted for multipe records (with few minor changes) -
Used jinja, Bootstrap and custom css to structure and render HTML template.
-
Tested multiple times and the app executes with out any errors.