This is a version of the QuestionBot project that appears in the Develop in Swift Explorations curriculum (https://apple.co/developinswiftexplorations), but re-done in SwiftUI.
The intention is to show you how you might translate a familiar UI to SwiftUI and what it means for your code. You will be able to compare and constrast this project against your own QuestionBot project from Develop in Swift Explorations.
For this project, you will need:
- A Mac (running Catalina, macOS 10.15, at least)
- Xcode (version 12 is better)
In QuestionBot, in Explorations, your focus is on building the brains for your app. The file QuestionAnswerer.swift defines a MyQuestionAnswerer struct that has one simple function:
    func responseTo(question: String) -> String {
        // TODO: Write a response
        return "?"
    }
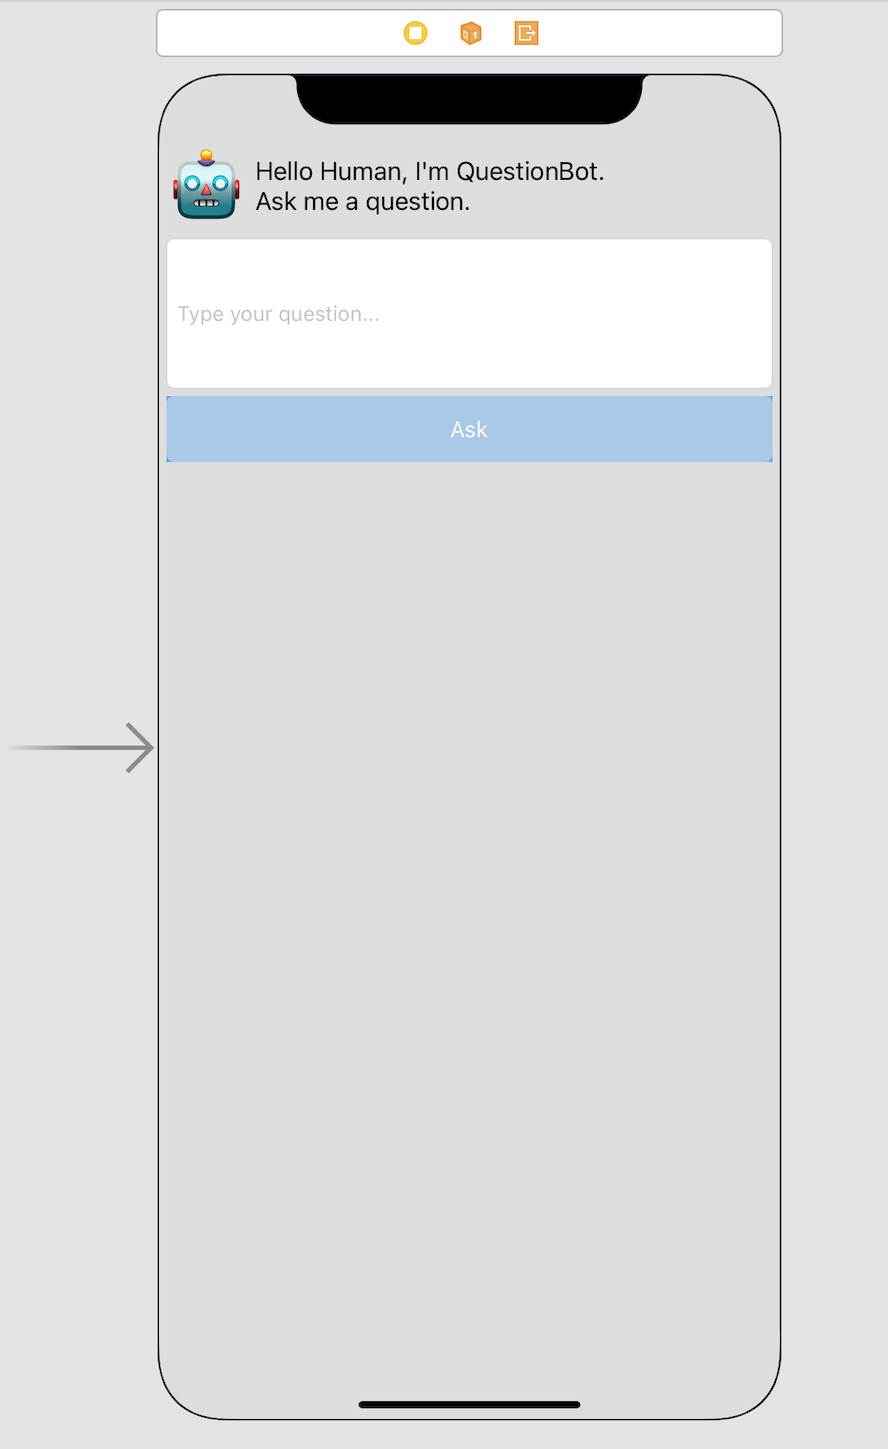
You may have also changed your layout by editing the Main.storyboard file:
This is the user interface we're going to replicate in SwiftUI, and we're going to re-use the brains that you wrote in our SwiftUI version of the app.
I would highly recommend you start with the start branch. This is where we slowly build up our user interface in SwiftUI. And then we progress through the other branches described below.
If you want to leap in and try your hand at any given step, try starting with the one before and see if you can't implement the next thing we tackle. For example, if you wanted to give styling the view a shot once it's been laid out, check out the ui-layout branch and see what you can come up with. Compare it to what we did in ui-styling. There's more than one way to do it, so if your solution doesn't match ours I wouldn't panic!
In the start branch, we begin with a default SwiftUI app with a QuestionAnswerer.swift file added. If you've written your logic as a part of the original QuestionBot assignment, feel free to copy and paste in your code.
In the ui-layout branch, we begin replacing the default SwiftUI views with a layout similar to what we have in the storyboard version. We have very little styling (other than setting the font style for our QuestionBot emoji), but it looks roughly, very roughly, like our original QuestionBot.
In the ui-styling branch, we start making the interface look a lot more like our original QuestionBot sample.
In the action branch, we'll hook up the Ask button to hit our logic from the QuestionAnswerer.swift.
In the styledUIAndFeedback branch, we add haptic feedback, an alternative style for asking for the user's question, and some UI tweaks.
In the main branch, we're aligned with the styledUIAndFeedback branch, so look out for spoilers! If you want to try to implement it from scratch you should use the start branch.
This code almost, but not quite, replicates the QuestionBot project. For example, the "Ask" button doesn't get disabled when there is no text in the question field. The question text also isn't cleared after we respond to the question. Can you spot other issues you might want to address?
