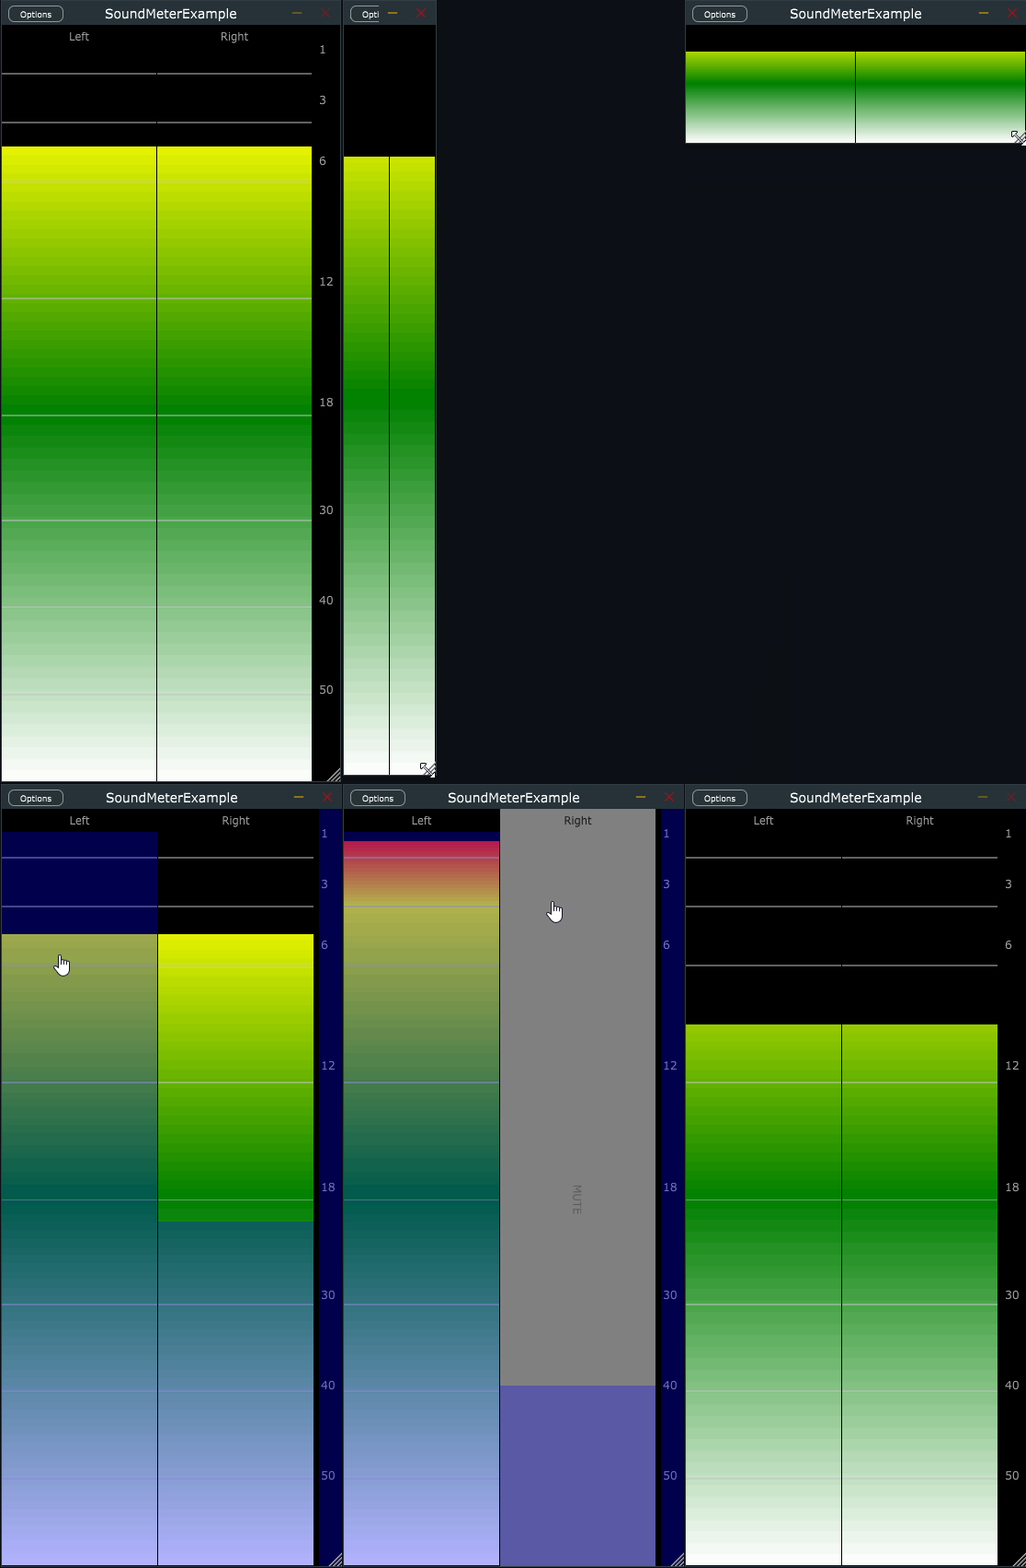
Sound Meter
Juce peak meter module with optional fader overlay.

Features:
- Fully resize-able.
- Adaptive. Will show header, value, tick-marks only when there is space available.
- Unlimited number of user defineable segments, with custom ranges and configurable colours or gradients.
- Efficient. Only redraws when needed.
- Configurable meter ballistics (meter decay).
- Tick-marks (dividing lines on the meter) at user specified levels.
- Peak hold indicator and optional peak value readout.
- Optional label strip next to the meters (which can double as master fader).
- Optional header identifying the meter's name (set by user) or channel type.
- Optional fader and mute button (in the header).
You can find the API documentation here...
An example project, demonstrating sound_meter can be found here...
Usage
All classes are in the namespace sd::SoundMeter to avoid collisions. You can either prefix each symbol, or import the namespace.
MetersComponent
The MetersComponent class creates and controls the meters. This would live in your editor.h.
private:
   sd::SoundMeter::MetersComponent  m_meters;
In the constructor you can specify a channel format with setChannelFormat or set the nummer of channels with setNumChannels:
m_meters.setChannelFormat (juce::AudioChannelSet::stereo());and configure it's options: (for all meter options, see documentation)
sd::SoundMeter::Options meterOptions;
meterOptions.faderEnabled     = true;
meterOptions.headerEnabled    = true;
meterOptions.showTickMarks    = true;
m_meters.setOptions (meterOptions);
and configure the segments:
std::vector<sd::SoundMeter::SegmentOptions> segmentOptions =
{ // From bottom of the meter (0.0f) to the half. Displaying -60 dB up to -18 dB.
  { { -60.0f, -18.0f }, { 0.0f, 0.5f }, juce::Colours::green, juce::Colours::green },
  // From half of the meter to almost the top (0.9f). Displaying -18 dB up to -3 dB.
  { { -18.0f, -3.0f }, { 0.5f, 0.90f }, juce::Colours::green, juce::Colours::yellow },
  // From almost the top to the top of the meter (1.0f). Displaying -3 dB up to 0 dB.
  { { -3.0f, 0.0f }, { 0.90f, 1.0f }, juce::Colours::yellow, juce::Colours::red } };
m_meters.setMeterSegments (segmentOptions);
Finally (still in the constructor) we add the component and make it visible:
addAndMakeVisible (m_meters);In the resized() method, you set the bounds (left, right, width, height) of the meters:
m_meters.setBounds (getLocalBounds());Getting the levels
Basically everything is set up now.
All left to do now is to supply the meter with the level with the method:
setInputLevel (int channel, float value);
The recommended way to get the levels from the audio processor is to let the editor poll the audio processor (with a timer for instance). Preferably it would poll atomic values in the audio processor for thread safety.
A fully working example demonstrating this can be found here...
Sound Development 2023