This repository follows Bildverarbeitung FS2021 for Geomatik bachelor students at ETH Zurich. Lectures and recordings can be found in Moodle.
If you have any questions, please let us know:
- Shengyu Huang {shengyu.huang@geod.baug.ethz.ch}
- Nadine Rueegg {nadine.rueegg@geod.baug.ethz.ch}
This code has been test on
- Python 3.7 and Python 3.8, MacOS and Linux
As the first step, please git clone this repository to your local machine by running:
git clone https://github.com/ShengyuH/ImgProc.git
Then, please run the following commands to create virtual environment and install dependencies:
virtualenv vildverarbeitung
source vildverarbeitung/bin/activate
pip install numpy PyQt5 opencv_python scikit-image
Next, please install QT Designer
- For windows and Linux user, you can install by running:
pip install PyQt5_tools
- For MacOS user, please choose
5.12.x Offline Installersand install from here
Now you can open the GUI by running:
python main.py
and you will see sth like:
If you run into errors like
QObject::moveToThread: Current thread (0x2ab1aa0) is not the object's thread (0x312d4d0).
Cannot move to target thread (0x2ab1aa0)

qt.qpa.plugin: Could not load the Qt platform plugin "xcb" in "/scratch2/shengyu/predator/lib/python3.8/site-packages/cv2/qt/plugins" even though it was found.
This application failed to start because no Qt platform plugin could be initialized. Reinstalling the application may fix this problem.

Available platform plugins are: xcb, eglfs, linuxfb, minimal, minimalegl, offscreen, vnc, wayland-egl, wayland, wayland-xcomposite-egl, wayland-xcomposite-glx, webgl.

Aborted
Please uninstall opencv_python and instead, install opencv_python_headless:
pip uninstall opencv_python
pip install opencv_python_headless
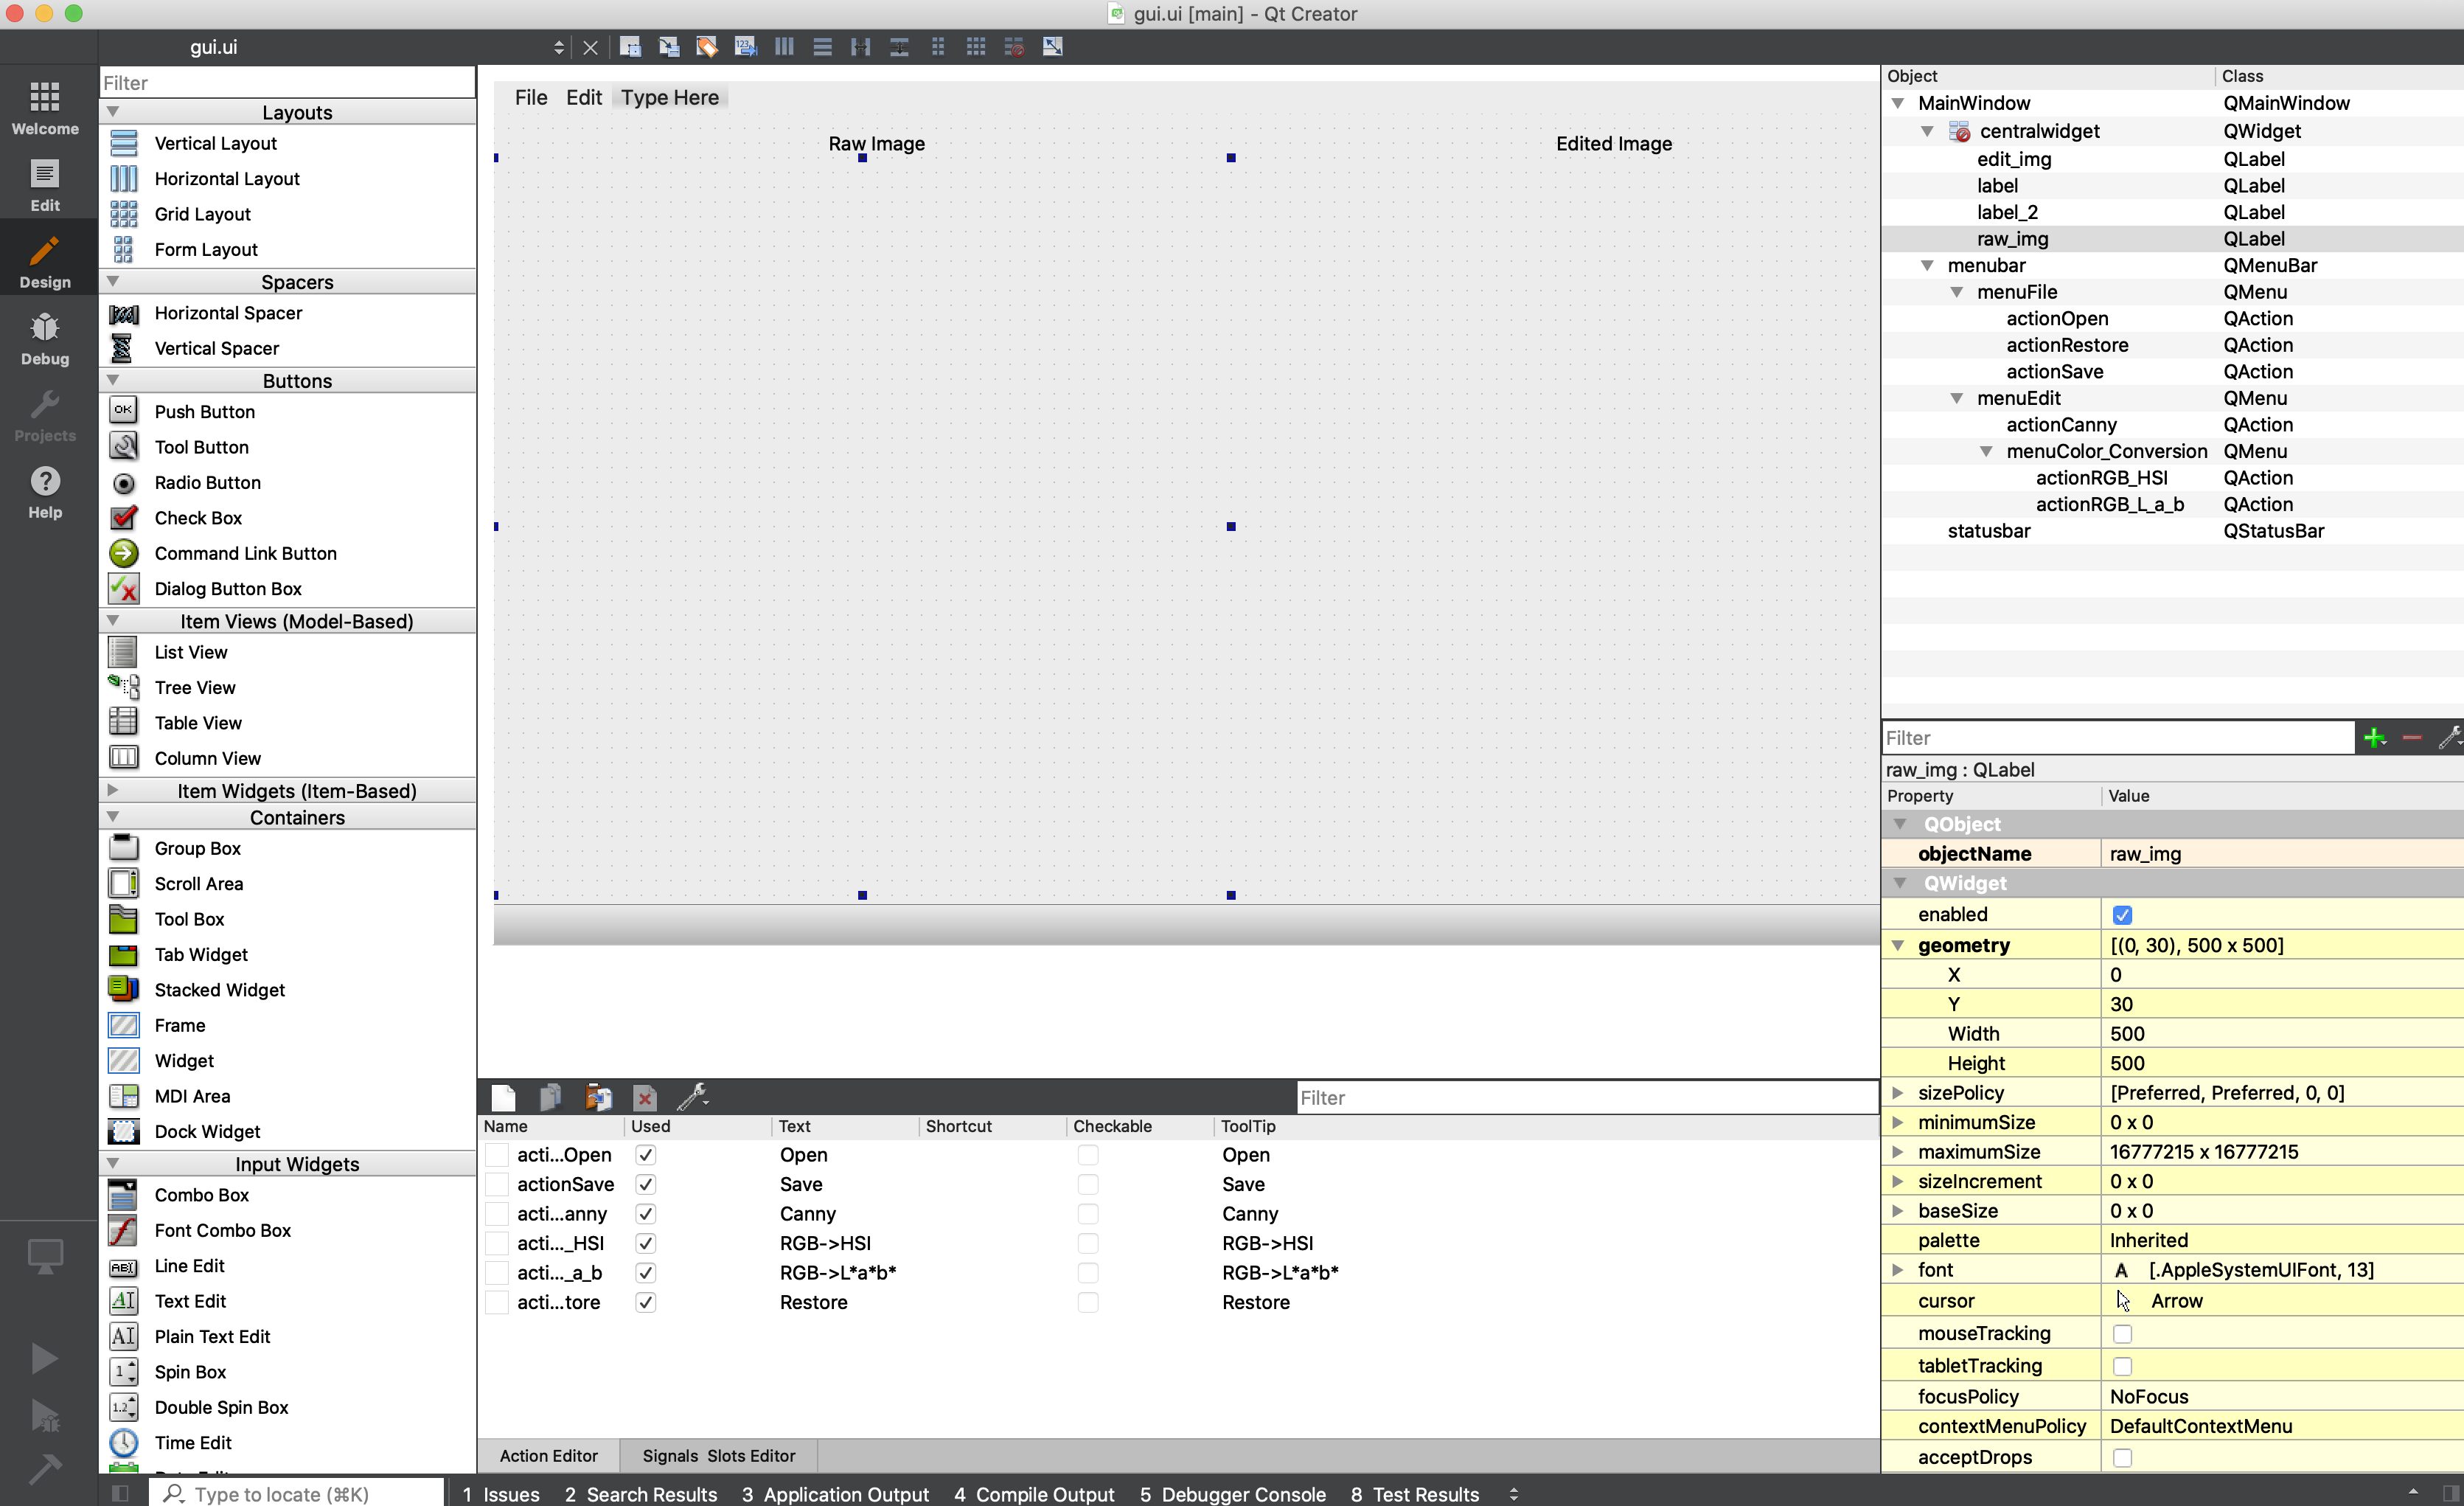
This GUI is built on QT, to make any modifications, please first open qt designer/creator:
- For linux and windows user, please run:
pyqt5-tools designer
- For MacOS user, please just open QT Creator after installation.
Then please open assets/gui.ui and make modifications.
Afterwards, you can first save the modifications and run
pyuic5 -o libs/gui.py assets/gui.ui
to update associated python files. You will see the new GUI by running
python main.py

