Neovim Configuration
This repository contains all the files needed to configure my personal neovim customization.
Table of contents
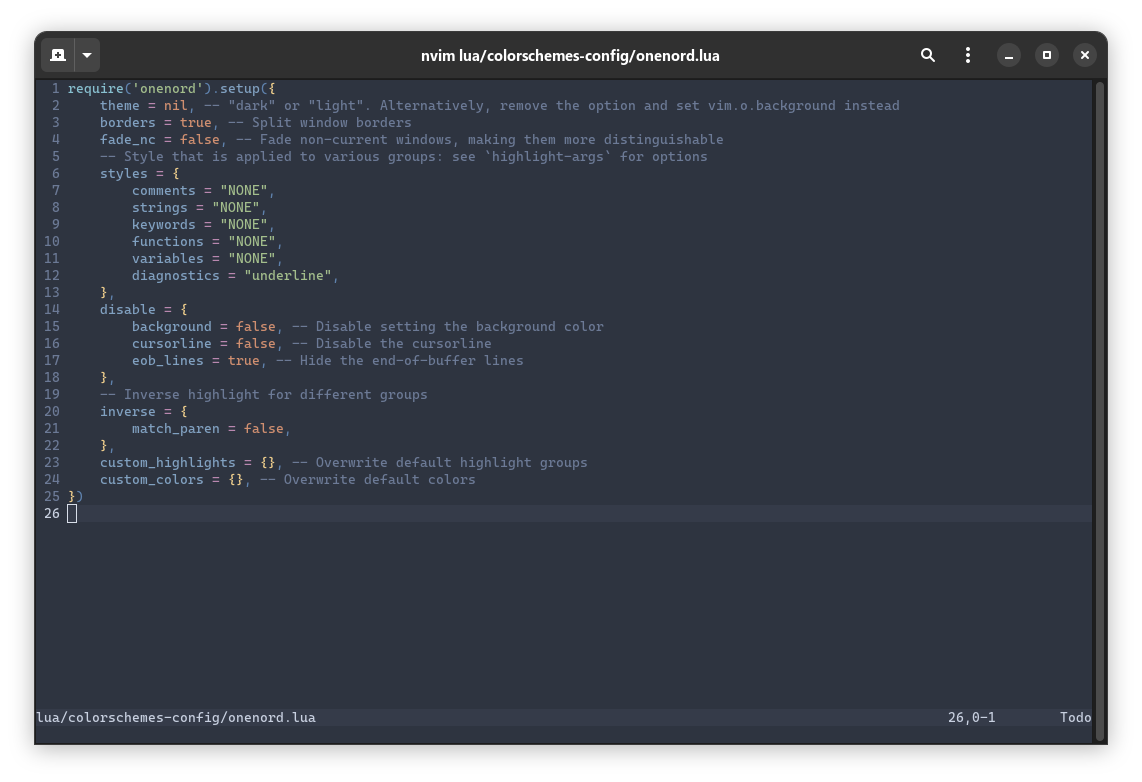
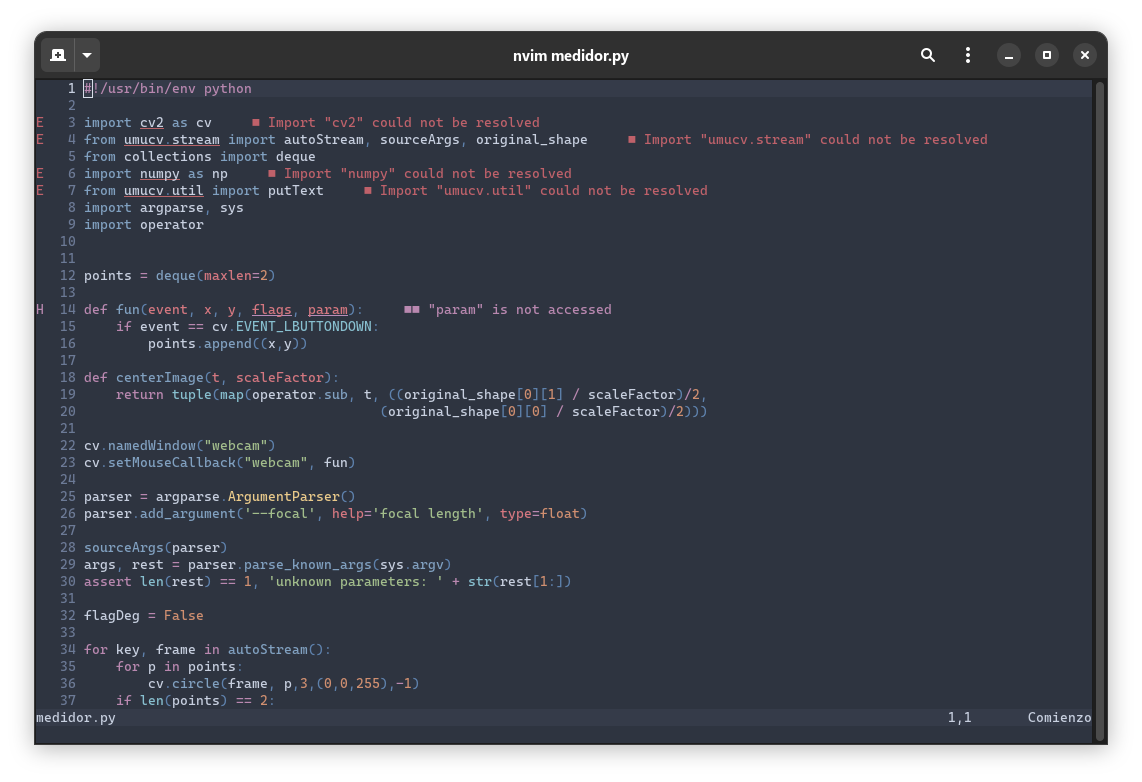
Example images
| Example with Lua | Example with Python |
|---|---|
 |
 |
Features
Cursor reset
By default, the block cursor persist after exiting neovim. One way to restore the terminal cursor is use vim autocmd. A lua script controls that lua/cursor-reset/init.lua.
When neovim is opened, vim's default cursor style is set.
guicursor=n-v-c-sm:block,i-ci-ve:ver25,r-cr-o:hor20On the other hand, on exit the cursor is reset to the one before.
guicursor=a:ver25-blinkon0This can be changed to any preference block, ver<size>, hor<size>.
Vim options
In addition to anything else, a lot of vim options can be configured. Those who I consider more important can be found in lua/settings/init.lua.
set.expandtab = true        -- Use spaces instead of <Tab>
set.smarttab = true         -- Use 'shiftwifth' when inserting <Tab>
set.shiftwidth = 4          -- Number of spaces to use for (auto)indent
set.tabstop = 4             -- Number of spaces that <Tab> uses

set.hlsearch = true         -- Highlight matches with last search pattern
set.incsearch = true        -- Highlight match while typing search pattern
set.ignorecase = true       -- Ignore case in search patterns
set.smartcase = true        -- No ignore case when pattern has uppercase

set.splitbelow = true       -- New window from split is below the current one
set.splitright = true       -- New window is put right of the current one
set.scrolloff = 5           -- Minimum number of lines above and below cursor
set.fileencoding = 'UTF-8'  -- File encoding
set.termguicolors = true    -- Enable 24-bit colors and uses "gui" attributes
                            -- instead of "cterm"

set.number = true           -- Enable line numbers
set.cursorline = true       -- Highlight current line

set.background = 'dark'     -- Change highlight colors depending on terminal
                            -- background
set.hidden = true           -- Allow to have unwritten files to a file and
                            -- open a new file using :e without being forced
                            -- to write or undo those changes
Plugin manager
To manage all the plugins I am going to use Packer plugin manager.
Color scheme
I am a big nord fan, for that reason I am going to use onenord colorscheme. This colorscheme combines the nord aesthetic with a higher contrast syntax highlighting.
Credits to: rmehri01/onenord.nvim.
NeovimTree
This plugin adds a file explorer to neovim. It can be opened using Space + e.
Language servers
Language servers facilitate features like go-to-definition, find-references, hover, completion, rename, format, refactor, etc., using semantic whole-project analysis.
In my case, I have used the following servers which you can modify as much as you want (lua/mason-config/init.lua).
-- Required servers
servers = { 'bashls', 'clangd', 'cmake', 'dockerls', 'hls', 'jdtls',
            'kotlin_language_server', 'ltex', 'pyright', 'sqlls', 'sumneko_lua' }
Note You need to have
ghcupinstalled to usehls(haskell)
You can find a wide list here.
Treesitter
Treesitter improves syntax highlighting. It also gives us the ability to refactor code as well as navigate throw definitions and usages of variables or functions.
Usage
Warning It's necessary to have a terminal emulator compatible with true colors to use this configuration. You can remove the colorscheme config if you still want to use the rest of this configuration.
To try this configuration, all you have to do is run the following command and install the plugin manager.
mkdir -p ~/.config/nvim && git clone https://github.com/Serms1999/NeoVim-Configuration.git ~/.config/nvimLSP servers
If you want to customize the language servers that are going to be installed you must modify the var showed here.
After the installation, you can use Mason to see and manage servers.
Packer installation
You can see a full guide of how to install and configure it here.
To summarize, to download it you only have to run:
git clone --depth 1 https://github.com/wbthomason/packer.nvim ~/.local/share/nvim/site/pack/packer/start/packer.nvimLastly, you need to run PackerSync in neovim. This will download all the require plugins.