Papers with Code
Report
Implemenation of the network is inside the src folder.
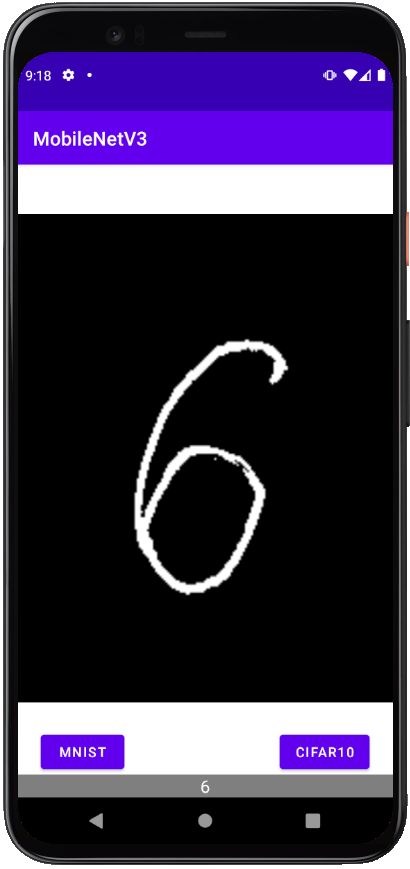
To convert the model in a pytorch lite version, usable in Android/iOS, check the dedicated notebook.
In order to run the python scripts the following programs are needed:
- a virtual environment manager like mini-conda.
- pip for packages management.
- wandb useful program to track the usage of cpu, memory and gpu.
- docker to run wandb locally inside a container.
The following installation scripts are specific for Ubuntu. For other Linux distros or OS, check the docker website.
# Uninstall old versions of docker
sudo apt-get remove docker docker-engine docker.io containerd runc
# Setup the repository
sudo apt-get update
sudo apt-get install apt-transport-https ca-certificates curl gnupg lsb-release
# Add docker's official GPG key
curl -fsSL https://download.docker.com/linux/ubuntu/gpg | sudo gpg --dearmor -o /usr/share/keyrings/docker-archive-keyring.gpg
# Setup the stable repository
echo "deb [arch=$(dpkg --print-architecture) signed-by=/usr/share/keyrings/docker-archive-keyring.gpg] https://download.docker.com/linux/ubuntu \
  $(lsb_release -cs) stable" | sudo tee /etc/apt/sources.list.d/docker.list > /dev/null
# Install docker engine
sudo apt-get update
sudo apt-get install docker-ce docker-ce-cli containerd.io

# To check that docker is correctly installed
sudo docker run hello-world
Post-installation steps
In order to correctly run wandb some steps are required, the official guide is here.
sudo groupadd docker
sudo usermod -aG docker $USER
newgrp docker

# Verify that you can run docker without sudo
docker run hello-worldAfter creating a virtual environment, activate it and install the wandb package. Follow the official guide.
conda activate <venv_name>
pip install wandb # or use the requirements.txt file
# Create and run the wandb docker image
wandb local
After this follow the instructions via terminal to setup the local webserver, accessing to localhost:8080.
To use multiple GPU, with dp or ddp for example, run the project using the scripts and not the notebooks (ipython bug).
tmux
conda create -n <venv_name>
conda activate <venv_name>
pip install -r requirements.txt
# Create and run the wandb docker image
wandb local
# Split the terminal horizontally via Ctrl+B+" or open a new terminal
python main.py --split <train/test> --mode <small/large> --dataset <mnist/cifar10> --monitor
# Split the terminal horizontally via Ctrl+B+" or open a new terminal
tensorboard --log_dir tb_logs
If you don't want to install docker/wandb logger:
tmux
conda create -n <venv_name>
conda activate <venv_name>
pip install -r requirements.txt
# Split the terminal horizontally via Ctrl+B+" or open a new terminal
python main.py --split <train/test> --mode <small/large> --dataset <mnist/cifar10>
# Split the terminal horizontally via Ctrl+B+" or open a new terminal
tensorboard --log_dir tb_logs
Inside the config.ini file there are some configurations variables.
Use the Notebook to transform the trained model to pytorch lite model, usable inside an Android app or Simulator.
Launch the Android studio program and import the Project present in the repository. Change the checkpoints in the assets directories.
