Version: 1.5.0
Download now »
Report Bug
·
View Changelog
·
YouTube Video

This guide is only for the Lenovo ThinkPad T440p. I am NOT responsible for any harm you cause to your device. This guide is provided "as-is" and all steps taken are done at your own risk.
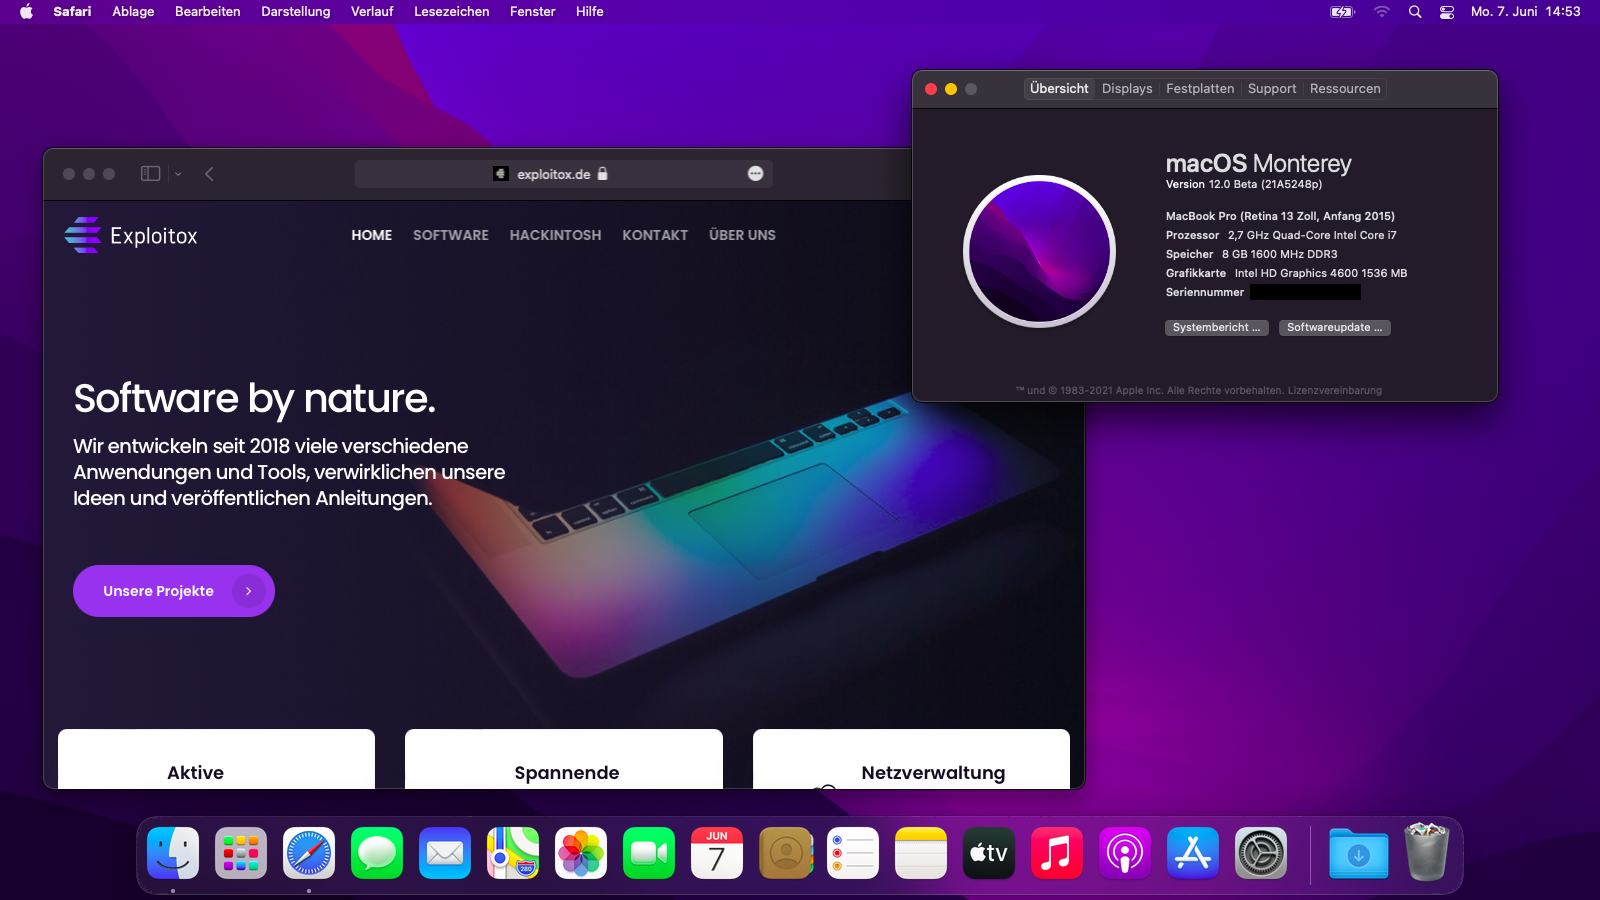
Note: This repo include support for macOS Monterey, but it is provided as beta and is not recommended for daily usage.
The Version 1.5.0 changes the model from MacBookPro11,1 to MacBookPro12,1. You need to generate a new SMBIOS for the new model with GenSMBIOS.
There are different EFIs for different situations.
| EFI | Description | Type |
|---|---|---|
EFI - Catalina |
Supports only macOS Catalina | Release |
EFI - Big Sur |
Supports only macOS Big Sur | Release |
EFI - Monterey |
Supports only macOS Monterey | Beta |
EFI - HeliPort |
Supports every macOS Version, Require HeliPort app | Release |
Note: In order to use Heliport with macOS Monterey, apply every changes mentioned in
DIFFERENCES.mdinEFI - Monterey -> Config.plist
Differences to the EFI folders »
Download HeliPort app »
- Intel WiFi & Bluetooth (thanks to itlwn)
- Brightness/Volume Control
- Battery Information
- Audio (Audio Jack & Speaker)
- USB Ports, Built-in Camera
- Graphics Acceleration
- Trackpoint/Touchpad
- Power management/sleep
- FaceTime/iMessage
- DisplayPort
- Automatic OS updates
- DVD Drive
- Dock USB ports
- Dock HDMI, DisplayPort, DVI and VGA
- VGA
You must have the following stuff:
- Lenovo ThinkPad T440p (Obviously 😁).
- Access to a working Windows machine with Python installed.
- A pendrive with more than 4 GB (Keep in mind, during the preperation we will format the disk to create the install media).
- an Internet connection via Ethernet.
- 1-2 hours of your time.
Note: If you want to install macOS Monterey, you need to upgrade from Big Sur, or create an offline install media (see down below).
First of all, you will need the install media of macOS. I will use macrecovery to download and create the macOS Install media.
With macrecovery, the process is the following:
- Download OpenCorePkg as a ZIP.
- Extract the OpenCorePkg-master.zip file.
- Open
cmd.exewith Administrator privileges and change the directory to OpenCorePkg-master\Utilities\macrecovery. - Enter the following command to download macOS:
# Catalina (10.15)
python macrecovery.py -b Mac-00BE6ED71E35EB86 -m 00000000000000000 download

# Big Sur (11)
python macrecovery.py -b Mac-E43C1C25D4880AD6 -m 00000000000000000 download
-
After the download succeeded, type
diskpartand wait until you seeDISKPART> -
Plug-in your pendrive and type
list diskto see your disk id. -
Select your pendrive by typing
select disk <diskid> -
Now we are gonna clean the pendrive and convert it to GPT. First, type
cleanand thenconvert gpt.
Note: If an error occurred, try to convert again by typing
convert gpt.
-
After the pendrive is clean and converted, we will create a new partition where we can put our files on. First, type
create partition primary, then select the new partition withselect partition 1and format itformat fs=fat32 quick. -
Finally, mount your pendrive by typing
assign letter=J -
Now, close the Command Prompt and create the folder
com.apple.recovery.booton the pendrive. CopyOpenCorePkg-master\Utilities\macrecovery\BaseSystem.dmgandBasesystem.chunklistinto that folder.
Note: If you can't find BaseSystem.dmg, use RecoveryImage.dmg and RecoveryImage.chunklist instead.
After the install media was created, we need to make the USB drive bootable.
Download the EFI folder from this repo, you will find the latest files under the releases or just download the repo as it is. Move the EFI folder to the root of your pendrive (e.g. J:).
We need a script, called GenSMBIOS, to create fake serial number, UUID and MLB numbers. This step is essential to have working iMessage, so do not skip it!
The process is the following:
- Download GenSMBIOS as a ZIP, then extract it.
- Start GenSMBIOS.bat and use option 1 to download MacSerial.
- Choose option 2, to select the path of the config.plist file. It will be located in EFI -> OC folder.
- Choose option 3, and enter
MacBookPro12,1as the machine type. - Press Q to quit. Your config now should contain the requied serials.
After adding serials to your config.plist, you have to add the computer's MAC address to the config.plist file. This step is also essential to have a working iMessage, so do not skip it. We need a Plist editior, to write the MAC address into the config.plist file. I used ProperTree, since it works on Windows too. You have to change the MAC address value in the config.plist at
PlatformInfo -> Generic -> ROM
Delete the generic 112233445566 value, and enter your MAC address into the field, without any colons. Save the Plist file, and it is now ready to be written out to the EFI partition of your install media.
After you've finished with the neccesary tweaks, you have to copy the EFI folder the EFI partition of your pendrive.
The bios must be properly configured prior to installing MacOS. In Security menu, set the following settings:
Memory Protection > Execution Prevention: must be EnabledInternal Device Access > Bottom Cover Tamper Detection: must be DisabledAnti-Theft > Current Setting: must be DisabledAnti-Theft > Computrace > Current Setting: must be DisabledSecure Boot > Secure Boot: must be Disabled
In Startup menu, set the following options:
UEFI/Legacy Boot: BothUEFI/Legacy Priority: UEFI FirstCSM Support: Yes
Now you can go through the install.
- Boot from USB and select the USB drive inside of OpenCore.
Note: The first boot may take up to 20 minutes.
- Wait for the macOS Utilities screen.
- Select Disk Utility, select your disk and click erase. Give a name and choose APFS with GUID Partition Map.
- After erasing, go back and select Reinstall macOS and follow the steps on your screen. The installation make take up to 2 hours.
Note: Your PC will restart multiple times. Just boot from USB and select your disk inside of OpenCore. (named macOS Installer or the disk name).
- Once you see the
Region selectionscreen, you are good to proceed. - Create your user accound and everything else.
- Press
WIN + SPACEand open terminal. Typesudo diskutil mountDisk disk0s1(where disk0s1 corresponds to the EFI partition of the main disk) - Open Finder and copy the EFI folder of your USB device to the main disk's EFI partition.
- Unplug the USB device and reboot your laptop. Now you can boot macOS without your USB device.
- Copy
ALCPlugFixto your desktop. - Press
WIN + SPACEand open terminal. Type the following commands:
sudo spctl --master-disable
sudo mkdir /usr/local/bin/
cd Desktop/ALCPlugFix
./install.sh- After that, type
hda-verb 0x1a SET_PIN_WIDGET_CONTROL 0x24.
In case of reinstalling macOS, a offline install media can save some time. You also don't need an Ethernet connection for the installation. To create a offline install media, you need the following stuff:
- macOS Installer from the App Store.
- A 16 GB pendrive (Keep in mind, during the preperation we will format the disk to create the install media).
Press WIN + SPACE and open Disk utility. Select your USB device and click erase. Name it MyUSB and choose Mac OS Extended with GUID Partition Map. After erasing the USB device, close Disk utility.
Now press WIN + SPACE and open terminal. Type the following command:
Big Sur:
sudo /Applications/Install\ macOS\ Big\ Sur.app/Contents/Resources/createinstallmedia --volume /Volumes/MyUSB --downloadassets
Catalina:
sudo /Applications/Install\ macOS\ Catalina.app/Contents/Resources/createinstallmedia --volume /Volumes/MyUSB --downloadassets
Monterey (Beta):
sudo /Applications/Install\ macOS\ 12\ Beta.app/Contents/Resources/createinstallmedia --volume /Volumes/MyUSB --downloadassets
After creating the install media, copy your EFI folder to the EFI partition of your USB device.
Did you find any bugs or just have some questions? Feel free to provide your feedback using the Issues tab.