A gulp plugin for automatic visual testing between different versions of components in SC5 StyleGuide.
The screenshots are taken in Chrome via PhantomJS.
You need to have PhantomJS installed. After that:
npm install --save-dev sc5-styleguide-visualtest
First you will need to create a set of grid images. They are usually taken from production version of the Style Guide. It is nice to have a Gulp task for it because you will need to remake the grid screenshots after every interface change.
var gulp = require("gulp");

var visTest = require('sc5-styleguide-visualtest');
var minimist = require('minimist');

var knownOptions = {
  'string': 'section',
  'default': { 'section': false }
};

var options = minimist(process.argv.slice(2), knownOptions);

gulp.task("test:visual:update", function() {
  gulp.src('path/to/styleguide/outpurDir', { read: false })
    .pipe(visTest.gather({
      configDir: './tests/visual/config', // Path to configuration and tests
      excludePages: [
        '2.2.1', // Back icon is not shown in prod
        '6.1-2', // picture is not loaded in prod
      ],
      gridScreenshotsDir: './tests/visual/grid-screenshots',
      rootUrl: 'http://mycompany.com/styleguide',
      sections: options.section
    }))
    .pipe(gulp.dest('./tests/visual/config'));
});
You may also use localhost version of Style Guide in rootUrl when taking screenshots. If so, make sure it runs.
These 2 tasks will create a basic configuration in tests/visual/config folder (you can change to any other path). In
this folder you will get:
- list of fullscreen pages of your components and their modifiers, excluding the listed
- basic test
- grid screenshots put into
tests/visual/grid-screenshots(change to your path)
Store the configuration files and the screenshots in teh repository. But don't forget to exclude from npm and bower package if you provide it.
Tests will compare the grid screenshots with the current view of your Style Guide.
gulp.task("test:visual", function(done){
  gulp.src(styleGuidePath, { read: false })
    .pipe(visTest.test({
      configDir: './tests/visual/config',
      gridScreenshotsDir: './tests/visual/grid-screenshots',
      rootUrl: 'http://127.0.0.1:8000/#',
      sections: options.section
    }));
});
Don't forget to have the server with StyleGuide running.
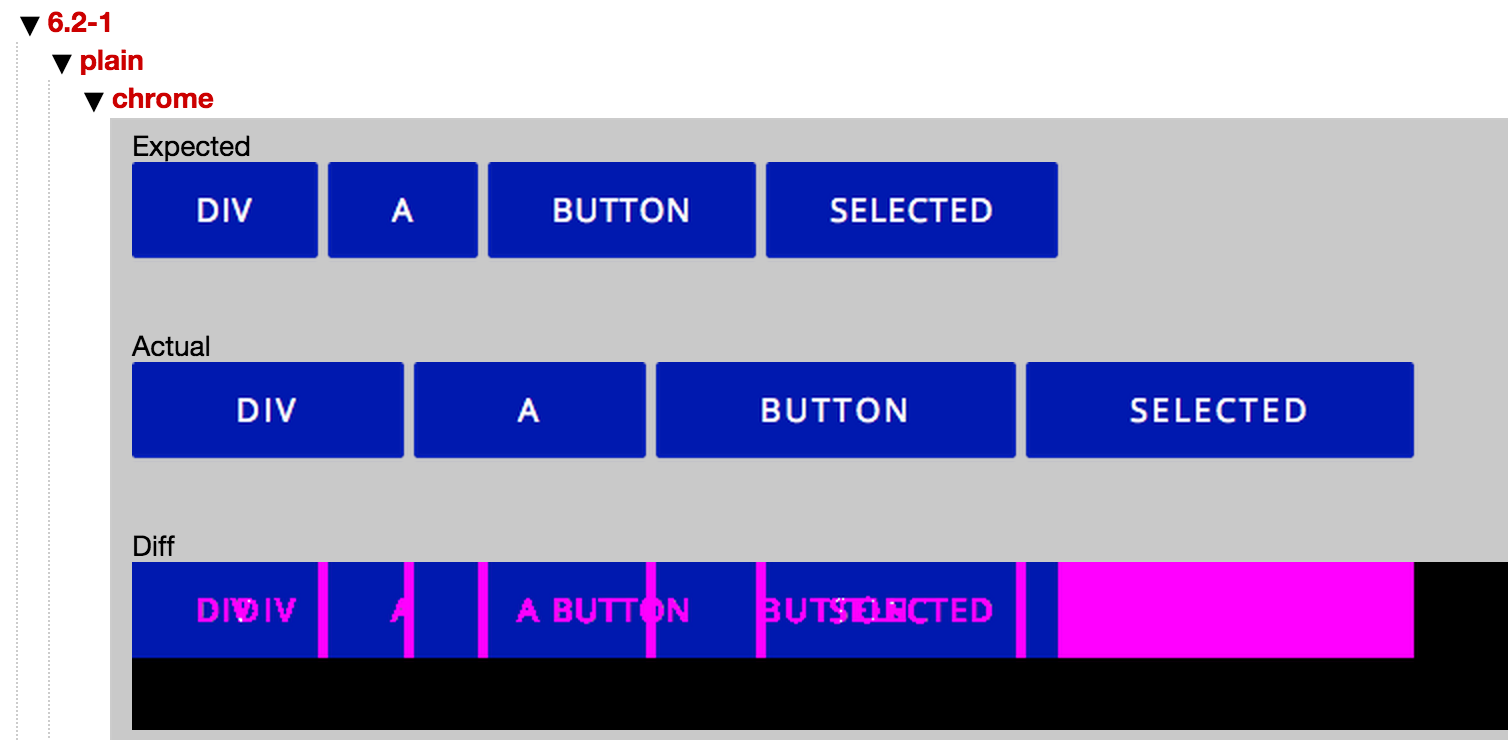
After running gulp test:visual you will get output like this:
✓ 5.1-25 plain [chrome]
✓ 5.1-26 plain [chrome]
✓ 5.1-27 plain [chrome]
✓ 5.1-28 plain [chrome]
✘ 6.2-1 plain [chrome]
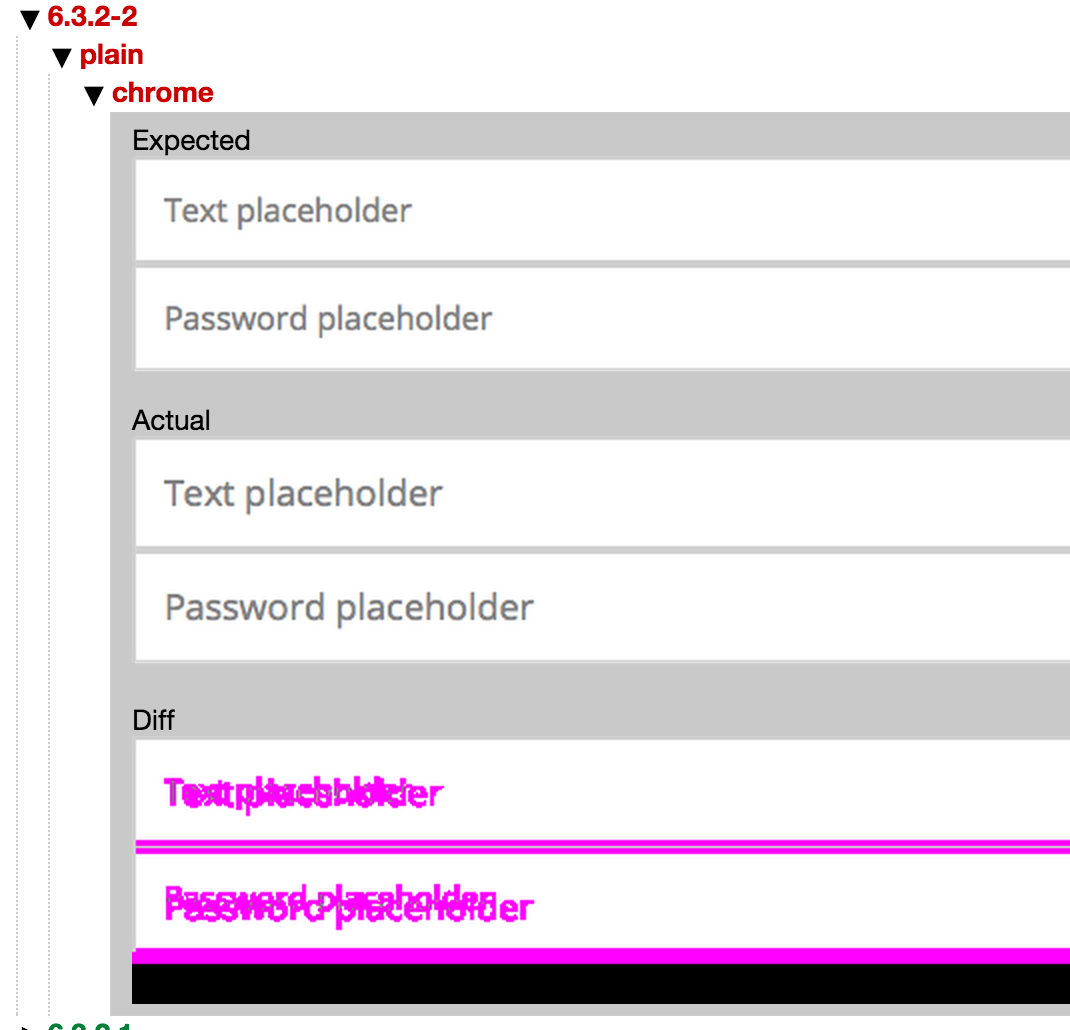
✘ 6.2-2 plain [chrome]
✘ 6.2-3 plain [chrome]
✘ 6.2-4 plain [chrome]
✘ 6.2-5 plain [chrome]
The numbers are the references of components in your StyleGuide.
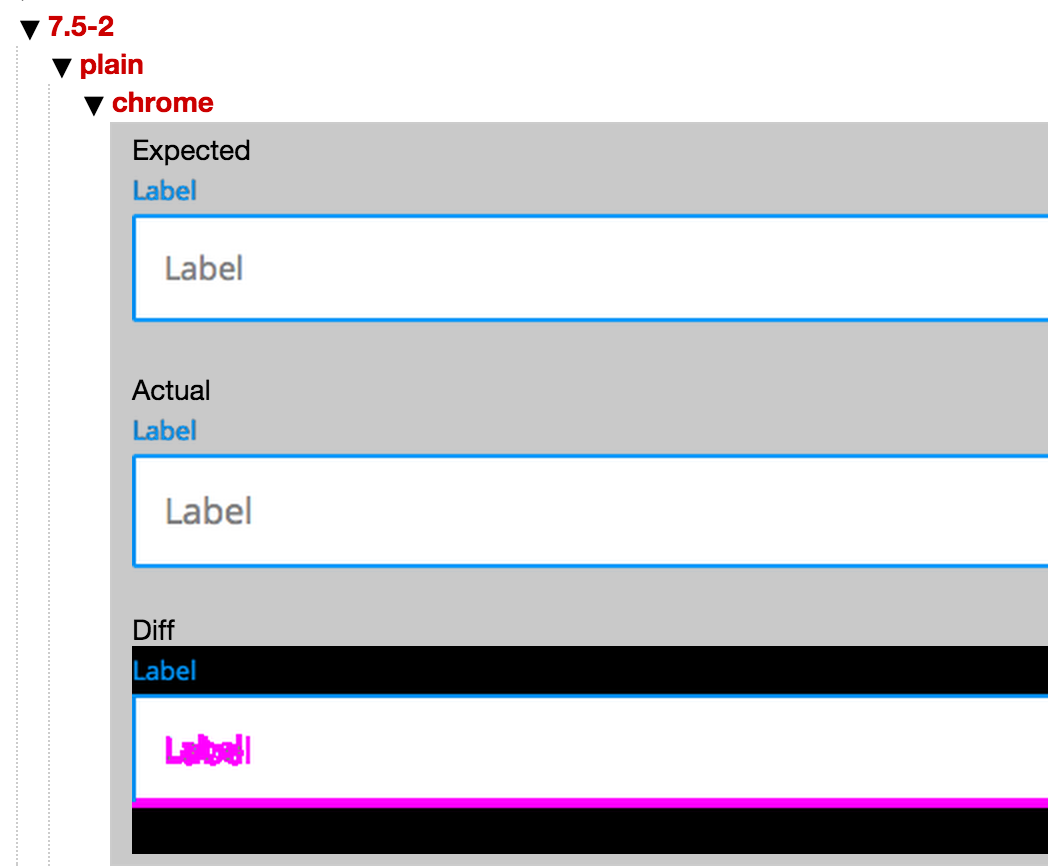
You may see the failed tests visually if open gemini-report/index.html.
This is how different problems look when spotted:
Wrong padding
Wrong font size
By default the plugin takes screenshots in desktop resolution. However you may provide your own options and take screenshots in different configuration.
gulp.task("test:visual", function(done){
  gulp.src(styleGuidePath, { read: false })
    .pipe(visTest.test({
      configDir: './tests/visual/config',
      gridScreenshotsDir: './tests/visual/grid-screenshots',
      rootUrl: 'http://127.0.0.1:8000/#',
      sections: options.section,
      geminiOptions: {
        browsers: {
          "chrome-latest": {
            desiredCapabilities: {
              browserName: 'chrome',
              version: '37.0'
            }
          }
        },
        windowSize: '300x600'
      }
    }));
});
Don't forget to use the same geminiOptions object in for both gulp tasks.
Check the full list of settings for Gemini
gulp test:visual:update --section 1 --section 4.5
gulp test:visual --section 1 --section 3.3
By default all the components are testing with the same suit. It waits the component to be rendered and then takes a picture.
If you need some specific interactions or modifications for the test, you need to provide a custom test. In the options
list the custom test files with customTests:
gulp.task("test:visual:update", function() {
  gulp.src('path/to/styleguide/outpurDir', { read: false })
    .pipe(visTest.gather({
      configDir: './tests/visual/config',
      gridScreenshotsDir: './tests/visual/grid-screenshots',
      rootUrl: 'http://mycompany.com/styleguide',
      customTests: {
        '2.1': './custom-test.js'
      },
      sections: options.section
    }));
});
The paths of the test files should be relative to configDir. Then, put the test files in there. The content should be
like that:
'use strict';

var gemini = require('gemini');

module.exports = function (page) {
  gemini.suite(page.name, function (suite) {
    suite.setUrl(page.url).setCaptureElements('body').capture('plain', function (actions, find) {

      actions.waitForElementToShow('shadow-dom', 7000);
      actions.wait(500);
      // Put your actions here. For example, click on an element
      actions.click('.simple-block');
    });

  });
};
You can modify the test as much as needed (however, keep module.exports = function (page) { interface). But usually
the only needed this is to provide more actions. You can find the full list of possible action in documentation for
Gemini.
If you need to provide changes for all the tests, it is easier to change the coreTest:
gulp.task("test:visual:update", function() {
  gulp.src('path/to/styleguide/outpurDir', { read: false })
    .pipe(visTest.gather({
      configDir: './tests/visual/config',
      gridScreenshotsDir: './tests/visual/grid-screenshots',
      rootUrl: 'http://mycompany.com/styleguide',
      coreTest: './custom-core-test.js',
      sections: options.section
    }));
});With providing custom test you can ignore some parts of the components. For example, you can tune the test to ignore the picture which changes from time to time and never matches, or a blinking thing or such.
module.exports = function (page) {
  gemini.suite(page.name, function (suite) {
    suite.setUrl(page.url).setCaptureElements('body').capture('plain', function (actions, find) {
      ...
      suite.ignoreElements('.element-to-ignore', '#another-element-to-ignore');
    });

  });
};

