Botpress-kick-starter
This is a example bot that is integrated with Rocket.Chat.
We used the command botpress init and followed the steps in the ##instalation topic to build this bot.
Create your config/channel-rocketchat.json file to setup a connection to Rocket.Chat, or just run it with your own env variables so you can easily run npm start to see the botpress bot working in Rocket.Chat.
This bot is using version 10.40.0 of botpress.
Overview
Create you own bot
- Install botpress:
npm install -g botpress@10.40.0- Create your bot:
mkdir bot
cd bot
botpress init- After add your bot data install the dependencies:
npm install

npm install botpress-channel-rocketchat- Create the file
config/channel-rocketchat.jsonand insert your bot data:
{
    "ROCKETCHAT_USER": "botpress",
    "ROCKETCHAT_PASSWORD": "botpress",
    "ROCKETCHAT_URL": "http://localhost:3000",
    "ROCKETCHAT_USE_SSL": "false",
    "ROCKETCHAT_ROOM": "GENERAL",
    "scope": ""
}- Run your bot:
BOTPRESS_PORT=3002 npm start- OR export your variables in the environment:
export BOTPRESS_PORT=3002
export ROCKETCHAT_URL='http://localhost:3000'
export ROCKETCHAT_USER='botpress'
export ROCKETCHAT_PASSWORD='botpress'
export ROCKETCHAT_USE_SSL='false'
export ROCKETCHAT_ROOM='GENERAL'
npm start
Using this example bot
- Install your bot dependencies:
npm install- Update the file
config/channel-rocketchat.jsonand insert your bot data:
{
    "ROCKETCHAT_USER": "botpress",
    "ROCKETCHAT_PASSWORD": "botpress",
    "ROCKETCHAT_URL": "http://localhost:3000",
    "ROCKETCHAT_USE_SSL": "false",
    "ROCKETCHAT_ROOM": "GENERAL",
    "scope": ""
}- Start your bot.
BOTPRESS_PORT=3002 npm start- OR just use:
BOTPRESS_PORT=3505 ROCKETCHAT_URL='http://localhost:3000' ROCKETCHAT_USER='botpress' ROCKETCHAT_PASSWORD='botpress' ROCKETCHAT_USE_SSL='false' ROCKETCHAT_ROOM='GENERAL' npm start-
After that all your
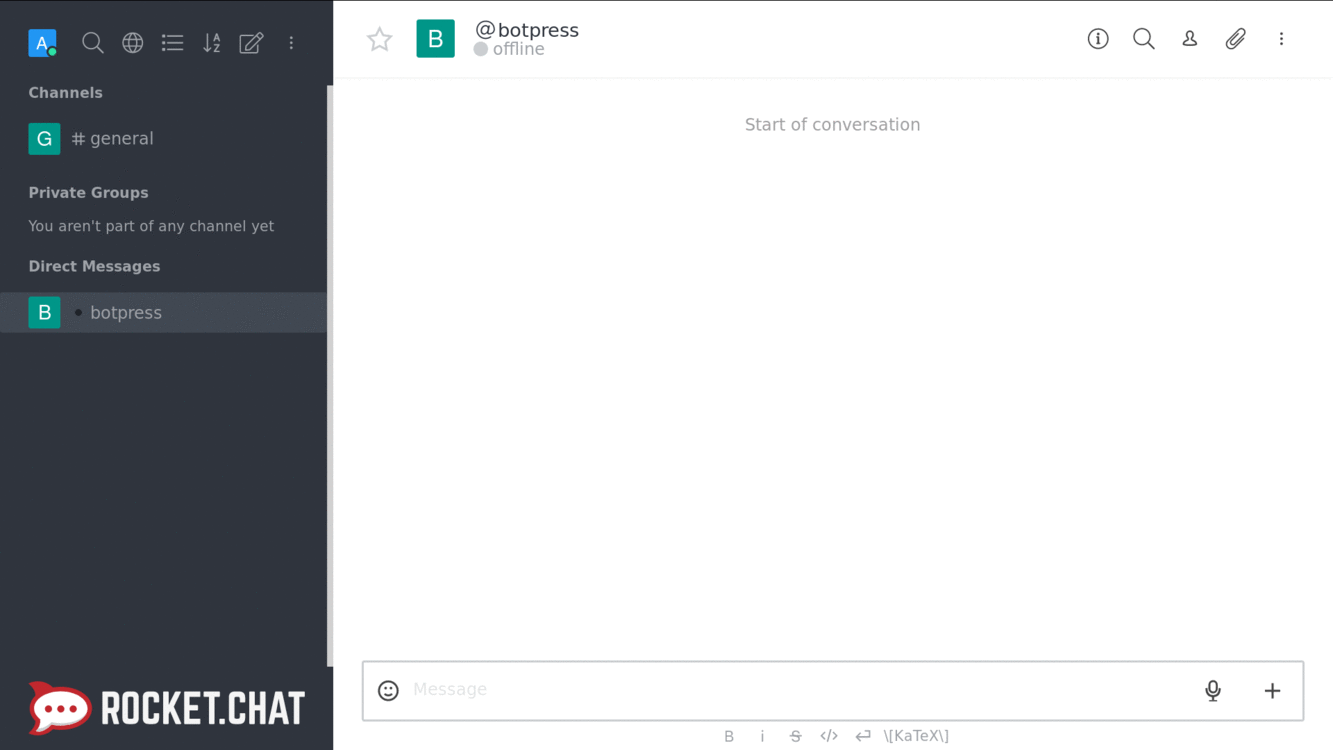
dialogEnginemade in botpress flow will work, so send any message to the bot or the channels that you added it. -
To access the botpress instance go to
localhost:3002(you can change this configuration atbotfile.js) or just setting a differentBOTPRESS_PORTandBOTPRESS_URL.
Livechat
If you want to use your botpress bot in a LiveChat, follow this steps:
-
The Livechat allows a feature of a window that can be integrated to other pages. To activate it, you must access again the Administration option, by clicking on three points icon, on the left side menu. Then click on Livechat option.
-
On the next screen, mark the Livechat enabled option as True, and the Show pre-registration form option as False, in order to not be asked for email and password when using chat. Click then in SAVE CHANGES.
-
Close the left side menu, and click on three points icon. Select the Livechat option.
-
At the right side menu, select the User Management option. You must add the bot as an agent, so search for botnat, then click in ADD.
-
Now it is necessary to create an department. On the left side menu, click on Departments, and then click in NEW DEPARTMENT.
-
On the next screen, write a name and a description for the department and add the bot by selecting him on Available agents. Then click on Save option.
-
On the left side menu, click at Installation. Now you only need to copy and paste the code on your site, where you want to integrate the conversation window.
-
After integrating the code to your site, a window like the one showed in the image should be available, and ready to use.
Deploy
Check Heroku and AWS deploy tutorials to get started
Development
To learn more on how to work with Botpress you can read here.