QQ group: 姿态检测&跟踪 781184396
The codes are expanded on a ReID-baseline
Bag of tricks
- Warm up learning rate
- Random erasing augmentation
- Label smoothing
- Last stride
-
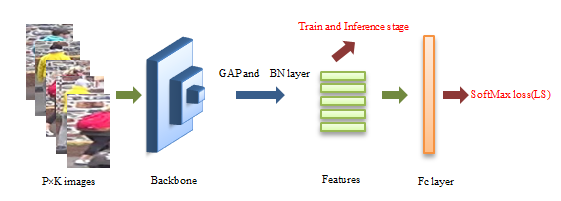
"ranked_loss", SoftMax(LS) + w*RLL, results as "Results". For RLL I use Ranked List Loss for Deep Metric Learning, and made some modifications.
-
"cranked_loss", SoftMax(LS) + w*RLL(kmeans), before compute RLL i use kemeans to cluster features to help find hard samples. Now I can only get same performance to ranked_loss, so not report results.
NOTE: For the the limitations of the device (GTX1060 6G), while training Se_ResNet50 and Se_ResNext50 i can only set batchsize = 48, others is 64.
-
cdto folder where you want to download this repo -
Run
git clone https://github.com/Qidian213/Ranked_Person_ReID -
Install dependencies:
- pytorch>=0.4
- torchvision
- ignite=0.1.2 (Note: V0.2.0 may result in an error)
- yacs
-
Prepare dataset
Create a directory to store reid datasets under this repo or outside this repo. Remember to set your path to the root of the dataset in
config/defaults.pyfor all training and testing or set in every single config file inconfigs/or set in every single command.You can create a directory to store reid datasets under this repo via
cd data(1)Market1501
- Download dataset to
data/from http://www.liangzheng.org/Project/project_reid.html - Extract dataset and rename to
market1501. The data structure would like:
data
    market1501 # this folder contains 6 files.
        bounding_box_test/
        bounding_box_train/
        ......
(2)DukeMTMC-reID
- Download dataset to
data/from https://github.com/layumi/DukeMTMC-reID_evaluation#download-dataset - Extract dataset and rename to
dukemtmc-reid. The data structure would like:
data dukemtmc-reid DukeMTMC-reID # this folder contains 8 files. bounding_box_test/ bounding_box_train/ ...... - Download dataset to
-
Prepare pretrained model if you don't have
(1)ResNet
from torchvision import models
models.resnet50(pretrained=True)
(2)Senet
import torch.utils.model_zoo as model_zoo
model_zoo.load_url('the pth you want to download (specific urls are listed in  ./modeling/backbones/senet.py)')
Then it will automatically download model in
~/.torch/models/, you should set this path inconfig/defaults.pyfor all training or set in every single training config file inconfigs/or set in every single command.(3)ResNet_IBN_a , faster implementation
You can download from here [link]
(4)Load your self-trained model If you want to continue your train process based on your self-trained model, you can change the configuration
PRETRAIN_CHOICEfrom 'imagenet' to 'self' and set thePRETRAIN_PATHto your self-trained model. -
If you want to know the detailed configurations and their meaning, please refer to
config/defaults.py. If you want to set your own parameters, you can follow our method: create a new yml file, then set your own parameters. Add--config_file='configs/your yml file'int the commands described below, then our code will merge your configuration. automatically.
- Market1501
python tools/train.py --config_file='configs/softmax_ranked.yml' DATASETS.NAMES "('market1501')" - DukeMTMC-reID
python tools/train.py --config_file='configs/softmax_ranked.yml' DATASETS.NAMES "('dukemtmc')" python tools/test.py --config_file='configs/softmax_ranked.yml' MODEL.DEVICE_ID "('your device id')" DATASETS.NAMES "('market1501')" TEST.FEAT_NORM "('yes')" TEST.RE_RANKING "('no')" MODEL.PRETRAIN_CHOICE "('self')" TEST.WEIGHT "('your path to trained checkpoints')"- DukeMTMC-reID
- Market1501
Using
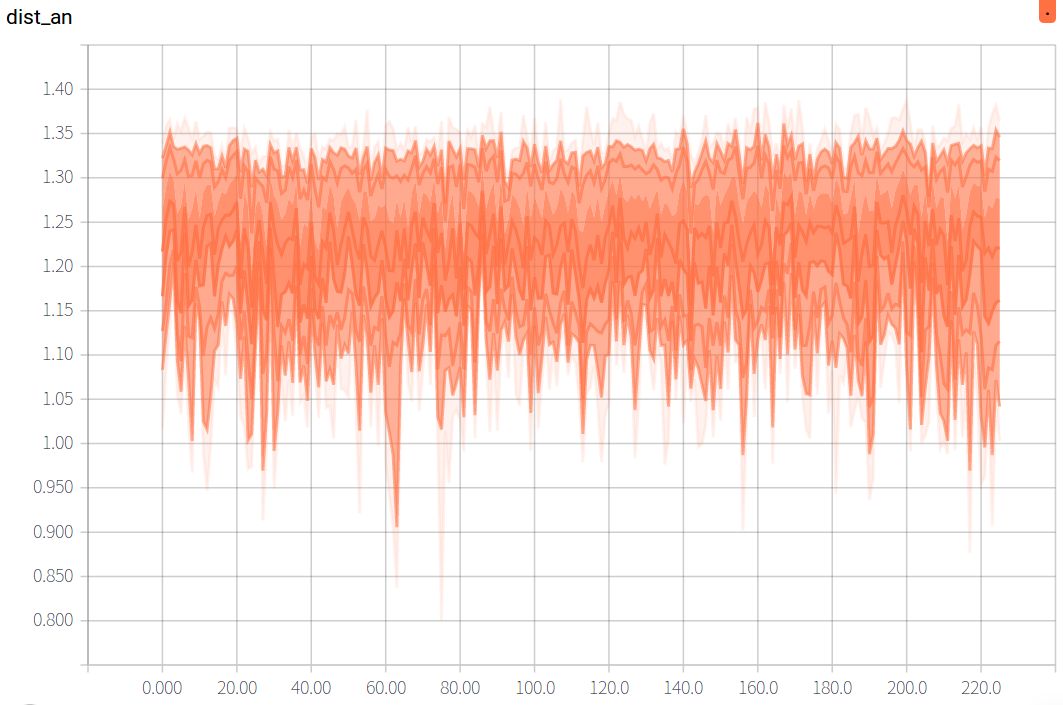
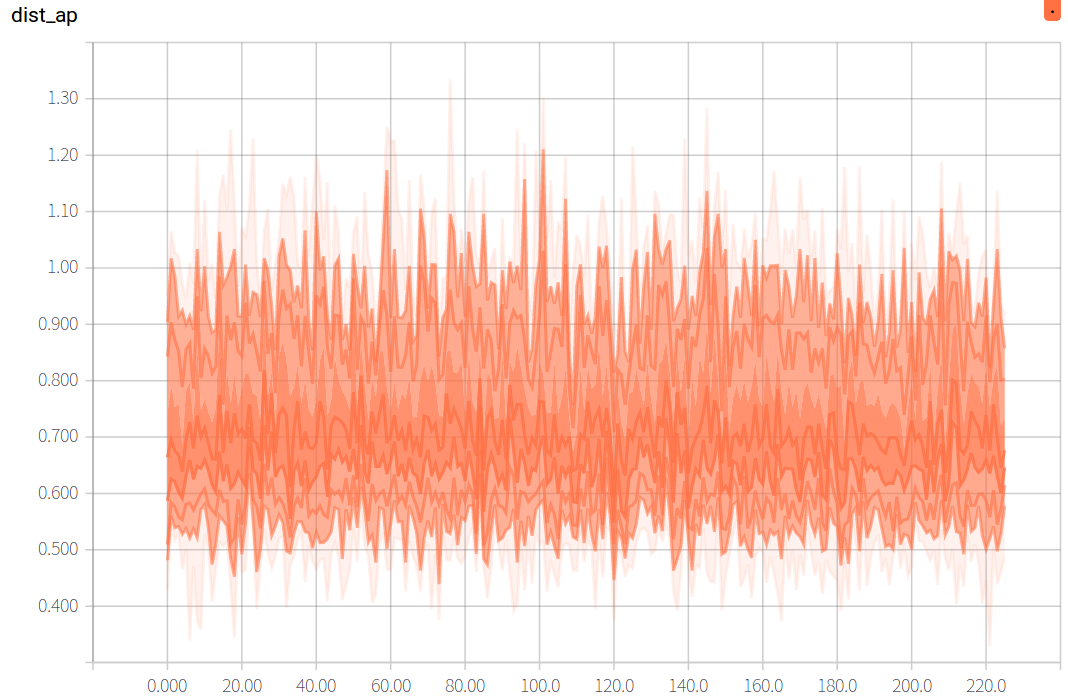
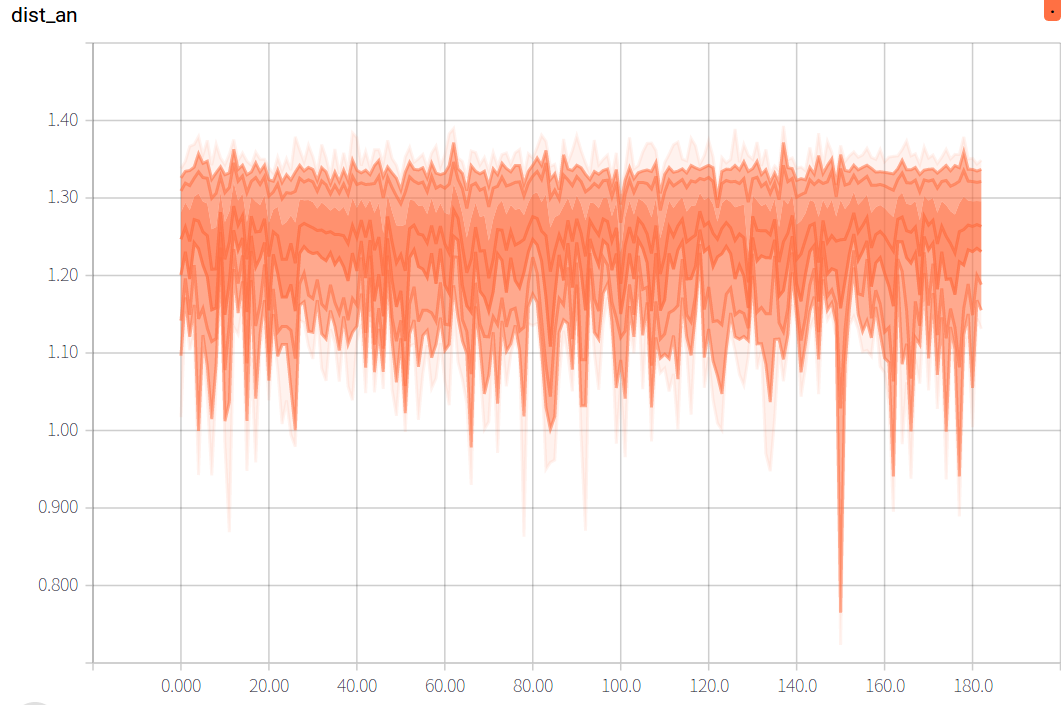
python tools/demo.py Compute threshold , to compute threshold i use the hardest samples of negative and postive samples in a batchsizes.
python tools/compute_threshold.py --config_file='configs/softmax_ranked.yml' MODEL.PRETRAIN_CHOICE "('self')" DATASETS.NAMES "('market1501')" TEST.WEIGHT "('models/resnet50_ibn_a/mar_resnet50_ibn_a_model.pth')"