The windkit is a small wind turbine to generate electricity from wind energy. It can be used either in offgrid or ongrid applications. Apart from the aluminium and steel parts that need to be laser cutted the windkit can be build and maintained using standard hand tools.
- secure
- easy to build, repair & maintain
- open-source
- developed following small wind turbine standard IEC61400-2:2013
- rotor diameter: 2.0 Meter
- rated power: 400 Watt @ 11 m/s wind speed
- energy production: 200 kWh/a @ 3 m/s annual average wind speed
- system voltage: 12, 24, 48 Volt
For more information check out the Flyer!
-
It will not power your entire house and heat your swimming pool.
-
It will not work on a balkony or a roof top.
-
It will hardly deliver energy on a site with low or no wind. It's performance would then be like a photo voltaic module placed in a cellar.
-
Supply offgrid places with people who are aware of theire energy consumption. Best in addition with photo voltaic.
-
Produce around 800 kWh of electrical energy in windy sights like costal areas or islands.
-
Be a fun project of self empowerment.
We are the ERNI-Collective a group of around 10 people based in Germany with various professional backgrounds (renewable-, civil-, environmental-engineer, metalworker, woodworker). We are focusing on educational workshops in the field of renewable energies especially on small wind turbines (SWT). Since 2015, we are conducting educational workshops on how to build, install, operate and maintane SWT based on the plans of Hugh Piggott. In 1978 Hugh Piggott started to develop a SWT to power his offgrid home in Scotland on Scoraig-Island. Since then he designed various SWT ranging from 1.8 m to 4.2 m rotor diameter and published various Recipe Books and Construction Manuals.
In our educational workshops we mainly build the 2F SWT from Hugh Piggott. Its a turbine with 2 m rotor diameter and a generator build with ferrite magnets. Throughout the years we realised that it was difficult for people to follow the DIY-focused building instructions.The idea of a more modular SWT design using standard parts and modern manufacturing technologies (laser cutting) was born. The result is the windkit. You can find all files of the windkit in this repo as well as a step by step assmebly guide in the wiki. The generator design of the windkit is still based on the 2F Construction Manual. The blade design is based on the master thesis of Performance analysis and improvement of a small locally produced wind turbine for developing countries by N. Hosman.
windkit is build with realthunder's FreeCAD fork : FreeCAD_assembly3 2020.08.18. To modify the model we recommend the same or even newer versions. For the assembly process we've been using the assembly workbench Assembly3. The workbench is bundled in the fork mentioned before, no addition installation are needed. In addition we use the Fasteners WB V0.3.32 03 Sep 2020 for fasteners groups, this workbench needs to be installed separatly via the Addon-Manager in Freecad.
Export files of 2D shapes of the CAD modell for laser cutting have the format ".dxf". This is a common format. To view the .dxf-files download the the open source 2D CAD software QCAD.
All text files in the windkit repository as well as the windkit wiki are written in Markdown. To open and edit markdown files, like this README.md, download the mark down editor MarkText.
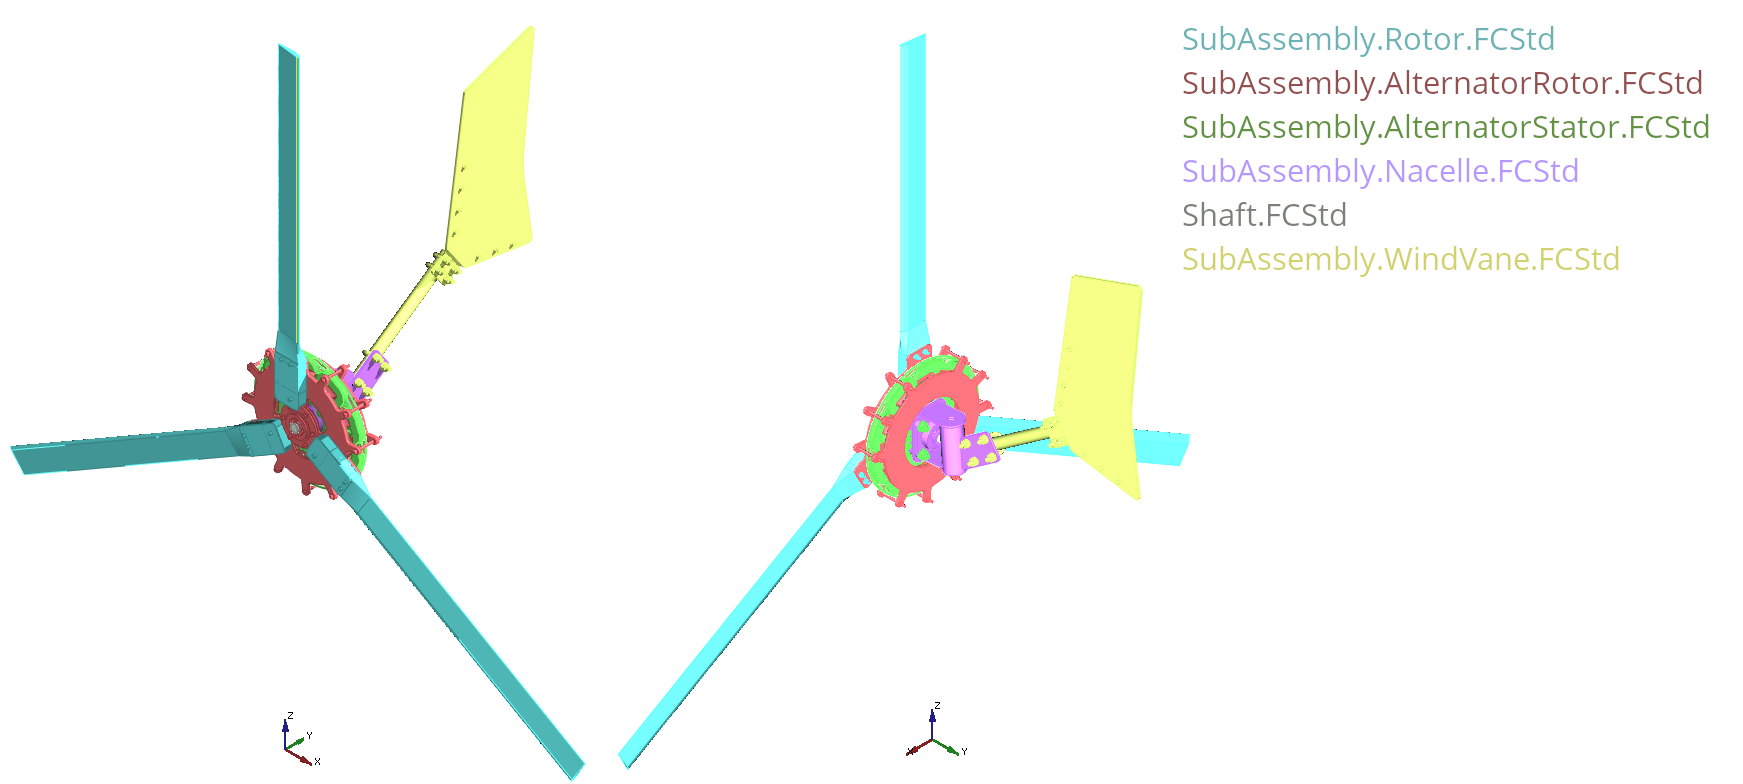
The master assembly file is called MainAssembly.windkit.FCStd. All sub-assemblies are saved in different folders. The sub-assemblies are shown in the following image below. The BOM is also structured the way the Cad is organised.

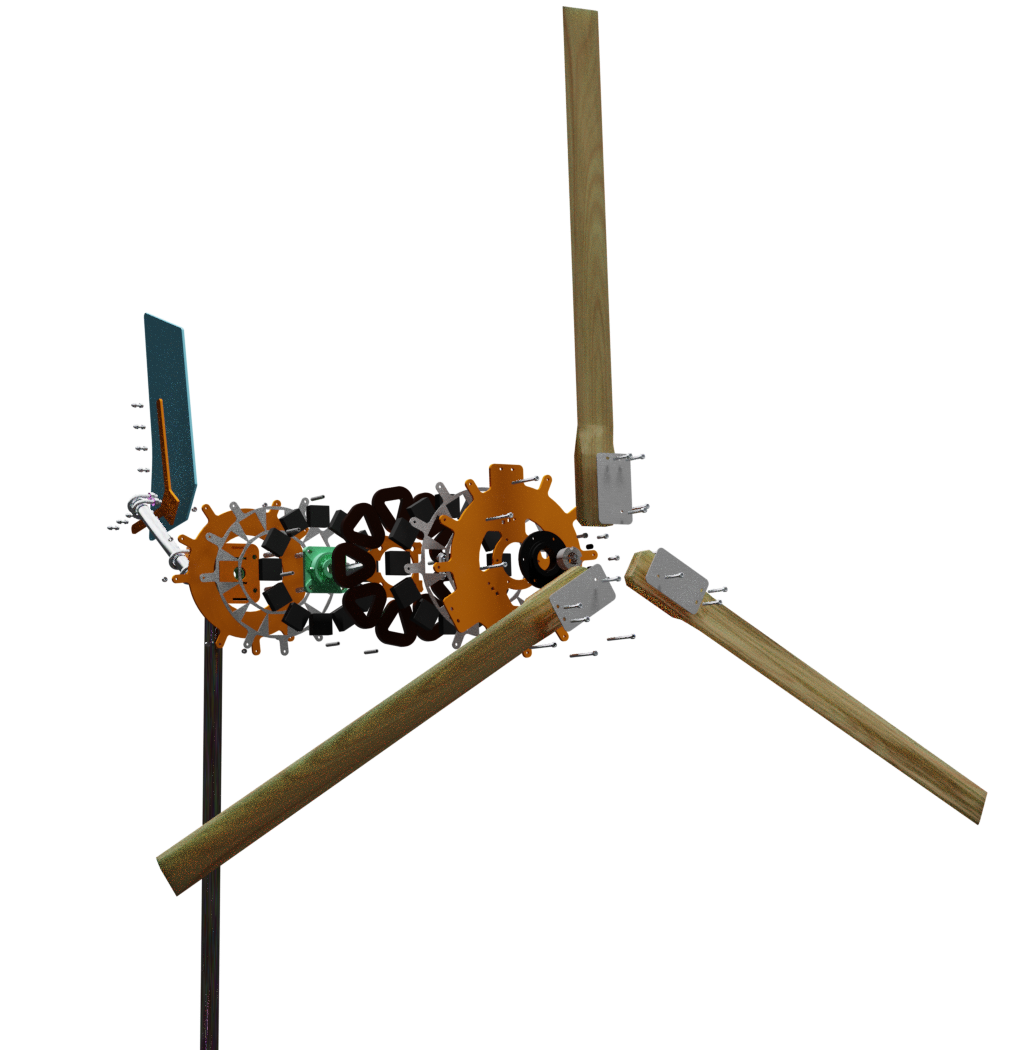
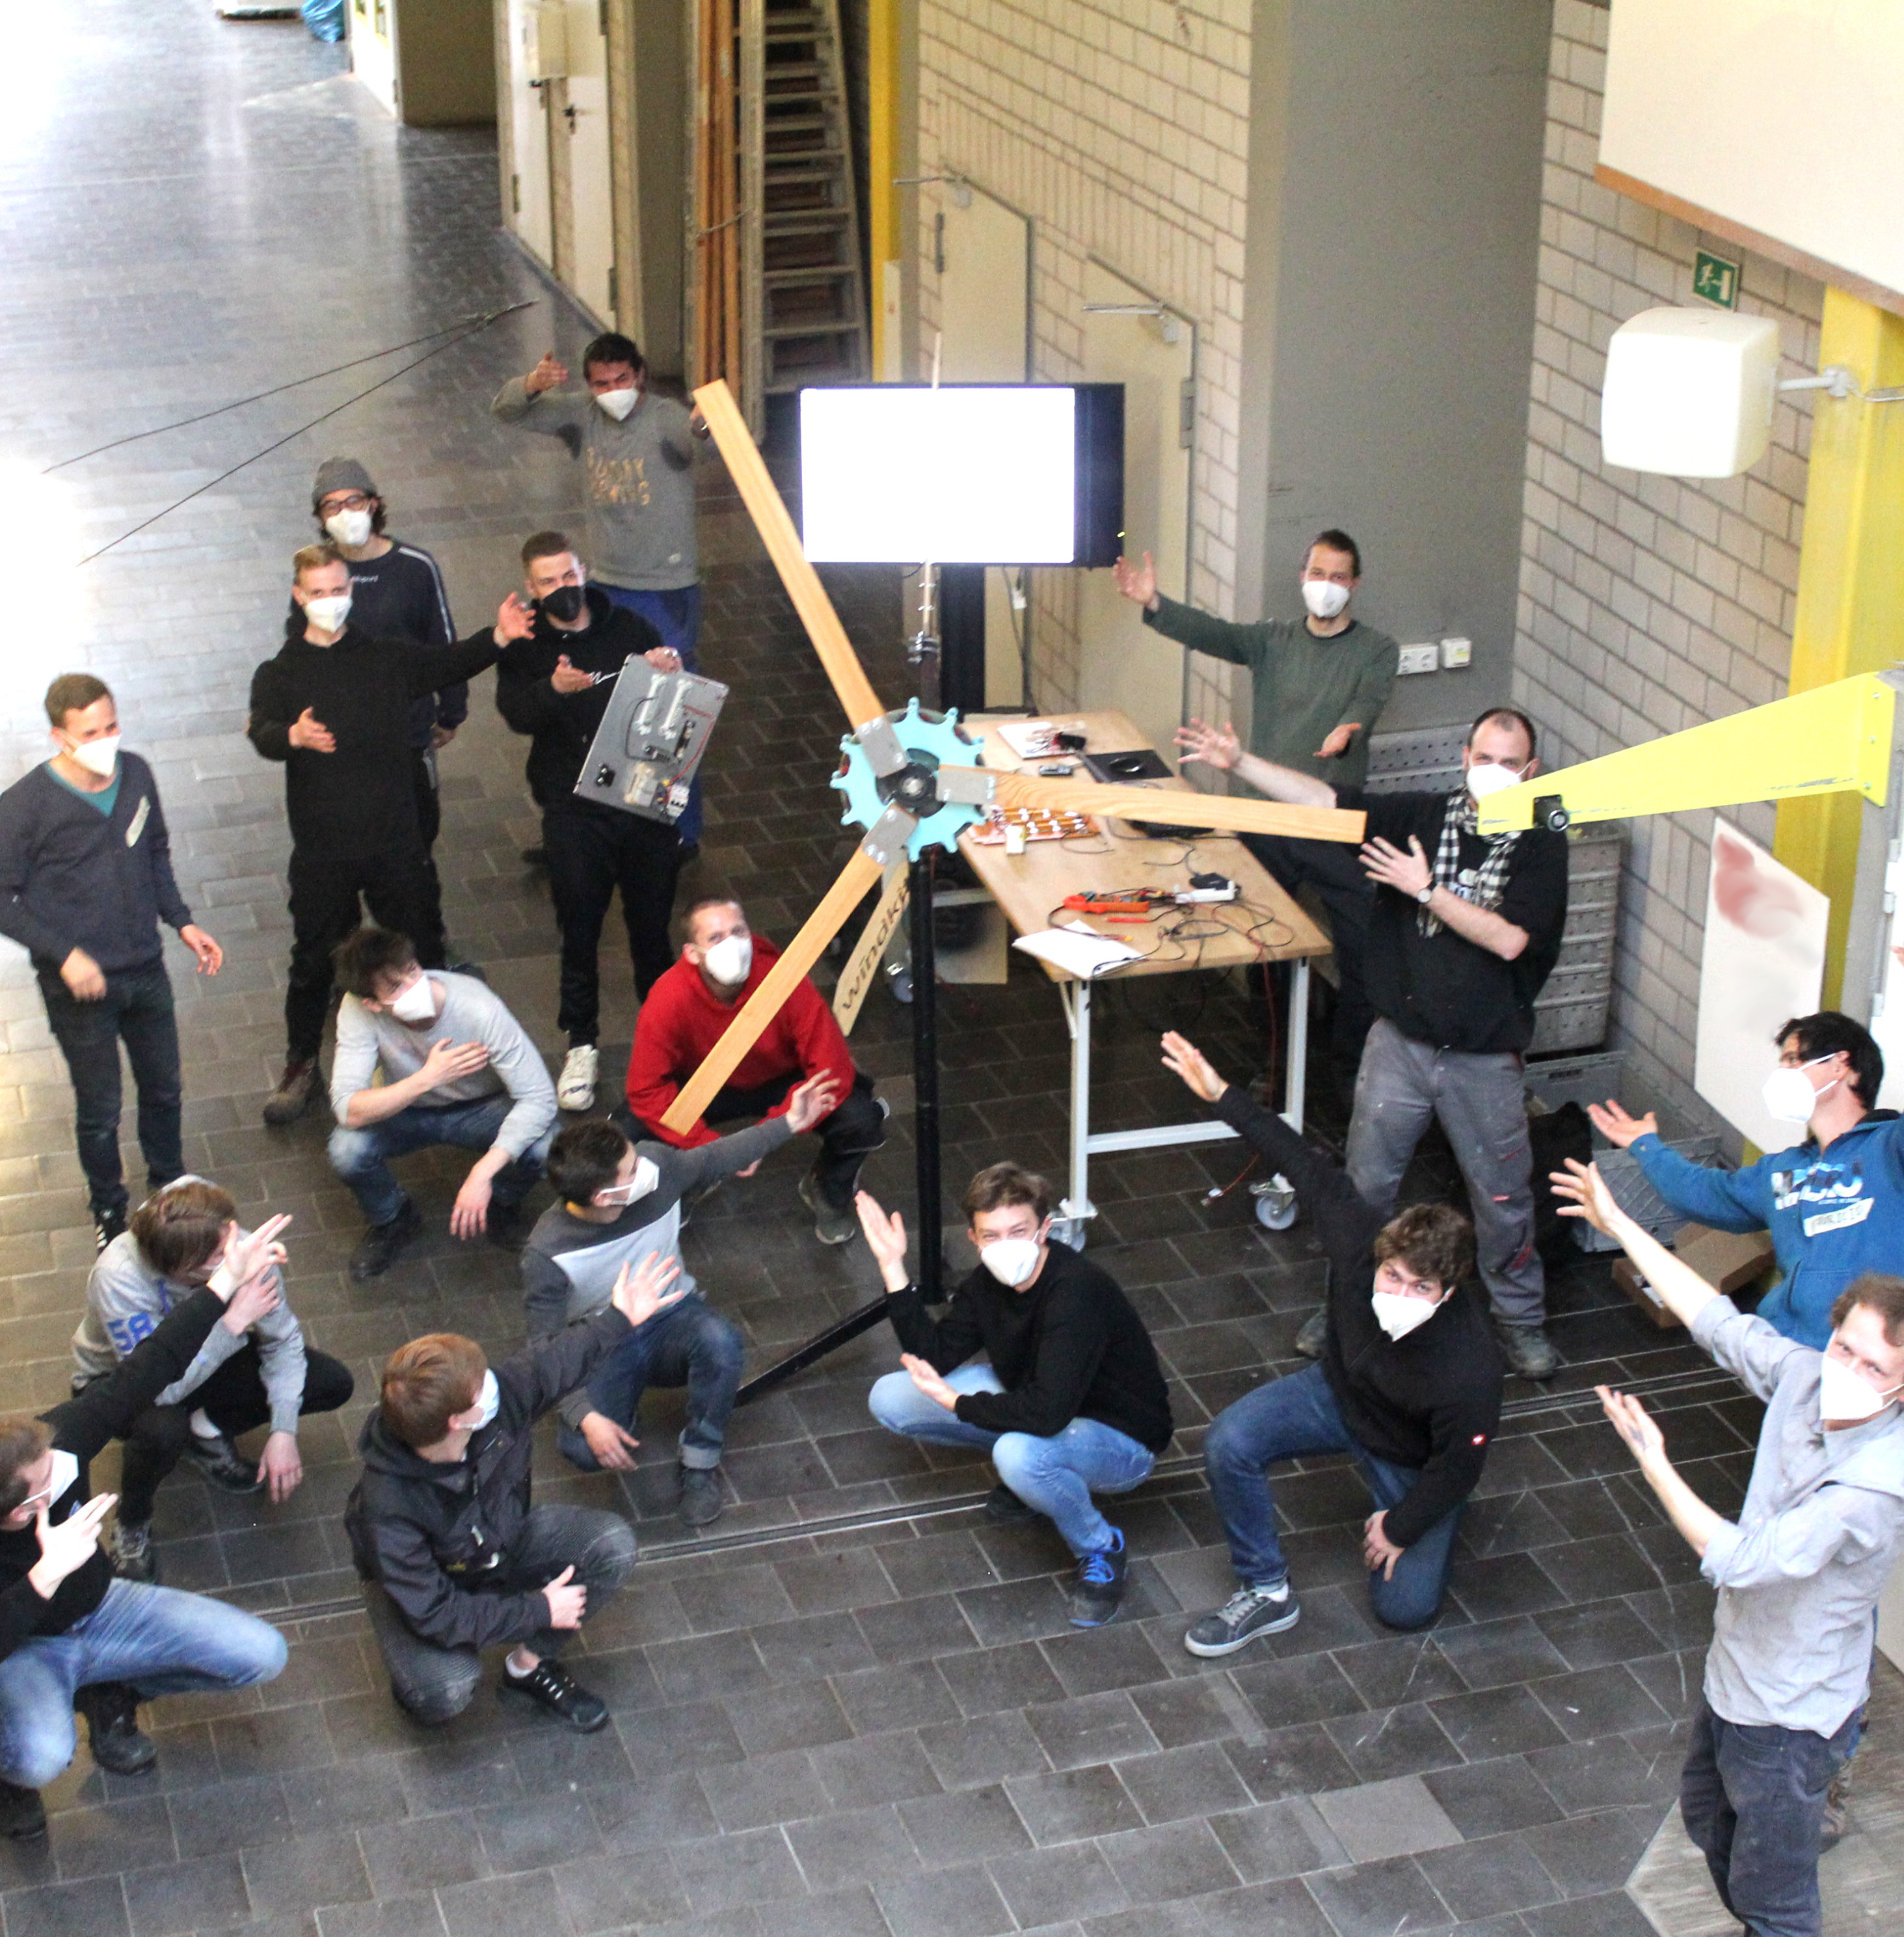
Beginning of 2021 a prototype has been built in a workshop. The following picture shows all parts of the windkit prototype before assembly.
The next step is to bring the turbine to the field for testing!
You want to contribute to our project? That´s great. Check out our Contributing page in our wiki.
You wanna know more about this project or drink a beer with us? Just write us a message info@erni-kollektiv.org
windkit is developed by ERNI collective


