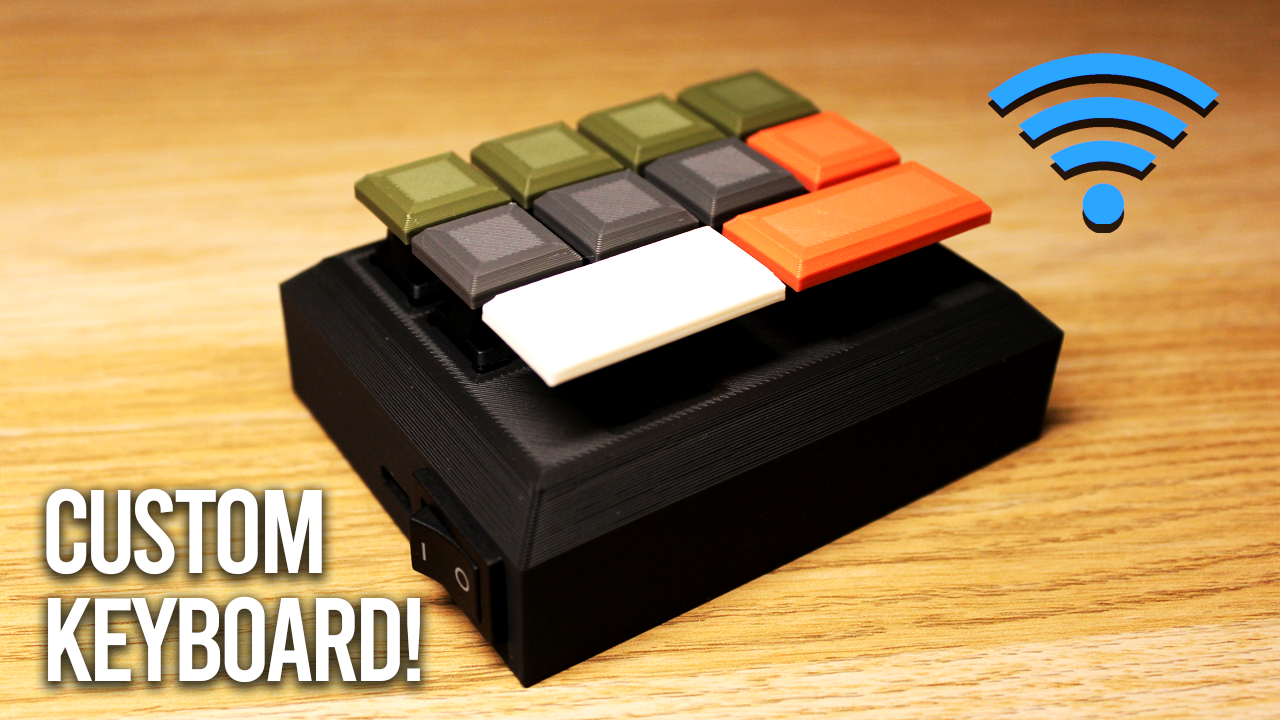
There is a video associated with this repo, I highly recommend you watch it if you are going to use this repo.
*Installed directly from the Arduino library manager.
RF24by TMRh20.Buttonby Michael Adams.
- This is the micro-controller (MC) that will be running on battery and where all the buttons will be connected to. This needs to be a low current consuming MC and one that ideally meets the number of inputs pins to match the number buttons you are going to have.
- I highly recommend the Attiny MCs, such as the Attiny85 (8 pins), Attiny84 (14 pins), or the Attiny88 (28 pins).
- Changes you need to make to the code (
/transmitter):- The
CE and CSNpin numbers to match your connections, these could be any GPIO pins in your MC. MAX_SHORTCUT_KEYS, this is the maximum number of characters a keyboard shortcut/sequence can be. This is specified so only the required number of bytes are sent through the radio signal.- The
BUTTONS_INFOarray. Each button element is made up of two values, the first is the pin number the button is connected to your MC. The second is a string of characters seperated by spaces. The characters are represented by their decimal/int values, which can be found here and here. Make sure you don't go over yourMAX_SHORTCUT_KEYSin the string of keys, if more keys are required, simply increaseMAX_SHORTCUT_KEYS.
- The
- Any MC can be used here with USB cable connection, and one that has HID support so you can easily use the Arduino Keyboard library with no issues. I recommend the Pro Micro MC.
- Changes you need to make to the code (
/receiver):- The only change you need to make is if you changed the
MAX_SHORTCUT_KEYSin the transmitter side, if you did, make sure theMAX_SHORTCUT_KEYSmatches.
- The only change you need to make is if you changed the
Please refer to the /3d_models directory.


- The Attiny MCs can be programmed just like any Arduino and it's very easy to upload code to them.
- You just need a USBASP adapter, then simply make the connections as shown in the image below.

-
You will also need to install the Attiny boards using the AttinyCore board manager by placing this link
http://drazzy.com/package_drazzy.com_index.jsonto your "Additional Boards Manager URLs", which can be accessed inFile > Preferences. -
From
Tools > Board, choose your Attiny board with the no bootloader option. -
Then go to
Tools > Programmerand chooseUSBasp (ATTinyCore), and then pressTools > Burn Bootloader. -
Then to simply upload code, use
Sketch > Upload Using Programmer. -
You can use stripboards with some wires to make uploading code to the Attiny MCs more convenient:
