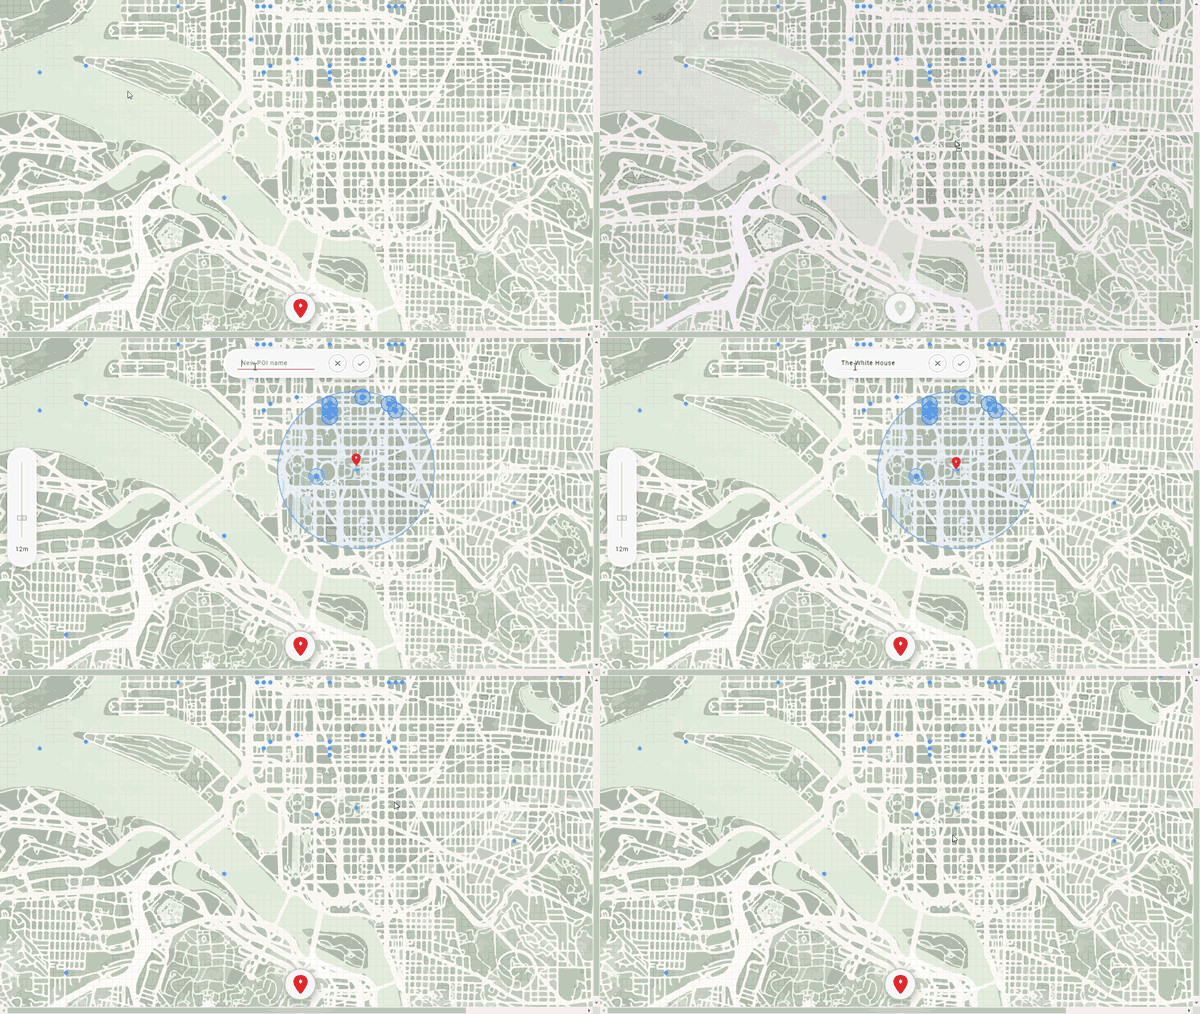
A geolocation system to manage POIs (Point Of Interest)
You can visit the app on xy-inc-potentii.herokuapp.com (The API is under /api/v1)
- The project
- Running (Node.js)
- Running (Java)
- Endpoints
- Testing (Node.js)
- Testing (Java)
- Making requests
- License
The project is structured as a monorepo, with the following packages:
-
api: The server that contains the core logic of the system, provides endpoint to operate with the data.
-
api-java: The same API but built with Java and the Spring stack.
-
ui: The frontend application, that consumes the API.
-
common: Logic and utils shared between the other packages.
-
db: Not actually a package, but contains the database compose configuration for development.
The tech stack of the project is composed of Node.js or Java 11 / Spring Boot on the backend, MongoDB as the database, and Vue.js to build the frontend.
In order to execute the application, please note that you must have Node.js installed, preferably version v11.14.0, and yarn as well.
To install the dependencies and prepare the packages, please run:
$ yarn installand
$ yarn run bootstrapAfter that simply run the following to build and start the application:
$ yarn run buildand
$ yarn run startThis last command will start a server on http://localhost:1234 that serves both the API (under /api/v1) and the web server that gives access to the system's UI (in the root url).
The environment (set by the NODE_ENV variable) is very important to determine which database, bundle directory, etc... should be used by the application at runtime, the possible values are the following:
-
development: The default env when running the application, uses the
/packages/api/.env.developmentenv file (you can change this file to point to another database for example). -
production: If you set to production, all the other env variables (like the database connection for example) must be provided as well by the environment (this environment is intended to be used by CI only).
To run the Java version of the API, please install the version 11 of the JDK or later.
After that, depending on the IDE you are using, import the java project located in /packages/api-java/xyinc.
Sync the maven dependencies, and you are good to go.
The project is already configured to work with Intellij IDEA, so if you are using it, just execute the XyincApplication run configuration.
Or simply run the main class com.potentii.xyinc.XyincApplication.
The server will start on http://localhost:8080, and the API will be under /api/v1.
All the database connection parameters are handled using environment variables.
The XyincApplication run configuration already has some default values for them.
They are mainly used to configure Spring Data connection on the application.properties file.
The API exposes two main REST endpoints:
1. POST /api/v1/pois
Creates a new POI (Point Of Interest) on the map.
Body
-
name
string: The name of the POI (may not unique). -
x
number: The X component of the coordinate (only positive integers). -
y
number: The Y component of the coordinate (only positive integers).
Example:
{
  "data": {
    "name": "Gas station",
    "x": 12,
    "y": 14
  }
}
2. GET /api/v1/pois
Searches for all POIs placed on the map.
A filter could be applied to search on a specific area, for example:
GET /api/v1/pois?x=10&y=8&radius=12
This will narrow down the search to a 12m radius circle on x 10 y 8.
To run the tests, simply execute this command:
$ yarn run testTo test the Java version, just run the test entry point class com.potentii.xyinc.XyincApplicationTests.
There is also an Intellij run config for tests: XyincApplicationTests.
Before the tests starts, Spring will attempt to download the Embedded Mongo database, so make sure you have an active internet connection at the time.
Obs.: In order to make Spring initialize correctly, you must run the tests with some environment variables that satisfies application.properties, but the tests won't actually use them.
To make requests to the API using a standalone HTTP client, please follow the request/response envelope patterns bellow.
To perform a request using a body (a POST for example), the actual data should be put into the data field:
Request envelope
{
  "data": ...
}
Response envelope
{
  "data": ... ,
  "error": ...
}
For example:
A request to POST http://localhost:1234/api/v1/pois should have a body like this:
{
  "data": {
    "name": "My POI name",
    "x": 5,
    "y": 22
  }
}
This request will create a new POI using the API.
