This is how was created the database for Automation Cell in Heroku-Postgres.
Is written as instructions in order to replicate the process if necessary:
- Create a new Heroku app.

- Add a PostgreSQL database:
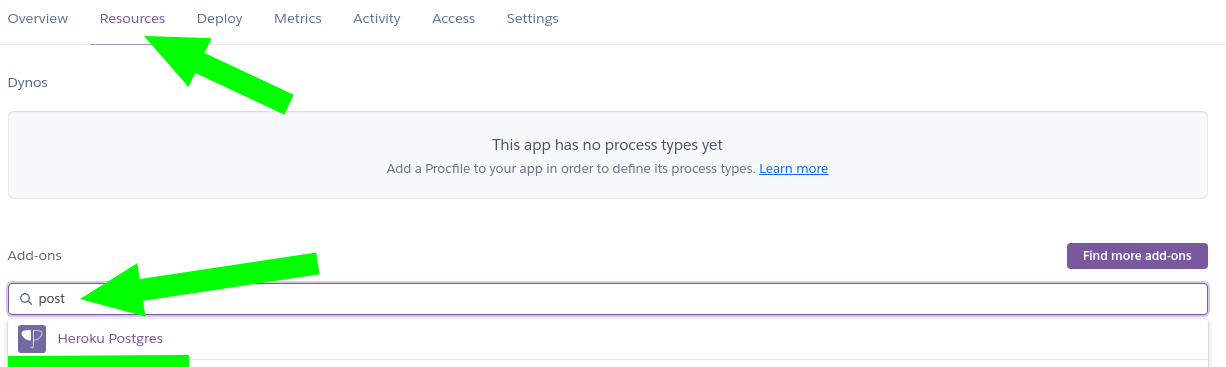
- Navigate to the Resources tab in the header of your newly created app's dahsboard.
- Then type Heroku Postgres into the Add-ons search field.When shown, select the suggested Heroku Postgres add-on from the dropdown.
- The next popup asks you to choose a pricing plan for the database. Select the Hobby Dev - Free plan and click Provision.
- Access the database credentials (and connection URL)
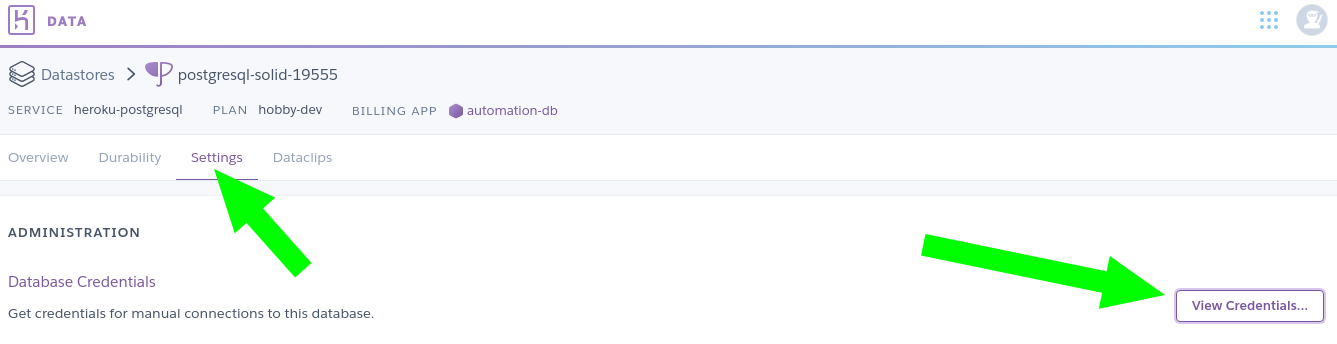
- Navigate to the Resources tab in your app's dashboard again and select the Heroku Postgres resource.
- Now select the Settings tab in the header of that screen.
- Here, you can click the View Credentials button to see the credentials of your PostgreSQL database.


The Heroku Command Line Interface (CLI) makes it easy to create and manage your Heroku apps directly from the terminal. It’s an essential part of using Heroku.
- In case you dont have installed follow the instructons from Heroku site](https://devcenter.heroku.com/articles/heroku-cli)
- Login in your terminal.
heroku login - To test the conection you should introduce credentials:
heroku pg:psql postgresql-solid-19555 --app name_app

According to ER diagmam write the sentences to create the database schema. ➡️ create_schema.sql

- Introduce the sentences to create the database tables:
heroku pg:psql --app automation-db < create_schema.sql
Here you have a database in Heroku and it's ready to store data.
