A protoype blockchain and client application written in Erlang.
Disclaimer: This has nothing to do with this Hyperledger or this one project. It's just a blockchain written in erlang and hyperledger is a blockchain-related-word containing the letters ERL which are short for Erlang. #PunIntended #ProbablyLessFunnyThanWeThought
Using the application on the same machine or distributed on different machines (in the same network) is always the same. Only the host names have to be changed when starting the various files.
The first step is to clone the repo and cd into the newly created directory.
$ git clone https://github.com/Pewepow/HypERLedger.git
$ cd HypERLedger
Typing the following commands will then compile all .erl files in the directory. If you are running the code on multiple machines, make sure the code is compiled on all machines. The second command will then start an Erlang node with the short name "main" and the set the magic cookie to "topsecret". You can change these parameters as you wish, but make sure to then also change them in the upcoming steps. If you are deploying the program across multiple machines, please use the -name flag and add and @, where IP-Address is the machines address where the code is supposed to be run. Inside the Erlang Shell you can then run ca:init(), which will initialize the decentralized version of the Central Authority program on the ca node.
$ erl -make
# For deployment on single machine with multiple Erlang VMs
$ erl -sname ca -setcookie topsecret
#For deployment on multiple machines
$ erl -name ca@<IP-Address> -setcookie topsecret
(main@host)1> ca:init().
Now you can start a second terminal window and type in the below commands. In the same fashion as before, this will start an Erlang node with either a short name or a long name (depending on which one you chose before) and subsequently initiliaze the nodes ("miners"). The function here takes as a parameter the name of the Central Authorities Host and a Number. This number determines how many processes running as a node will be deployed on this host.
# For deployment on single machine with multiple Erlang VMs
$ erl -sname nodes -setcookie topsecret
#For deployment on multiple machines
$ erl -name nodes@<IP-Address> -setcookie topsecret
(nodes@host)1> node:init('ca@host', 15).
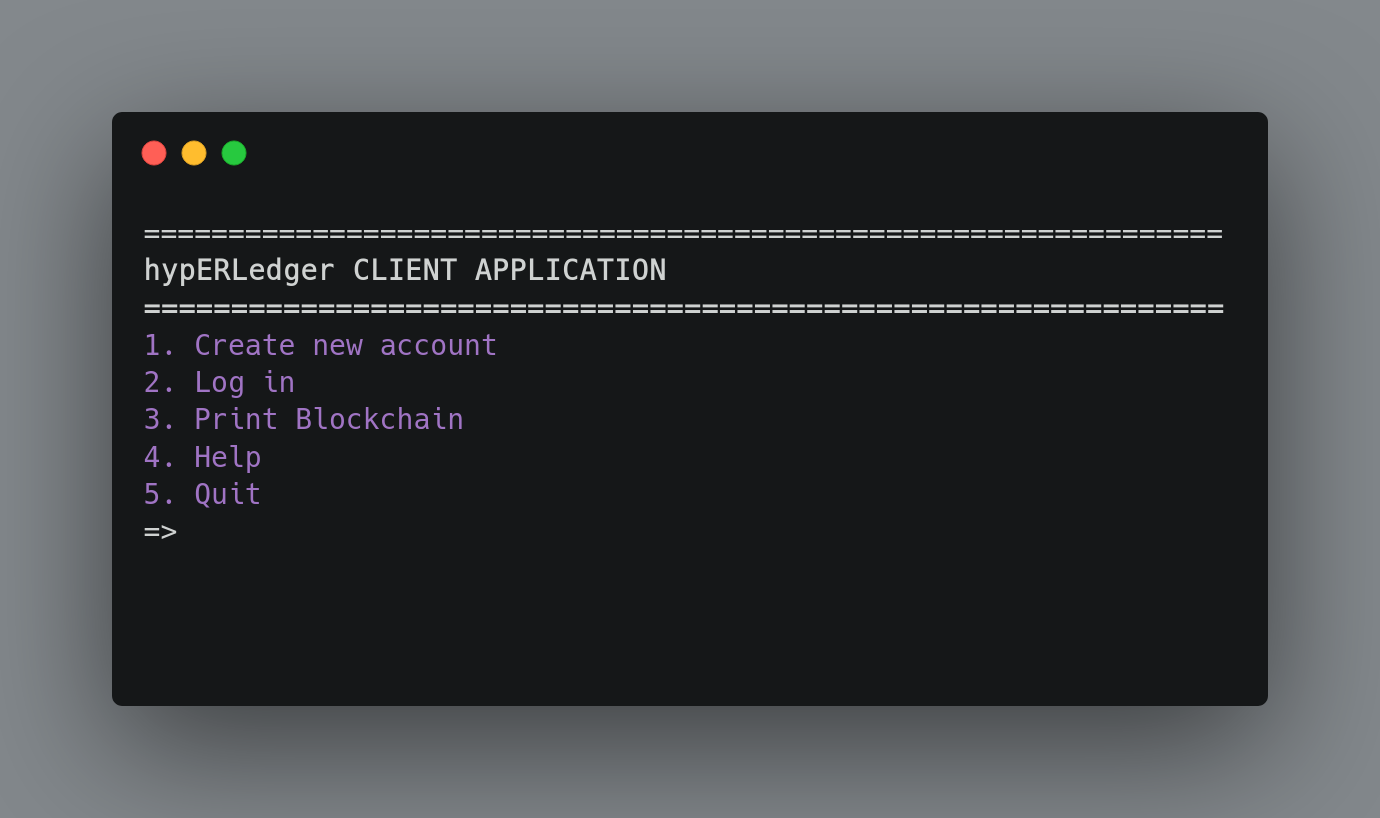
In a third terminal window run the commands listed below. These will start a third Erlang node using the same magic cookie and initialize the client application. Again, choose the variant you used before (one or multiple physical machines). Here you have to provide the name of the Central Authorities Host. You can either input it directly as a parameter inside the brackets like this: client:init('ca@host') or otherwise do it in two different steps and provide the Central Authoritie's Host when prompted (as shown below). Adapt the node's name to what is shown in the prompt of the other terminal window where you started main. Now your client should start up and you should be ready to create a new account, login, check out the other transactions on the blockchain and send/receive Hypercoins!
$ erl -sname client -secretcookie topsecret
(client@host)1> client:init().
# You should then see a prompt like the one below. Just type in the node's name without any quotes
Please provide the host name of the Central Authority:
=> 'ca@host'.@pewepow and @sirfrankiecrisp
