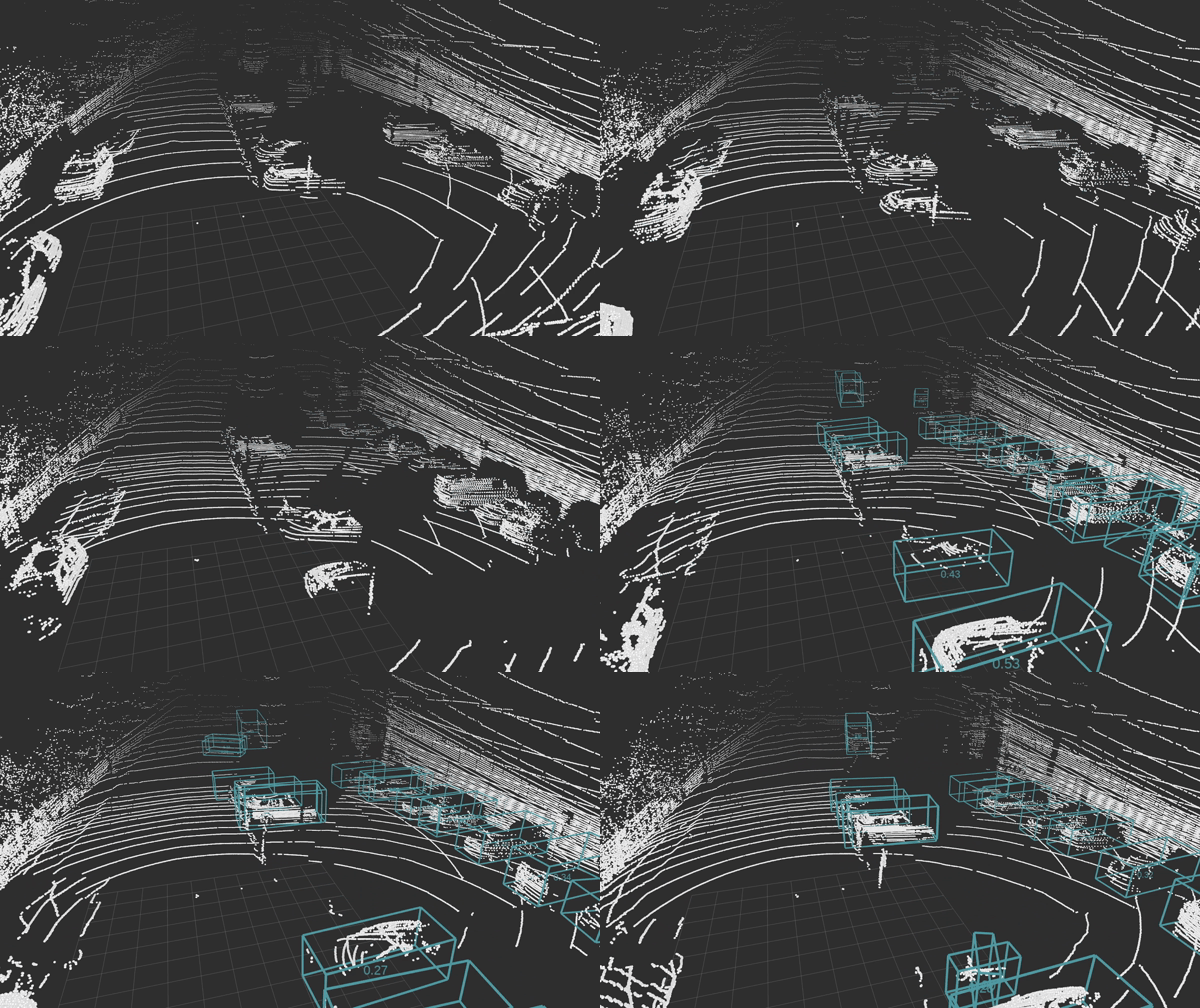
Real-time PointPillar-Multihead lidar detector with a ROS wrapper code. The GIF below shows detections made by a model that has been trained for ~35h with a RTX 2080 8GB.
$ make setupto clone submodules- Download TensorRT-8.0 GA and place to repo root
$ make docker-build- Obtain trained model and place to
config/ - Check configurations (
.yamland.launchfiles) $ make docker-launch
Detector should be running now.
├── config
├── OpenPCDet
├── PointPillars
├── src
├── TensorRT-8.0.3.4.Linux.x86_64-gnu.cuda-11.3.cudnn8.2.tar.gz
└── third_party
ROS code is inside src/ and pointpillars detector library lies in Pointpillars/ directory. OpenPCDet is needed for training and
generating the ONNX and TRT models. Inside config/, you should have configuration and the model files. Dependencies are hidden to third_party folder.
Note: it is better to duplicate yaml files to config directory and use these instead of modifying OpenPCDet configs. This way, we can easily mount config and use external files to adjust detector behaviour inside container online. Moreover, config changes do not then bust the docker build cache.
Setup the repository by calling make setup.
This downloads submodules to your computer, so docker build doesn't need to always clone them from remotes.
Then, download TensorRT 8.0.3 GA Update 1 TAR package and place it into the root of this repository, which allows docker to find it. This must be done manually, because downloading requires personal nvidia account. File is placed to the repository root, so it exists inside the docker build context.
-
Download pretrained pytorch model
-
Download example lidar data
-
Check that hardcoded paths match to your model in
trans_pfe.py&trans_backbone_multihead.pyfiles. (Can be found fromOpenPCDet/tools/onnx_utils). -
Create a development container and launch it:
make docker-build-devandmake docker-launch-dev. You can use this container for debugging, development, training and generating ONNX and TRT models. -
If the model was placed to correct location and previous paths match, then you should be able to generate ONNX model with
make generate-onnx. -
If ONNX generation succeed, then you may generate TRT model with
make generate-trt. If TRT model appears to config folder, then you are ready to do inference.
If you want to know how to train a own model, then check the training.md. However, it is recommended to start with pretrained one.
If you want to visualize detections, go to src/rviz_detections and build the visualizer image with build command given below. Then, you can launch a container that runs the visualizer node by using given make command in the repository root.
$ docker build -t rviz-detections .
$ make docker-launch-viz
Now, if objects are detected, the visualizer node publishes a corresponding bounding box as a marker array, which can be visualized in Rviz.
(You can also visualize single static scheme without ROS.
Download and install open3d and call make visualize).
- Get rid of symlink step in training
- Fix evaluation script with multiple checkpoints
- Resolve class label and confidence issuess
- Make code more clean, now it is mess
