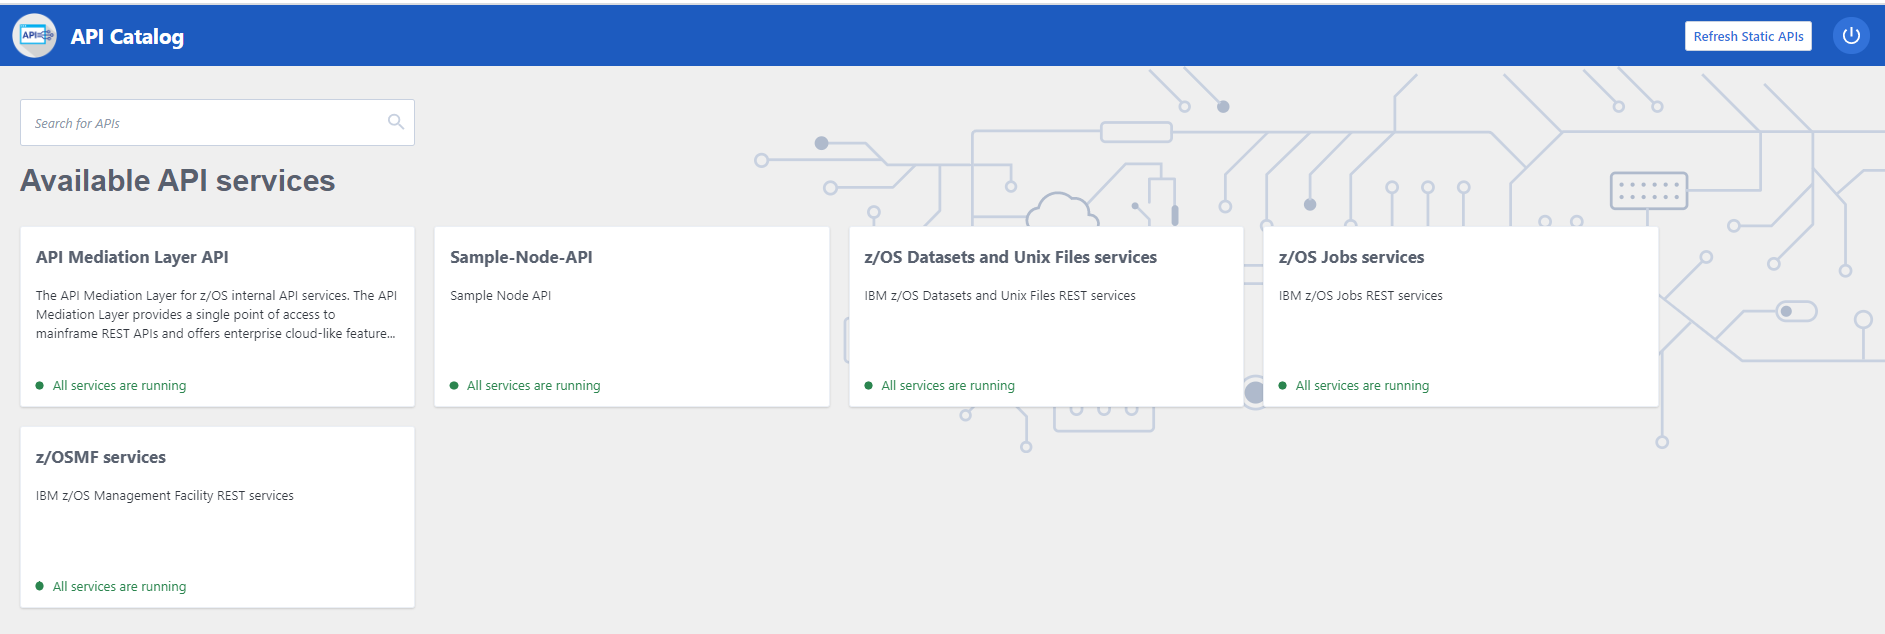
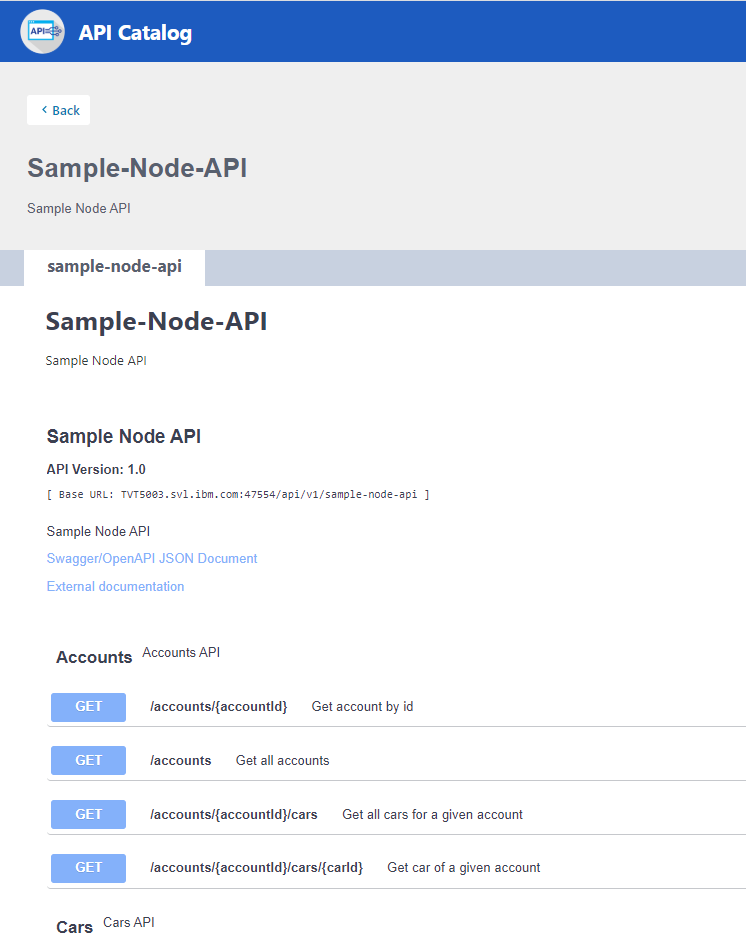
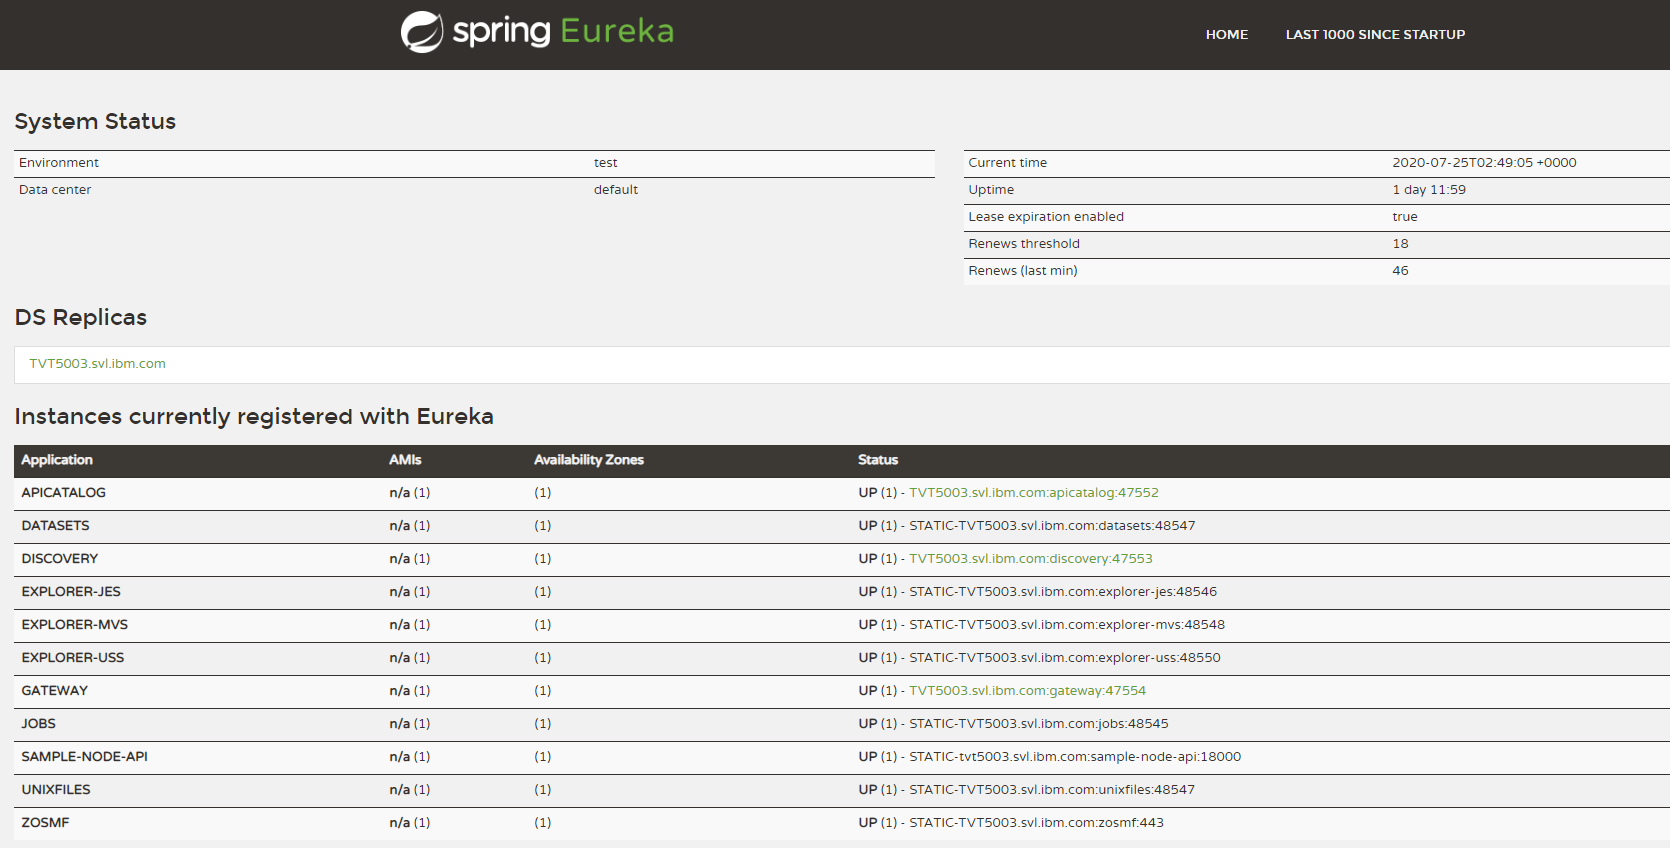
A sample node js api for finding cars and accounts for a dealership,its used here to demonstrate the steps to extend API/ML with your own rest api.
Note
Only rest api with https support can be deployed behind API/ML, make sure to enable https support in your rest api.
This sample express app, has https enabled already.
//on local
git clone https://github.com/zowe/sample-node-api
cd sample-node-api
npm install
npm start
Open your local browser and verify the sample-node-api is working by accessing:
http://localhost:18000/accounts/
http://localhost:18000/accounts/1
http://localhost:18000/accounts/1/cars/
Note
The node_modules folder will not be transferred, we can do npm install later on remote server itself to pull down required node packages
cd sample-node-api
npm run build
scp -r dist ibmuser@my.mainframe.com:</usr/lpp/extender>/sample-node-api
For the next step, ensure that you have node installed on z/OS and your PATH includes nodejs/bin directory.
ssh ibmuser@my.mainframe.com
. ~/.profile - (Skip if you can already run "npm" on z/OS)
cd </usr/lpp/extender>/sample-node-api
npm install
Get latest package from artifactory
Choose the latest pax build provided from the link above and download it into your local storage.
sftp ibmuser@mymainframe.ibm.com
put <pax-name>.pax
ssh ibmuser@my.mainframe.com
./<zowe-runtime-dir>/bin/zowe-install-component.sh -d <zowe-extensions-dir> -i <zowe-instance-dir> -o <component-file-path> -l <log-folder>
<zowe-extensions-dir> - Directory that will hold all external extensions installed onto zowe
<zowe-instance-dir> - Current installed Zowe's instance directory
<component-file-path> - The path to the component being installed (the component file transferred from local to z/OS in PART I)
<log-file> - Directory that will hold the logs of the component installation
We expect following in service folder start.sh. In our case its bin folder with relevant scripts.
start.sh starts node app on configured port
env.sh its custom script use to configure port for our node app, feel free to use your desired way
Please see static definition file sample-node-api.yml
It configures service endpoint as sample-node-api with property serviceId
We also provide api gateway base path api\v1 with property gatewayUrl in same file.
In effect, service can be accessed with following url:
https://{host}:{GATEWAY_PORT}/{gatewayUrl}/{serviceId}/*
where GATEWAY_PORT is configured in $INSTANCE_DIR/instance.env
Verify by accessing following:
https://my.mainframe.com:7554/api/v1/sample-node-api/accounts/
https://my.mainframe.com:7554/api/v1/sample-node-api/accounts/1/
https://my.mainframe.com:7554/api/v1/sample-node-api/accounts/1/cars/
Building your image Go to the directory that has your Dockerfile and run the following command to build the Docker image. The -t flag lets you tag your image so it's easier to find later using the docker images command:
docker build -t /node-web-app . Your image will now be listed by Docker:
$ docker images
REPOSITORY TAG ID CREATED node 14 1934b0b038d1 5 days ago /node-web-app latest d64d3505b0d2 1 minute ago Run the image Running your image with -d runs the container in detached mode, leaving the container running in the background. The -p flag redirects a public port to a private port inside the container. Run the image you previously built:
docker run -p 49160:8080 -d /node-web-app Print the output of your app:
$ docker ps
$ docker logs
Running on http://localhost:8080 If you need to go inside the container you can use the exec command:
$ docker exec -it /bin/bash Test To test your app, get the port of your app that Docker mapped:
$ docker ps
ID IMAGE COMMAND ... PORTS ecce33b30ebf /node-web-app:latest npm start ... 49160->8080 In the example above, Docker mapped the 8080 port inside of the container to the port 49160 on your machine.
Now you can call your app using curl (install if needed via: sudo apt-get install curl):
$ curl -i localhost:49160
HTTP/1.1 200 OK X-Powered-By: Express Content-Type: text/html; charset=utf-8 Content-Length: 12 ETag: W/"c-M6tWOb/Y57lesdjQuHeB1P/qTV0" Date: Mon, 13 Nov 2017 20:53:59 GMT Connection: keep-alive
Hello world We hope this tutorial helped you get up and running a simple Node.js application on Docker.
You can find more information about Docker and Node.js on Docker in the following places:
Official Node.js Docker Image Node.js Docker Best Practices Guide Official Docker documentation Docker Tag on Stack Overflow Docker Subreddit
$ docker run -it --rm /bin/bash
$ docker run -p 8081:18000 -d oneto/node-web-app


