


| Class | Tool | Section |
|---|---|---|
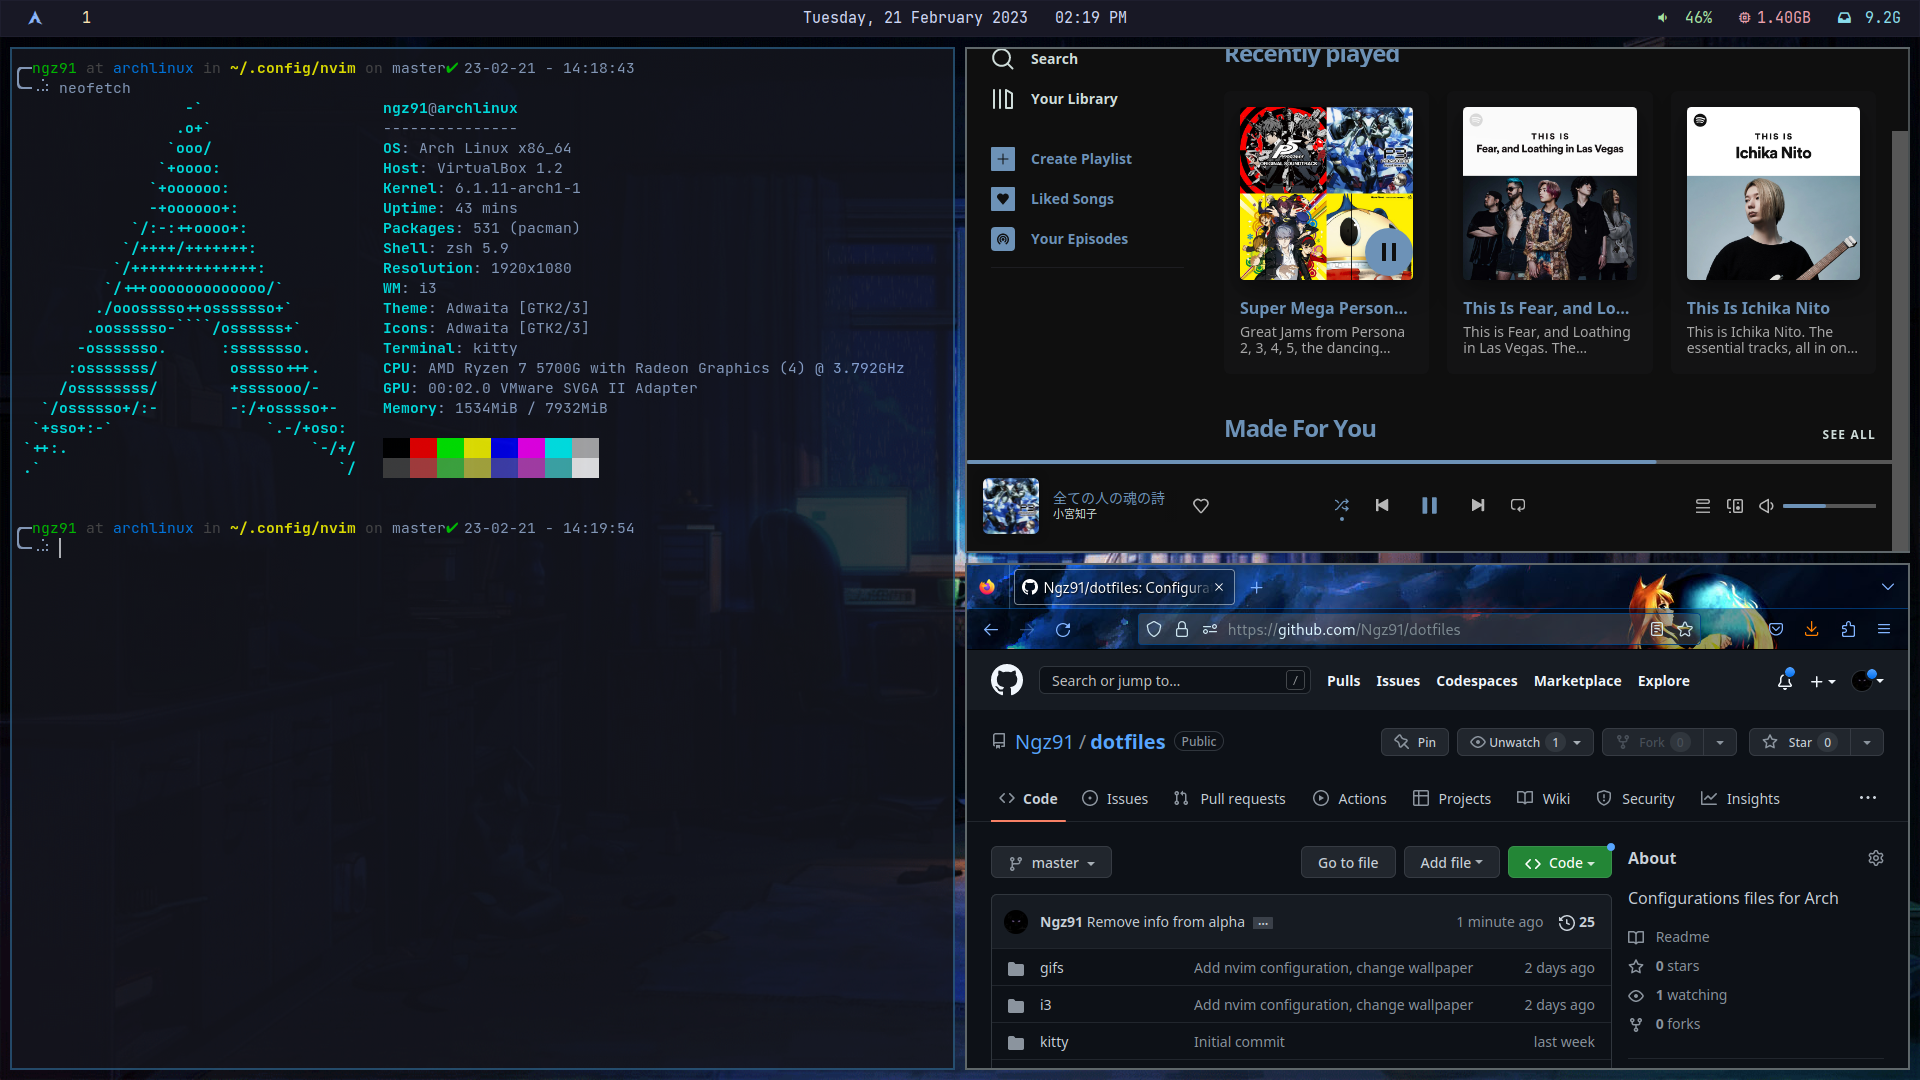
| OS | Arch 🍣 | Go to Section |
| WM | i3 🎇 | Go to Section |
| Terminal | Kitty 🐱 | Go to Section |
| Shell | Zsh & Oh-my-zsh 🌌 | Go to Section |
| AUR Helper | Yay 🍨 | Go to Section |
| Fonts | Nerd Fonts ✏️ | Go to Section |
| Status Bar | Polybar ⚒️ | Go to Section |
| Launcher | Rofi 🚀 | Go to Section |
| Compositor | Picom ☄️ | Go to Section |
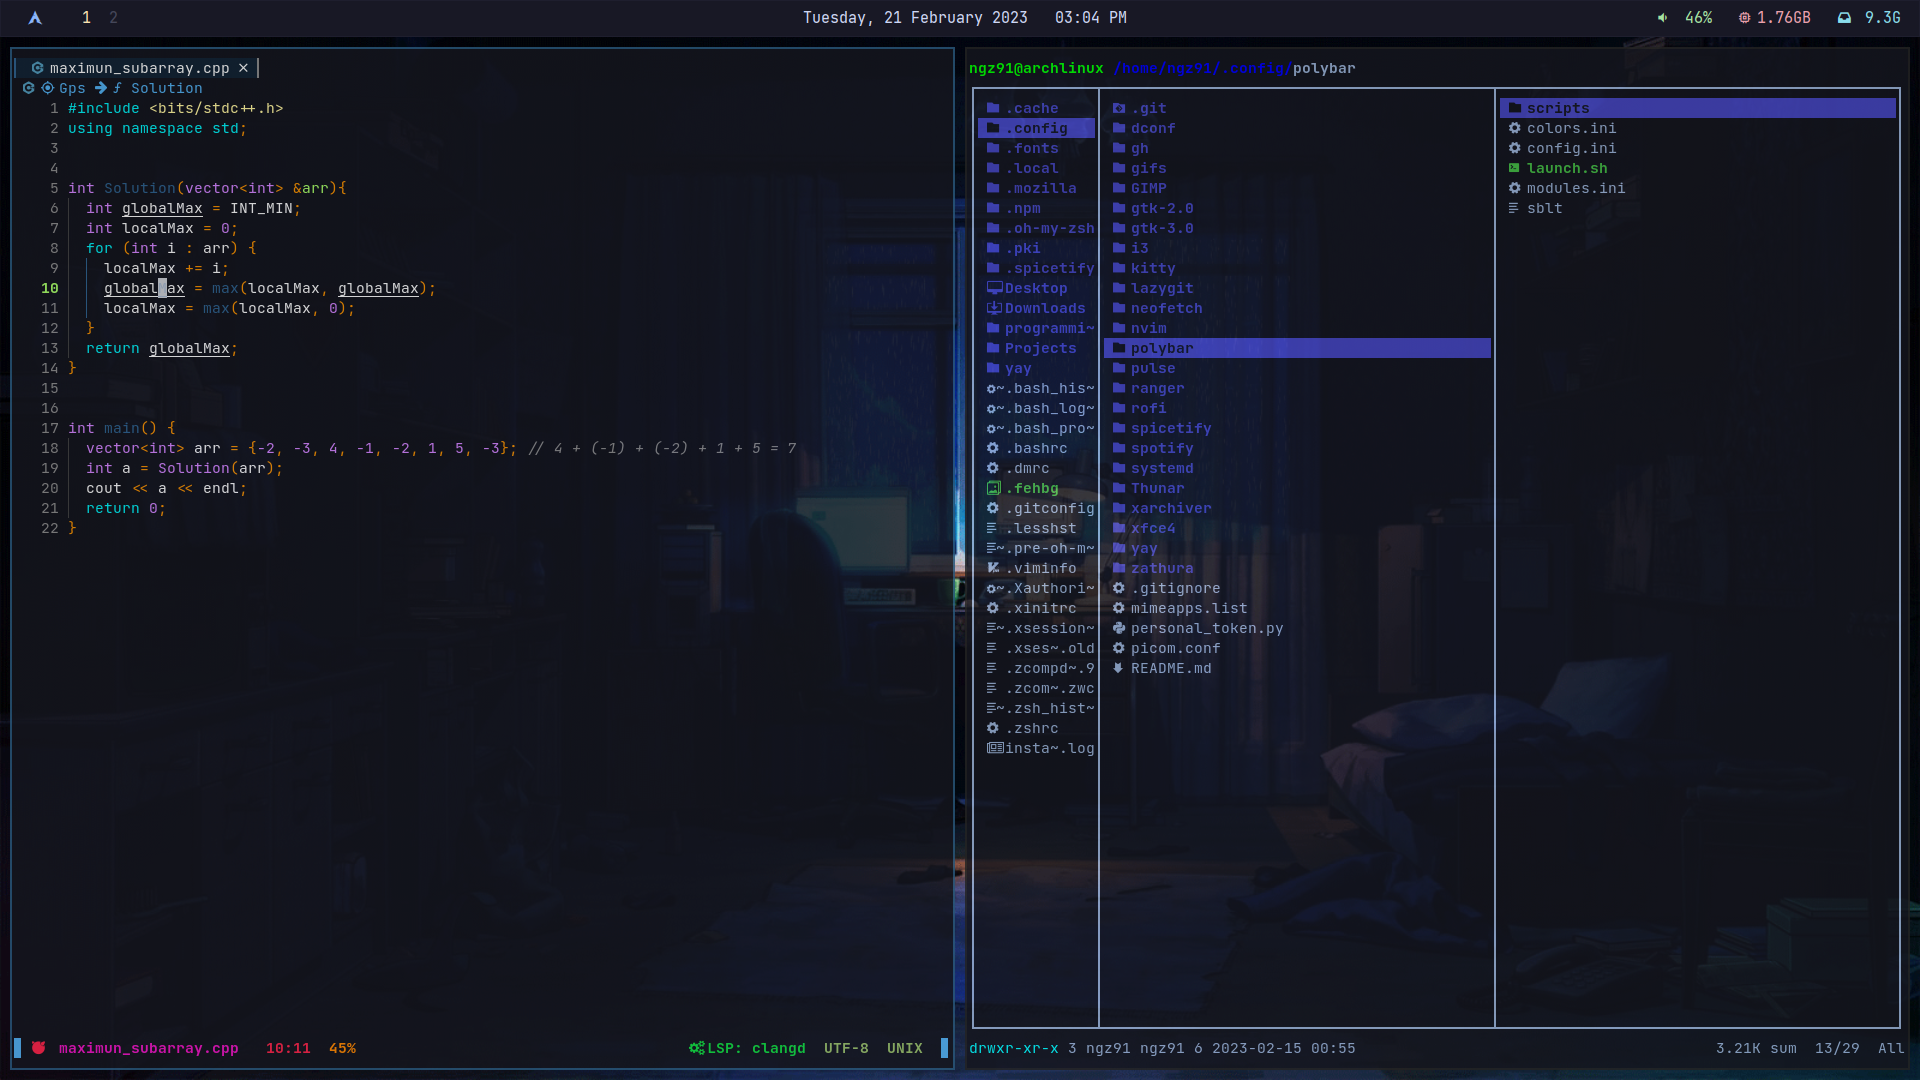
| File Manager | Ranger 📁 | Go to Section |
| Document Reader | Zathura 📔 | Go to Section |
| IDE | Neovim / Helix 💻 | Go to Section |
| Music App | Spotify & Spicetify 🎼 | Go to Section |
Install Arch by following the installation steps in the Arch linux official installation guide or use the ArchInstall package to automate the installation process. IMPORTANT: If you are installing Arch as a dual boot don't follow this method. Follow one of these videos instead:
- Manual installation
- ArchInstall installation 1
- ArchInstall installation 2
To install Arch using the ArchInstall package first check your internet connection by running:
ping -c 5 https://archlinux.org/
And then run this command:
python -m archinstall --script guided
You'll see a promp giving you some options similar to this:
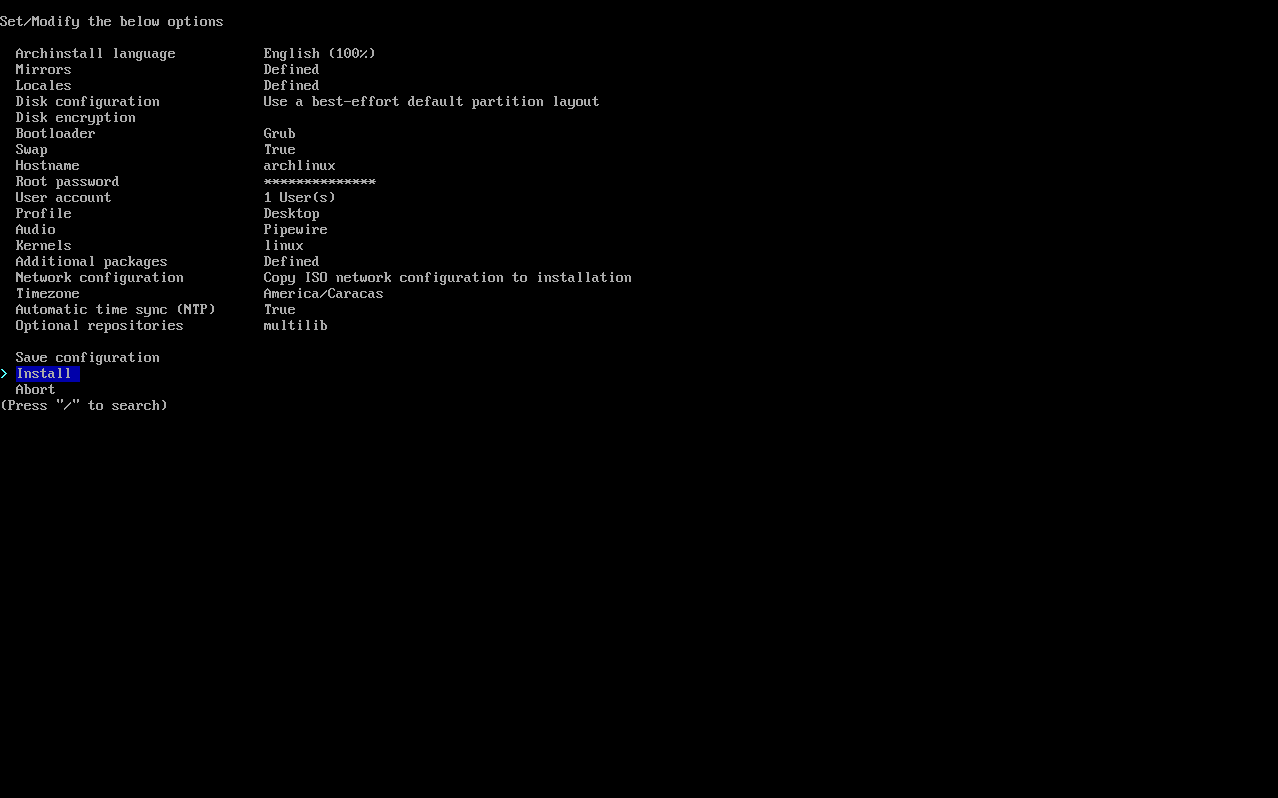
Select the options that better work for you, but in my case and configuration these are the options:
- Archinstall language: English
- Mirrors: worldwide or us
- Keyboard layout: us
- Disk configuration: use best-effort..., ext4
- Disk encryption pwd: encryption password None
- Bootloader: Grub
- Swap: True
- Hostname: Name of the host machine
- Root pwd: rootpassword
- User account: Add name and password give superroot to user
- Profile: desktop -> i3 -> AMD/ATI (open-source)
- Audio: pipewire
- Kernel: linux
- Additional packages: firefox, vim, thunar
- Network: Copy ISO network conf...
- Timezone: your timezone
- Automatic time synch: true
- Additional repos: multilib
After checking that the options are correct select Install. Go for a coffee ☕ and wait.
After finishing the installation process, the script will ask you if you'd like to chroot into the newly created installation. Select no and reboot the machine by running:
reboot
IMPORTANT: If you installed Arch in a virtual machine remember to remove the ISO file before booting into the machine again.
Boot into Arch and you should be greeted by the login manager.
Congrats, Arch is now installed 🎉
⬅️Go back to details

After booting into session you'll see a black screen and a bar at the bottom of the screen, all in the incorrect resolution. i3 will then ask if you want a configuration to be created for you, select Yes and this will create a configuration file at .config/i3 named config where you can add your keybindings, exec commands, etc. If you want to familiarize yourself with the i3WM I'd recommend reading their user guide.
To fix the resolution open your terminal with Mod+enter and run this command (The Mod key is most likely your Windows key):
xrandr
Note: In case xrandr is not installed, run this command sudo pacman -Sy xorg-xrandr
This will give you a list with different screens and their resolutions, select the one that you wish to use and run this command:
xrandr --output *screen name here* --mode "resolution here"
Next, run this command to sync and upgrade all Arch packages:
sudo pacman -Syu
Also, if you wish to change your wallpaper run these commands:
sudo pacman -S feh
feh --bg-scale $HOME/Downloads/some-example-image.jpg
To make this changes permanent navigate to .config/i3 on your terminal and open in vim the config file that's there. Then add these lines to the end of the file. (If you don't know how to use vim use this cheat sheet)
exec --no-startup-id xrandr --output *screen-name* --mode "resolution here"
exec --no-startup-id feh --bg-scale $HOME/Downloads/some-example-image.jpg
Also, you might want to assign a keybind for opening a firefox window. To do so, paste this line into your configuration (the location does not matter but it's a good idea to put all your keybindings after the kill focused window keybind, that way it's easier to spot them in the file).
bindsym $mod+Shift+b exec firefox --new-window
Now save the file and exit vim.

Test these changes by rebooting into Arch
reboot
If you are on a VM install guest additions
sudo pacman -S virtualbox-guest-utils
Test the audio. In case it's laggy or choppy make sure these packages are installed
sudo pacman -S pipewire pipewire-{alsa,jack,media-session,pulse}
If you are on a VM follow this guide. In my case I only needed to add these lines to etc/modprobe.d/sound.conf
options snd-hda-intel vid=8086 pid=8ca0 snoop=0
options snd-intel8x0 ac97_clock=48000
You might also wanna install Alsamixer to control your audio devices and settings.
sudo pacman -S alsamixer
Open it and check if auto mute is enabled. Check here for instructions.
Also, install these packages, they will be needed.
sudo pacman -S ripgrep fzf xsel nodejs npm lazygit git python-pip thunar-archive-plugin zip stylua
To render japanese characters install these packages:
sudo pacman -S noto-fonts-cjk noto-fonts-emoji noto-fonts
If you want to set a gif wallpaper follow the instructions in this guide.
And add these two lines to your i3 configuration file:
exec --no-startup-id killall back4.sh
exec --no-startup-id sh back4.sh 0.025 ~/path/to/your-gif-file.gif
⬅️Go back to details

Yay is an AUR (Arch User Repository) helper written in Go. We will use it to install some packages that are not in the official package repo or when a newer version of the program is available in the community repo. Visit the official github repository for the installation steps or run this command:
pacman -S --needed git base-devel && git clone https://aur.archlinux.org/yay.git && cd yay && makepkg -si
Warning: AUR helpers are not supported by Arch Linux.
⬅️Go back to details

Kitty is a GPU based terminal emulator. Install it by running:
sudo pacman -S kitty
Then change the i3 configuration to open Kitty instead of the default terminal by adding this line to the i3 config file
bindsym $mod+Return exec kitty
You can change Kitty's theme in .config/kitty/kitty.conf. Add my configuration or use the one you like. In this repo there are some themes that might be of your interest.
⬅️Go back to details

Nerd fonts add glyphs and icons to your terminal, this will allow, for example, Neovim to render icons. Visit their page to learn more about them. We will need to install some of them, you can install and use any one that you like. I'll use the ones I use in my configuration as an example installation procedure.
First make a .fonts folder in the same directory where .config is, then download JetBrains Mono, Products Sans and all Material Design Icons except the ones that end with .codepoints. Unpack them and place them into ~/.fonts or ~/.local/share/fonts. Then run this command for your system to detect the new fonts:
fc-cache -fv
In case there are no unpackers configured for thunar, install these packages:
sudo pacman -S thunar-archive-plugin xarchiver p7zip unrar
⬅️Go back to details

Zsh is a Unix Shell, we will use it in combination with Oh-my-zsh to customize the terminal. Install Zsh by running:
sudo pacman -S zsh zsh-completions
Change your default shell by running
chsh -s /bin/zsh
And finally install Oh-my-zsh by running
sh -c "$(curl -fsSL https://raw.githubusercontent.com/robbyrussell/oh-my-zsh/master/tools/install.sh)"
It will ask you if you want to make Zsh your default shell, select yes. Exit your terminal, launch it again and you will see the terminal in a different style.
To change the theme of Oh-my-zsh change this line in ~/.zshrc
ZSH_THEME="robbyrussel"
And load it using:
source .zshrc
You can find all available Oh-my-zsh themes here.
Note: There are other themes that are not in the aforementioned repository that can be installed. Their installation will not be explained in this guide.
⬅️Go back to details

Picom is a window compositor, in our case we will use it to make some of our windows transparent. Install it by running:
sudo pacman -S picom
Start Picom by running picom in your terminal, you will see that the terminal is now transparent, but the same goes for all other windows that you have open. We need to fix this.
To modify Picom behavior create or edit the picom.conf file at .config folder, in this case the config file does not need to be in a folder. If you want transparency to be applied to a specific window open your terminal and type:
xprop
Click on the window that you want to apply the transparency and look for WM_CLASS(STRING). Then add this to your configuration. (I'll use Kitty for this example)
opacity-rule = [
    "85:class_g = 'kitty' && focused",
    "85:class_g = 'kitty' && !focused",
];
This tells Picom to follow these opacity rules for the specific program that's running. Now, the same rules can be applied if you don't want the window to have any transparency, for example, I don't want Firefox to have any opacity. To achieve this add this line to the opacity-rule in the conf file.
"100:class_g = 'firefox'",
As a side note, Picom uses backends for rendering, some of them handle features that others can't. The default one is xrender, but you can try others at your own risk. Here is a manual explaining other options available for configuration. In case that changing the Picom backend freezes your computer, open a console by pressing Ctrl+Alt+F2, log in, change the backend line and reboot your system.
To run Picom on start up add this line to your i3 config file:
exec --no-startup-id picom
If you are having problems with your Picom configuration copy my conf file and from there edit what you want and what not.
⬅️Go back to details

Rofi is an App launcher, with it you can easily search and launch installed apps. It also works for browsing files and commands. To install it run:
sudo pacman -S rofi
Then run it using rofi --show drun. Here you can read about other options to run rofi.
Create a rofi folder in your config and add the files from iamverysimp1e's config, this will give you a start for you to customize your own Rofi theme.
There are other preconfigured and easy to customize Rofi themes in this repo.
To assign Rofi a keybinding add this to your i3 config file:
exec --no-startup-id sh rofi -show drun
⬅️Go back to details

Polybar is a highly customizable status bar. Install it by running:
sudo pacman -S polybar
Then create a polybar folder in .config to hold your configuration. Polybar configuration deserves a guide on it's own but you can set a basic one following these steps. First copy my Polybar config files into your folder. In the same folder, grand permissions to these files:
chmod +x launch.sh
chmod u+x scripts/diskusage
chmod u+x scripts/memory
chmod u+x scripts/network
And add this to your i3 config file:
exec --no-startup-id sh ~/.config/polybar/launch.sh
Another option to easily set a Polybar theme is by installing the themes at polybar-themes in your system. All the installation and configuration steps are in the repository.
Polybar is pretty well documented, you can read the documentation in their repository if you have any doubt about how to use it or how to customize it.
⬅️Go back to details

Ranger is a console file manager with VI key bindings. Zathura is a highly customizable and functional document viewer. One great benefit of using these two programs is how little memory they use.
To install both programs run:
sudo pacman -S zathura ranger
Then create their respective folders inside .config. You can copy my Ranger configuration, it will give you something to start with. Same for the Zathura configuration.
Some notes. If you want Ranger to preview the images in Kitty, then you'll need to install Pillow by using this command:
pip install pillow
If there's a warning telling you that "The script x is installed in '/home/myusername/.local/bin' which is not on PATH" then add it. For Zsh add export PATH=$PATH:/home/username/.local/bin at the end of .zshrc.
Also if you want Zathura to show the pdf page with it's original colors set recolor to false in the configuration file. set recolor "false"
In case zathura is not opening any pdf or djvu file, install these packages:
sudo pacman -S zathura-pdf-mupdf zathura-djvu
You can assign Ranger a keybind similar to this
bindsym $mod+Shift+v exec kitty -e ranger
⬅️Go back to details

Install Spotify using the package in the official Arch repo (Do not use the Snap package since Spicetify is not gonna work with it)
sudo pacman -S spotify-launcher
Open it and log in. Check your audio. Close it and install spicetify-cli, we will use it to customize Spotify and add extensions. Follow their guide for installation or install it by running:
curl -fsSL https://raw.githubusercontent.com/spicetify/spicetify-cli/master/install.sh | sh
Check that spicetify is installed by running spicetify --help.
Then run the spicetify command. This will create a config-xpui.ini file where you'll configure the Spicetify variables.
Navigate to the Spicetify folder in your .config folder and open config-xpui.ini. Here you will modify spotify_path and prefs_path. Their official guide tells you how to find both paths, but in my case they look like this:
spotify_path  = /home/ngz91/.local/share/spotify-launcher/install/usr/share/spotify/
prefs_path    = /home/ngz91/.config/spotify/prefs
After this, you can change your own theme using this command (I'd recommend doing this inside the spicetify Themes folder):
spicetify config current_theme "Path_to_your_configuration"
To add extensions, create an Extensions folder inside the Spicetify folder and use this command:
spicetify config extensions "Extension_name"
Run spicetify backup apply to create a backup and then run spicetify apply.
Visit the Unixporn forum to see some awesome spicetify themes.
You can use this kaybind to launch spotify:
bindsym $mod+Shift+m exec spotify-launcher
⬅️Go back to details

Neovim is a terminal based text editor, it's extremely powerful and customizable, and very hard to configure if you don't know what you are doing. I recommend using a neovim premade configuration before making your own, or you can configure one yourself by following Tatsuya Matsuyama's video, that way you can get a starting minimal configuration and also get an understanding of how Neovim configurations work.
Some good premade configurations are:
These are all community maintained and very stable.
The main language used for configuring neovim is Lua. You can familiarize yourself with the language by watching this video, but by knowing the basics you can make your own configuration.
A Neovim configuration folder structure looks something like this:
├── init.lua
├── lua
│   └── user
│       ├── plugin1.lua
│       ├── plugin2.lua
│       ├── plugin3.lua
        ...
│       ├── lsp
│       │   ├── configs.lua
│       │   ├── handlers.lua
│       │   ├── init.lua
│       │   ├── null-ls.lua
│       │   └── settings
│       │       ├── lsp1Settings.lua
│       │       ├── lsp2Settings.lua
                ...
└── plugin
    └── packer_compiled.lua
init.lua is the first file Neovim loads, here you can require other files with the plugins configurations or scripts that you wanna run. lua/user is where your Lua scripts and plugins configurations are, you can require them in init.lua by using the require function require("user.plugin1"). There's also a lsp(language server protocol) folder where all lsp configuration lies, here you can configure your language servers and lsp based plugins like lsp-saga, illuminate, etc.
NOTE: This is not a standard, there are various ways this folder can be structured, but this one is very easy to understand.
To install plugins there are various plugins managers, but the two most popular are Packer.nvim and lazy.nvim. If you decide for Packer, there's an AUR package available, this will take care of the configuration for you:
yay -S nvim-packer-git
Follow their guide on how to add plugins to your configuration. But before adding plugins you might want to disable some plugins that come with Neovim and are not used, these are:
"netrw",
"netrwPlugin",
"netrwSettings",
"netrwFileHandlers",
"gzip",
"zip",
"zipPlugin",
"tar",
"tarPlugin",
"getscript",
"getscriptPlugin",
"vimball",
"vimballPlugin",
"2html_plugin",
"logipat",
"rrhelper",
"spellfile_plugin",
"matchit",
This guide is one of the most complete guides for configuring Neovim, if you have any doubt about how to configure a plugin or any other type of configuration, the answer, most likely, can be found there. Also, visit the Neovim reddit forum if you have any doubt, it's a very open and welcoming community.
⬅️Go back to details

Congrats, by now you should have a riced Arch linux environment. Configuring Linux is very time consuming and takes a lot of patience to deal with errors, but in the end it's very satisfying to see the end product and knowing that with less than 2gb of ram you can have a browser, Spotify and Neovim open instead of having 4gb+ ram usage while idle.
I hope this guide helped you in your configuration process. If you have found anything that's not clear or wrong, please let me know, I'll be updating this guide every now and then.
You might want to have gaps in between the windows. To do so, add these lines to your i3 config file and change it based on your preference:
gaps inner 10
gaps outer 0
smart_gaps on
Also, to eliminate the topbar created by i3 add this too:
default_border pixel 2
default_floating_border pixel 2
Remember to use Git to manage your .config folder, that way, if you mess up something, you can revert to a working commit.
Here are some resources that you might find useful for continuing your ricing journey.
- R/unixporn the home for *NIX customization.
- Arch linux webpage.
- Eric Murphy youtube channel.
- chrisatmachine Youtube and Github for neovim configurations and plugins.
- Alpha2phi Neovim articles.
- R/neovim subreddit.
⬅️Back to the top