Name: Neil Gibson
Student Number: C17438292
This assignment is a cool, funky visual representation of a song by Roisin Murphy called Murphys Law. It reacts to the sound of the music in multiple ways throughout the song including the colours of some items, and the size of some items. As it is a funky song I decided to choose vibrant colours throughout and base my design around disco and disco themes. It will start with an intro that renders automatically with the song, introducing me and the song name and artist. Then moving to a disco ball for a few moments to set the scene of the song until the song ups the tempo. After this it will cut to a vinyl record and this is where the audio visuals begin. This will be the main screen throughout now and as the song continues I incremently add more features to the screen that react to the sound until finally finishing with a small reactive outro. It is controlled using the spacebar and the numbers 1 to 8.
-
This is the intro and it loads automatically on the first render along with the music. Keep it playing untill enjoy sits in the middle of the screen and the music starts to pick up.
-
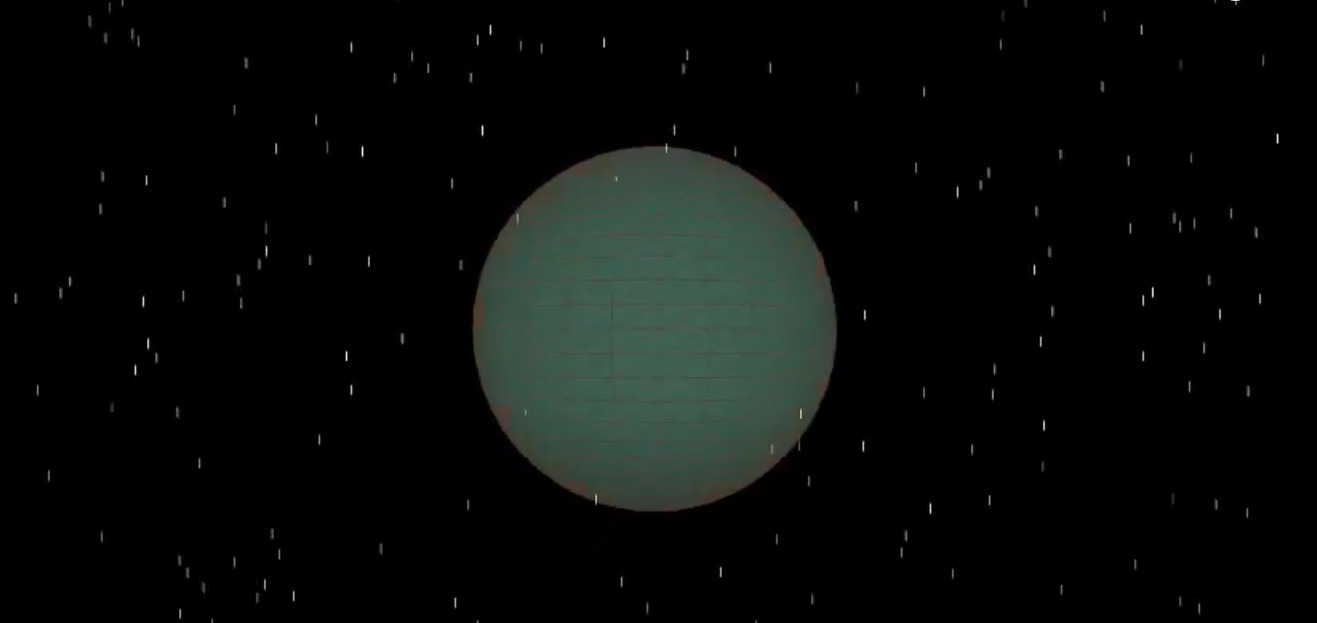
This is the disco ball that should spin for approx 30 seconds again until a key change in the music, its purpose is to set the discoey scene for the rest of the visual with a nice spinning disco ball that changes colour and some rain. You access this by hitting the spacebar.
-
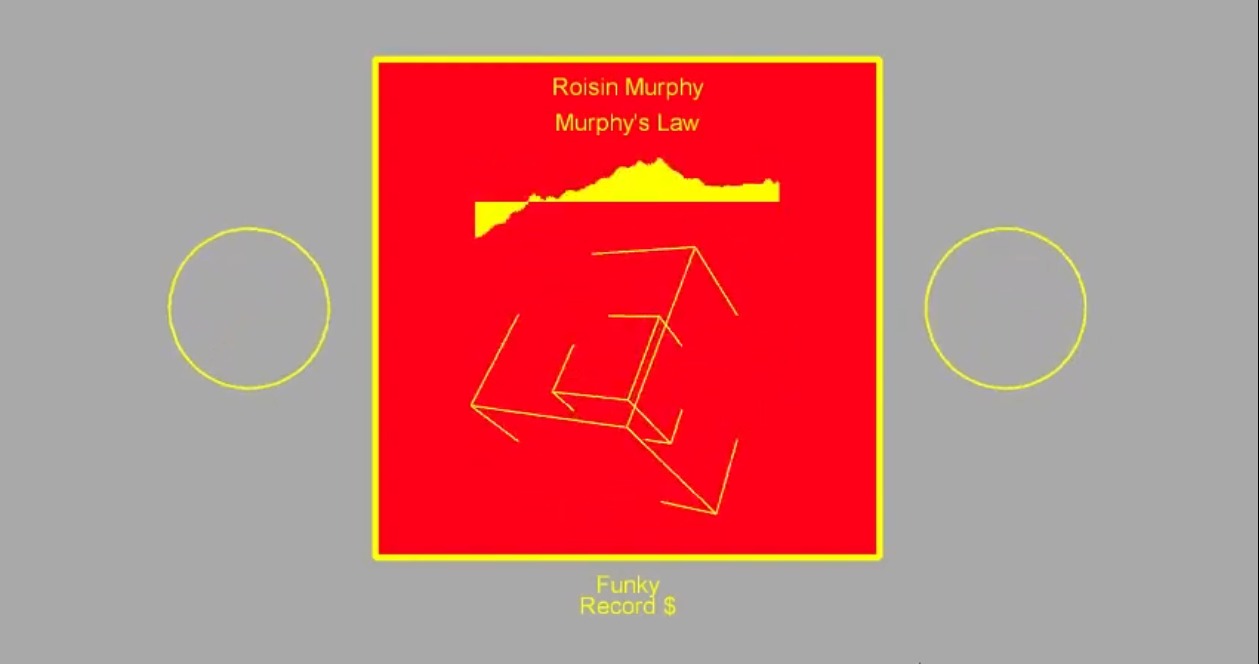
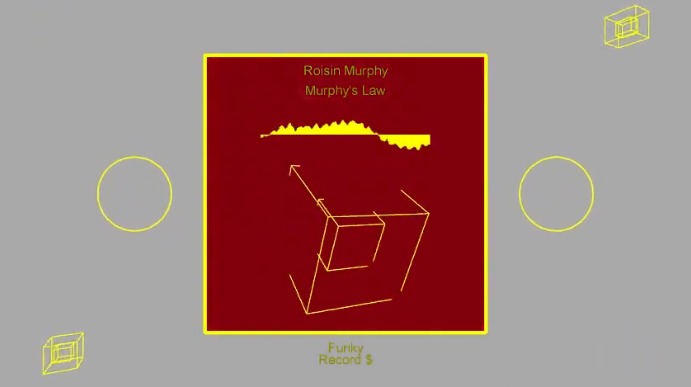
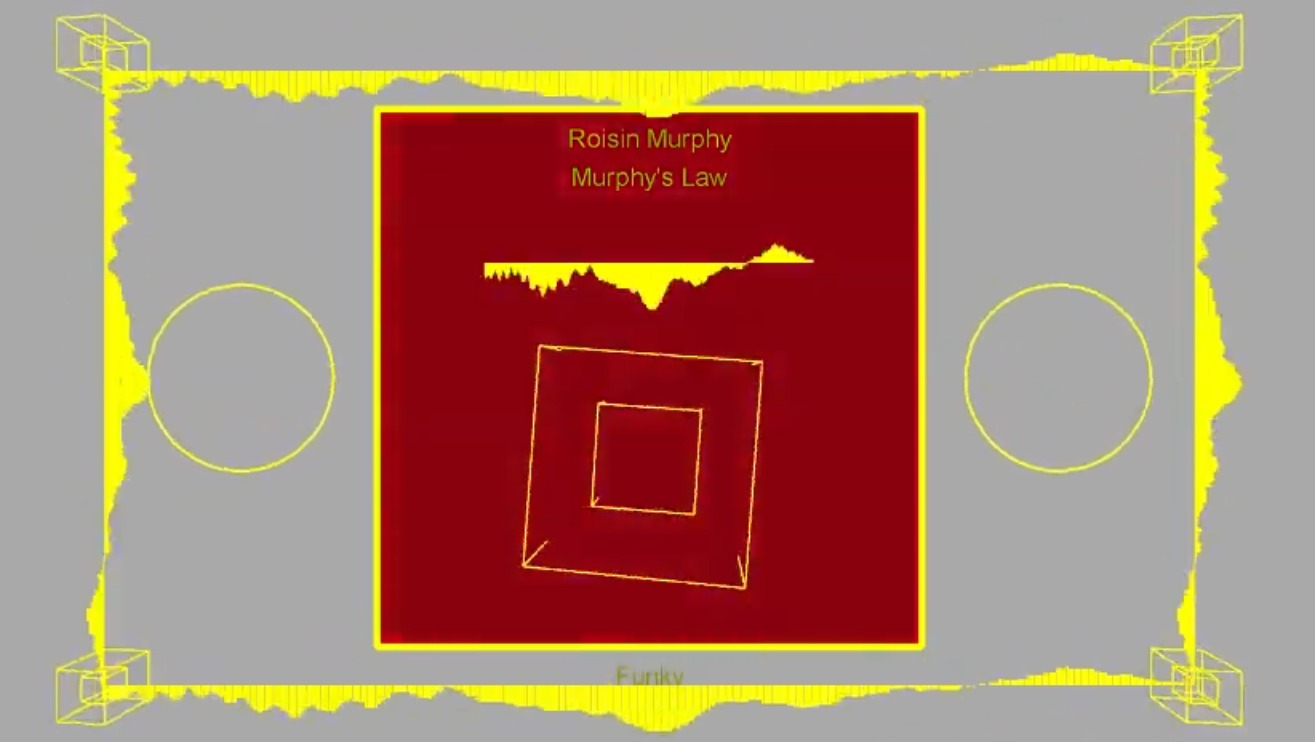
This the first iteration of the vinyl record and should be pressed after the first key change in the song. Accessed by pressing the number '1' key.
-
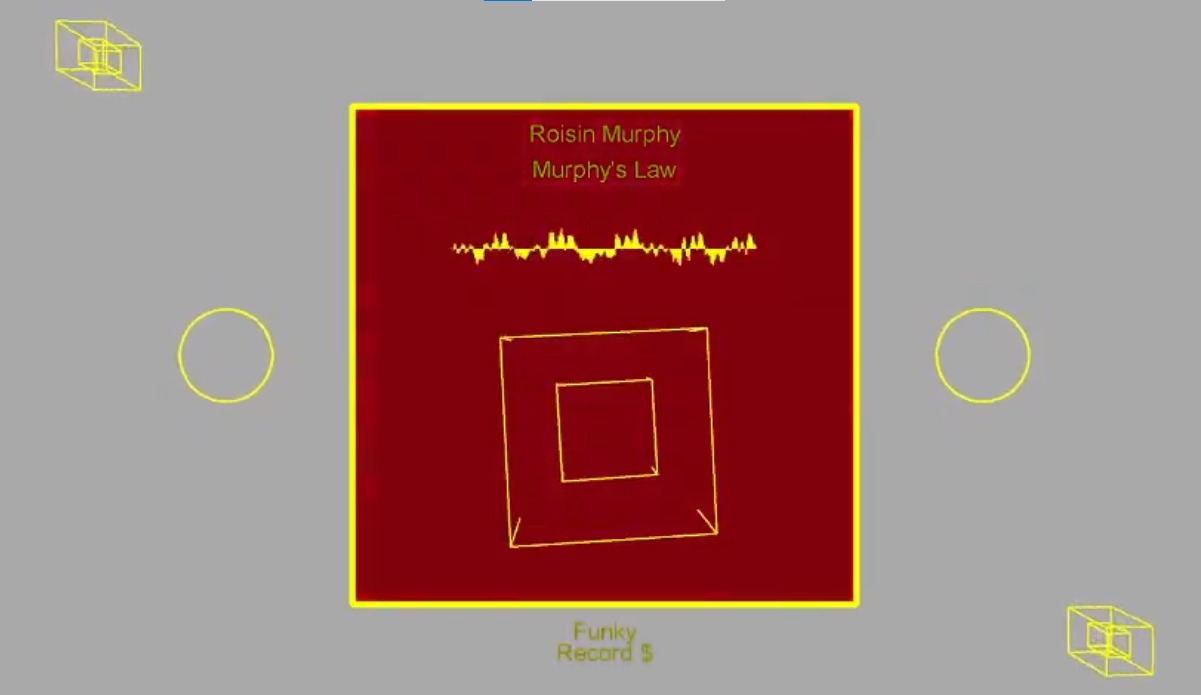
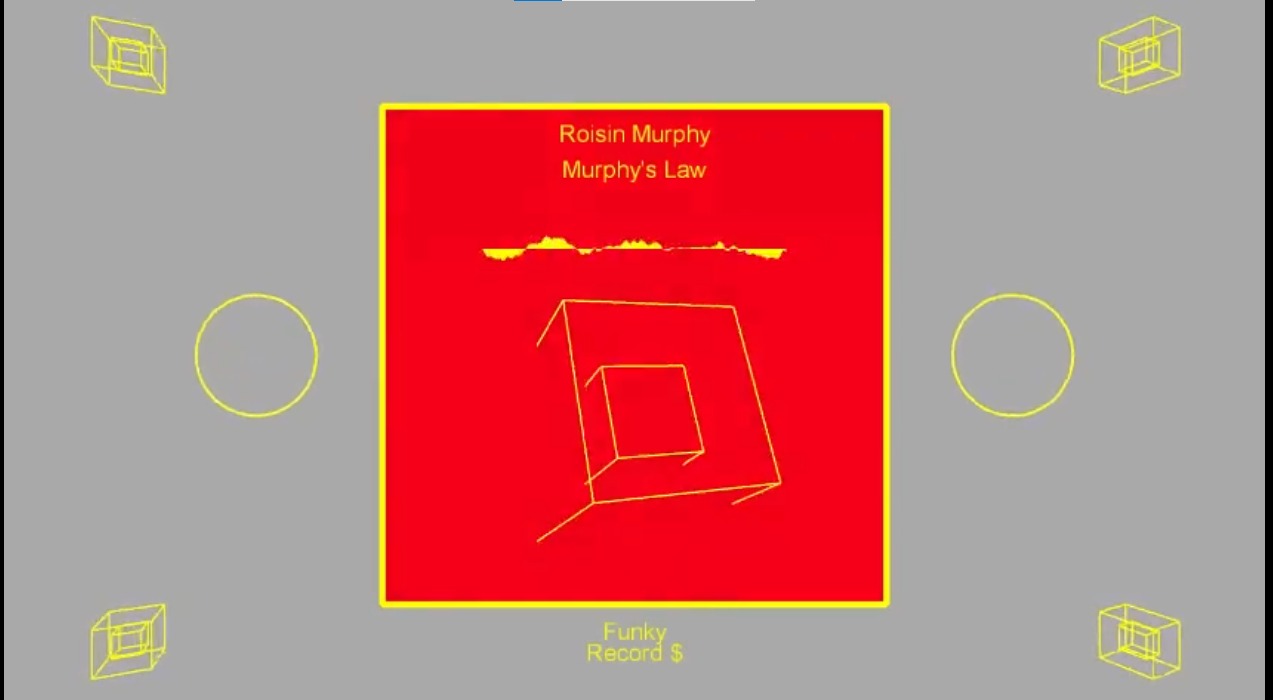
This is the second iteration of the vinyl which spawns 2 cubes on the top left and bottom right of the screen. This will be swapped back and forth with the next feature to create some nice visuals. This can be accessed buy hitting the '2' key.
-
This is the 3rd iteration and as mentioned befor will be swapped back and forth with the previous feature to create nice visuals to go along with the music. This spawns 2 cubes on the top right and bottom left of the screen. This feature can be accessed by hitting the number '3' key.
-
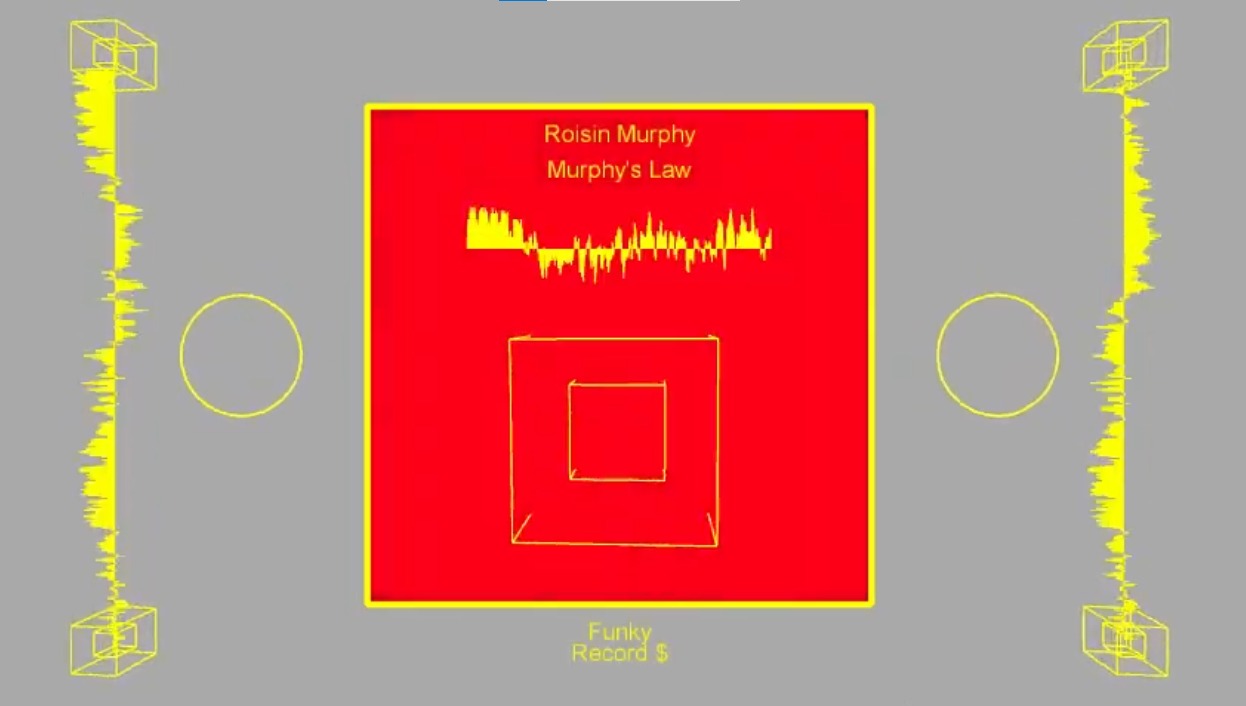
This is the 4th iteration of the vinyl and should appear around the time of the first hook. This can be accessed by pressing the number '4' key and will join the previous 2 features and spawn all 4 cubes on each corner of the screen at the same time.
-
This is the fifth iteration which will begin to tease sine waves connecting the cubes from top to bottom and again similarly will be rotated out with the next feature back and forth until the next major key change/chorus. Accessed by pressing the number '5' key.
-
This is the sixth iteration of the vinyl, teasing sine waves connecting cubes from left to right and should be swapped back and forth with the previous feature along with the beat until the next hook/chorus. Accessed by pressing the number '6' key.
-
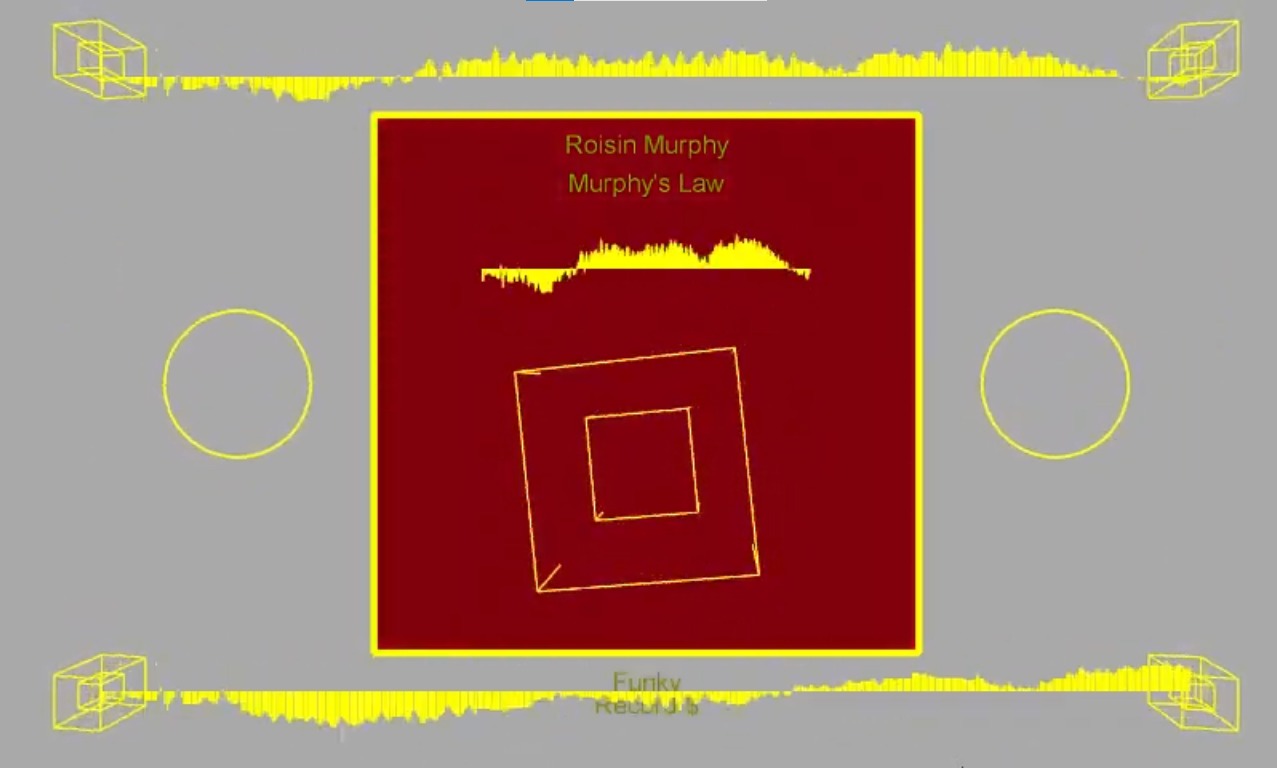
This is the final form of the vinyl and will combine every feature up until now. Every feature before this has been leading up to this stage and can be accessed by pressing the '7' key.
-
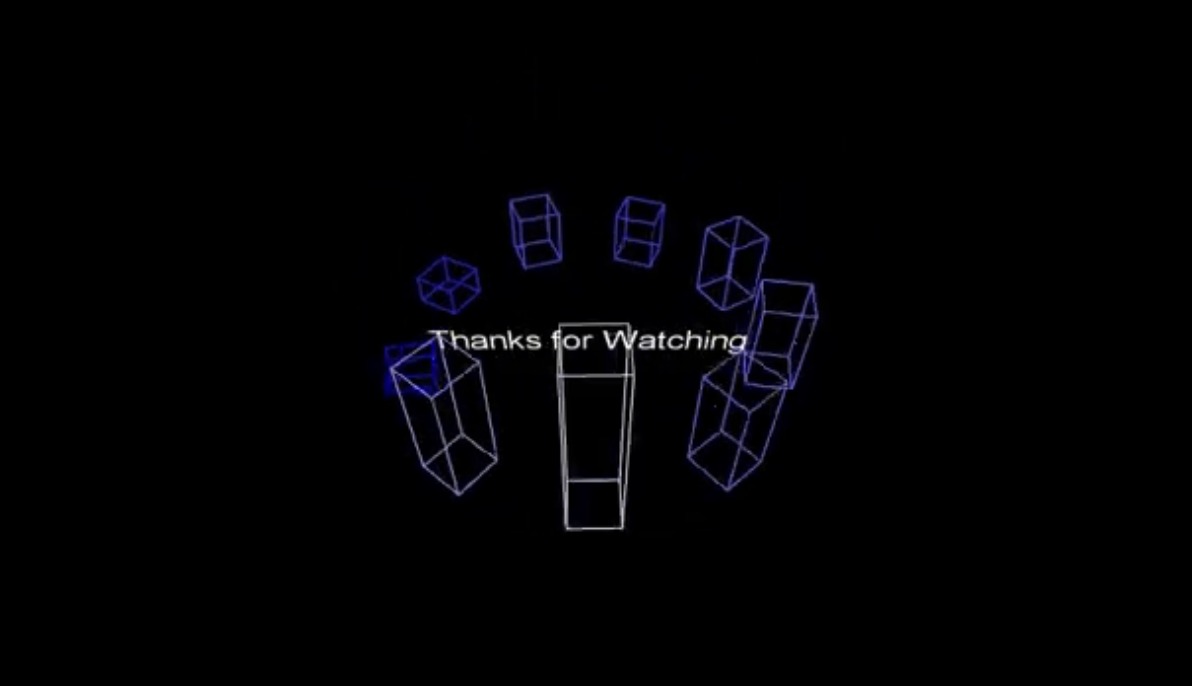
Finally as the music fizzles out there will be a small outro with rotating cubes that grow and shrink with the sound of the music and a thank you note. This can be accessed by pressing the number '8' key. !!!This should only be pressed last as it changes the angle of the screens camera to view these rotating audio bands!!!


Firstly I created an abstract class that contains all of the methods I need to read in an audio buffer, get the amplitudes of the song, calculate the average amplitude, audio bands using the minim and fft libraries. I then generated the getters and setters required for all aforementioned. The main processing class then extends this and sets the program up by retrieving all of the information needed to create reactive visuals. I have 6 seperate classes other than the 2 just mentioned.
The first is just a quick intro that displays some rolling credits to introduce the project. They start at the top of the screen and their y value is increased by 1 every frame. The next sentence does not start rolling until the current sentence hits the middle of the screen. This is all controlled by if statements.
The second class is a sphere that is translated to the exact middle of the screen and rotates its Y axis by 1 every frame to create a spinning effect. It also maps through hsbs colours using the amplitude of the song to change the colour of the spinning ball to create that disco ball effect. I made a seperate class for the rain drops and created an array of these rain drops then with random x values y values and speeds to create the rainy effect. When the rain drop hit the bottom of the screen I redrew it back to the top of the screen to create an endless loop of raindrops.
The 3rd class is the vinyl record class. This takes in a reference to main and the number of cubes I want drawn on the screen at a given time which can either be 2, 3, or 4. The circles radius in this class are controlled by the amplitude of the music playing. I use this amplitude to create a smoother transition by using the lerp function which creates a height that gets 20% closer to the current amplitude every frame to avoid any extreme changes in the amplitude and make it look cleaner. This class then chains its constructor to 2 other classes to create the sine wave on the cover of the record and any cubes that will be used later on.
The wave class I created takes in 5 parameters which are a reference to the main class and its processing library, the x y of the start position of the wave and the x y of the end position of the wave. This then checks if x1 and x2 are the same or if y1 and y2 are the same to determine if the wave is going up the screen or accross the screen. It then maps out from start to finish, drawing lines at each point using the audiobuffer I read in every frame by refernce of main class to get the length of each line along the path which creates a sinusoidal effect.
The cube class takes again a reference to main, the x y of where I want it translated to the screen, the height I want the box to be and a boolean which determines if I want both the x and y axis to be spun. It then uses these parameters to draw a box to the screen with a box half its height inside to create a cool effect. This is done by pushing to matrix before creation of first box and then popping from the matricx when completed to avoid the translations being messed up.
Finally the last class is Rotating audio visual bands for my outro again accepting a reference to main. This changes the camera angle of the screen to be able to view the bands rotating better. This then gets the array of smoothed bands to use for rotating around the screen and the amplitude every frame to determin the height of heach band. Lastly it uses cos and sin to get the radius of the circle and each point around the radius of the circle which is used to rotate these bands around together.
I then use the 'key pressed' function to control each feature created. The space bar and numbers 1-8 all display different features than can be used throughout a song of your choice.
I am most proud of my use of constructor chaining and general understanding and implementation of OOP concepts throughout this project which at at the start of the semester I definitely would not have had a clue. Particularly the constructor for the vinyl record class which calls the cube classes constructor to create a nice visual.
    public Vinyl(NeilsVisual nv, float howMany)
    {
        this.nv = nv;
        this.howMany = howMany;
        this.halfh = (float) this.nv.height/2;
        this.halfw = (float) this.nv.width/2;
        this.frX = (float) this.nv.width/2;
        this.frY = (float) this.nv.width/2;
        by1 = nv.height*0.9f;
        bx1 = nv.width*0.9f;
        bx = nv.width*0.1f;
        by = nv.height*0.08f;
        by2 = nv.height*0.08f;
        bx2 = nv.width*0.9f;
        bx3 = nv.width*0.1f;
        by3 = nv.height*0.9f;


    //  chain a constructor to create a cube when Vinyl is created. passing reference to NV, x & y co-ord, and height.
        this.c = new Cube(this.nv, this.halfw, (this.halfh) + 75, (float)(this.nv.height*0.25), true);
        this.b = new Cube(this.nv, this.bx, by, 50, false);
        this.b1 = new Cube(this.nv, this.bx1, by1, 50, false);
        this.b2 = new Cube(this.nv, this.bx2, by2, 50, false);
        this.b3 = new Cube(this.nv, this.bx3, by3, 50, false);

    }
I am also really proud of the sine wave class I made which maps the 2 x and y co-ordinates passed and determines whether or not the sine wave will be displayed horizontally or vertically based on the values which i thought was pretty cool and a nice problem to solve. It also fits really well with the music!
I am also proud of how I set up all my classes with inheritance and polymorphism throughout and kept my code clean and easy to read.
Lastly I would say the vector/array of a type(class) that i made to form the rain drops on the disco ball visual was something new for me so it took lot of messing around with the code to get it the way I wanted it. I gained alot of general programming knowledge in making arrays of a class like that.
Click the picture!! Or if not loading click link for video!!

This is the updated video!!!!!!!!!!!!!!!!!!!!!
- If this link does not work then the video is in the data folder!!