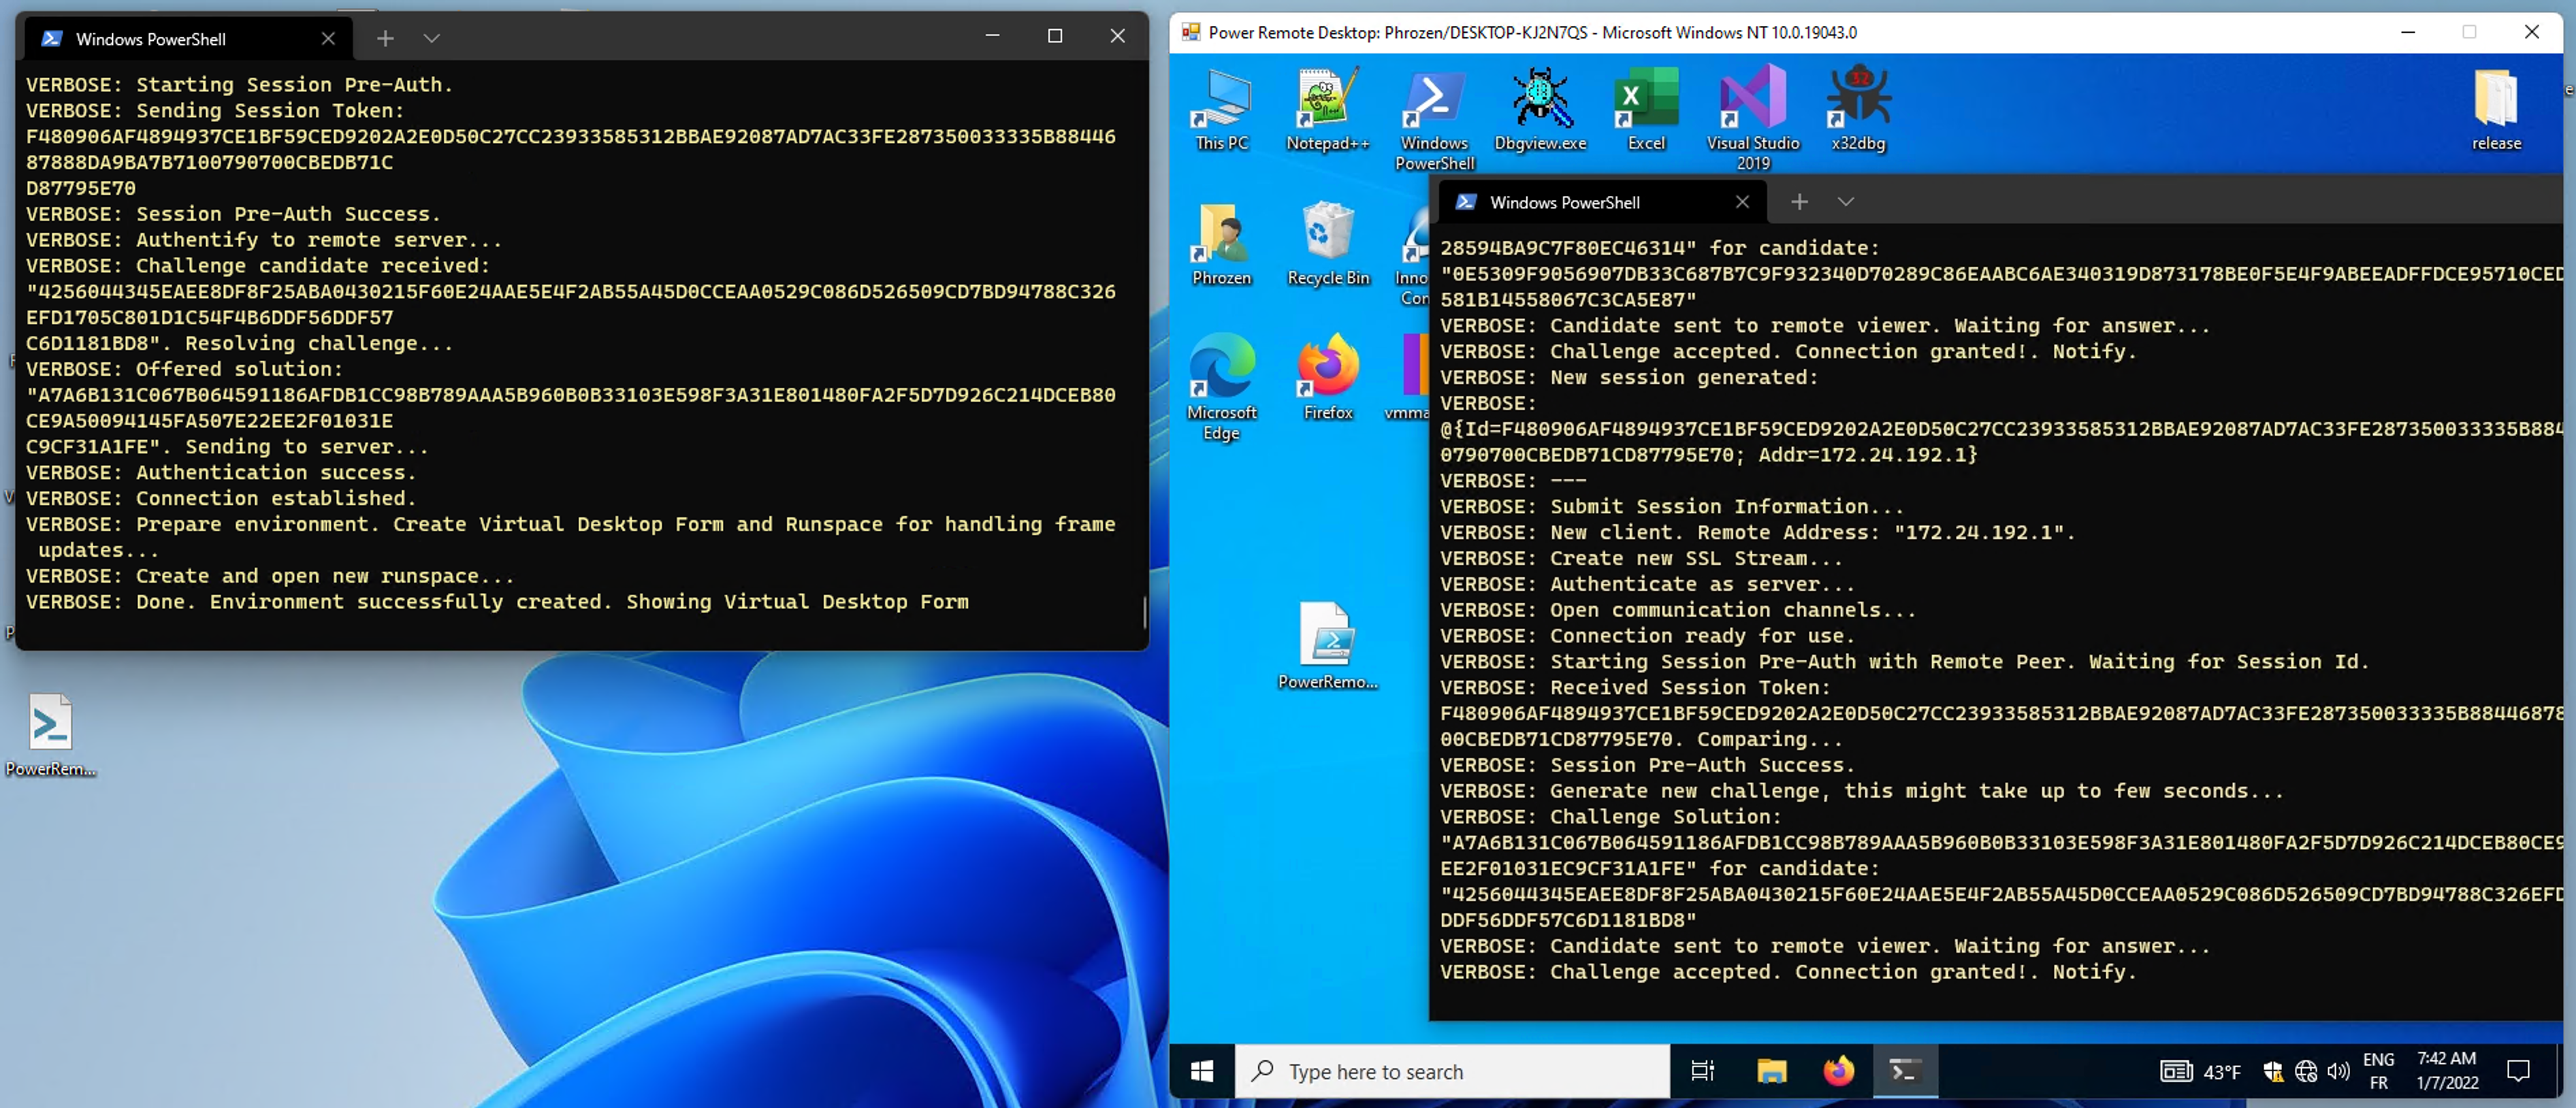
As the name suggests, Power Remote Desktop is a Remote Desktop application entirely coded in PowerShell.
It does not rely in any existing remote desktop application / protocol to function. It is a remote desktop application completely coded from scratch.
Even the Viewer part (Including the GUI) is coded in PowerShell with the help of WinForms API.
Tested on:
- Windows 10 - PowerShell Version: 5.1.19041.1320
- Windows 11 - PowerShell Version: 5.1.22000.282
- Captures Remote Desktop Image with support of HDPI.
- Supports Mouse Click (Left, Right, Middle), Mouse Moves and Mouse Wheel.
- Supports Keystrokes Simulation (Sending remote key strokes) and few useful shortcuts.
- Traffic is encrypted using TLSv1.2. Soon to support an additional option of TLSv1.3 (Optionnaly).
- Challenge-Based Password Authentication to protect access to server.
- Support custom SSL/TLS Certificate (File or Encoded in base64). If not specified, a default one is generated and installed on local machine (requires Administrator privileges)
Server client acquirement system is temporary, it works perectly fine (if nothing interfer with normal handshake). I will implement in final version the real client handler system in a separated thread to avoid possible and very rare dead locks.
I will also implement a Read / Write Timeout system followed by a Keep-Alive system to detect ghost connections and avoid again rare dead locks.
I will also improve comments and logging (verbose / normal text) and try to support cursor state monitor (to display the remote cursor state on viewer).
* [EASY] Add option for TLS v1.3.
* [EASY] Version Synchronization.
* [EASY] Support Password Protected external Certificates.
* [EASY] Server Fingerprint Authentication.
* [EASY] Mutual Authentication for SSL/TLS (Client Certificate).
* [EASY] Improve Error Control Flow.
* [EASY] Synchronize Cursor State.
* [EASY] Improve Comments.
* [EASY] Better detail on Verbose with possibility to disable verbose.
* [EASY] Synchronize Clipboard.
* [EASY] Handle new client acceptation on a separated Runspace to avoid locks which could cause DoS of the Service.
         This will be naturally fixed when I will implement my final version of client Connection Handler system.

* [MEDIUM] Keep-Alive system to implement Read / Write Timeout.
* [MEDIUM] Improve Virtual Keyboard.
* [MEDIUM] Avoid Base64 for Desktop Steaming (Only if 100% Stable).
           It sounds obvious that writing RAW Bytes using Stream.Write is 100% stable but strangely locally
           it worked like a charm but while testing remotely, it sometimes acted funny. I will investigate about
           this issue and re-implement my other technique.

* [MEDIUM] Server Concurrency.
* [MEDIUM] Listen for local/remote screen resolution update event.
* [MEDIUM] Multiple Monitor Support.
* [MEDIUM] Improve HDPI Scaling / Quality.
* [MEDIUM+] Motion Update for Desktop Streaming (Only send and update changing parts of desktop).
You can use this script both as a PowerShell Module or Raw Script (Pasted, from Encoded Base64 String, DownloadString(...) etc...).
Choose a registered PowerShell Module location (see echo $env:PSModulePath)
Create a folder called PowerRemoteDesktop_[Viewer/Server] and place the PowerRemoteDesktop_[Viewer/Server].psm1 file inside the new folder.
Open a new PowerShell Window and enter Import-Module PowerRemoteDesktop_[Viewer/Server]
The module should be imported with available functions:
Invoke-RemoteDesktopViewerin the case ofPowerRemoteDesktop_Viewer.psm1Invoke-RemoteDesktopServerin the case ofPowerRemoteDesktop_Server.psm1
You can import both scripts alternatively by:
- Pasting the whole code to a new PowerShell window
. .\PowerRemoteDesktop_[Viewer/Server].psm1- Importing a Base64 encoded version of the code through IEX/Invoke-Expression
- Remote Location through DownloadString(...) then IEX/Invoke-Expression
- Your imagination
PowerRemoteDesktop_Viewer.psm1 module first need to be imported / installed on current PowerShell session.
Call Invoke-RemoteDesktopViewer
Supported options:
ServerAddress: Remote Server Address.ServerPort: Remote Server Port.DisableInputControl: If set to $true, this option disable control events on form (Mouse Clicks, Moves and Keyboard). This option is generally to true during development when connecting to local machine to avoid funny things.Password: Password used during server authentication.
Invoke-RemoteDesktopViewer -ServerAddress "127.0.0.1" -ServerPort 2801 -Password "Jade"
PowerRemoteDesktop_Server.psm1 module first need to be imported / installed on current PowerShell session.
Call Invoke-RemoteDesktopServer
Supported options:
-
ListenAddress: Define in which interface to listen for new viewer. -
ListenPort: Define in which port to listen for new viewer. -
Password: Define password used during authentication process. -
CertificateFile: A valid X509 Certificate (With Private Key) File. If set, this parameter is prioritize. -
EncodedCertificate: A valid X509 Certificate (With Private Key) encoded as a Base64 String.
If no certificate option is set, then a default X509 Certificate is generated and installed on local machine (Requires Administrative Privilege)
Invoke-RemoteDesktopServer -ListenAddress "0.0.0.0" -ListenPort 2801 -Password "Jade"
Invoke-RemoteDesktopServer -ListenAddress "0.0.0.0" -ListenPort 2801 -Password "Jade" -CertificateFile "c:\certs\phrozen.p12"
Passing your own X509 Certificate is very useful if you want to avoid running your PowerShell Instance as Administrator.
You can easily create your own X509 Certificate using OpenSSL Command Line Tool.
openssl req -x509 -sha512 -nodes -days 365 -newkey rsa:4096 -keyout phrozen.key -out phrozen.crt
Then export the new certificate with Private Key Included.
openssl pkcs12 -export -out phrozen.p12 -inkey phrozen.key -in phrozen.crt
Pass the certificate file to parameter CertificateFile.
First encode your certificate file as base64 string.
base64 -i phrozen.p12
Then pass the encoded string to parameter EncodedCertificate.
We are doing our best to prepare the content of this app. However, PHROZEN SASU cannot warranty the expressions and suggestions of the contents, as well as its accuracy. In addition, to the extent permitted by the law, PHROZEN SASU shall not be responsible for any losses and/or damages due to the usage of the information on our app.
By using our app, you hereby consent to our disclaimer and agree to its terms.
Any links contained in our app may lead to external sites are provided for convenience only. Any information or statements that appeared in these sites or app are not sponsored, endorsed, or otherwise approved by PHROZEN SASU. For these external sites, SubSeven Legacy cannot be held liable for the availability of, or the content located on or through it. Plus, any losses or damages occurred from using these contents or the internet generally.
