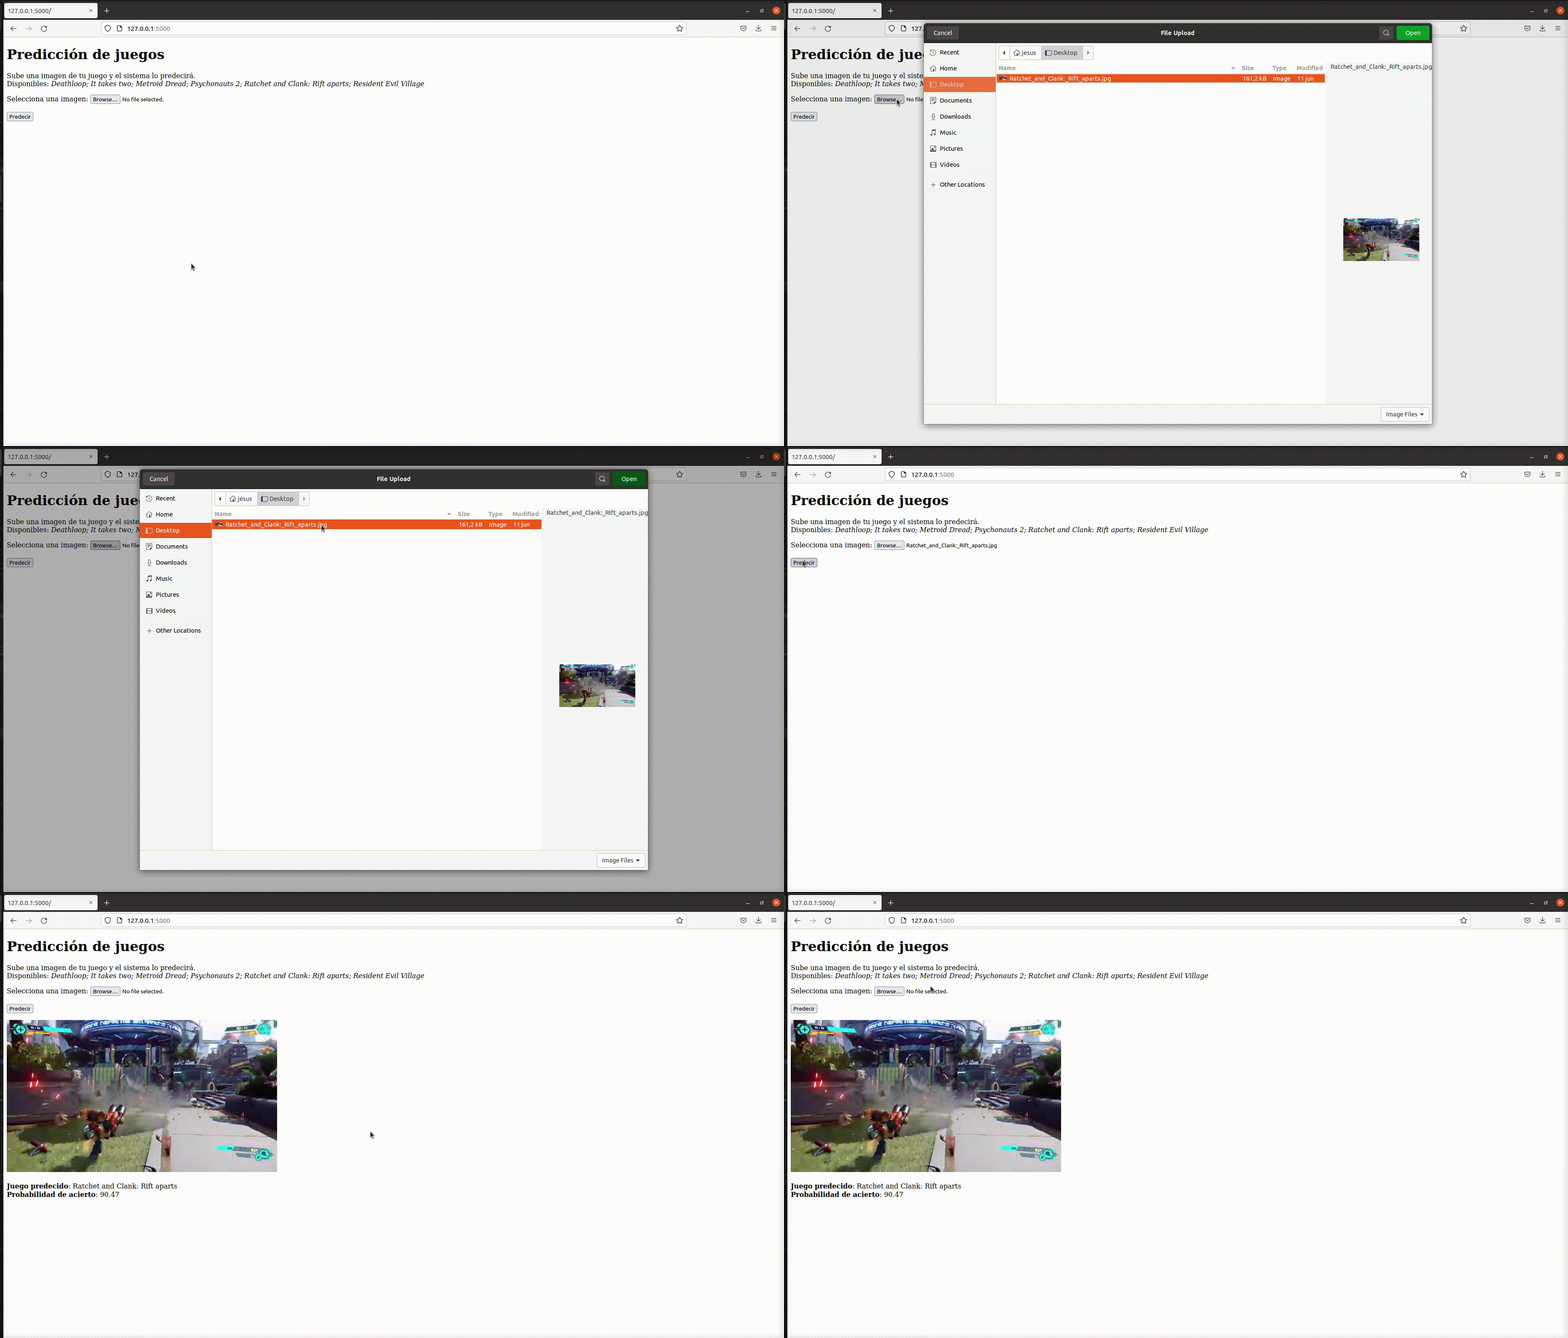
This is a project of image classification, which you can train your own model using ResNets (Residual Networks) or deploy our simple web application.
We classified gampley shots of different videogames, so you can use our scrapping code too.

The following instructions must be made in the folder resnetMiPropioDataset:
cd resnetMiPropioDatasetFirst, you must configurate the file extractDatabase.py options:
DATASETNAME = 'your_dataset_name' #It'll be created in the folder datasets/
NIMAGES = 2
LINKSFILEPATH = os.path.join('extractImages','your_extraction_file.txt') #The path of your extraction file
Then run it:
python extractDatabase.pyIt must have the next format:
name, url, startMoment[Optional], endMoment[Optional]
...

name(str): The name you would like for your images. It will be your class name.
url(str): The URL of the video where the images are taken.
startMoment(str): Moment of the video when start recording. Follow the formats: HH:MM:SS / MM:SS / SS .
endMoment(str): Moment of the video when end recording. Follow the formats: HH:MM:SS / MM:SS / SS .
You can find an example in extractImages/datasetVideoLinks.txt
Run the file trainer.py:
python trainer.py [-m --model] [-d --dataset]


required arguments:

-m --model      Path and name where the model will be stored.
-d --dataset    Path of the dataset. Must be a file system with the structure: datasetName->className->[Images].
There are more configuration options in the source code:
BATCH = 32 #Batch size
EPOCHS = 100
ACCURACY = 1 #Stopping validation. Accuracy over trainning data
LOSS = 0 #Stopping validation. Loss over trainning data
Also, you can change your network at line 72:
# You can use ResNet34, ResNet50 or ResNet101
model = ResNet101.build(numChannels=3, imgRows=224, ...To check the preformance of your model, you can run the modelTest.py file:
python modelTest.py [-m --model] [-d --dataset] [-w --width] [--e --height]


required arguments:

-m --model      Path of the model to check
-d --dataset    Name of the dataset in the folder datasets

optionals arguments:

-w --width      Widh of the model intput images (default = 224)
--e --height    Height of the model intput images (default = 224)
Before running it, you must modify the array 'labelNames' in the source code and set the classes of your model. You can find it at line 65:
labelNames = numpy.array(['Deathloop', 'It takes two', ...This method gives details for each image in de dataset, so it´s recommended using a small and controlled dataset.
You can deploy locally your app with Flask
cd website
flask run
The deployment can be made with Docker too.
When it's installed, you can run the app with the command:
cd website
docker run --rm -p 5000:5000 muzta/game-recognition
To use your own model, put it in the folder website/model. We provide our trained models here. Then, change the name in the source code of the file website/app.py at line 30:
model = os.path.join(path,'website','models',"yourModel")Also, you must change the class names at line 79:
labelNames = np.array(['Deathloop', 'It takes two', ...