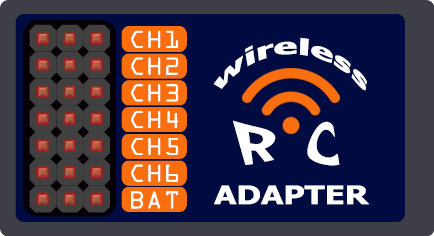
There is no need to hook the transmitter with cables to the simulator device anymore. Instead plug your favorite RC receiver in the adapter and play wireless on TV, Desktop or even on Mobile devices. It acts as an USB joystick, dispatching the channel-values read from the RC receiver. Aimed to be fast and responsible, though simple to use with automatic calibration.
Should work with literally everything, which supports game-controllers.
Have been reported to work great with these simulators and games:
FPV Freerider | FPV Freerider Recharged | RealFlight | Phoenix | etc ...
Compatible on Windows, Mac, Linux, Android,iOS with PWM or PPM receivers.
The code is mostly written for Sparkfun Pro Micro, cause it is based on ATmega 32U4 which can act as a game controller on USB. Although it may compile fine on other '32U4' boards also (eg. Leonardo).
Compiling requires Arduino IDE v1.8.2 at least and 2 external libraries.
Make sure these are installed properly before compiling, otherwise it will instantly fail. Both them have clearly detailed instructions about installing in the README.md file.
Clone or download this repository in the Arduinos sketchbook folder.
By default it is located in:
- Windows:
%userprofile%/Documents/Arduino - Linux:
~/Sketchbookor~/Arduino - Mac:
~/Documents/Arduino
Then don't forget to remove the -master from the directory name.
Following parts are necessary to build the adapter:
- Sparkfun Pro Micro (5v/16Mhz)
- 6 CH RC receiver (PWM, 5v)
- Tactile SPST switch (momentary pushbutton)
- some jumper wires (female-female)

*** the USB plug is optional, only needed when the board cannot supply enough current to the receiver.

*** the USB plug is optional, only needed when the board cannot supply enough current to the receiver.
The Pro Micro boards usually have 2 leds side-by-side, which are sometimes labeles as the TX and RX. These are used to reflect the actual state of the adapter. On every startup flashing twice, then one of them is going of, the other one stays on. This means booted up successfully and ready to play. When both of them stays on, that means the adapter is in calibration mode.
The device needs to be calibrated on first use and recommended to continue to do it regularly. It happens automatically when there is no data in the eeprom or it is not readable. Otherwise it must be powered on while pushing the button to get into Calibration-mode. The process is the same as everywhere: sticks/pots/switches on all channels must be moved to their extents. Preferably more than once and with steady, slow motion. During calibration, both leds on a Pro Micro should be lit up. When there is enough calibration data it will store it in the eeprom and switch to Live-mode automatically. It is also possible to finish calibration and save values by pressing the button once.
There is a DEBUG_ENABLE option available in the source file. When it is compiled with this flag set to TRUE, then debug information will be printed to terminal. While Debug-mode is enabled there is no virtual joystick on os, only terminal. One can observe here the raw input of the channels.
Under Development 🚧 Pull-requests & issues are welcome!