- I recommend deploying an instance of Authorizer to Railway! There free option is great just attach a database set your environment variables and go! (You will need the required environment variables see the docs here

-
Once deployed make sure to setup any third party OAuth you want such as Github here
YOUR Authorizer URL/dashboard/oauth-settingor you can use standard auth with Emails and Passwords. -
On the same page as your OAuth config copy your
Client Idpast it inroot.tsxwhere it saysYOUR AUTHORIZER CLIENT IDyou will also need to add your Authorizer URL where it saysYOUR AUTHORIZER URL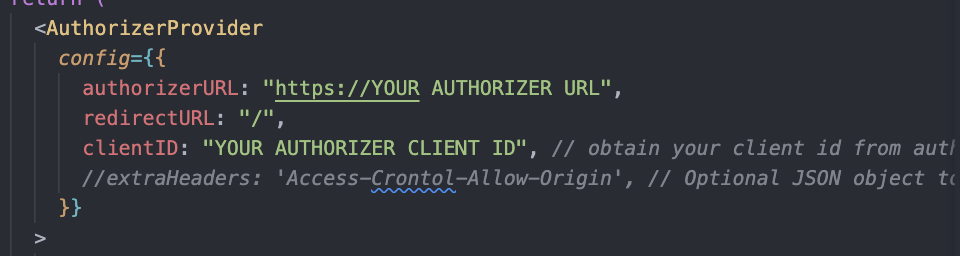

From your terminal:
npm run devThis starts your app in development mode, rebuilding assets on file changes.
First, build your app for production:
npm run buildThen run the app in production mode:
npm startNow you'll need to pick a host to deploy it to.
If you're familiar with deploying node applications, the built-in Remix app server is production-ready.
Make sure to deploy the output of remix build
build/public/build/
When you ran npx create-remix@latest there were a few choices for hosting. You can run that again to create a new project, then copy over your app/ folder to the new project that's pre-configured for your target server.
cd ..
# create a new project, and pick a pre-configured host
npx create-remix@latest
cd my-new-remix-app
# remove the new project's app (not the old one!)
rm -rf app
# copy your app over
cp -R ../my-old-remix-app/app app