Build C/C++ Environment with VS Code
在这个教程中,你将学会用Visual Studio Code搭建C/C++开发环境。
Visual Studio是微软开发的一款强大的编辑器,注意是编辑器而不是IDE(集成开发环境),所以他的基本功能跟记事本差不多--就是编辑代码,而无法编译和运行。但是VS Code强大的地方在于它支持很多插件,而且非常轻量级。
运行C/C++代码
运行C/C++代码可以简化为两个步骤:
-
编译
C/C++代码是方便人阅读和编写的高级语言,而计算机只能执行二进制代码,所以要把文本编写的C/C++代码编译成可执行代码。
-
执行
执行编译得到的二进制代码。
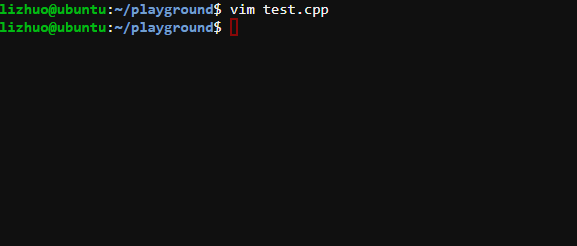
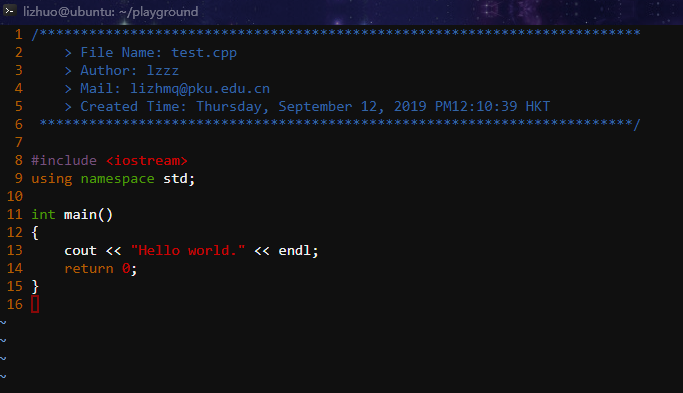
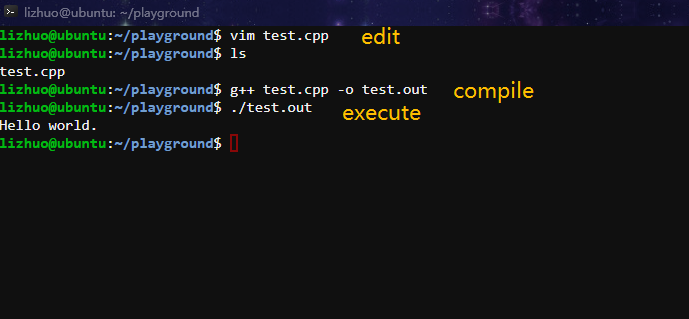
下面是在linux上进行上面两个步骤的图示。
g++ test.cpp -o test.outg++ 是GNU系列的c++编译器,这一行命令将test.cpp编译生成可执行文件test.out
我们配置的开发环境大致也要完成这些工作,但是我们的需求不仅仅是运行,还需要调试,比如设置断点,跟踪调用堆栈等操作,所以除g++之外我们还需要gdb。
下面就VS Code环境展开详细的配置步骤。
安装编译器
对于非linux环境,GNU编译器不是内置的,需要安装,最常用的是Mingw(其他可用的也有clang)
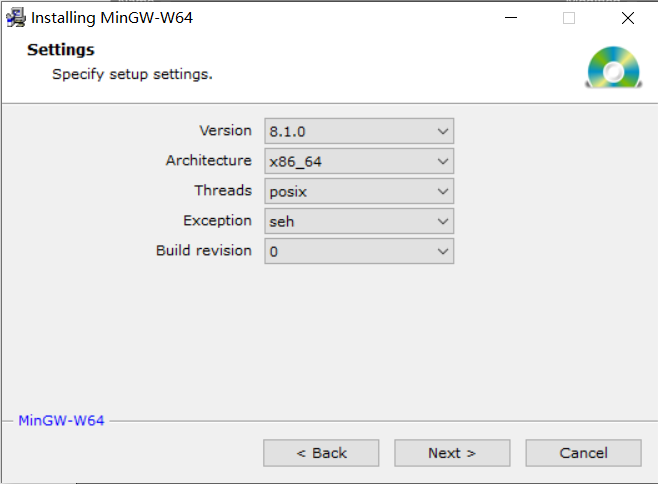
安装Mingw-w64可参照下面的步骤,如果安装的版本是Mingw32,需要注意勾选gcc, g++和gdb.
Gcc is short for GNU C Compiler. G++ is for c++ cmopiler. Gdb is short for GNU Debugger.
MinGW Installation | MinGW安装
-
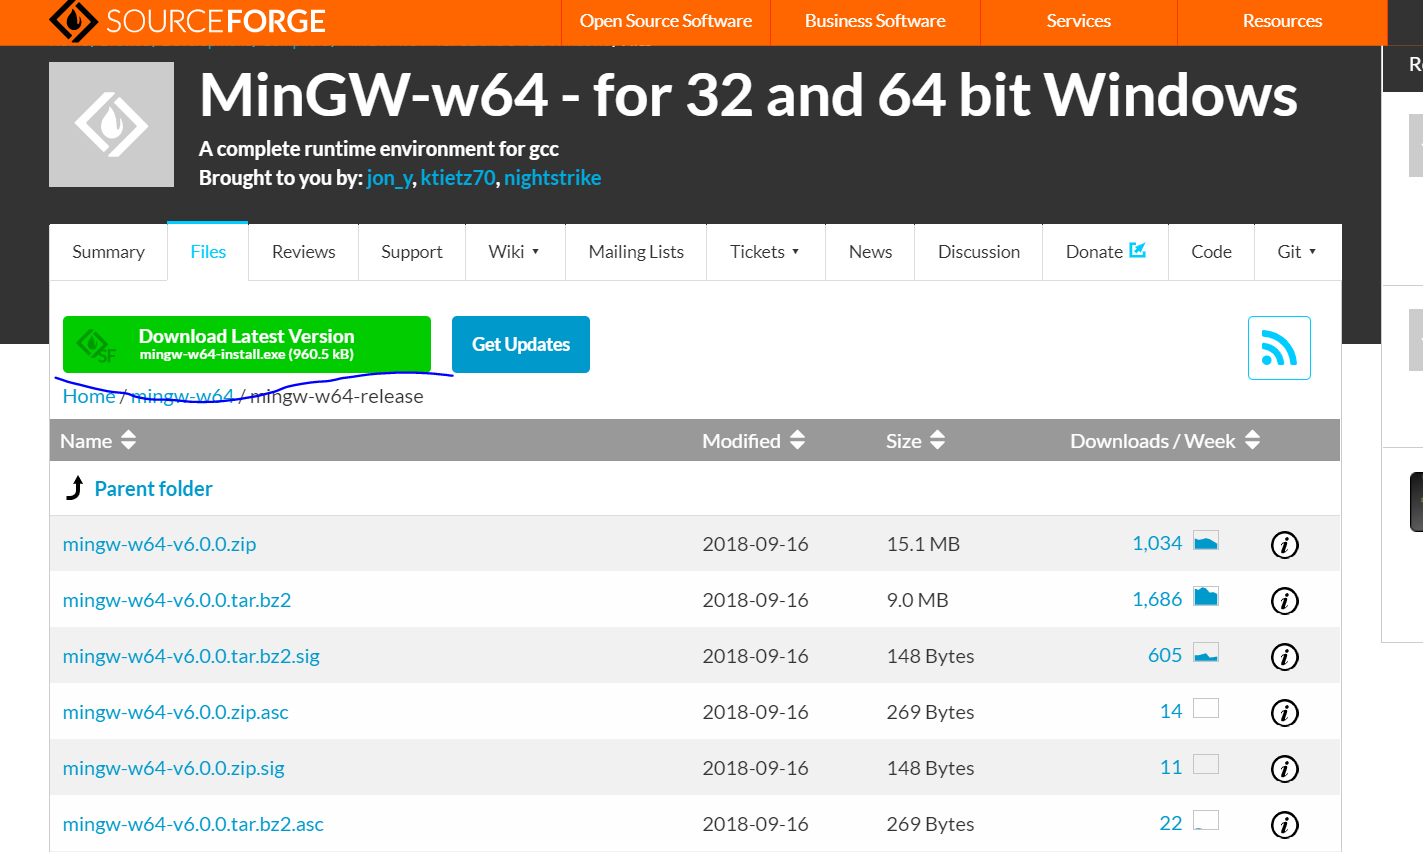
Download MinGW from the source forge.
从官网下载MinGW。
-
Install MinGW. Choose newest version. Choose the right architecture according to your system WORD.(i686 for 32 bits system and x86_64 for 64 bits system) Wait.. Until the progress complete.
安装MinGW。选择最新的版本,按照系统的位数选择正确的体系结构。(32系统位选择i686,64位系统选择x86_64)等待下载器下载和安装。
安装好后,是不是就结束了?不是。
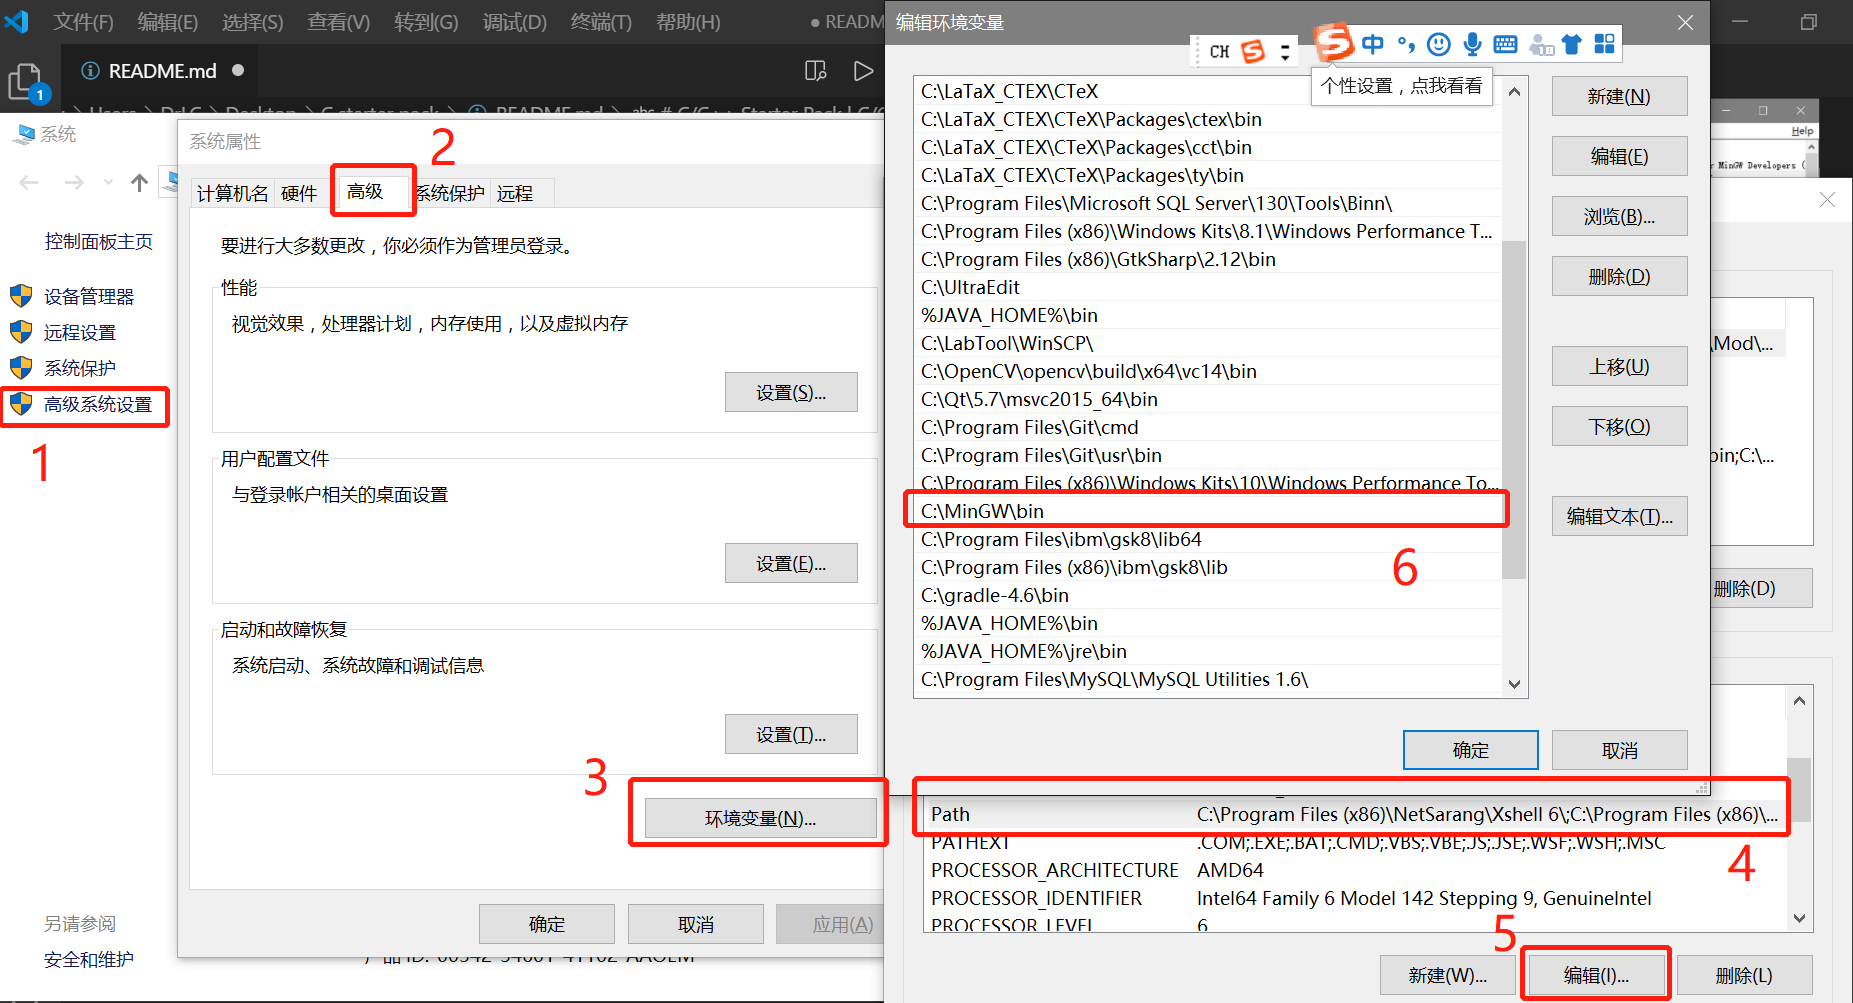
我们成功地获得了编译器 /path/to/mingw/bin/g++.exe。但是我们希望编译时只要敲g++,而不是输入整个路径,所以我们把路径添加到环境变量的PATH中。这样,系统在读到命令g++时,就从环境变量里的路径下去搜索,就可以找到g++.exe这个文件了。
-
Add path. Right click ''My Computer'' and select ''Properties -> Advanced Setting -> Advanced -> Environmental Variables''. Put the absolute path of ''bin'' in mingw64 into the path list.
添加环境变量。右键单击“我的电脑”,选择“属性->高级系统设置->高级->环境变量”,将mingw64目录中的bin子目录放入列表中。
-
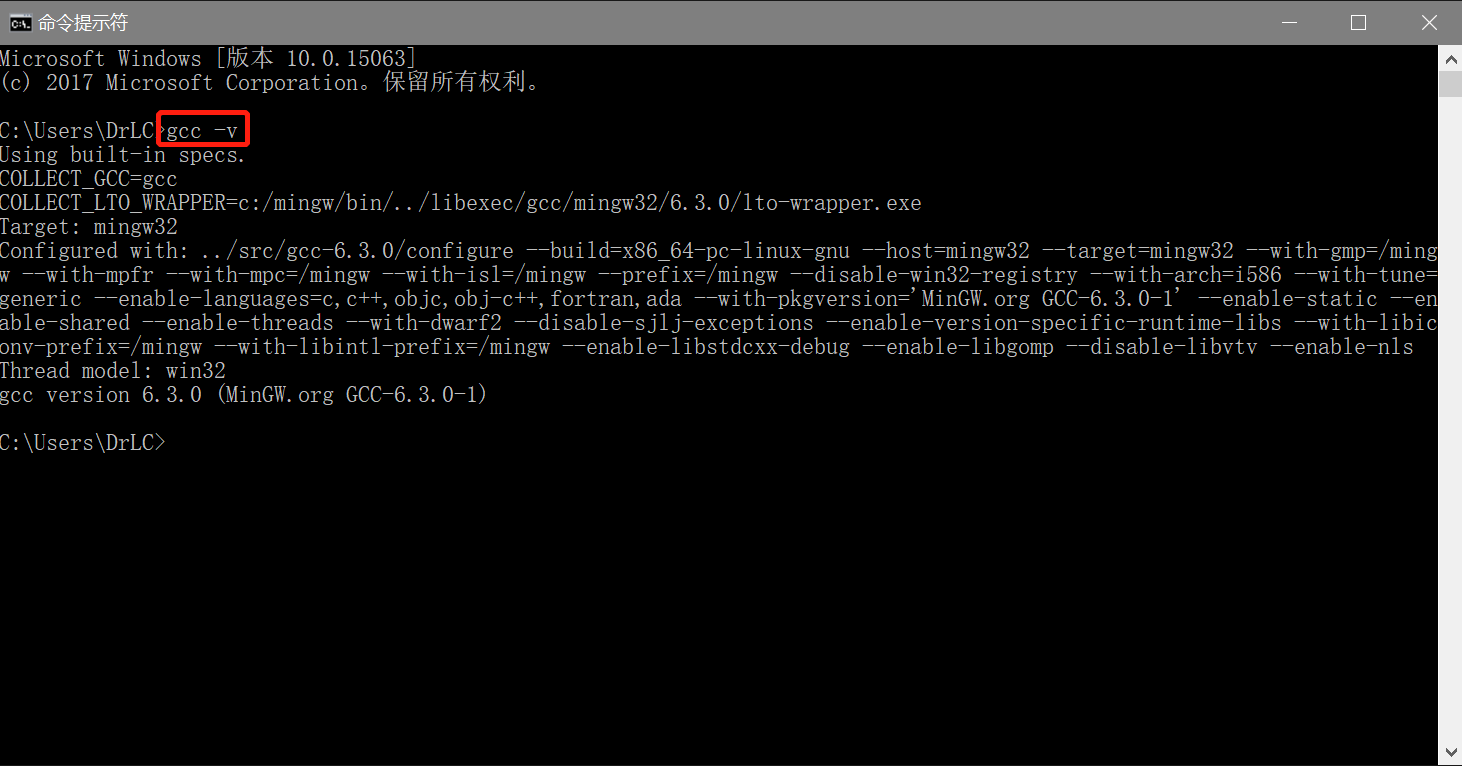
Open command line console, and input ''gcc -v'' command.
打开命令行窗口,输入“gcc -v”命令。
这一步是为了测试安装和添加环境变量是否成功,如果失败,就会得到gcc command not found类似的错误。
VS Code 环境配置
Visual Studio Code Installation
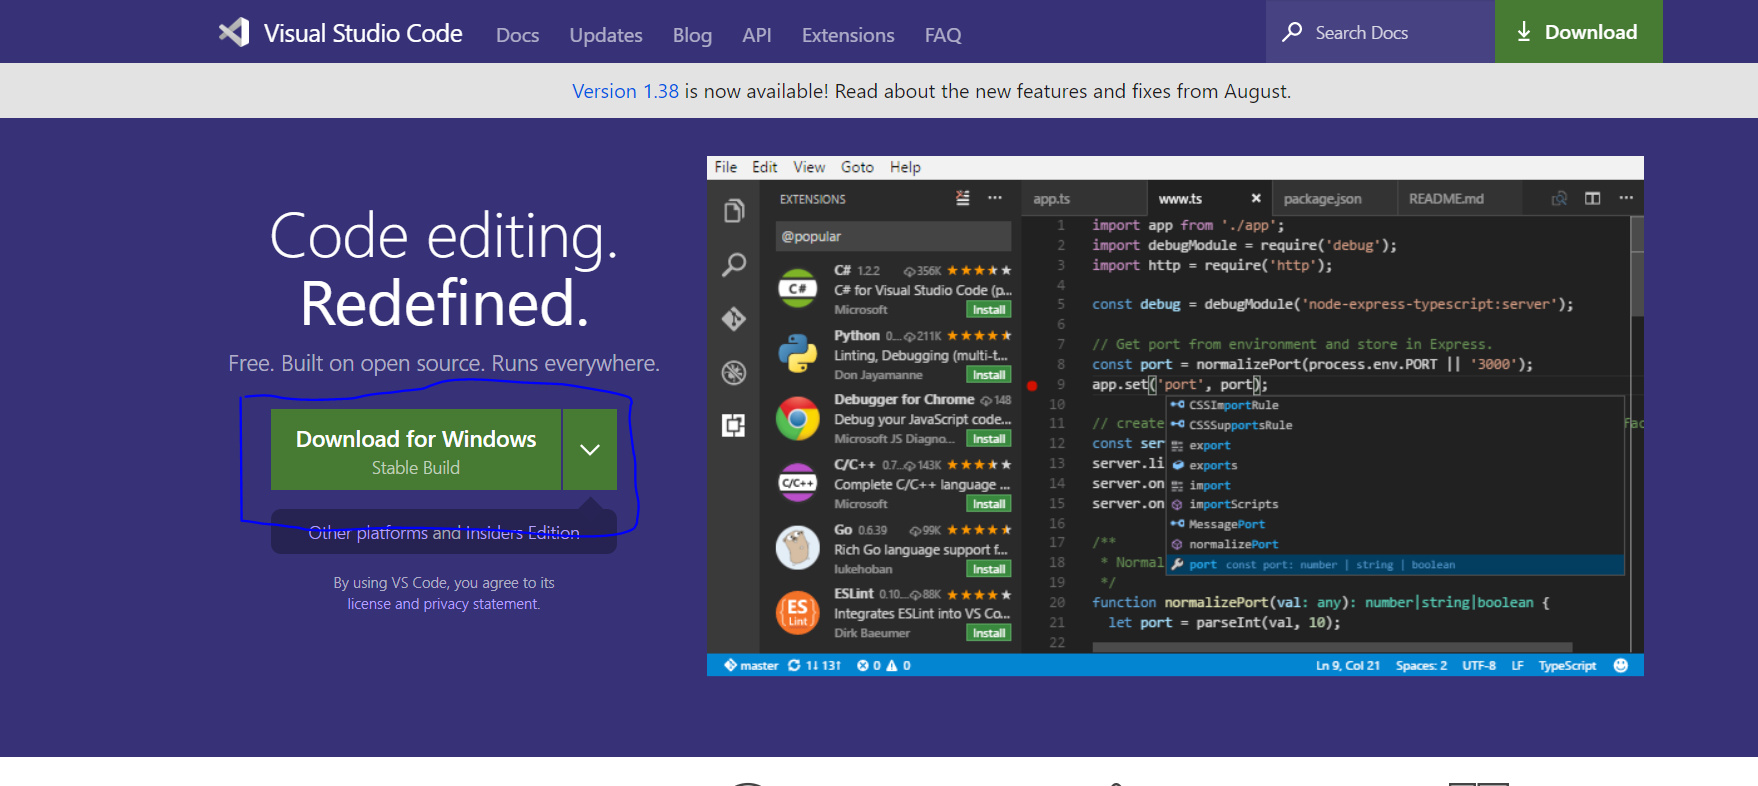
先安装VS Code。
Download Visual Studio Code(VS Code) from the official website.
Choose version according to your operating system.(Stable and Insiders are both Okay.)
VS Code Extension Installation
安装必要的插件(类似于外挂功能),这样VS Code将不再是记事本....
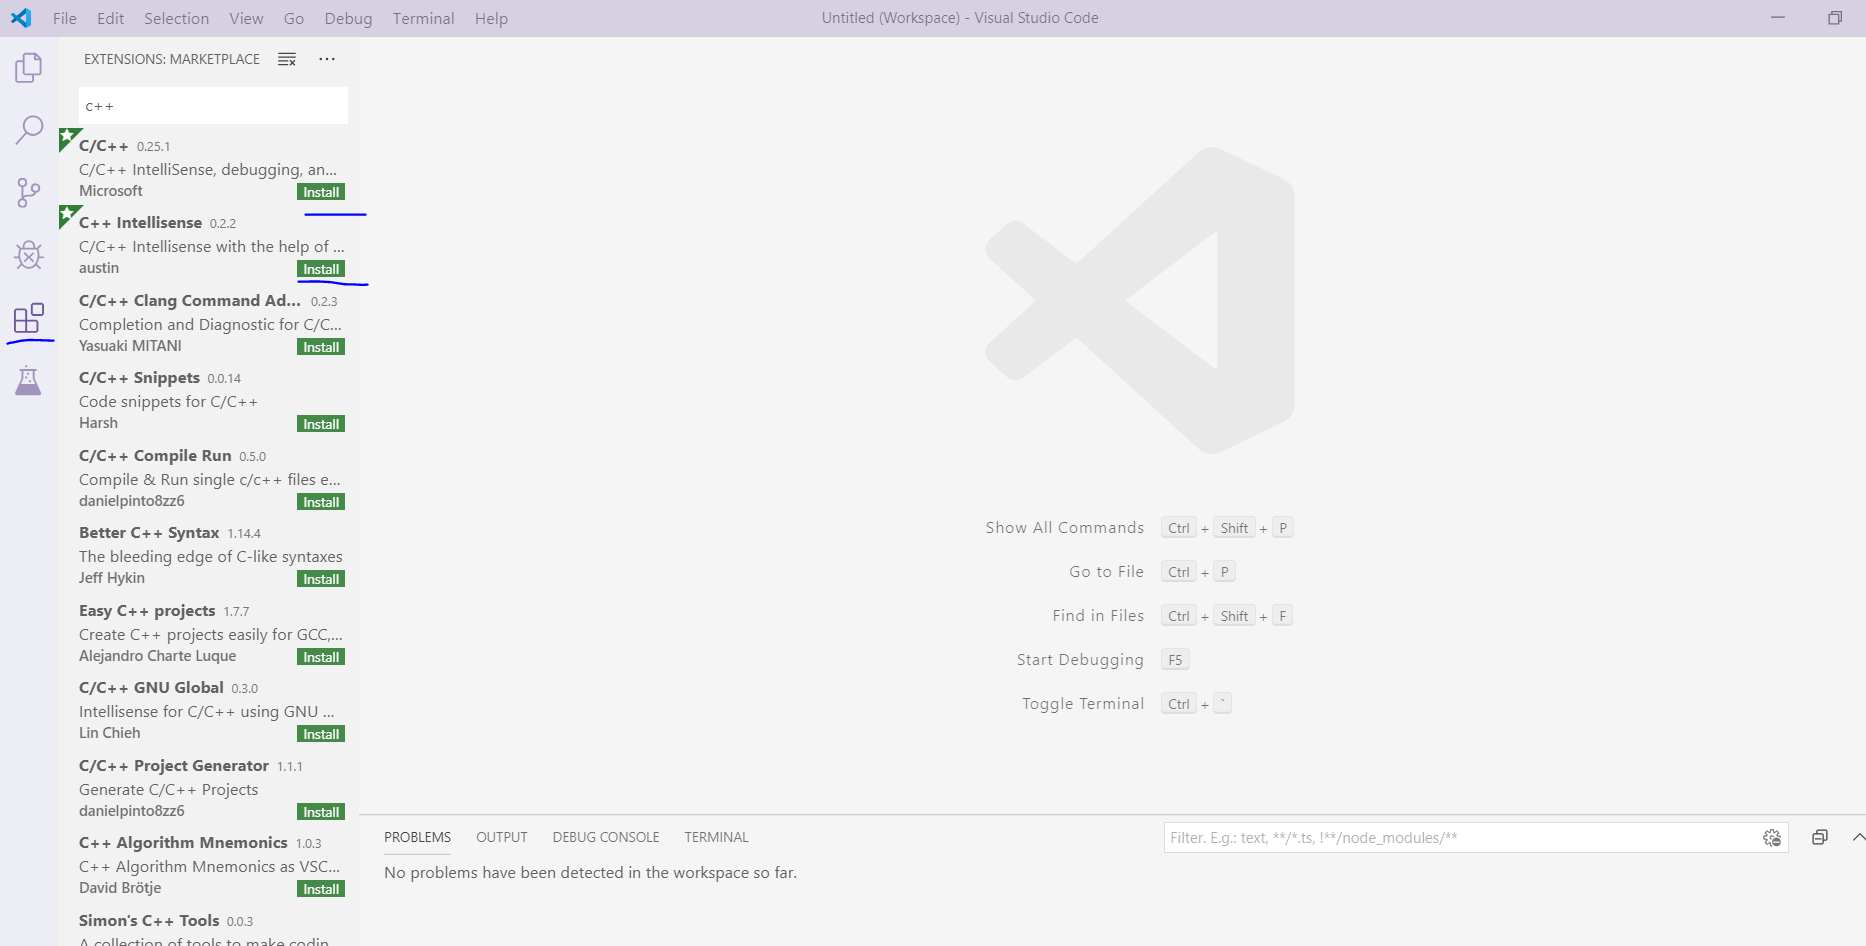
"C/C++"是开发C/C++必需的插件,"C++ Intellisense"支持自动补全功能,在代码编写中非常重要。
Click the Extension button at left side.
Search "c++".
Install "C/C++" and "C++ Intellisense".
VS Code Configure
-
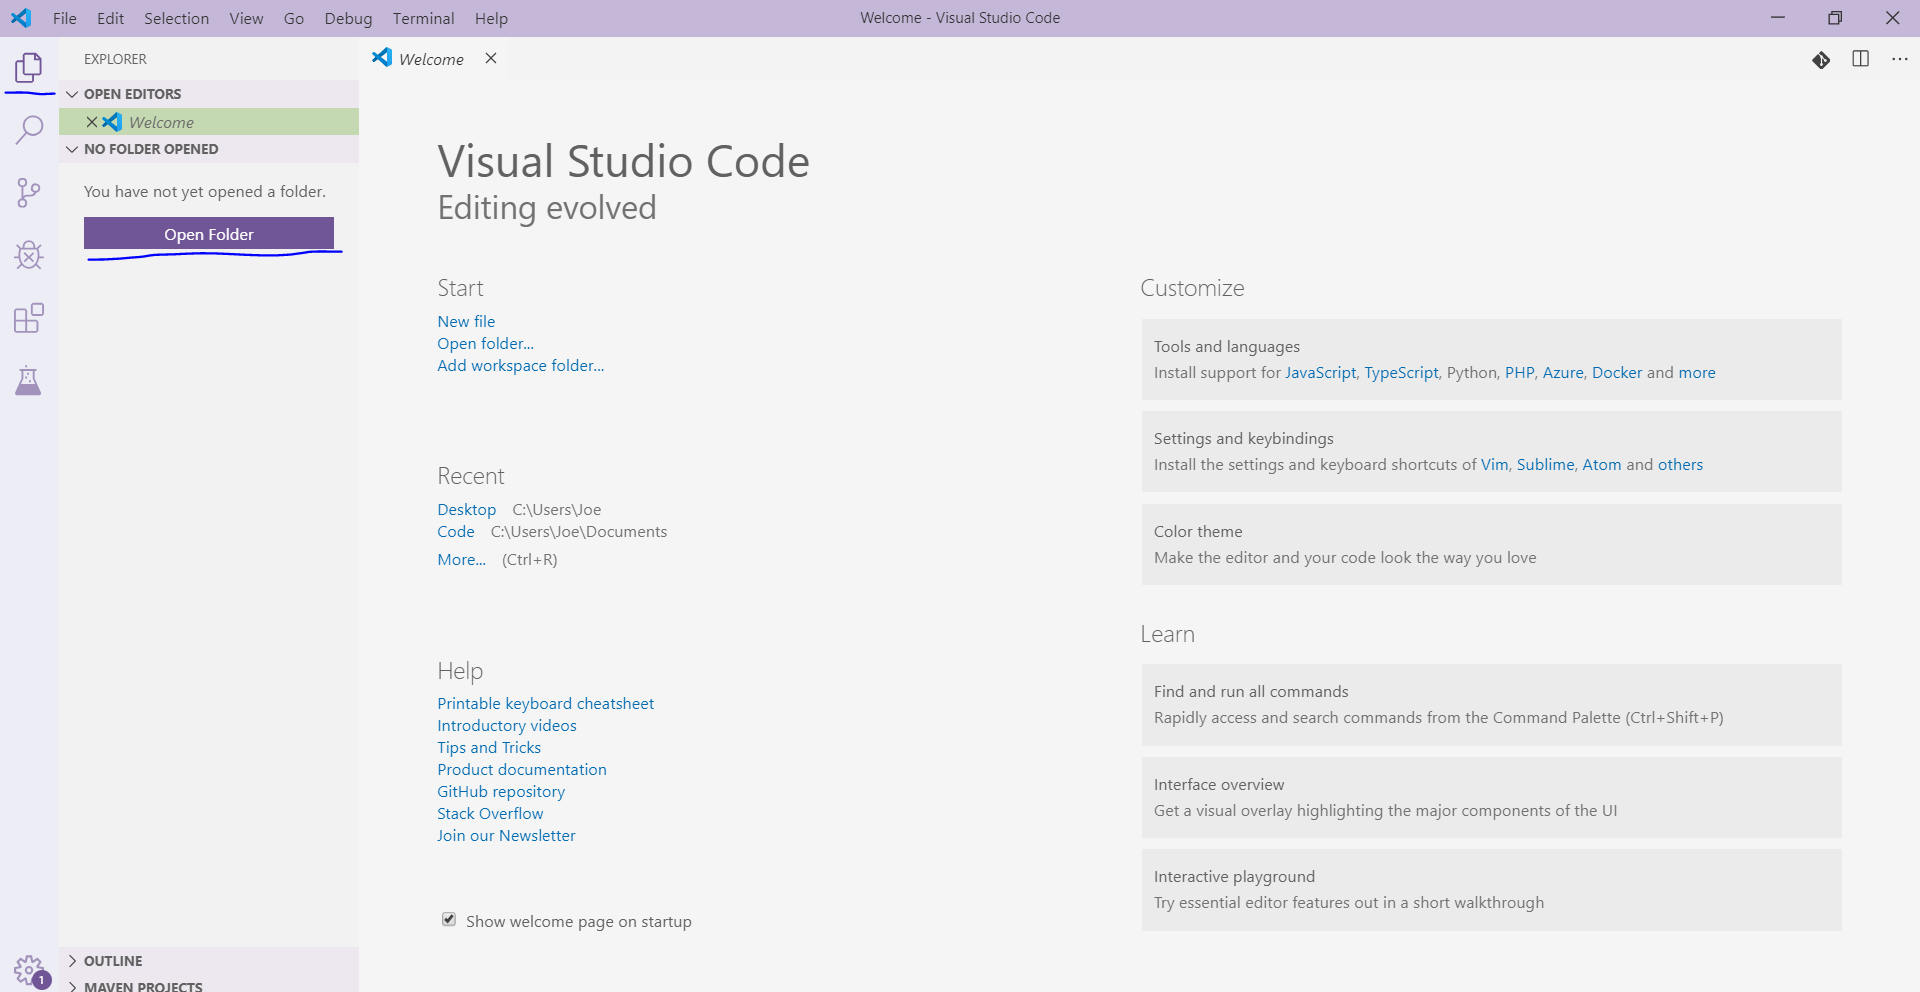
Create an empty folder to hold your code. (eg. "C:\Users***\Documents\WorkSpace\Code")
Open this folder from VS Code.
先进行准备工作,VS Code的环境以目录为单位,我们创建一个存放代码的目录,以后我们编写代码都将在这个文件夹中进行。在VS Code中打开这个目录之后,这就是我们的工作环境了。
-
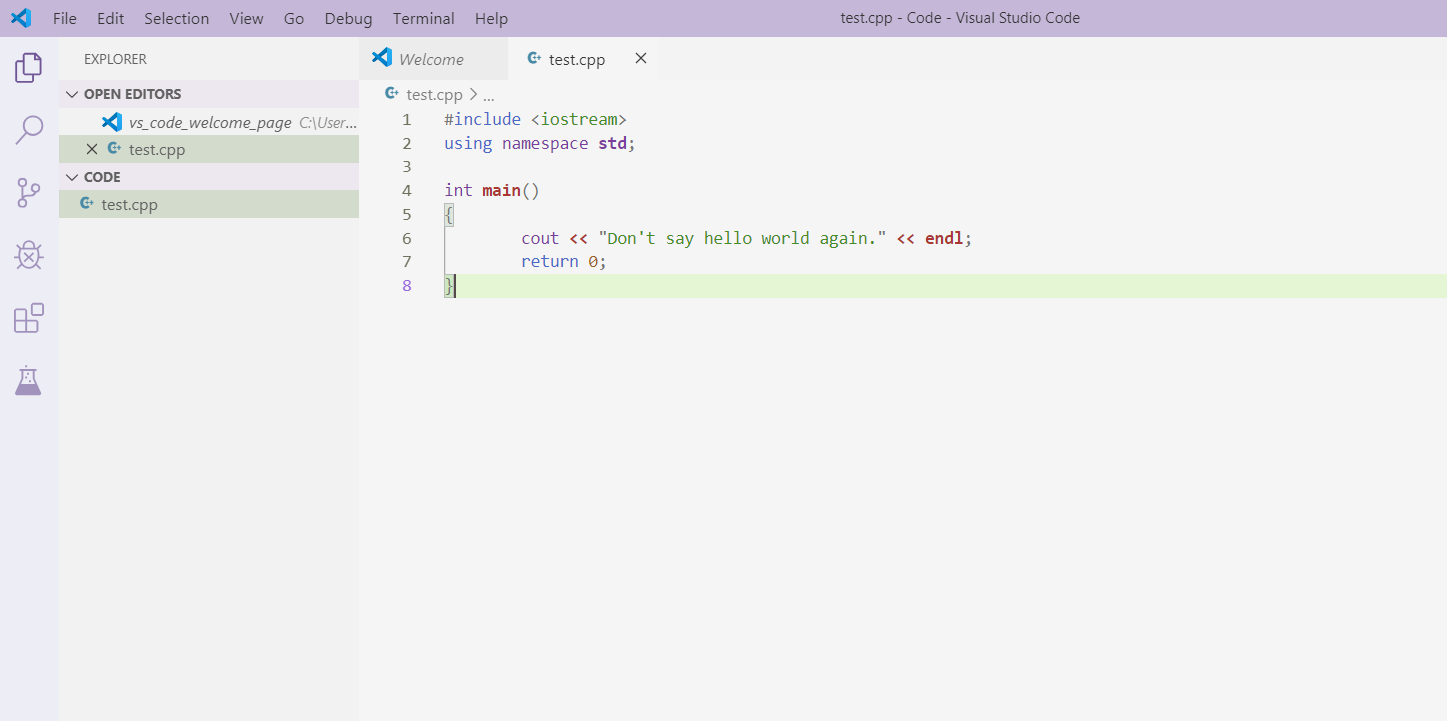
Create a demo cpp file for test.
在这个目录下新建一个cpp文件。
#include <iostream>
using namespace std;

int main()
{
	cout << "Don't say hello world again." << endl;
	return 0;
}-
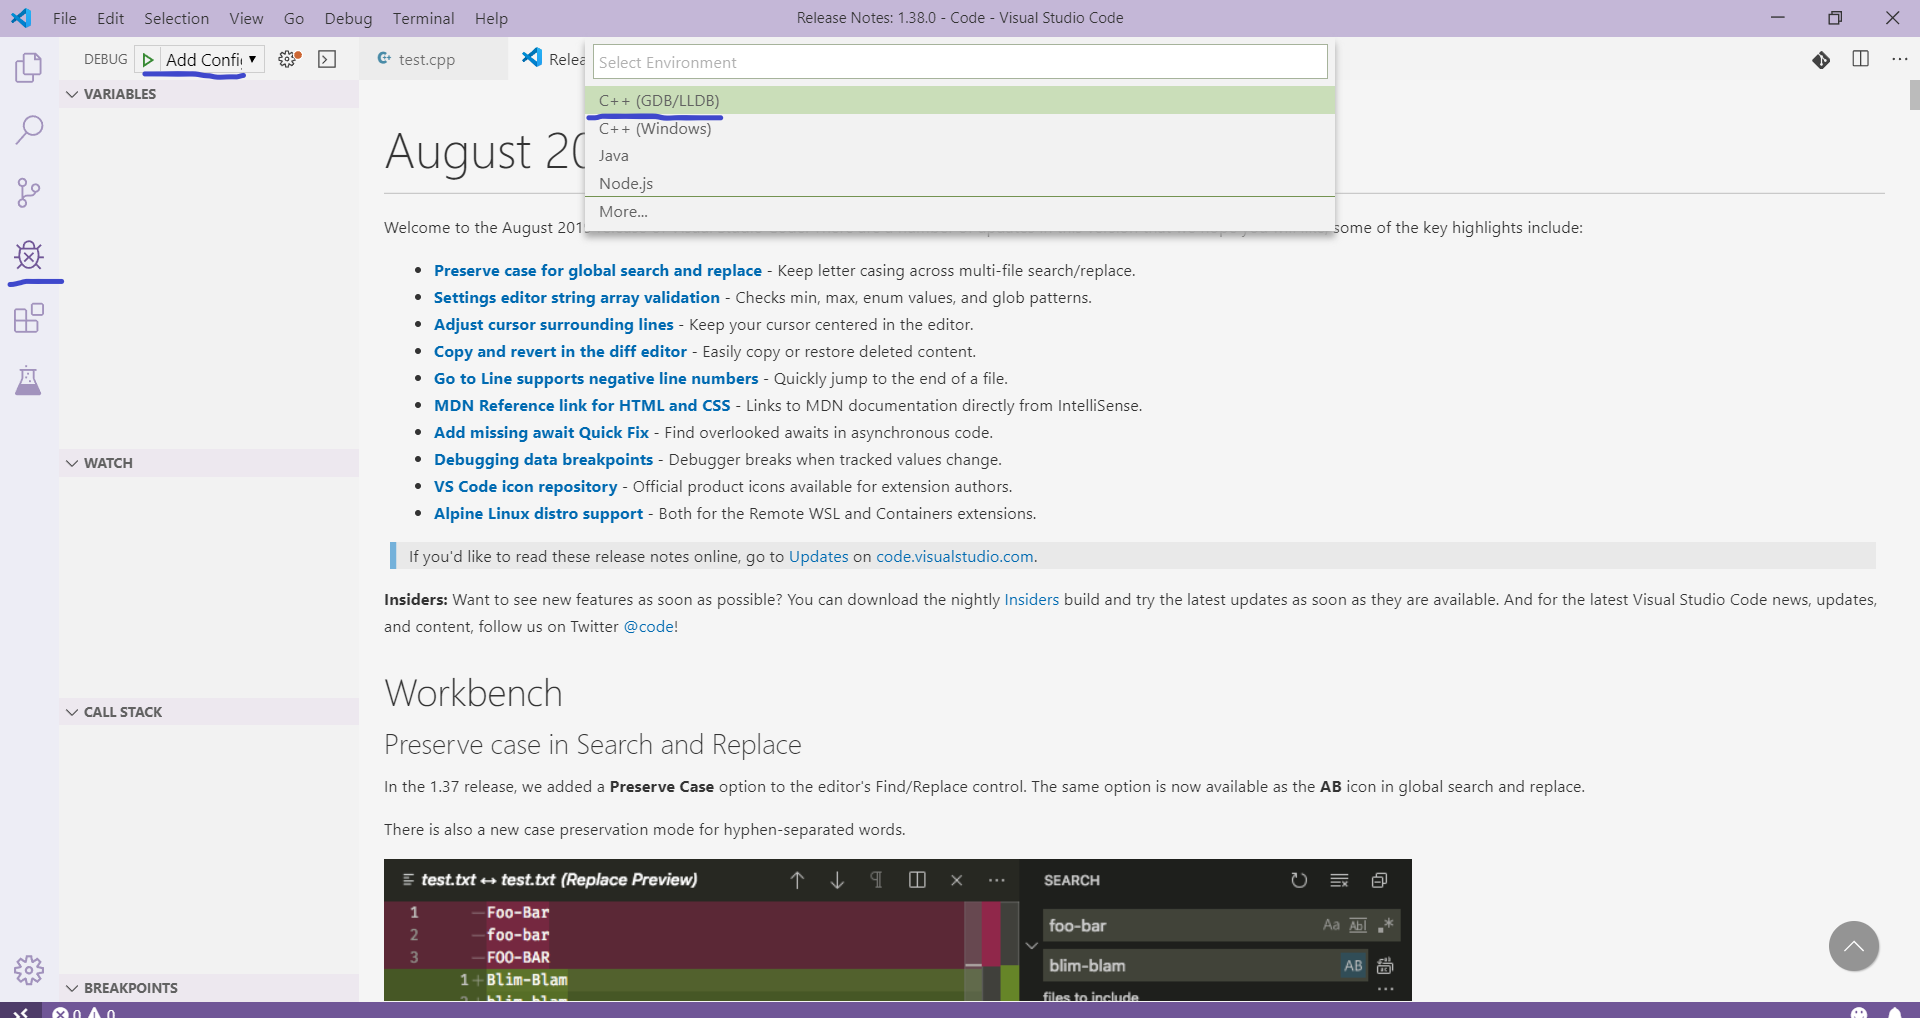
Add task configuration for compile and debug. Choose "Default Configuration".
这里是配置环境中最关键的地方,我们希望按下运行键后,VS Code就帮我们完成编译、运行的操作。所以我们需要一个配置文件来告诉按下运行键后,VS Code应该怎么怎么做。
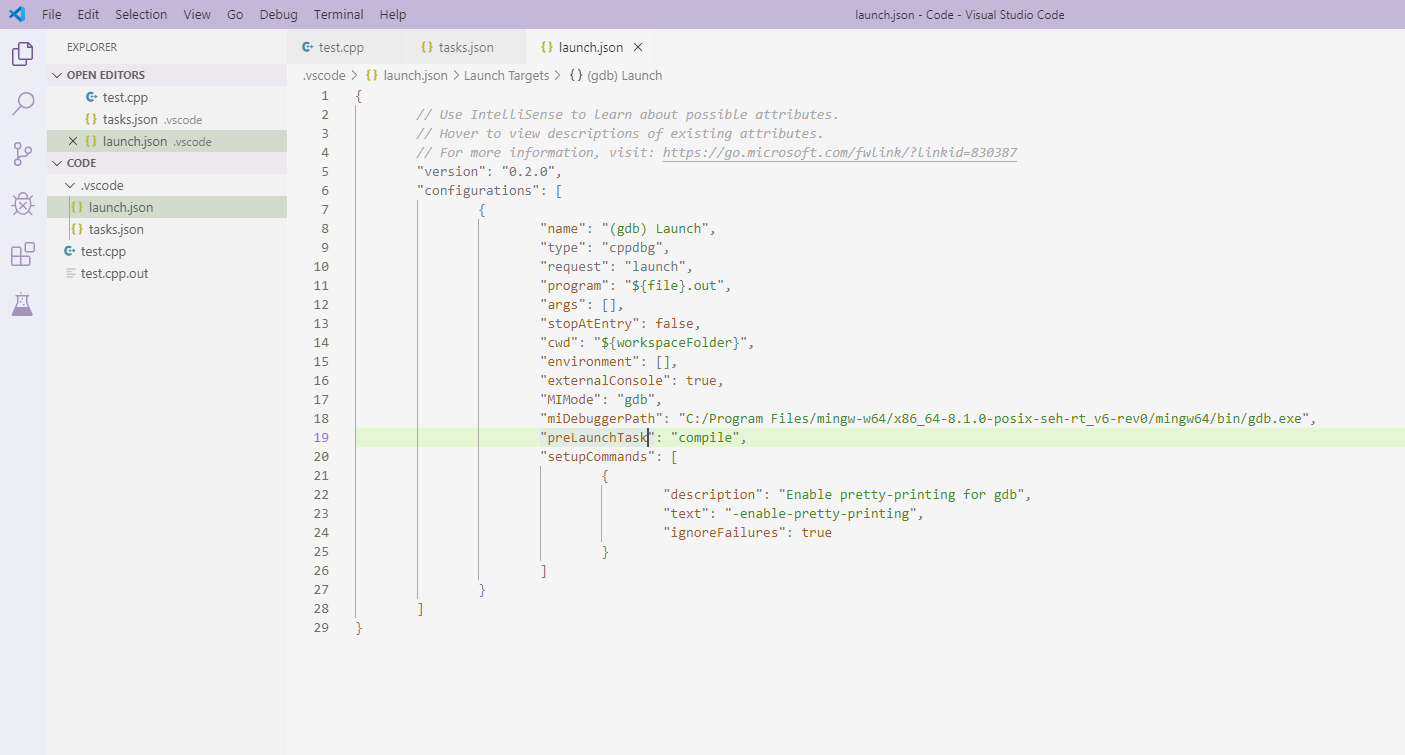
这就是launch.json的内容。
Then we have generated a file -- "launch.json".
"launch.json"将告诉VS Code配置的详细信息;比如:
"program": "运行的程序名"
"miDebuggerPath": "调试器(gdb)的路径"
以之前的操作为例,如果我们填上"test.out"和"/path/to/mingw/gdb",按下F5之后,VS Code将进行的操作是执行命令:
gdb test.out问题是我们还没有编译,所以我们加上"preLaunchTask",意思是在Launch之前,先执行这个task. 把这个task命名为"compile"(当然,可以是任何你喜欢的)
{
	// Use IntelliSense to learn about possible attributes.
	// Hover to view descriptions of existing attributes.
	// For more information, visit: https://go.microsoft.com/fwlink/?linkid=830387
	"version": "0.2.0",
	"configurations": [
		{
			"name": "gdb Launch",
			"type": "cppdbg",
			"request": "launch",
			"program": "${file}.out",
			"args": [],
			"cwd": "${workspaceFolder}",
			"environment": [],
			"externalConsole": false,
			"preLaunchTask": "g++ compile",
			"stopAtEntry": false,
		}
	],
	"setupCommands": [
		{
		"description": "Enable pretty-printing for gdb",
		"text": "-enable-pretty-printing",
		"ignoreFailures": true
		},
		{
		"description": "Set Disassembly Flavor to Intel",
		"text": "-gdb-set disassembly-flavor intel",
		"ignoreFailures": true
		}
	],
}
Modify "enter program name, for example ${workspaceFolder}/a.exe" to "${file}.out".
Modify "/path/to/gdb" to gdb path which you have added to System PATH.
Modify "externalConsole" to "true".
Add one line:
"preLaunchTask": "compile",
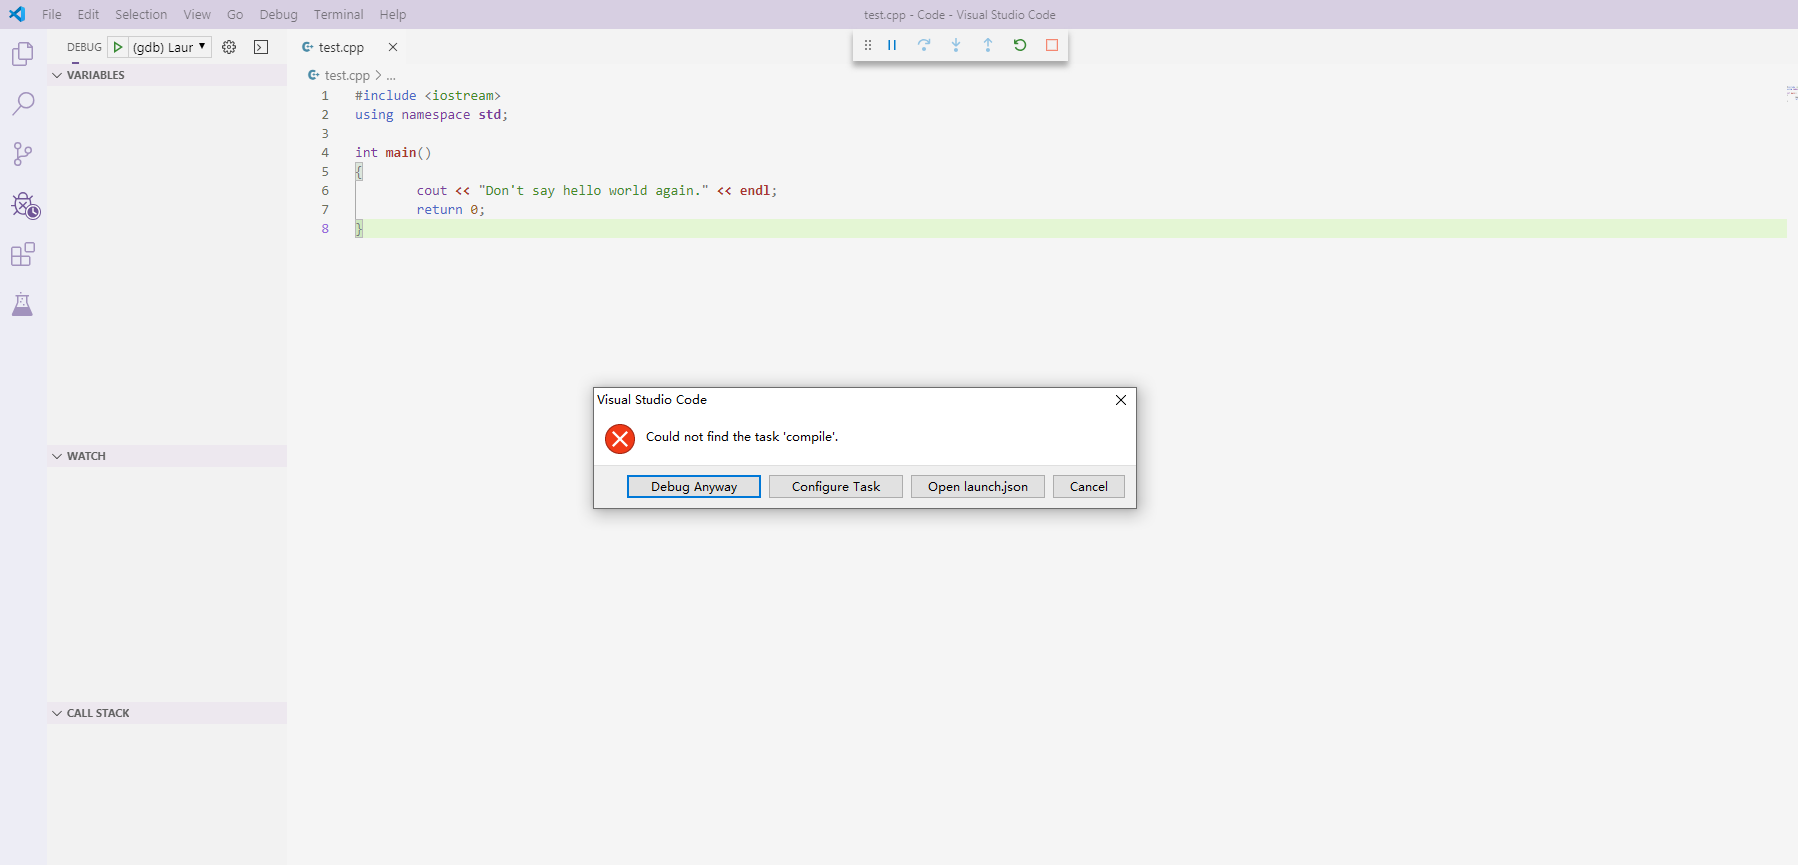
Go back to your code and press F5. You will get error message as following:
我们回到代码,按F5之后,会报错说我们没有配置任务"compile"。我们只告诉VS Code在Launch之前先执行任务"compile",还没有说明"compile"任务是什么,所以我们下面配置任务"compile".
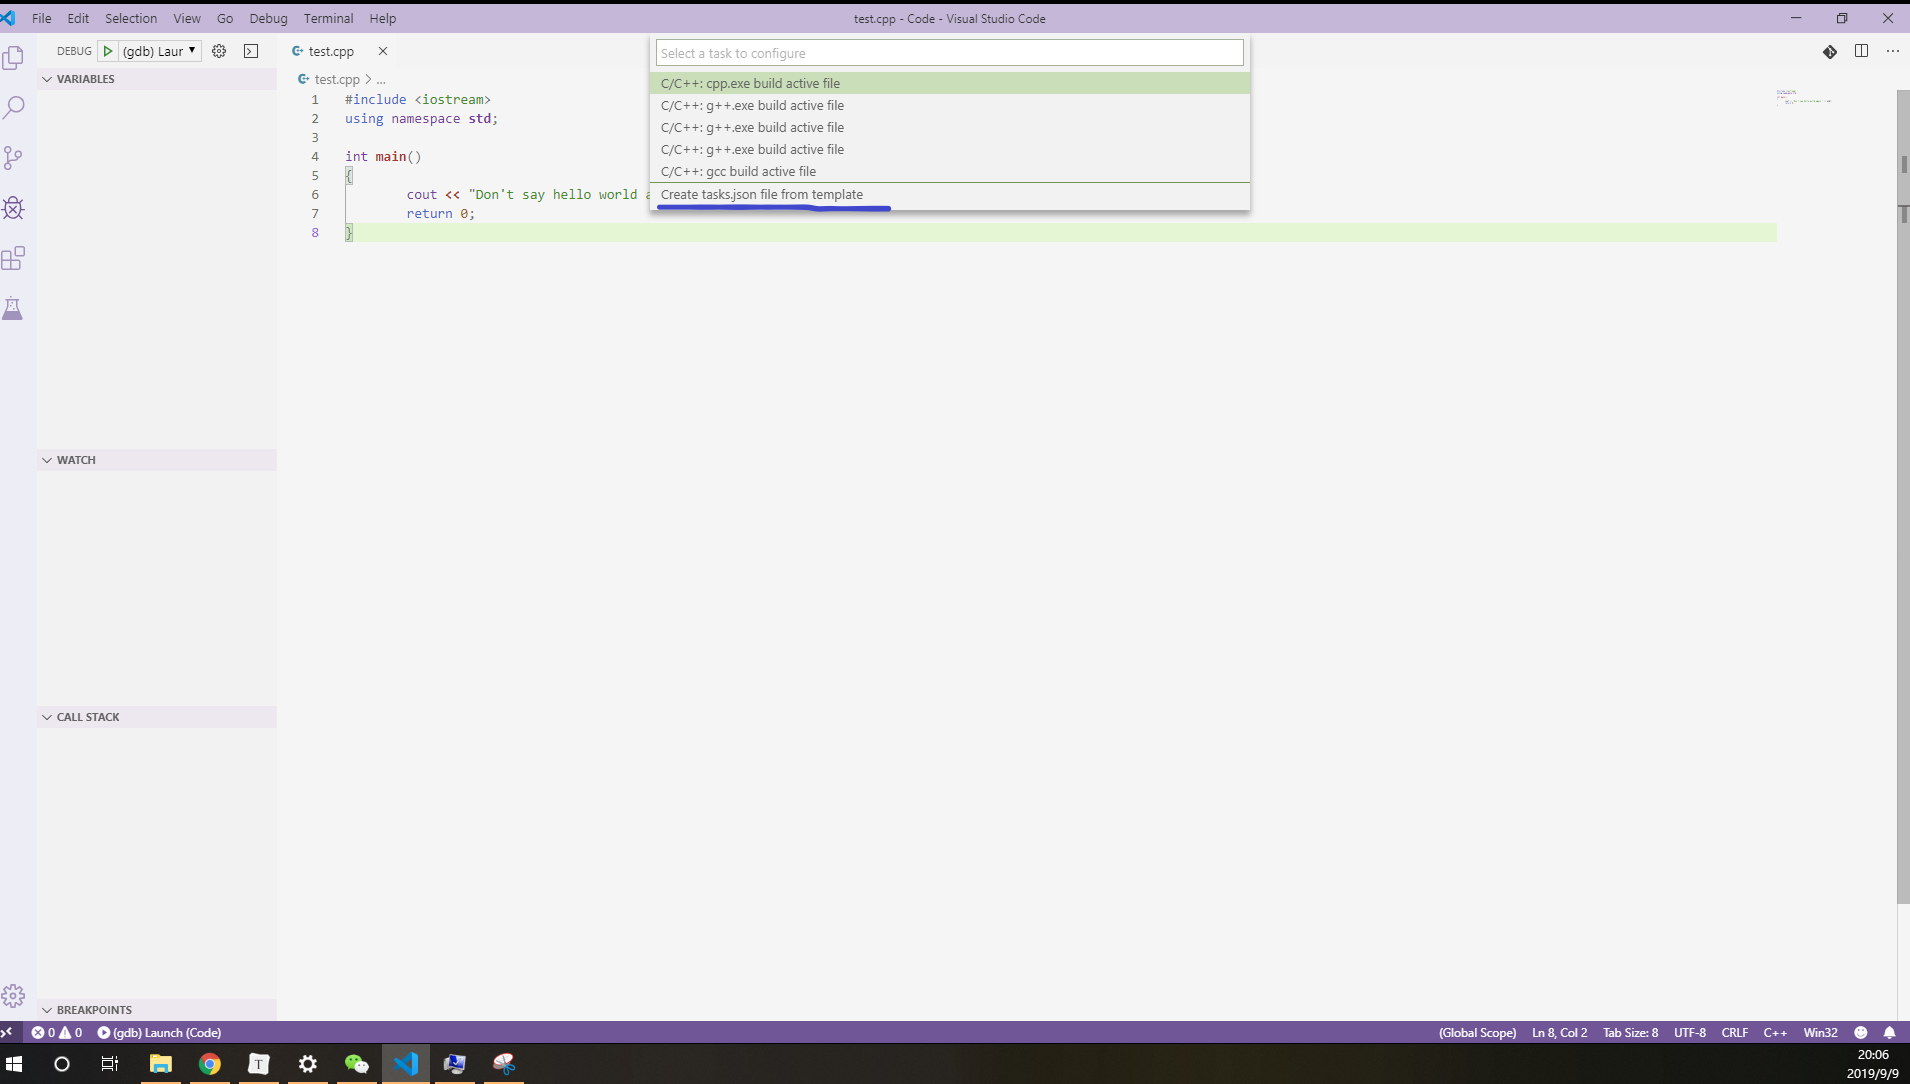
Click "Configure Task". Choose "Create tasks.json file from template". Choose Others.
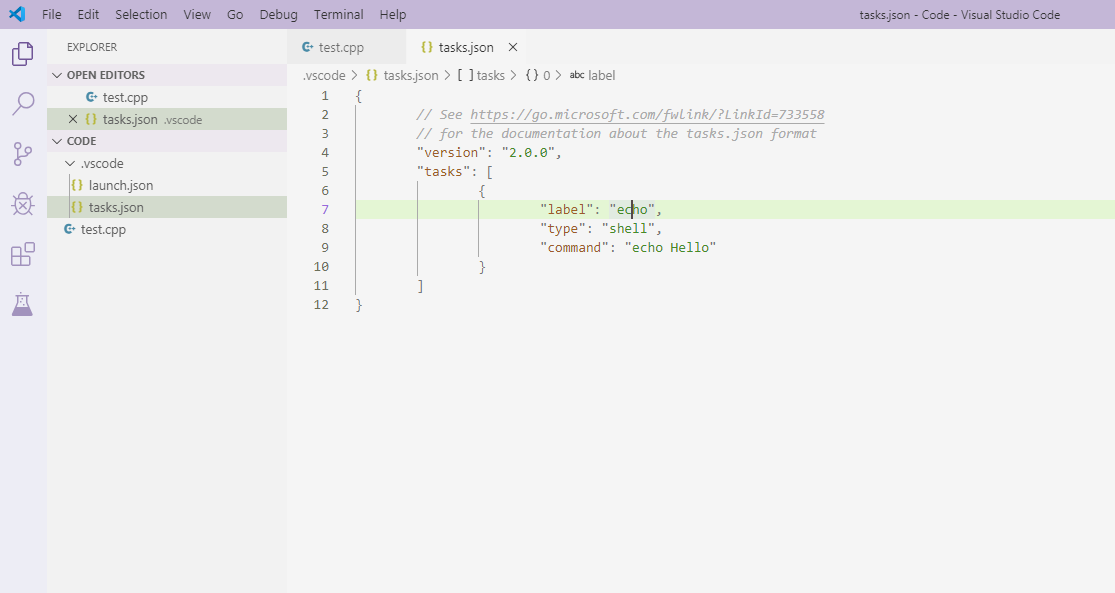
接下来就是"compile"任务的配置,"label"就是你在上一步填的名字"compile"。
主要的命令是:
g++ ${file} -o ${file}.out${file}会匹配你当前编辑的文件名,命令将${file}编译输出为${file}.out
其他的细节可以暂时先不关注。
Copy the following code to "tasks.json":
{
        // See https://go.microsoft.com/fwlink/?LinkId=733558
        // for the documentation about the tasks.json format
        "version": "2.0.0",
        "tasks": [
            {
                "label": "compile",
                "type": "shell",
                "command": "g++",
                "args": [
                    "-g",
                    "-std=c++14",
                    // "-lpthread",
                    "\"${file}\"",
                    "-o",
                    "${file}.out"
                ],
                "presentation": {
                    "reveal": "always",
                    "panel": "shared",
                    "focus": false,
                    "echo": true
                },
                "group": {
                    "kind": "build",
                    "isDefault": true
                },
                "problemMatcher": {
                    "owner": "cpp",
                    "fileLocation": "absolute",
                    "pattern": {
                        "regexp": "^(.*):(\\d+):(\\d+):\\s+(error):\\s+(.*)$",
                        "file": 1,
                        "line": 2,
                        "column": 3,
                        "severity": 4,
                        "message": 5
                    }
                }
            }
        ]
}
这样我们的配置就到此完成了。
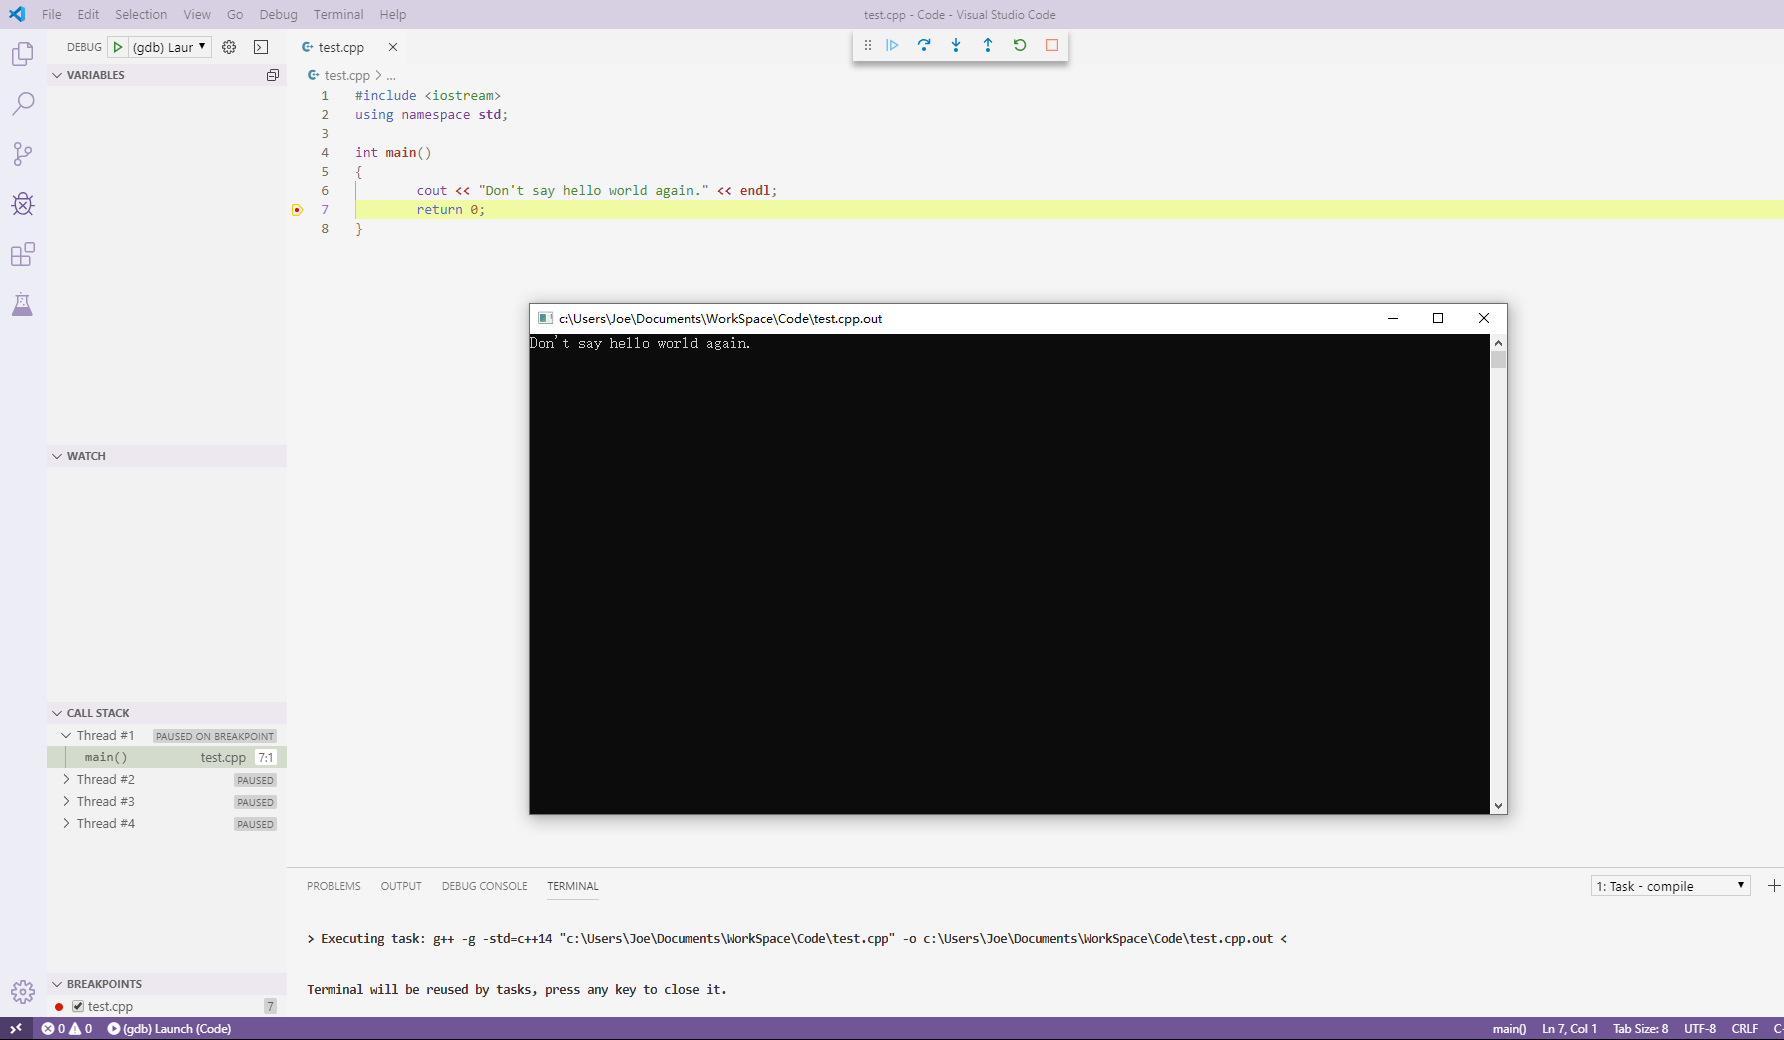
Go back to your code, add a breakpoint and Press F5 to run your program !
Now you have successfully run your first program.
Next time you want to enjoy coding, create and edit a cpp file in this folder. And then you can press F5 to run it directly. Yeah, simple and quick !
