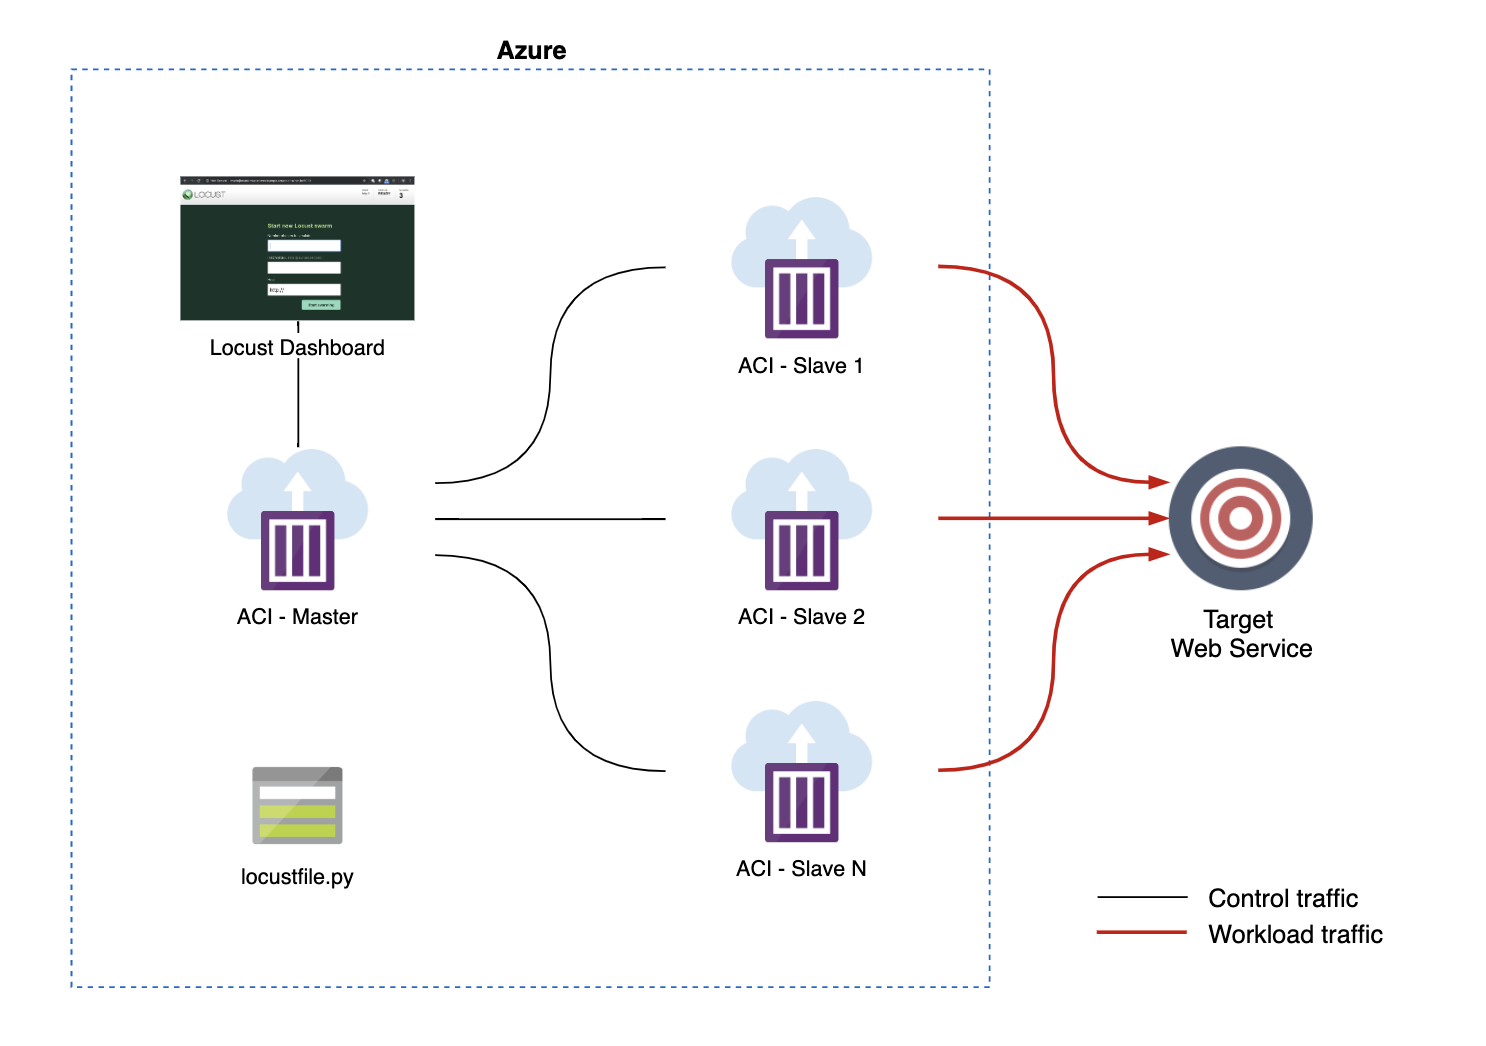
Run distributed Locust load tests on Azure Container Instances. It's quick, cheap and scalable! Using 20 slaves you can achieve ~12 000 req/s!
You can deploy and manage resources using either:
- Azure Portal - easier
- Azure Cli - faster
Make sure you are logged in to Azure Portal.
Click magick button (you can open it in new tab):
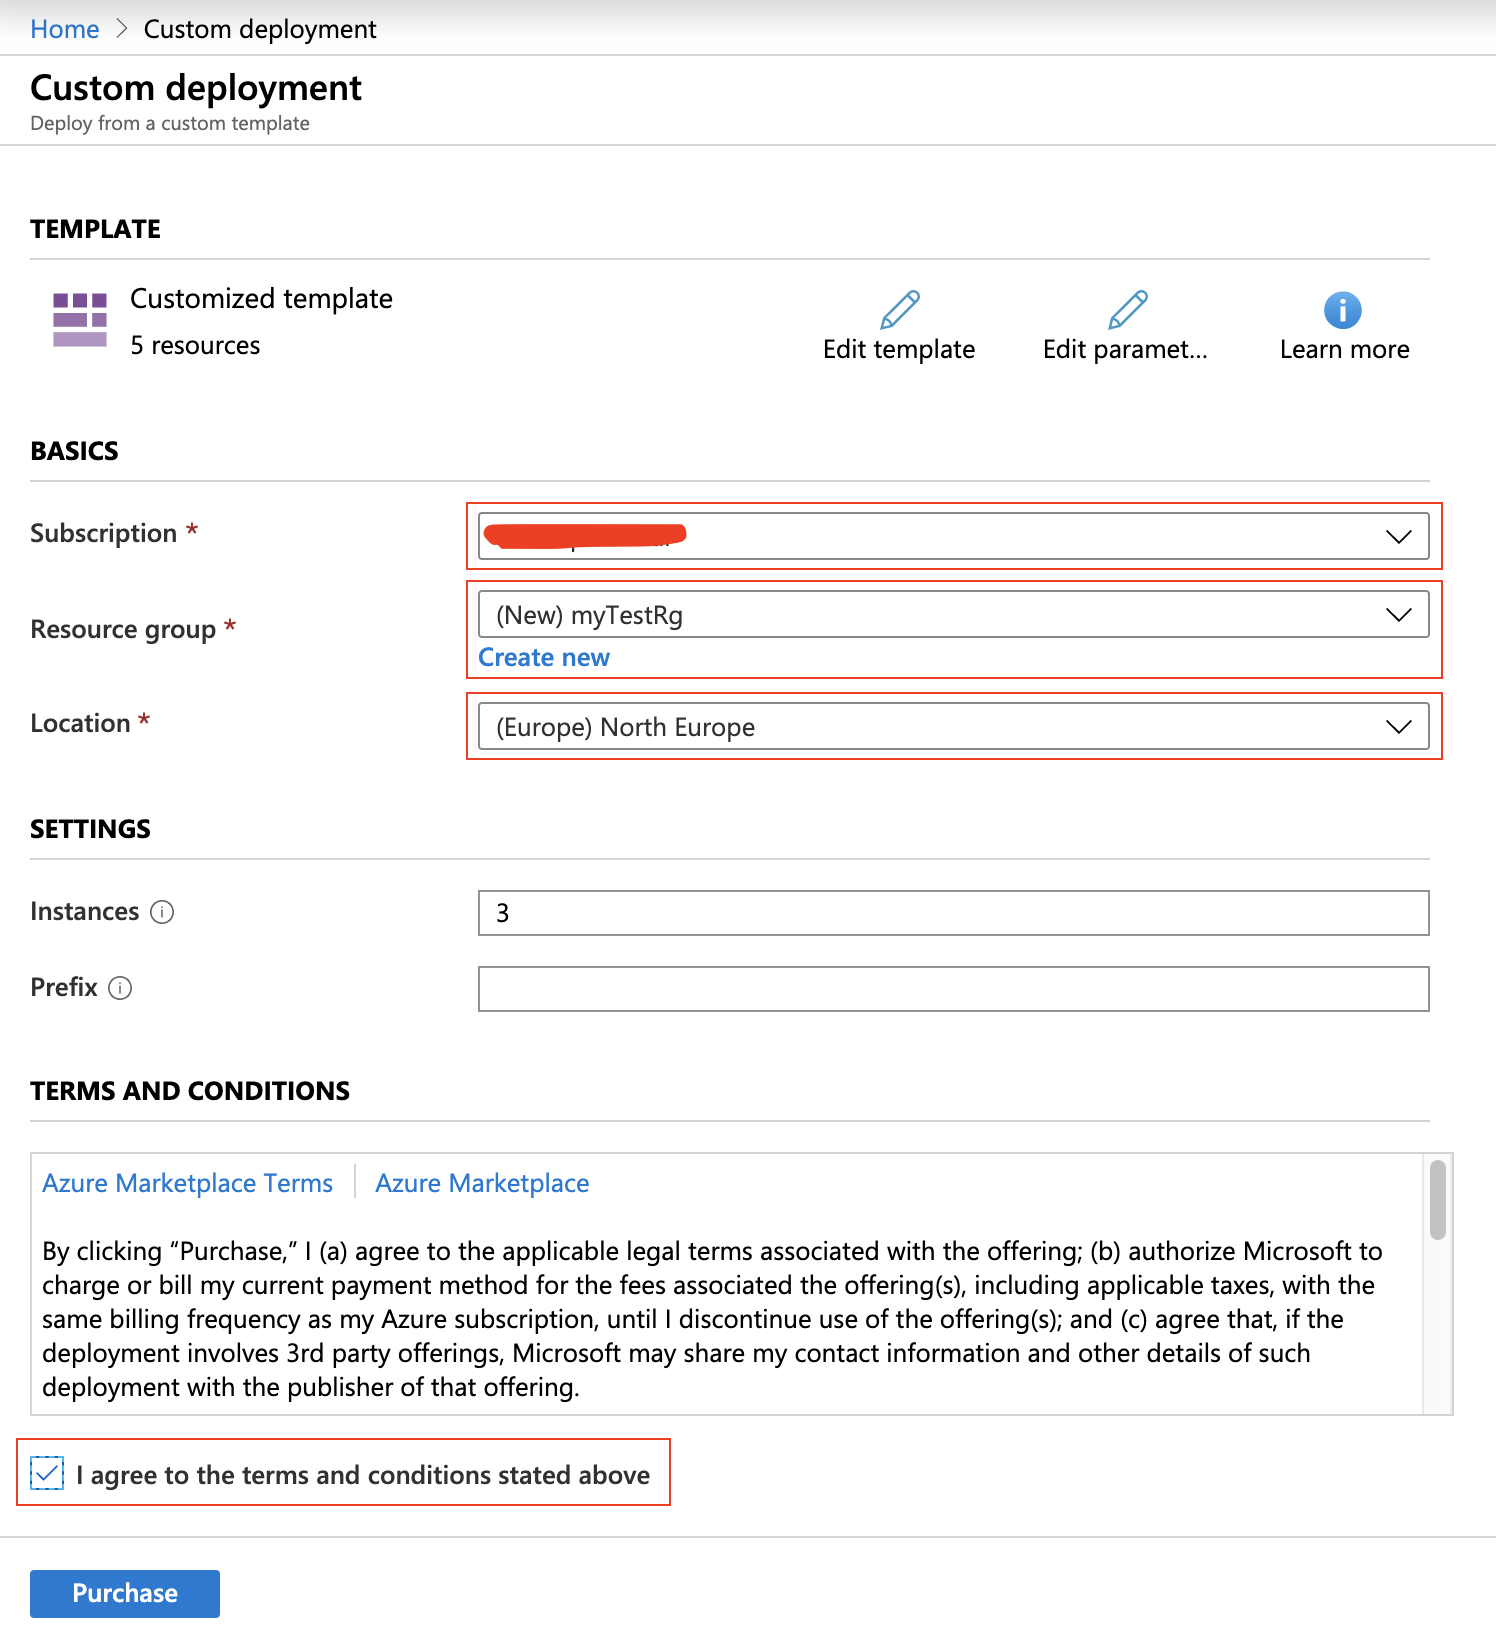
Then fill form with given values.
- Subscription: choose your subscription
- Resource Group: select existing Resource Group or create new one
- Location: North Europe (any allowed, but keep in mind its part of Locust DNS address!)
- Instances (optional): number of slaves (one slave ~600rps)
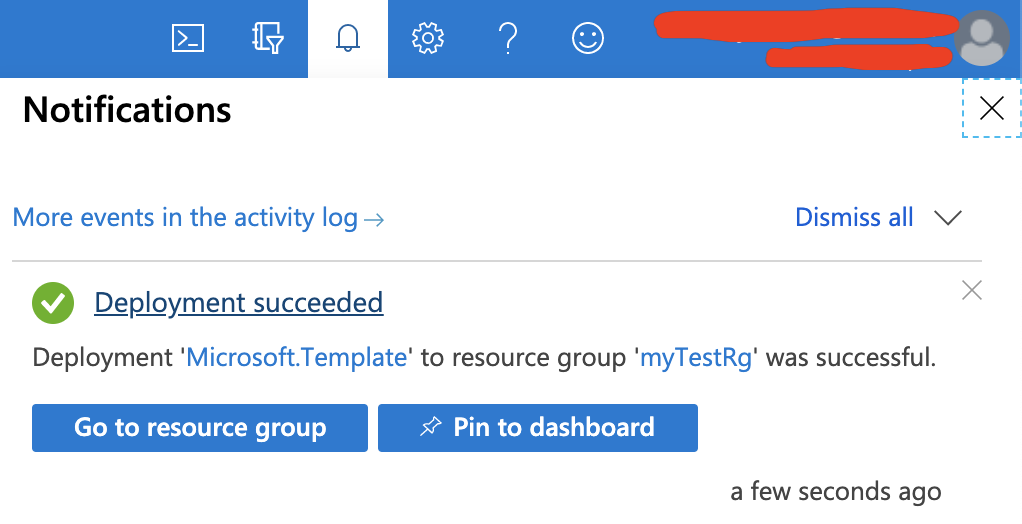
Click Purchase and wait for deployment ends. Follow notifications on Azure Portal:
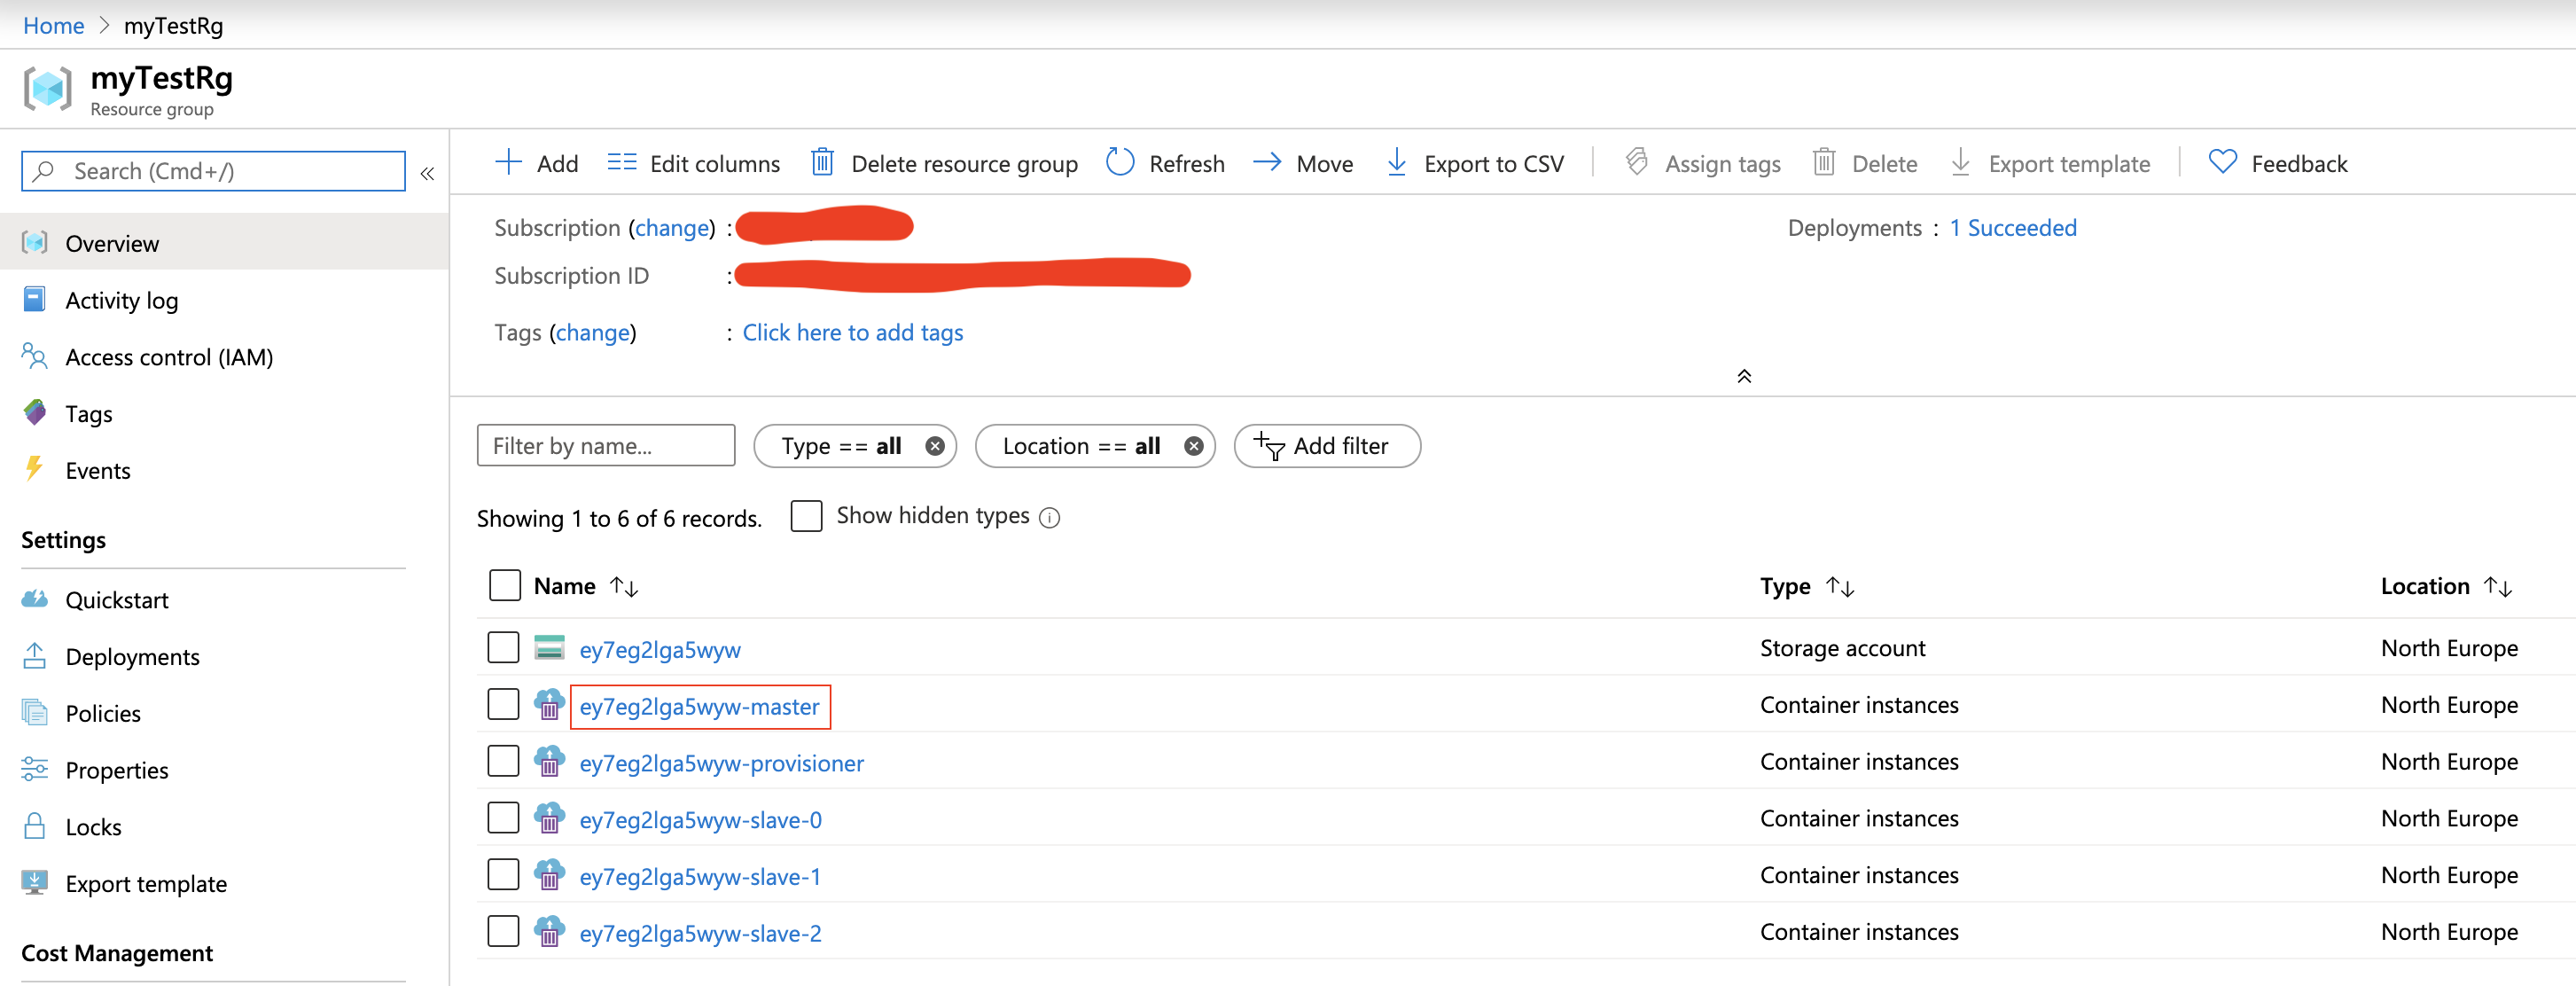
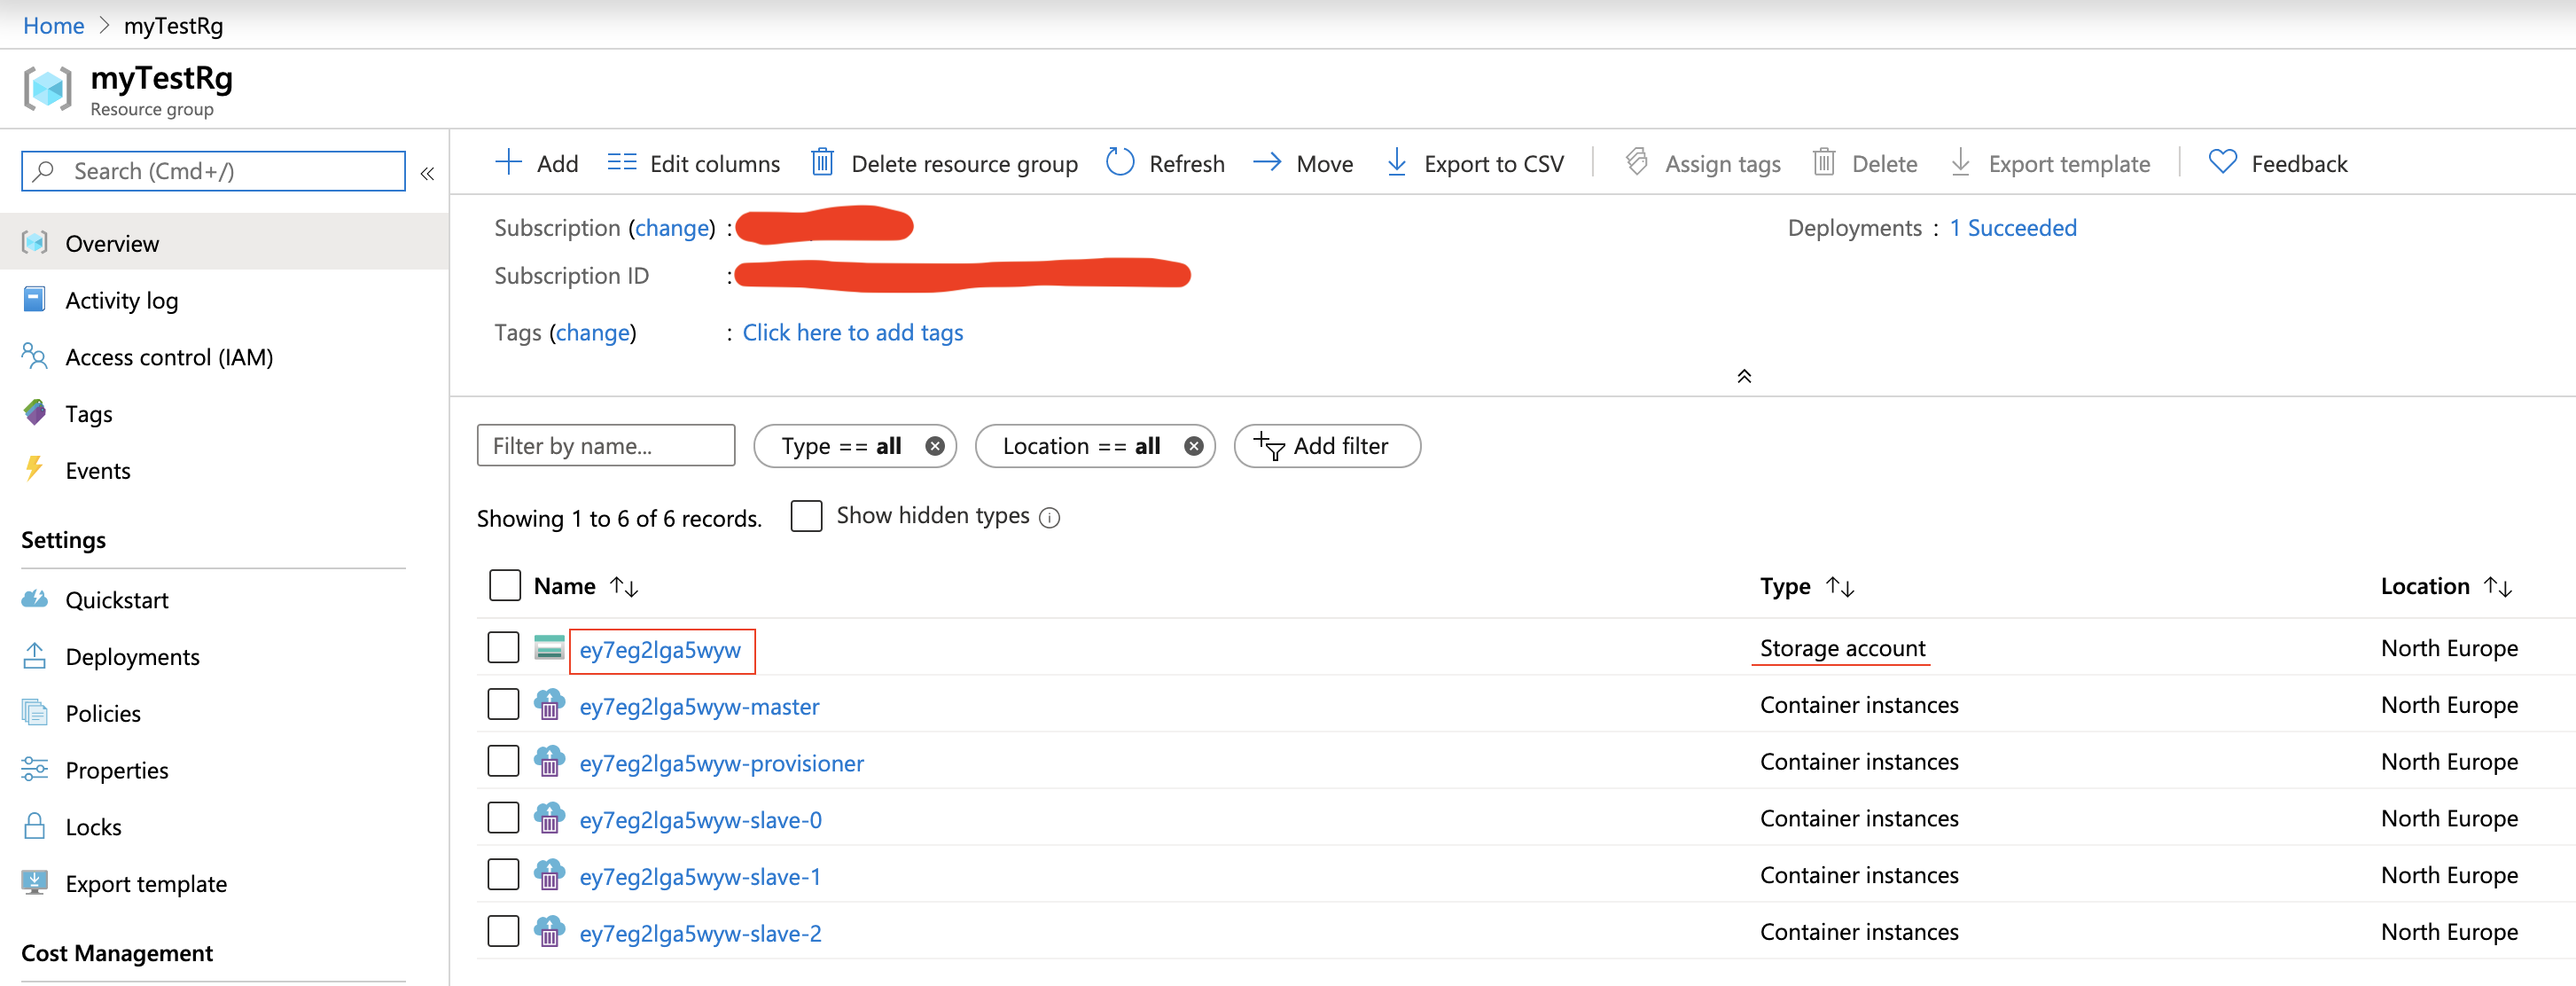
Click Go to resource group to verify your deployment:
Go to xxxxxxxxxxxxx-master and find out Locust FQDN - copy it.
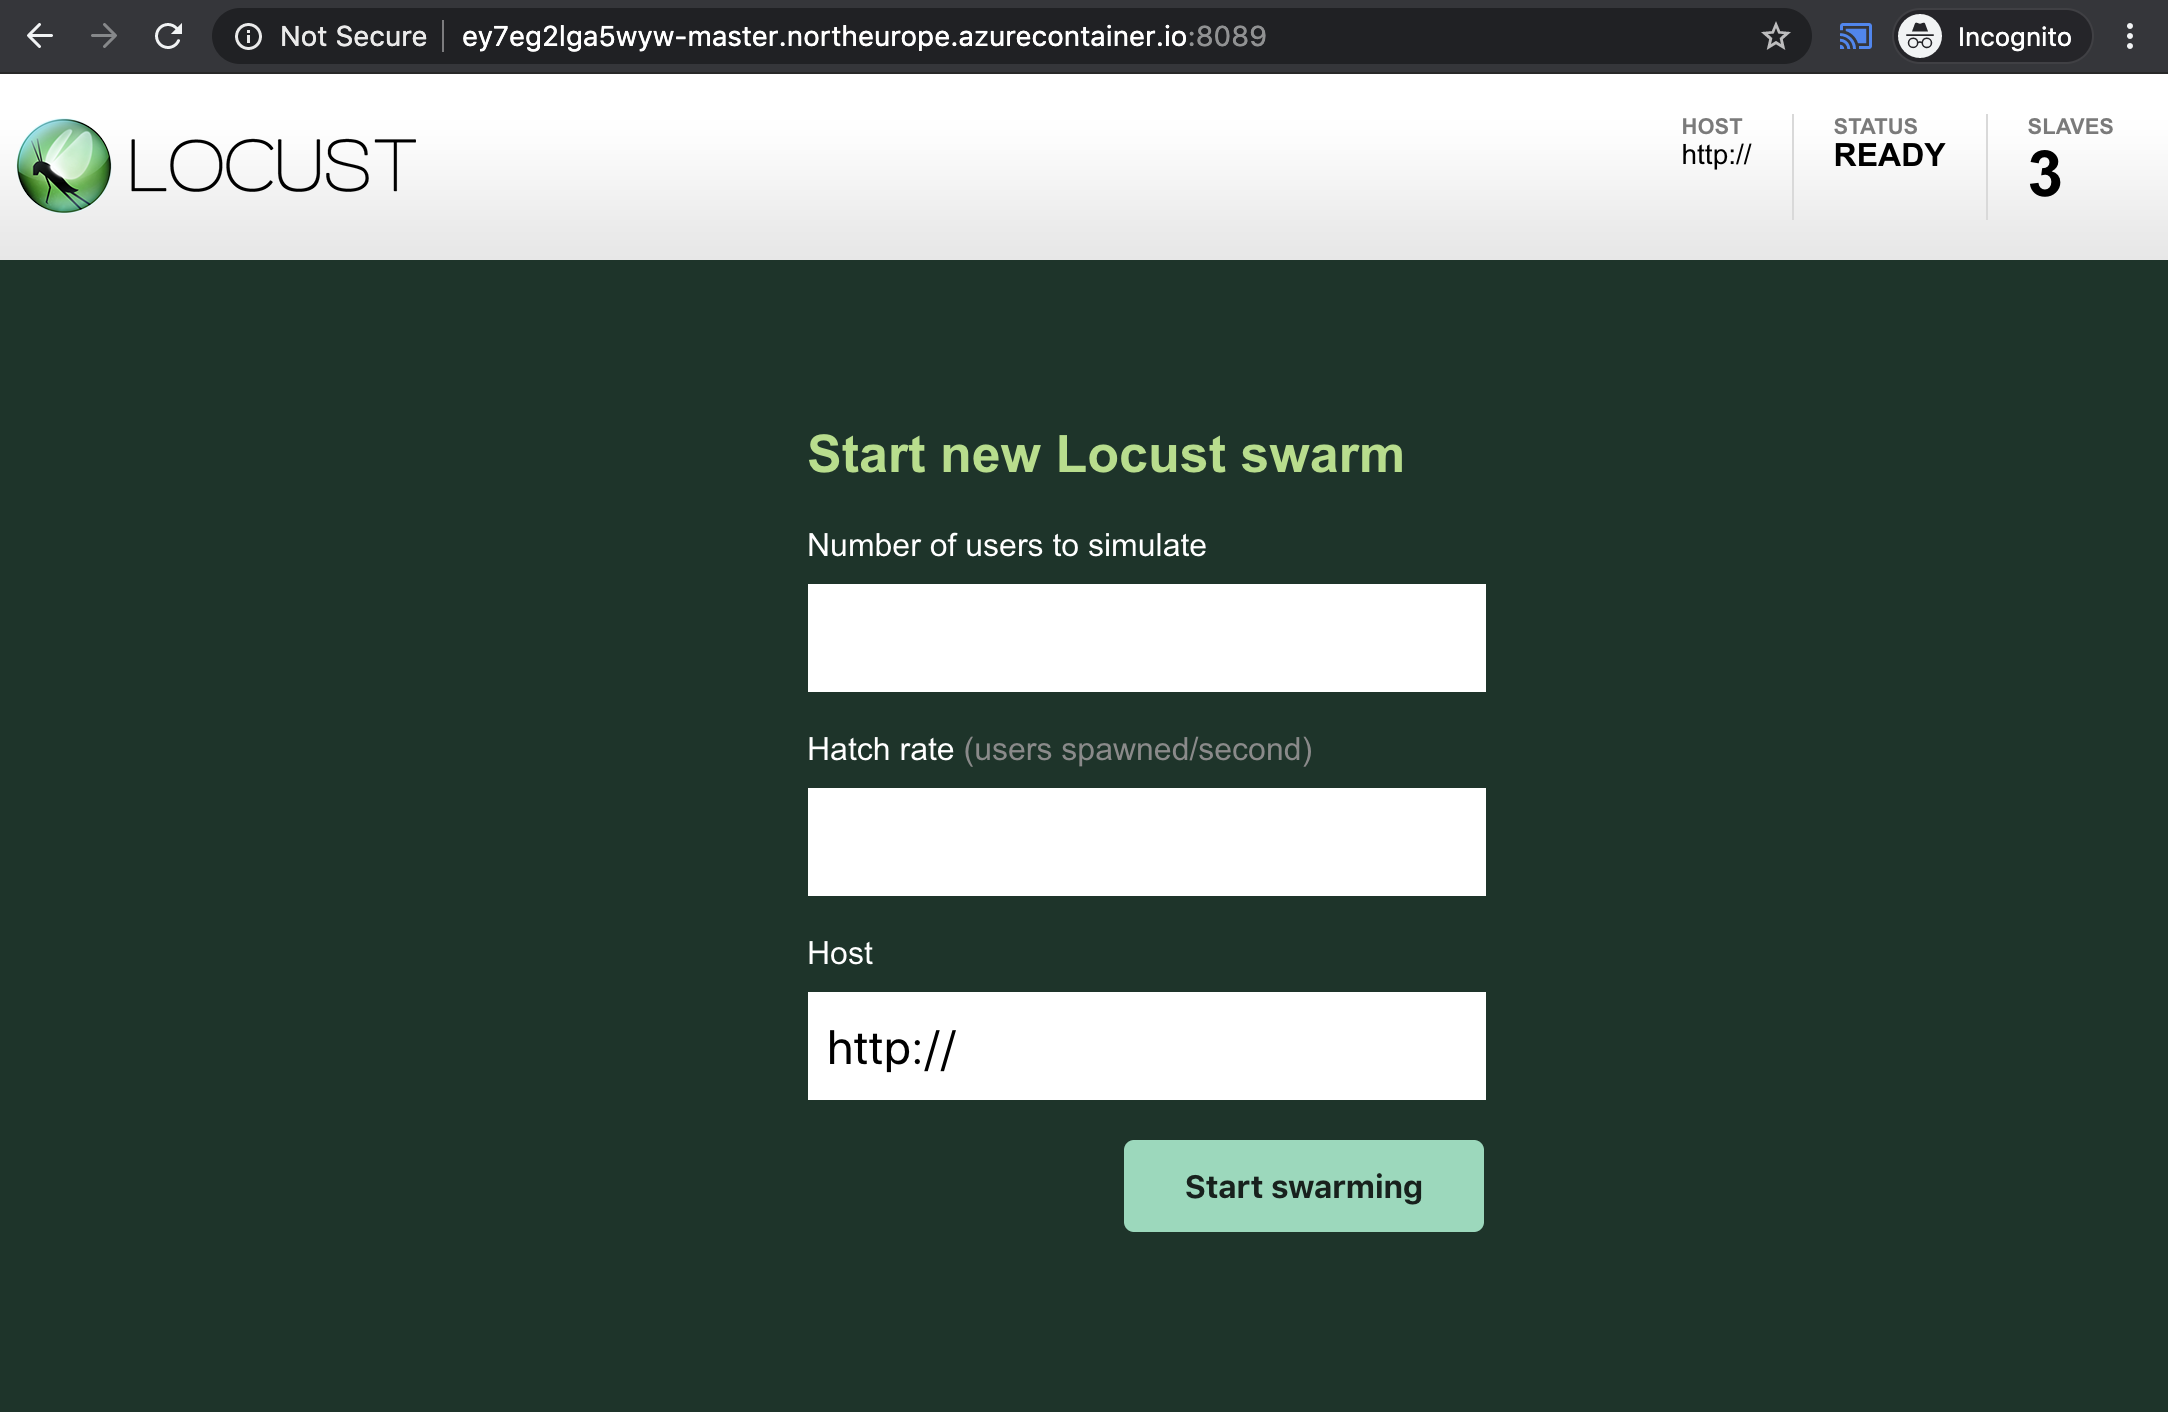
When deployment succeeded, your load generator is ready. Go to the above FQDN and port 8089:
http://xxxxxxxxxxxxx-master.northeurope.azurecontainer.io:8089
At this point you can start tests.
Go to your Resource Group and click Storage Account named xxxxxxxxxxxxx.
Click File shares (scroll panel down).
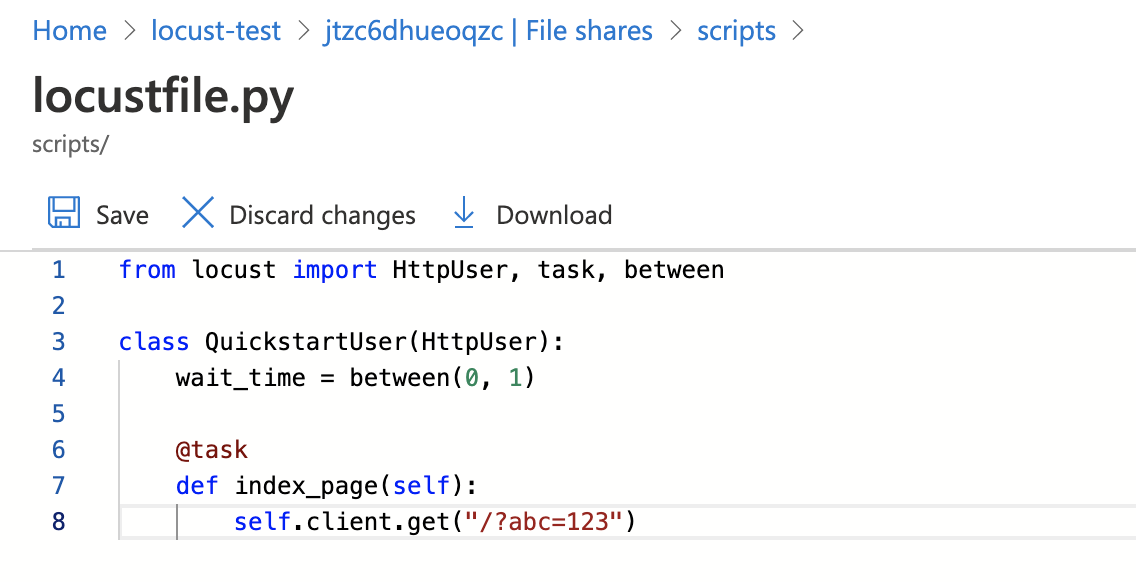
Go to share called scripts and edit locustfile.py (click ... and edit).
Edit contents of your new file and click Save.
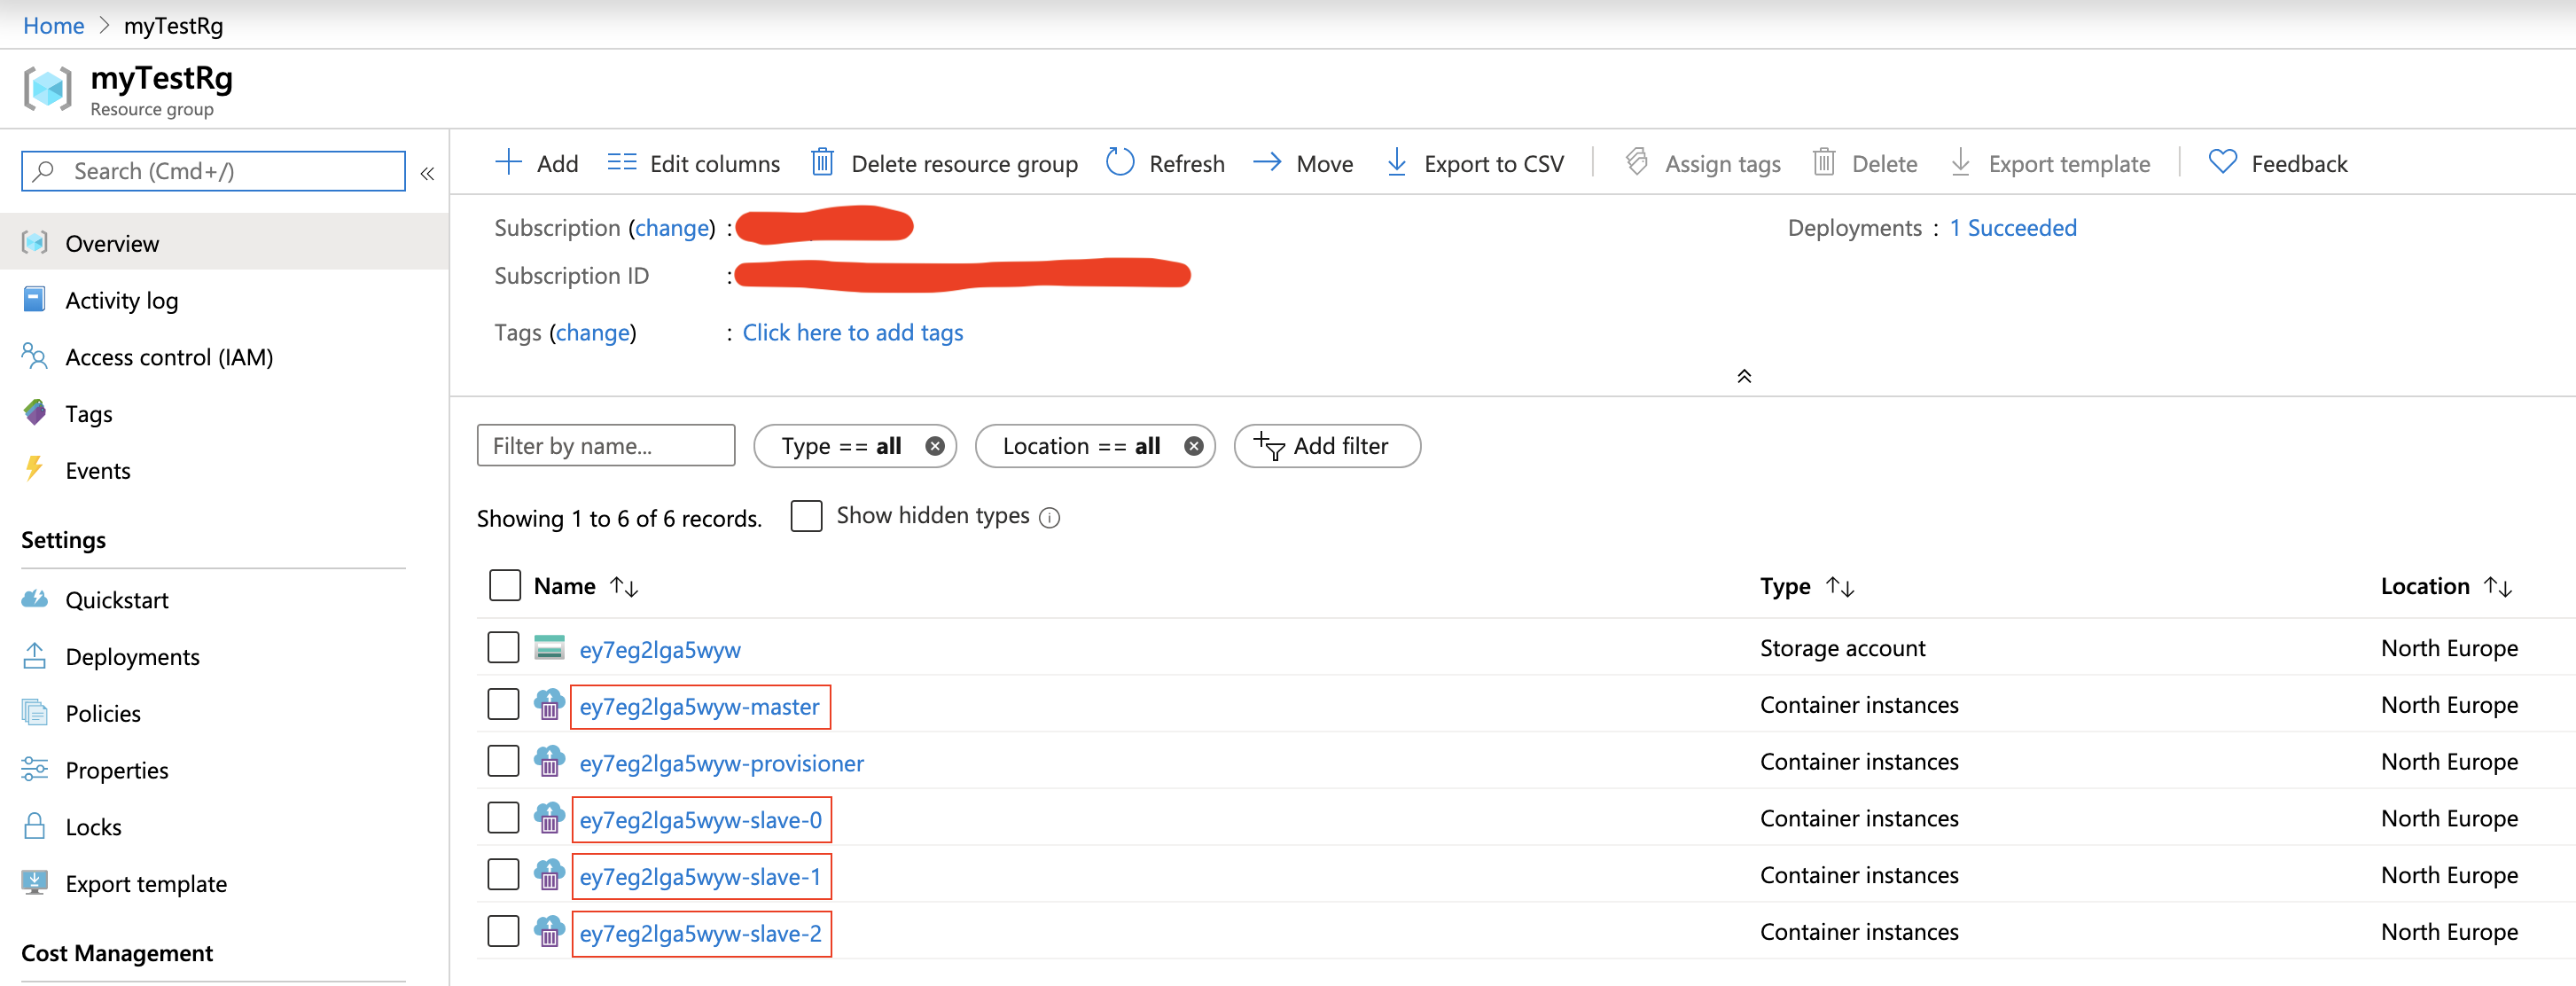
Then restart all containers called like master and slave.
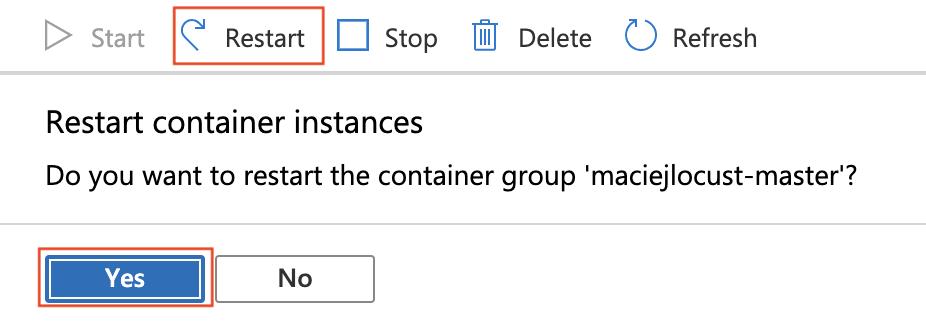
Click on each container to restart it:
Tip: This step is really faster using Azure CLI.
Go to your Resource Group and remove it (it will destroy all resources inside group). You will need to type Resource Group name to confirm.
Login and set subscription context
az login
az account set --subscription <SubscriptionId>
Step 1: Setup your names
export RG=<ResourceGroup>
Step 2: Create Resource Group (if not exists)
az group create --name ${RG} --location northeurope
Step 3: Deploy ARM template
az group deployment create --resource-group ${RG} --query properties.outputs --template-file mainTemplate.json
- To change number of instances append
--parameters instances=<n>
Step 4: Note values of prefix and url from console output.
{
  "outputs": {
    "prefix": {
      "type": "String",
      "value": "xxxxxxxxxxxxx"
    },
    "url": {
      "type": "String",
      "value": "http://xxxxxxxxxxxxx-master.northeurope.azurecontainer.io:8089"
    }
  }
}When deployment succeeded, your load generator is ready. Go to above url address.
At this point you can start tests.
Upload your custom script. Replace account name with above prefix. You can change --source param if you want use different .py file:
az storage file upload --account-name <prefix> -s scripts --source locustfile.py --path locustfile.py
Then restart containers:
az container list --resource-group ${RG} --query '[].name' -o tsv | xargs -I {} az container restart --no-wait --resource-group ${RG} --name {}
Remove resources from Azure:
az group delete --name ${RG} --yes
- Load test affects target service performance. Never run load tests without service owner permission!
- Some services can block traffic from generator - you should whitelist Azure Region IPs (Download prefixes).
- After load tests cleanup Azure resources. You will be billed for running Azure Contianers Instance and Storage Account usage. You can check cost of ACI here.
