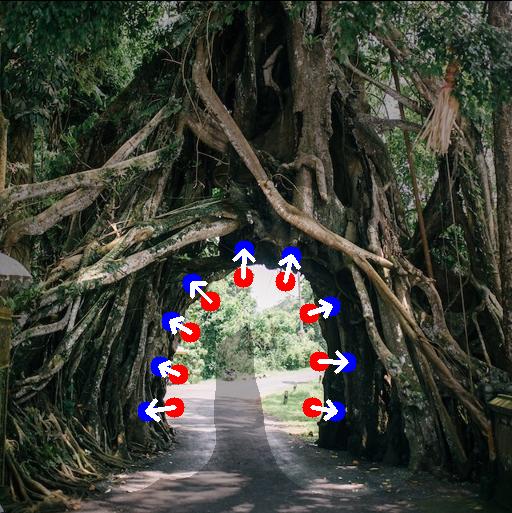
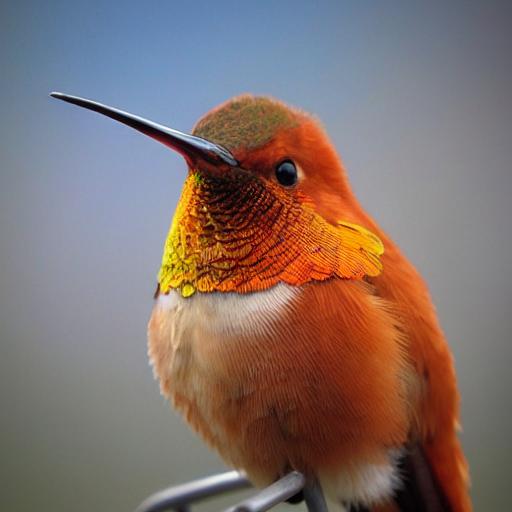
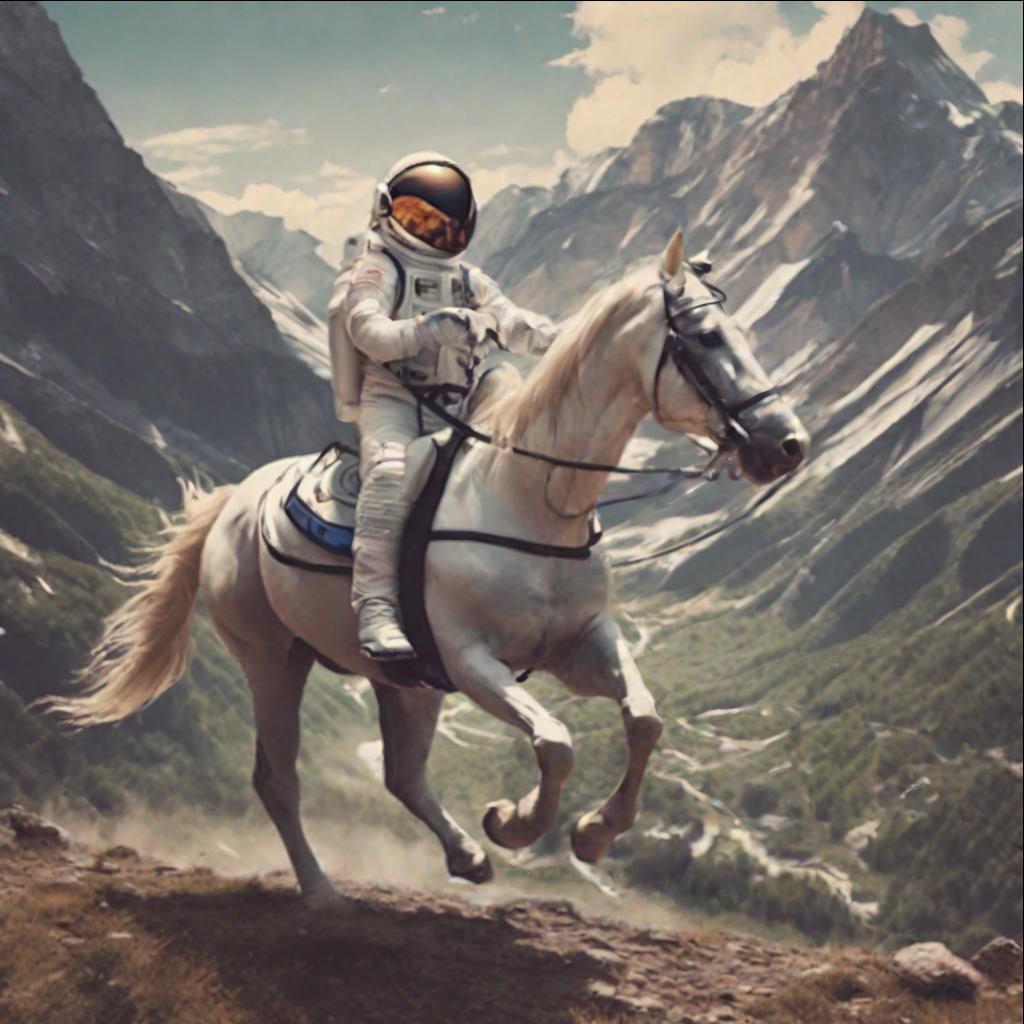
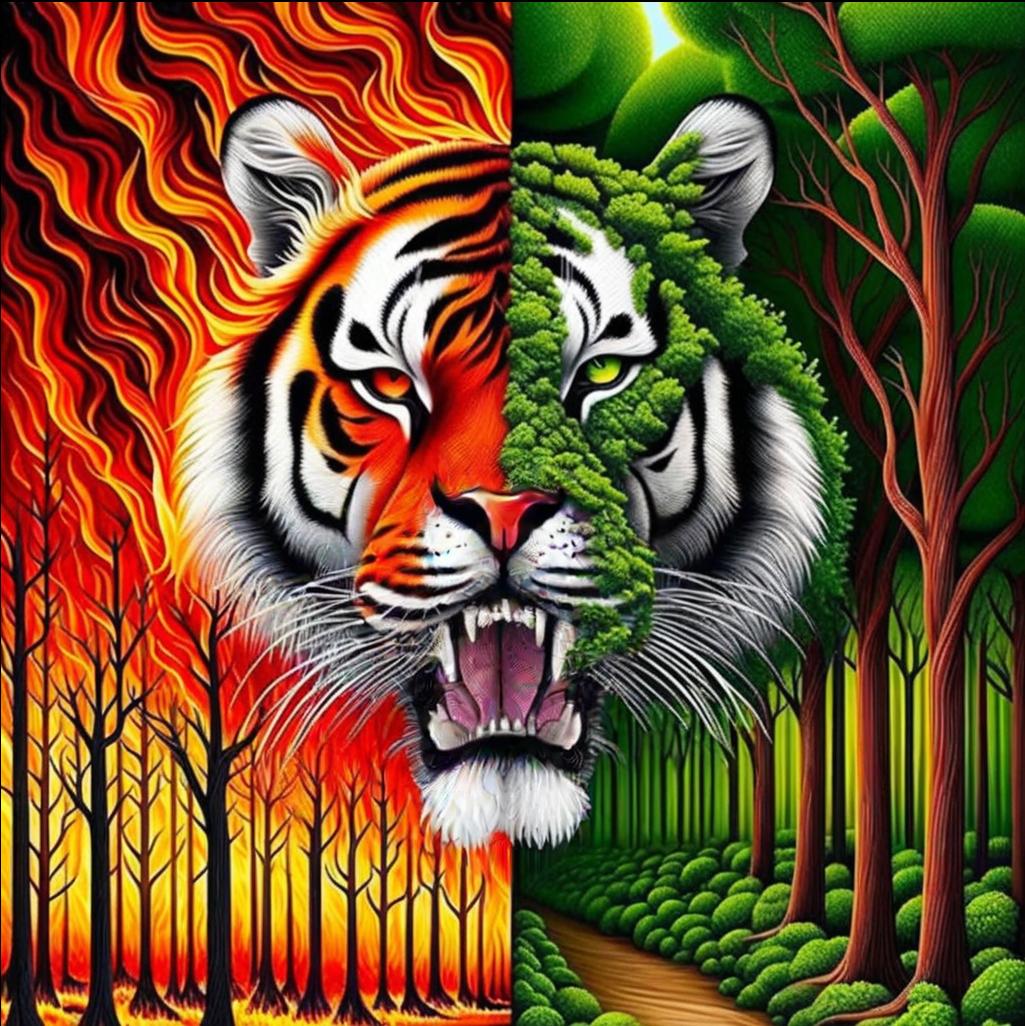
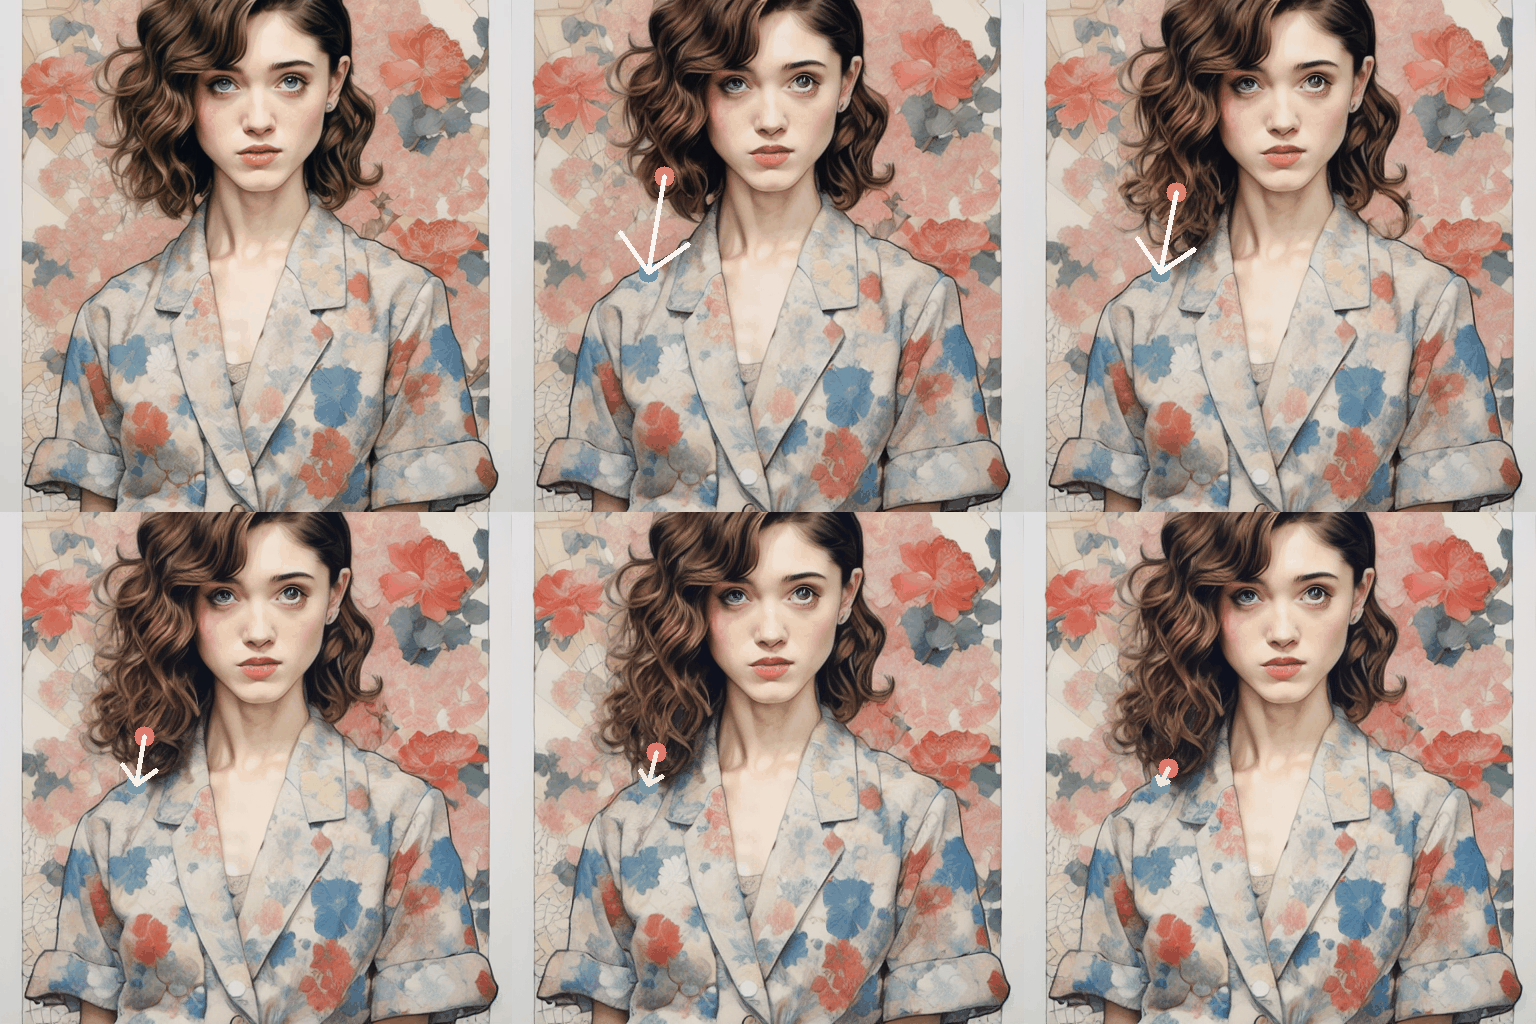
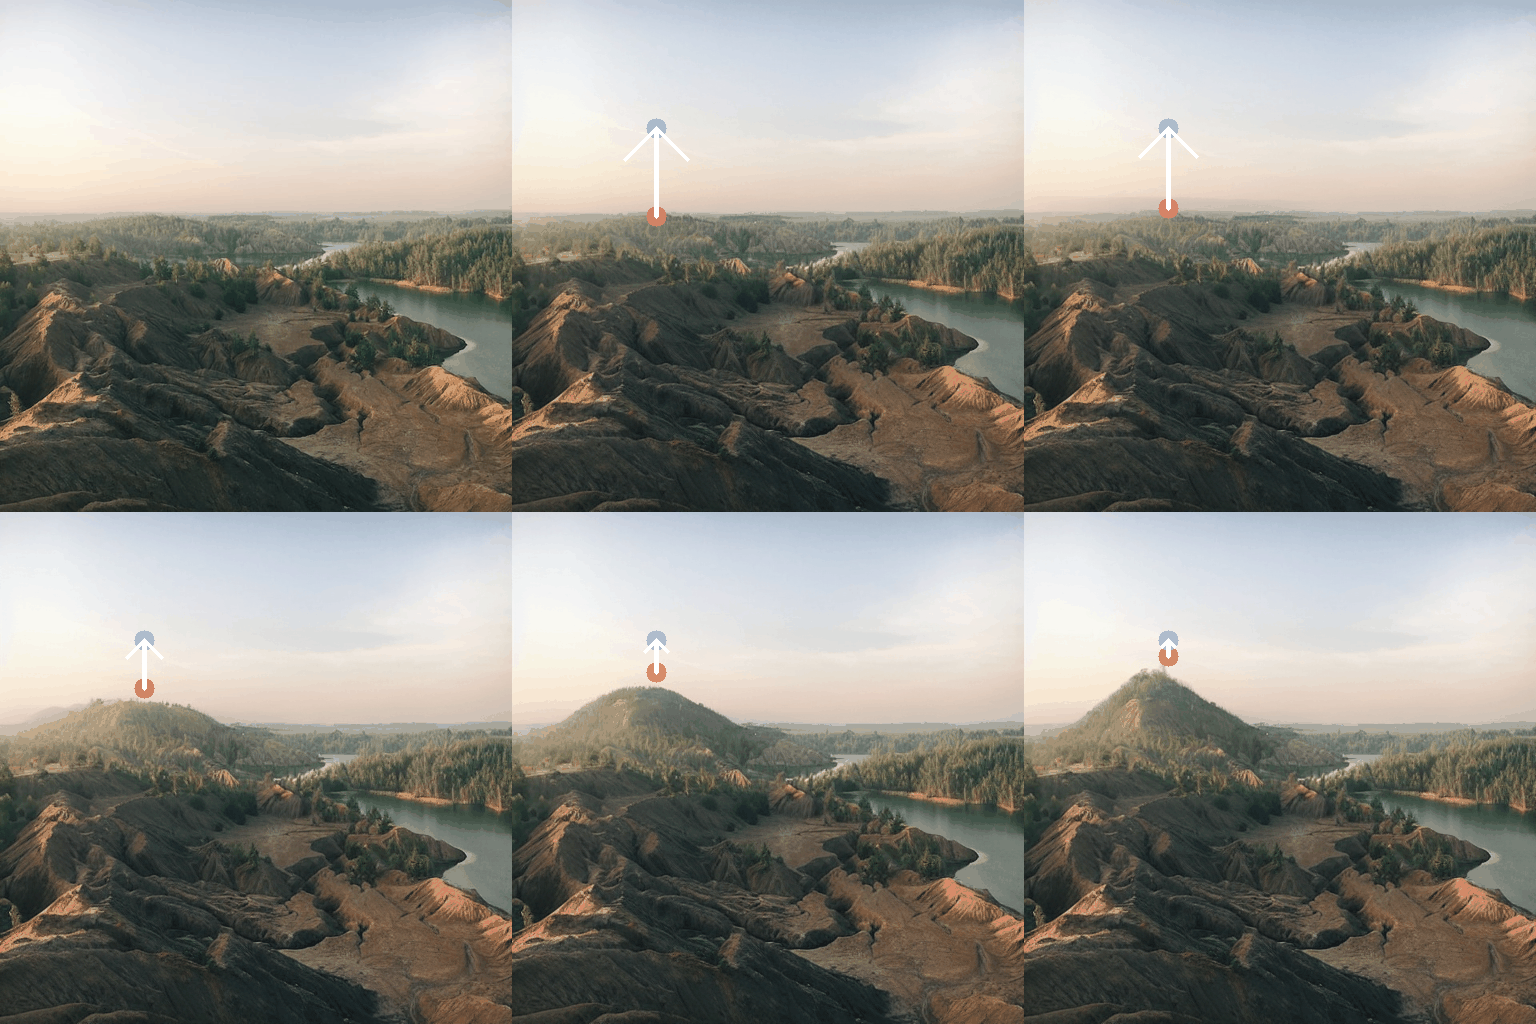
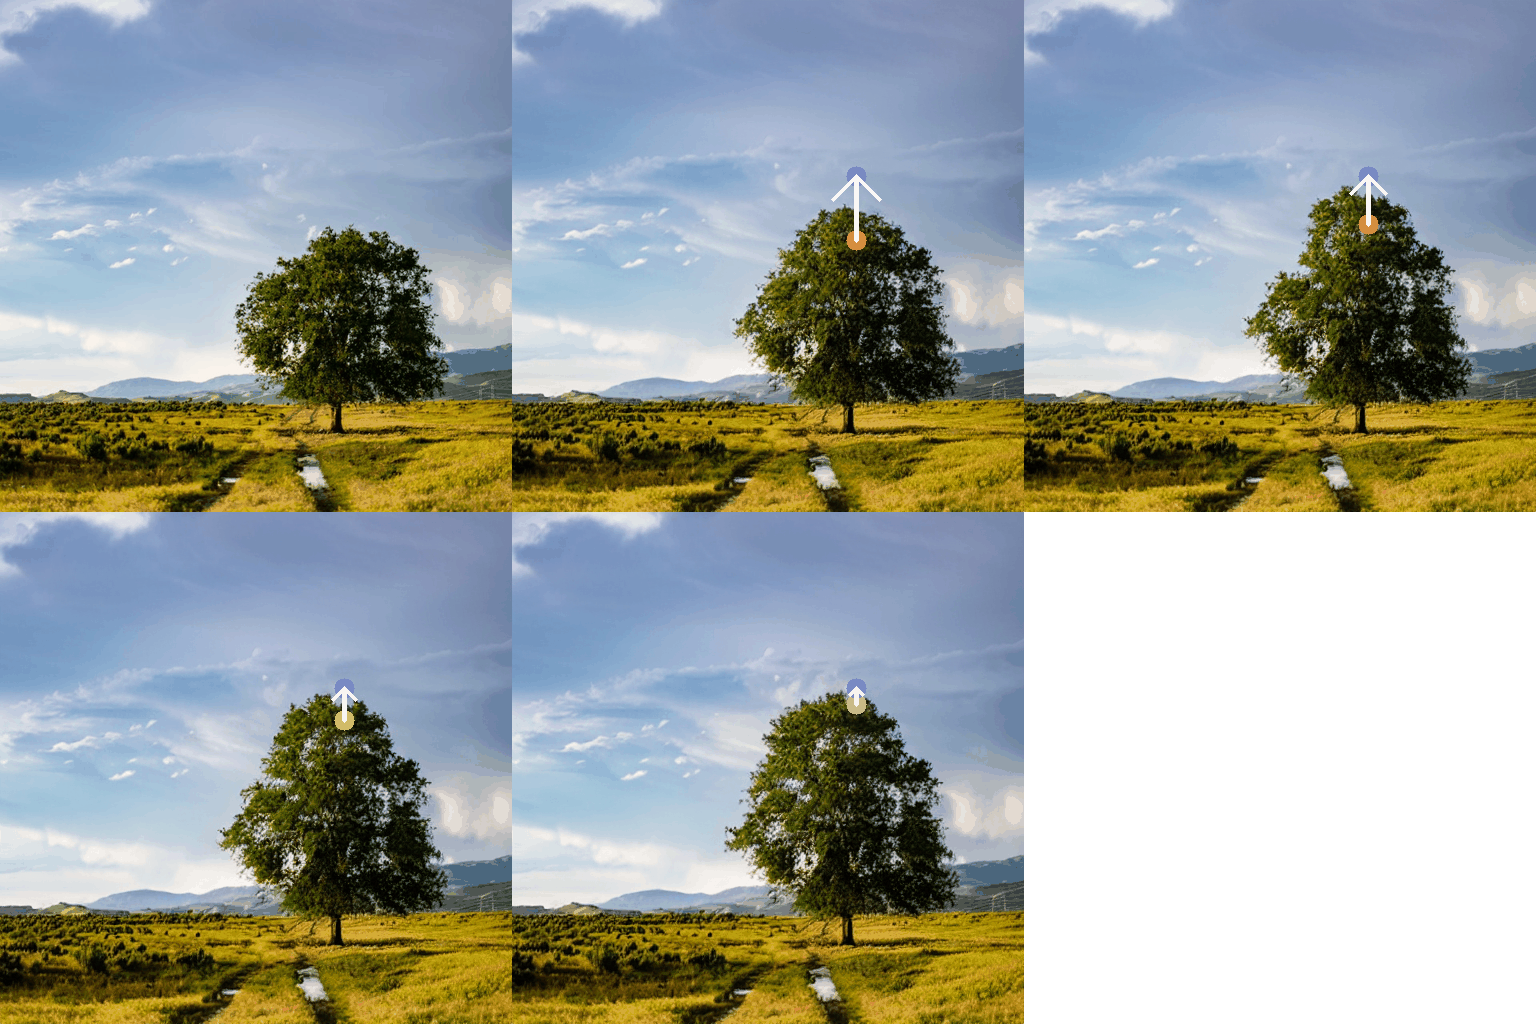
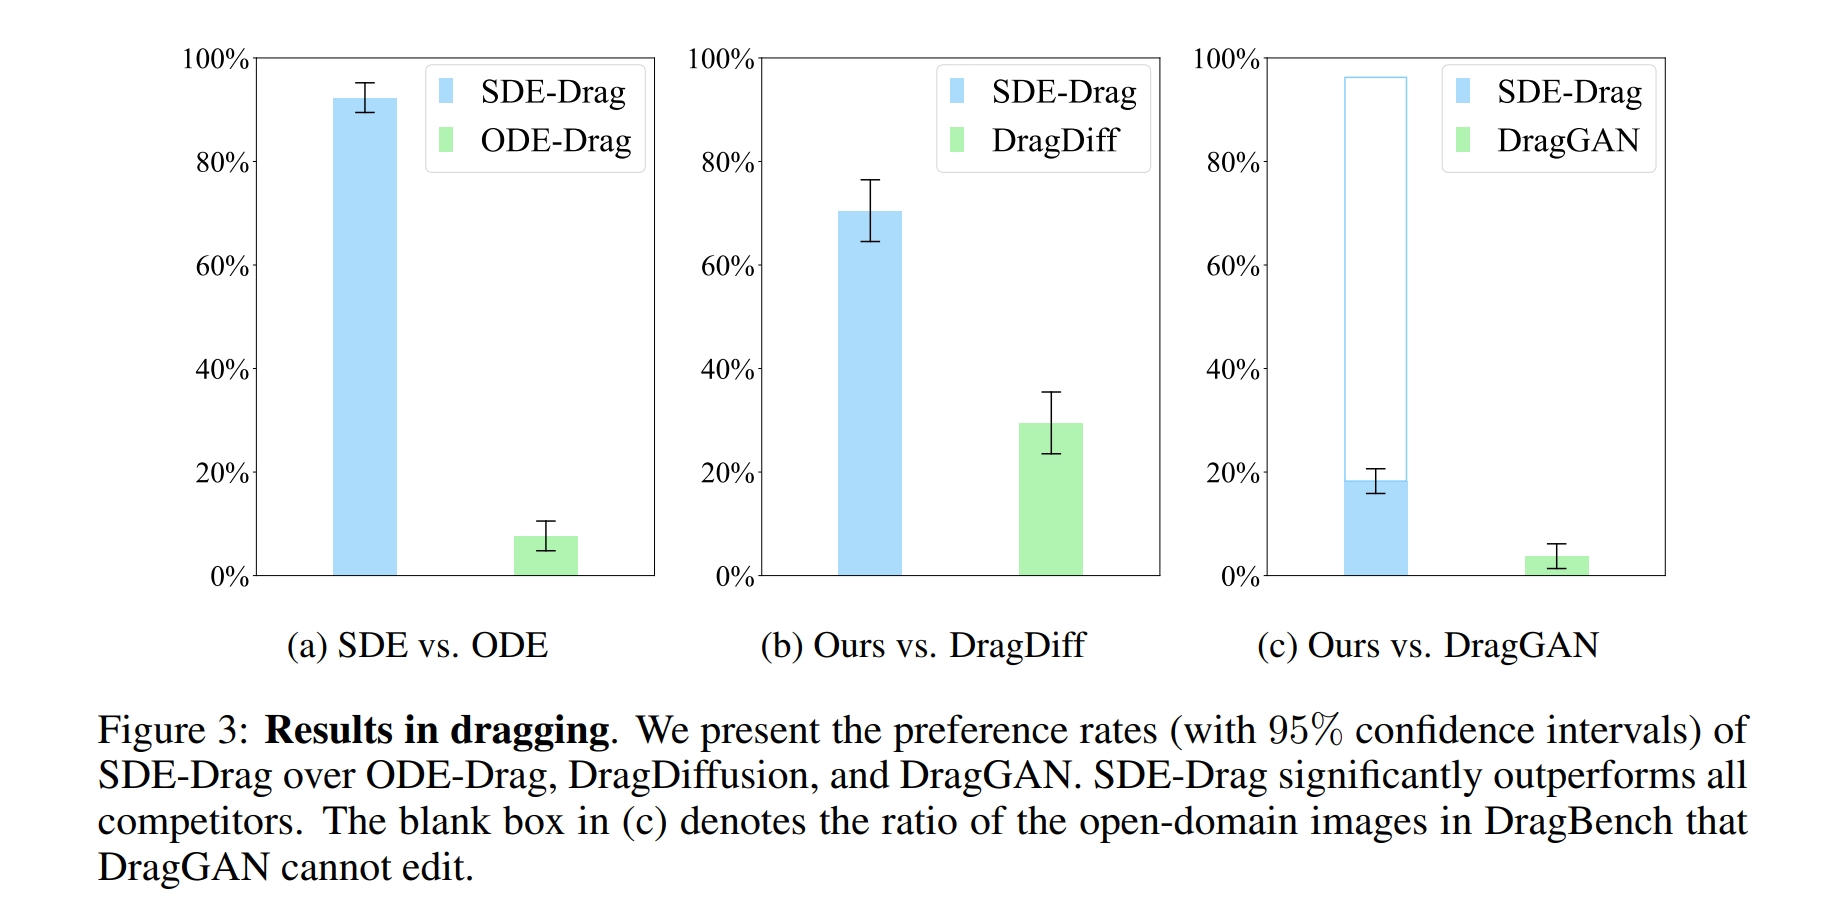
The Blessing of Randomness: SDE Beats ODE in General Diffusion-based Image Editing
🛠️ Dependency
conda create -n sdedrag python=3.9
conda activate sdedrag

pip install torch==2.0.0 torchvision transformers
pip install diffusers==0.21.4 accelerate gradio opencv-python
The pre-trained model of all experiments employed in this repo is runwayml/stable-diffusion-v1-5.
⭐ SDE-Drag
GUI
To start the SDE-Drag GUI, simply run:
python sdedrag_ui.py
We provide a GIF tutorial for our GUI. Moreover, the GUI interface offers comprehensive step-by-step instructions.
Generally, the usage of the SDE Drag GUI follows below steps:
-
Upload image, draw a mask (optional), and add the source and target points;
-
Choose whether to perform LoRA finetuning and give a prompt that describe the desire editing image;
-
Click the "Run" button, and the rightmost canvas will display dragging trajectory. Wait until the "State" text box shows "Drag Finish".
Upon running the SDE-Drag process, it saves data items including origin_image.png (origin image), input_image.png (origin image with mask, source and target points on it), mask.png, and prompt.json (point coordinates and prompt). All these files are stored in drag_data/(user-input Output path). If you enable LoRA finetuning, the LoRA model is placed in (user-input LoRA path)/(user-input Output path).
The entire dragging trajectory is saved under output/(user-input Output path).
- Using Tips
-
Prompt: A prompt described the target ediitng image is often more effective than one referencing the original image.
-
LoRA Finetuning: It typically improves outcomes but isn't always required. Use it if dragging changes the main subject, like a cat turning into another cat. If the edit simply replicates the original, indicating overfitting, skip finetuning.
-
Masks: Highlighting areas you want to remain unchanged with a mask can improve your editing outcome.
Evaluation on DragBench
Download DragBench, unzip and place into the project, then simply run:
python sdedrag_dragbench.py
All the editing results will be put into output/sdedrag_dragbench.
Highlight
we highlight that SDE-Drag can improve the alignment between the prompt and sample from advanced AI-painting systems like Stable Diffusion and DALL·E 3.
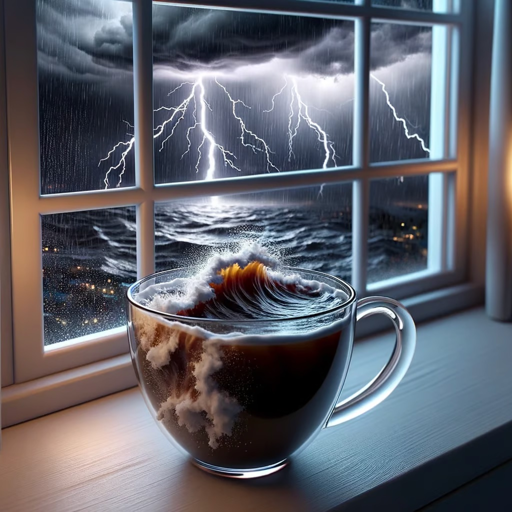
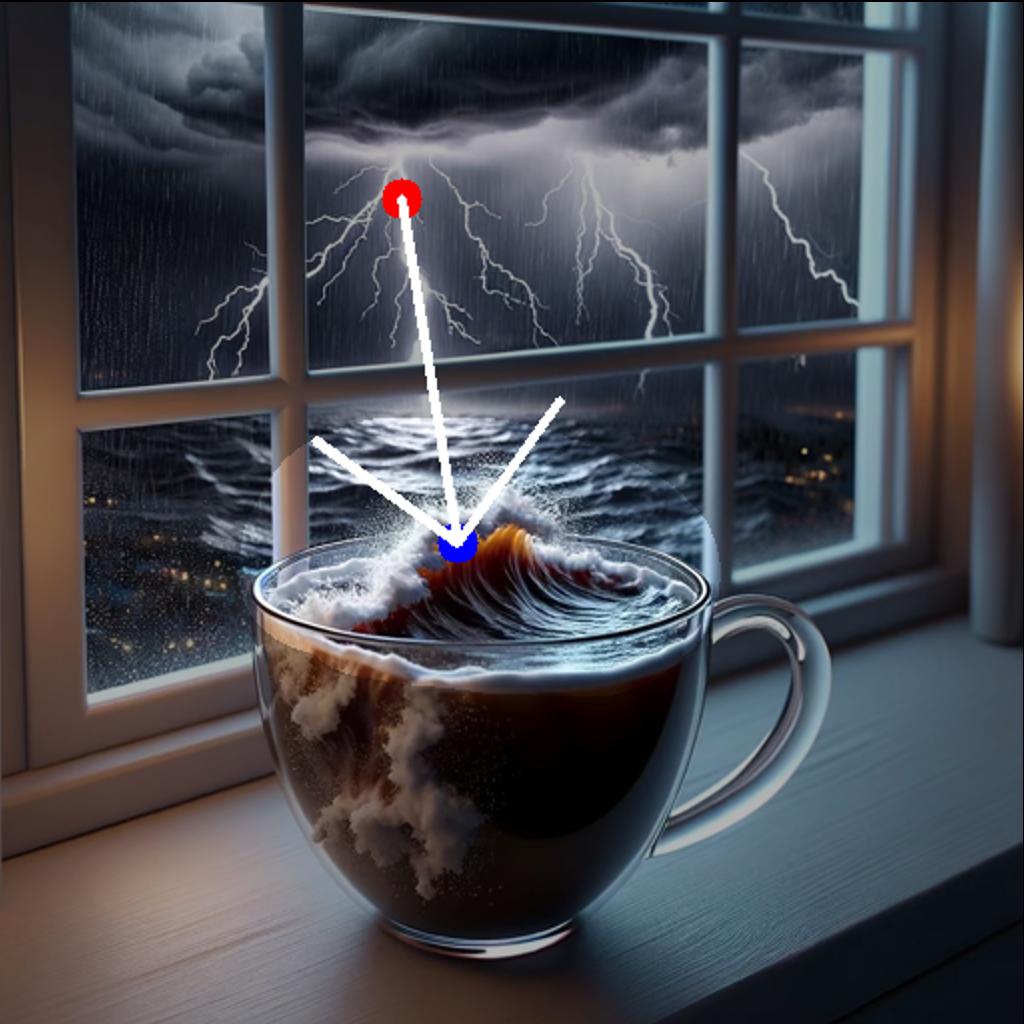
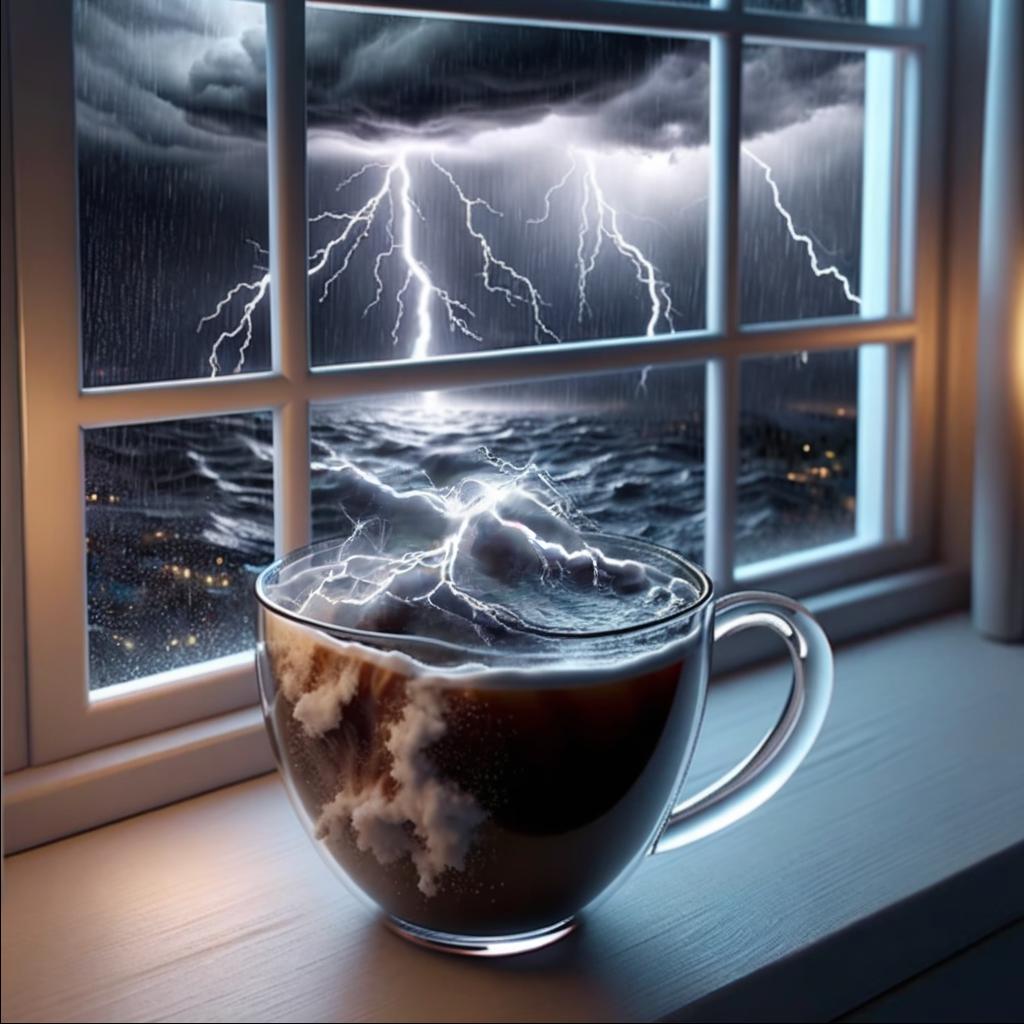
The image on the far left was created by DALL·E 3 with the prompt: "A 3D render of a coffee mug placed on a window sill during a stormy day. The storm outside the window is reflected in the coffee, with miniature lightning bolts and turbulent waves seen inside the mug. The room is dimly lit, adding to the dramatic atmosphere." However, as we can observe, there are no lightning bolts in the coffee. In this case, we can employ SDE-Drag to introduce lightning bolts into the coffee mug, thus achieving a closer match to the provided prompt.
💡 More image editing
Cycle-SDE
We provide a script to explore the reconstruction capability of Cycle-SDE.
python cycle_sde.py

optional arguments:
    --seed          random seed
    --steps         sampling steps
    --scale         classifier-free guidance scale
    --float64       use double precision
The origin image is assets/origin.png and the reconstruction will be put into output/cycle_sde_reconstruction.
Inpainting
Do inpainting with an ODE solver (inpainting-ODE) or an SDE solver (inpainting-SDE).
python inpainting.py         # inpainting-ODE
python inpainting.py  --sde  # inpainting-SDE
The inpainting results will be put intooutput/inpainting. We also provide other supported arguments of inpainting:
    --seed          random seed
    --img_path      directory including origin.png and mask.png
    --steps         sampling steps
    --order         solver order
                        order=1: DDIM(ODE) or DDIM(SDE)
                        order=2: DPM-Sover++(ODE) or SDE-DPM-Solver++(SDE)
DiffEdit
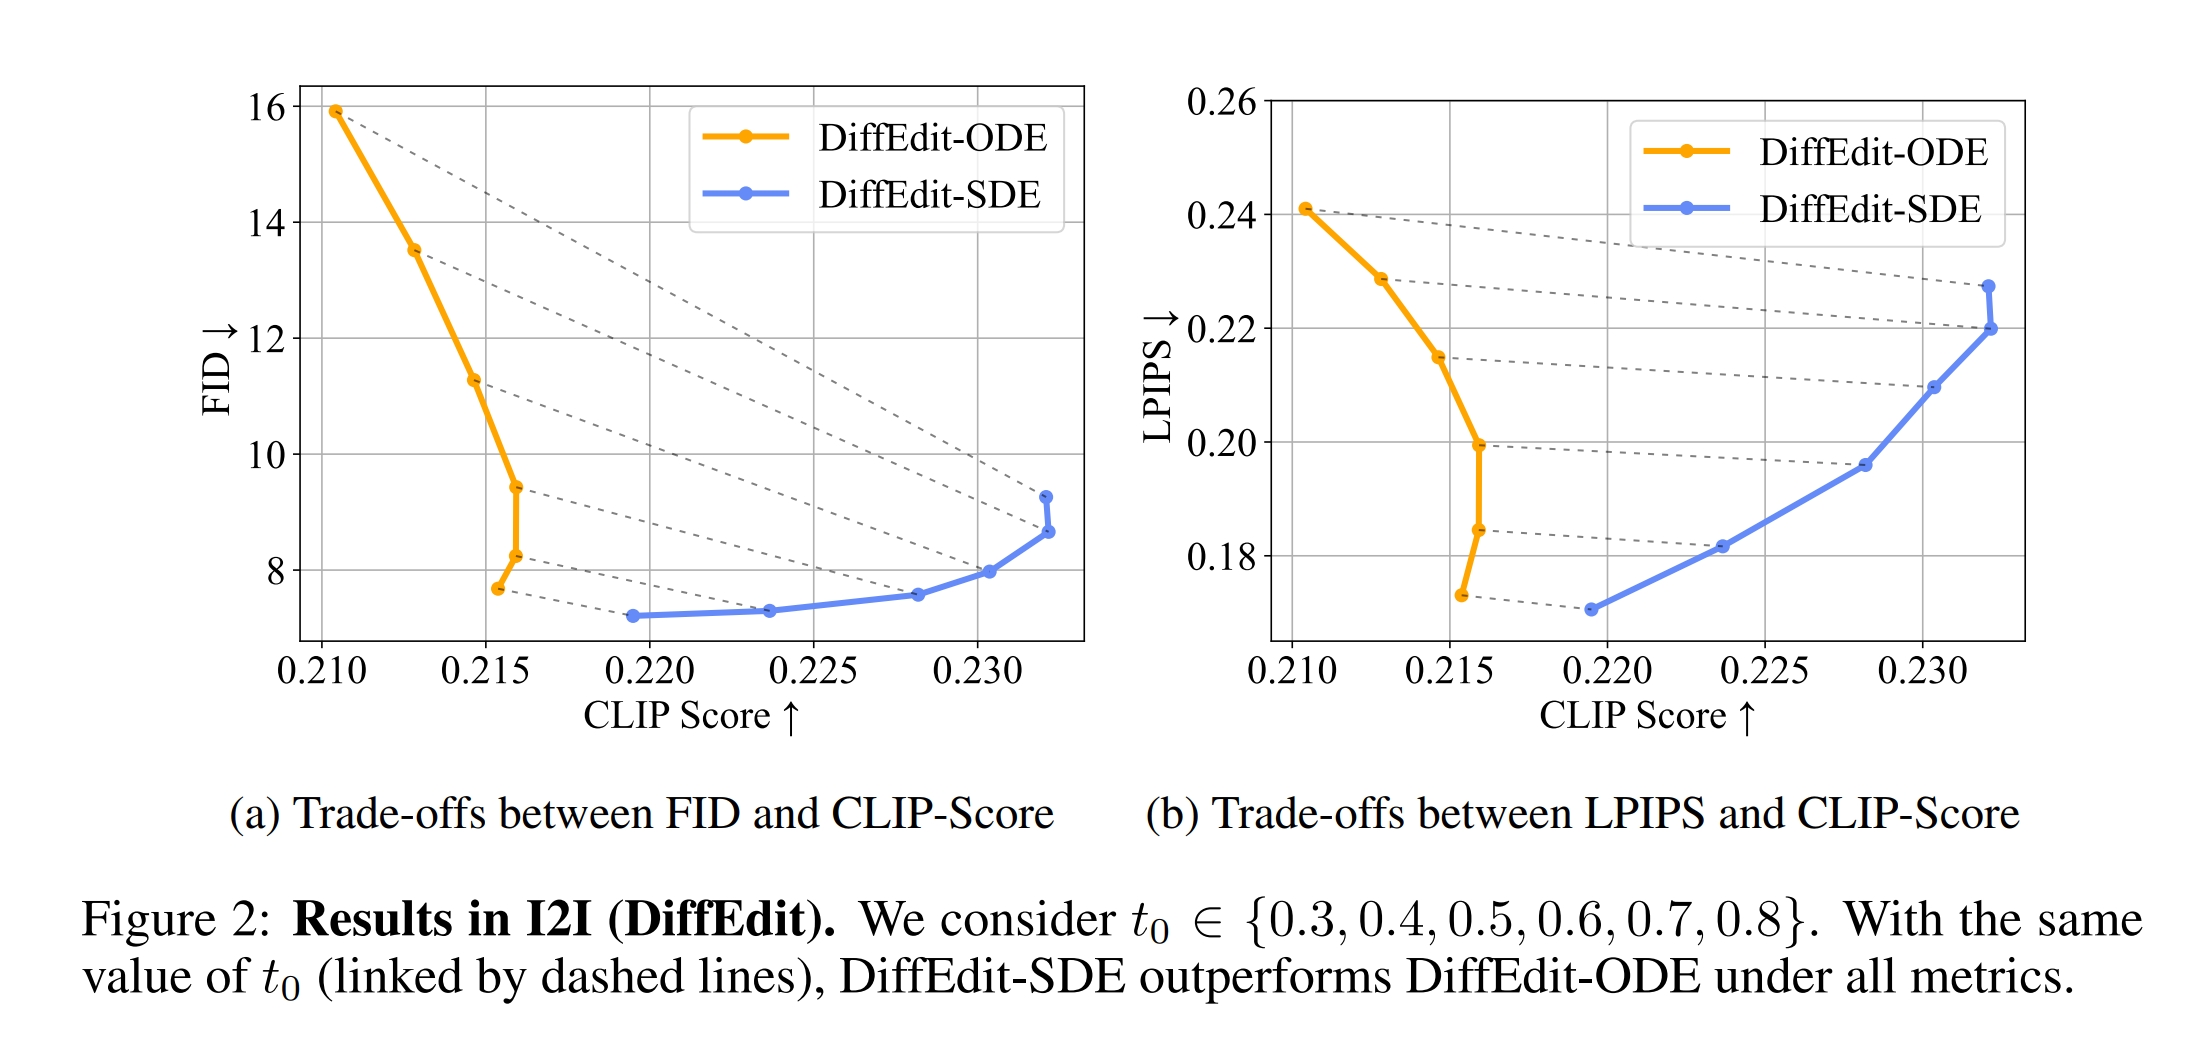
Employ DiffEdit with an ODE solver (DiffEdit-ODE) or and SDE solver (DiffEdit-SDE)
python diffedit.py         # DiffEdit-ODE
python diffedit.py  --sde  # DiffEdit-SDE
The DiffEdit results will be put intooutput/diffedit. We also provide other supported arguments of DiffEdit:
    --seed          random seed
    --img_path      origin image path
    --source_prompt prompt described the origin image
    --target_prompt prompt described the targte editing
    --steps         discretize [0, T] into <steps> steps
    --scale         classfier-free guidance scale
    --encode_ratio  encode ration in DiffEdit, t_0 in our paper
🏷️ TODO
- Optimize inference speed.
- Support more editing task.
- Improve SDE-Drag UI.
- Support more base model.
- Integrated into diffusers and stable diffusion WebUI.
♥️ Acknowledgement
This project is heavily based on the Diffusers library. Our SDE-Drag UI design is inspired by DragDiffusion. Thanks for their great work!
