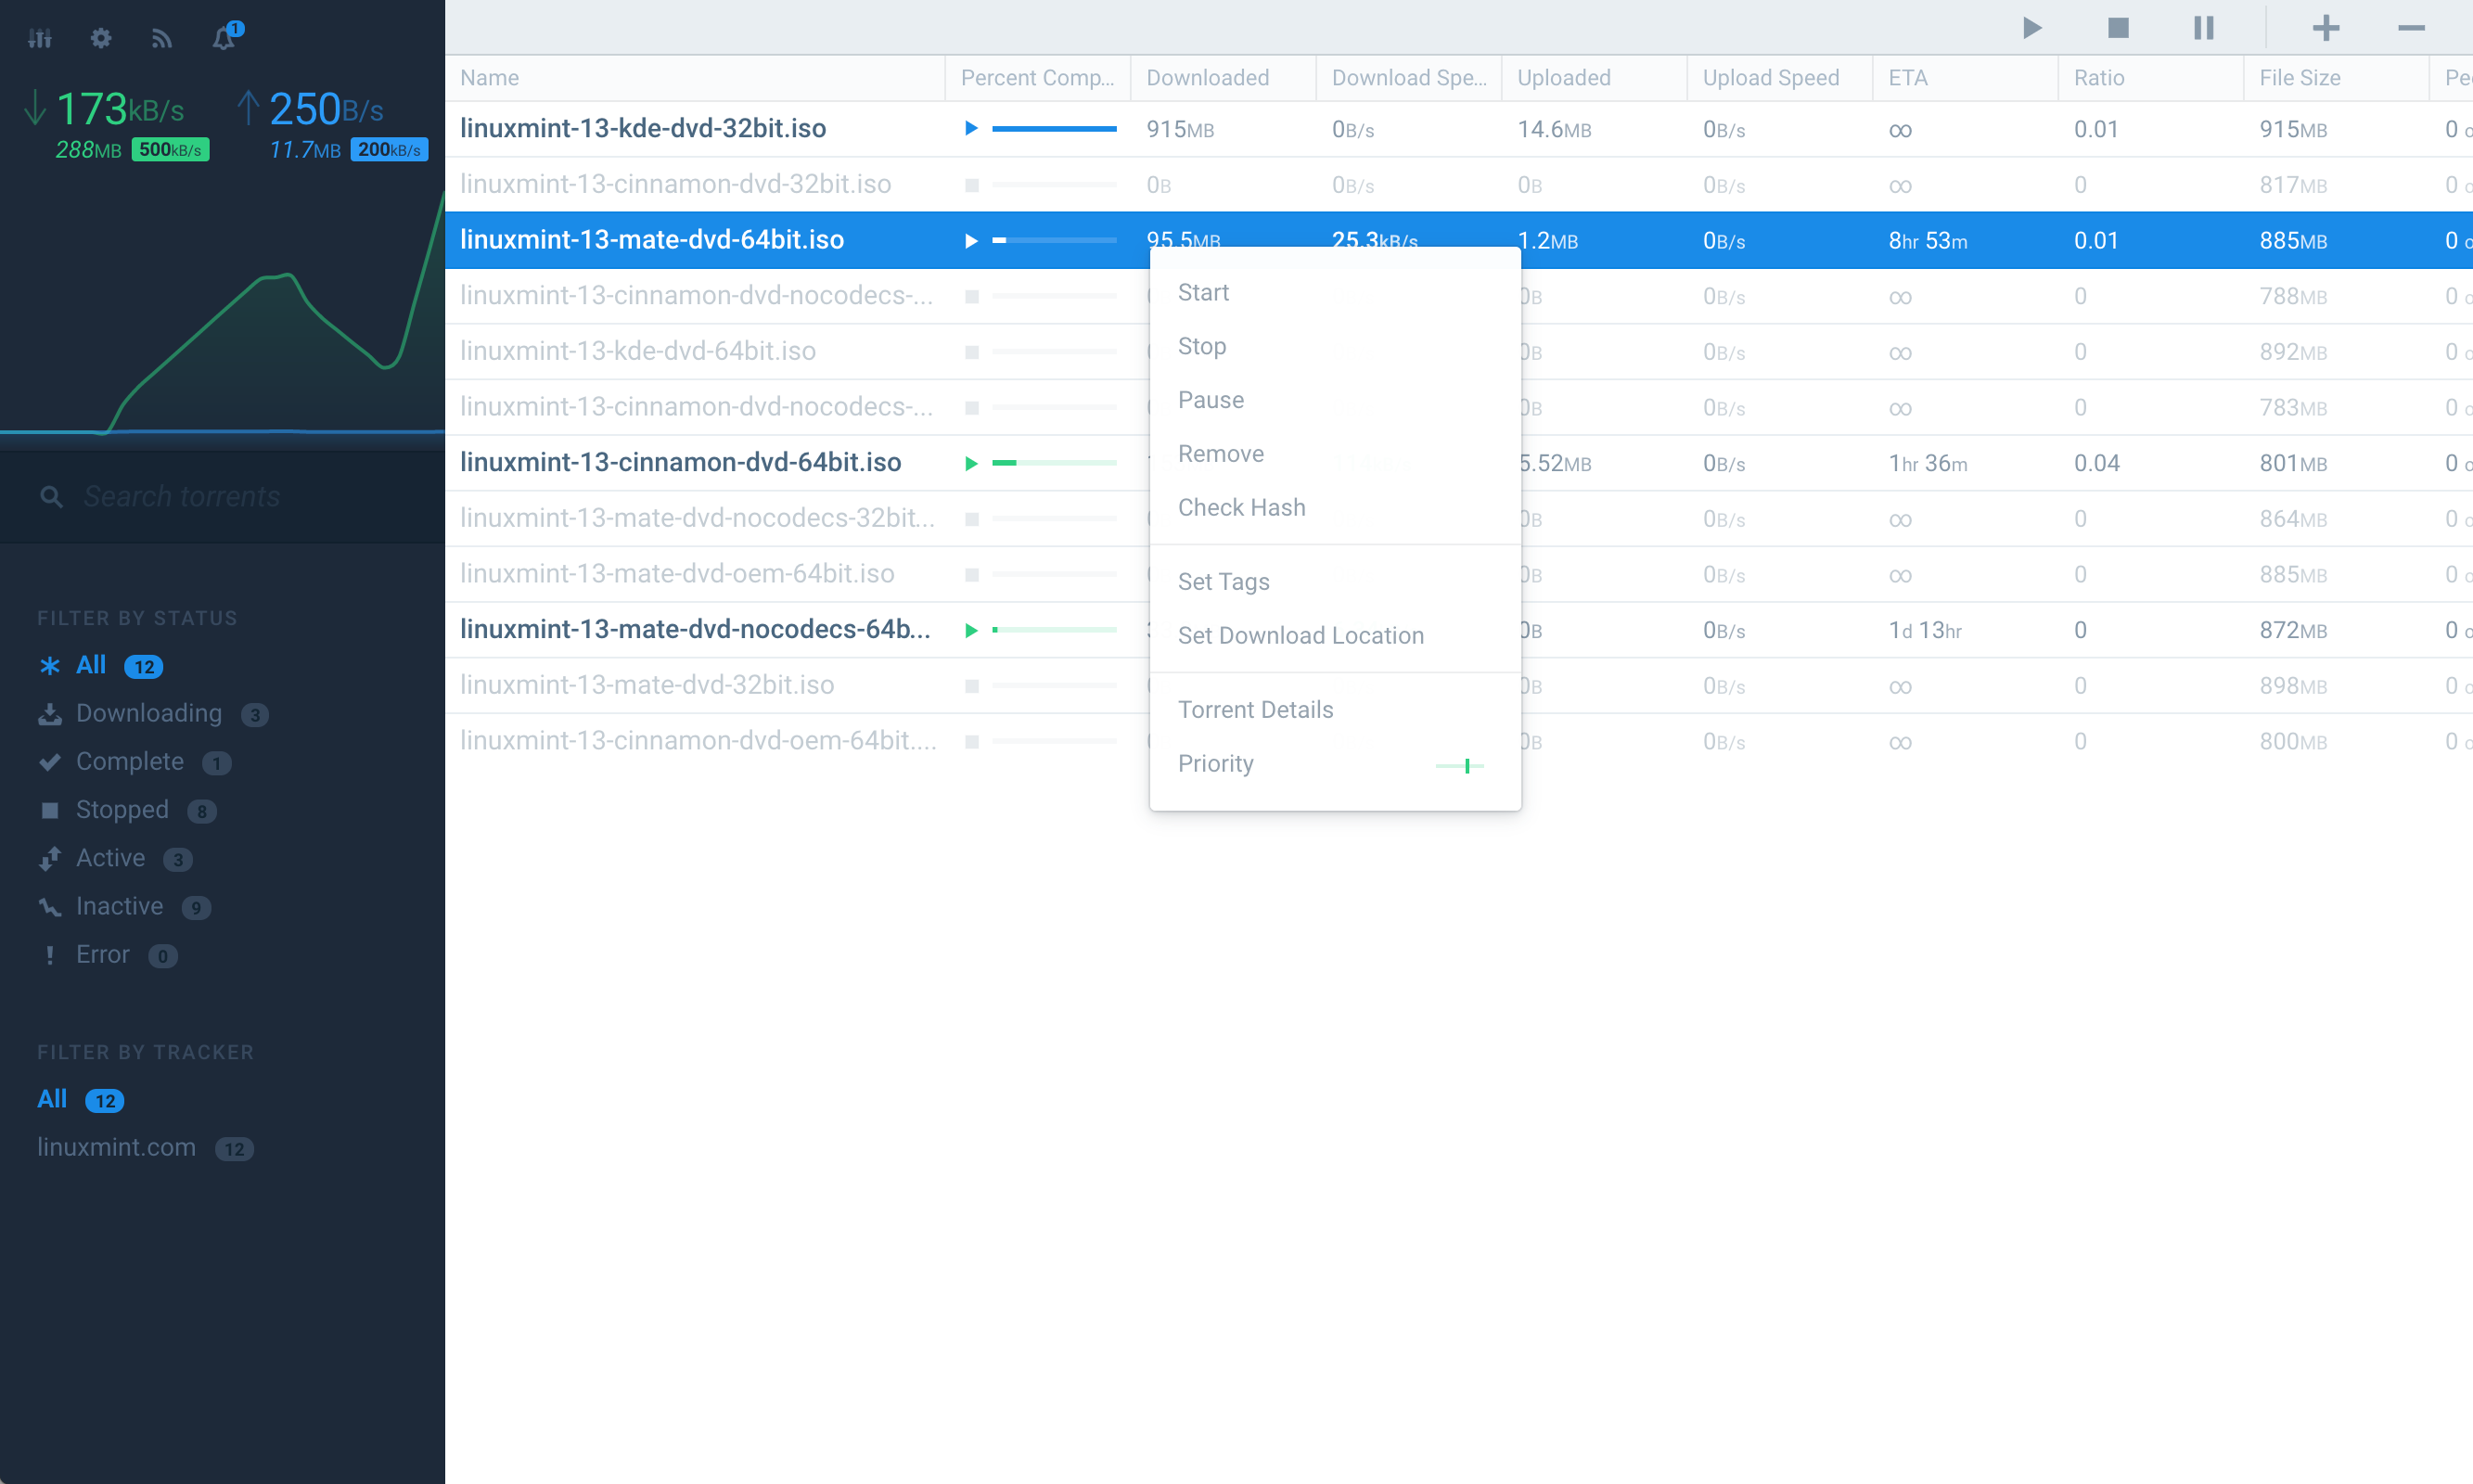
Flood is another web interface for rtorrent. It implements a Node.js server for communicating with the rTorrent API, storing historical data, and serving the web UI.
It's a work-in-progress, and it might not have all of the features you want (yet). However, new features are added frequently. Feel free to file an issue and I'll try to prioritize your feature requests.
If you have a specific issue or bug, please file a Github issue. If you want to participate in discussions about Flood's future, please join the Flood Discord server.
- rTorrent needs to be installed with XMLRPC configuration. If you are currently using a web UI for rTorrent, you've already done this.
- For Linux & OS X, check out rTorrent's installation wiki and/or this third-party tutorial. When you run
./configure, be sure to run with the--with-xmlrpc-cflag. - For Windows, try this guide (I haven't tested this, let me know if you have problems).
- Install NodeJS version
8or higher (you might want to manage different Node versions with nvm or n). - Since #523 node-gyp is needed.
sudo npm install -g node-gyp- Check you match node-gyp dependencies (ex: gcc, make, python2).
- Copy
config.template.jstoconfig.js. This is required. - Set your rTorrent SCGI hostname and port in
config.js. Defaults arelocalhostand5000.
- If you want to use a socket, change
socketto true and setsocketPathto the absolute file path of your rTorrent socket. Make sure Flood has read/write access. Specify the socket path in.rtorrent.rc. Example:scgi_local = /Users/flood/rtorrent.sock - If you wish to access an rTorrent instance running on a separate host from Flood (or in a Docker container), allow for incoming connections from external IPs by setting the host in
scgi_portto0.0.0.0in.rtorrent.rc. Example:scgi_port = 0.0.0.0:5000
- Create a long, unique secret (used to sign JWT auth tokens) in
config.js. - If you're proxying Flood to a path other than the root of the host, you must specify the
baseURIinconfig.js. All request URIs will be prefixed with this value.
- For example, if hosting Flood from
https://foo.bar/apps/flood, you would setbaseURIto/apps/flood. If hosting flood fromhttps://foo.bar, you do not need to configurebaseURI. See also Using Flood behind a reverse proxy on the wiki.
Note: each time you modify baseURI in config.js you need to recompile assets (npm run build). To be sure follow the Updating procedure each time you modify the config.js file.
- Run
npm install.
- Note: Since #523 node-gyp is needed. IF you need
sudo, usesudo npm i --unsafe-perm(see here for why--unsafe-perm) else installation will fail. If you dont need sudo just usenpm ias usual. - If your system use python3 as default you will need to install python2 and use
npm i --python="/usr/bin/python2".
- Run
npm run build. - Run
npm start. - Access the UI in your browser. Defaults to
localhost:3000.
- You may change the default port in
config.js.
- Upon loading the UI the first time, you will be prompted to create a user account.
- To update, run
git pullin this repository's directory. - Check
config.template.jsfor configuration changes that you may wish to incoporate in yourconfig.js. - Kill the running Node server.
- Run
npm installto update dependencies. - Run
npm run buildto transpile and bundle static assets. - Restart it with
npm start.
- I run the web server with
screento keep the web server running independently of the terminal session. - Ubuntu users may need to install
nodejs-legacy(sudo apt-get install nodejs-legacy) for dependencies to install successfully. You can read more on this Stack Overflow post.
- Run
npm install. - Run
npm run start:development:serverandnpm run start:development:clientin separate terminal instances.
npm run start:development:serveruses nodemon to watch for changes to the server-side JavaScript.npm run start:development:clientwatches for changes in the client-side source.
- Access the UI through the WebpackDevServer. It expects to proxy requests to the Flood server you have running, defined in
config.jsasfloodServerProxy. - Build the documentation
npm run build-docs.
DEV_SERVER_PORT: webpackDevServer's port, used when developing Flood. Defaults to4200.DEV_SERVER_HOST: webpackDevServer's host, used when developing Flood. Defaults to0.0.0.0.DEV_SERVER_HTTPS: webpackDevServer's protocol, used when developing Flood. Defaults tohttp.
docker build -t rtorrent-flood .docker run --name rtorrent-flood -e RTORRENT_SCGI_HOST=w.x.y.z -p 3000:3000 rtorrent-flood- Other supported environment variables:
FLOOD_BASE_URIFLOOD_SECRETRTORRENT_SCGI_HOSTRTORRENT_SCGI_PORTRTORRENT_SOCKFLOOD_ENABLE_SSL
The docker container includes a volume at /data, which is where the database will be located. Additionally, you can place your SSL files there, /data/flood_ssl.key and /data/flood_ssl.cert. Set FLOOD_ENABLE_SSL to true to enable their use if present. Additionally, a local rtorrent socket file located at /data/rtorrent.sock can be used if RTORRENT_SOCK is set to true.
Check out the Wiki for more information.
This project's client-side build tooling is based on the wonderful create-react-app.