Before you start, Download and install Proxmox from : https://www.proxmox.com/en/downloads/category/iso-images-pve
Installation process can be found on youtube : https://www.youtube.com/watch?v=7OVaWaqO2aU
The installation is easy, Flash the downloaded iso on a thumb drive and use it to boot your server from USB and follow the prompt.
|
ℹ️
|
Setup the storage after installation of Proxmox based on your harware and storage availibility. |
Now you need to ssh to your proxmox and instll two pakages before we can use automated install
apt install git ansibleAnsible need to ssh with no password so lets fix that:
  ssh-keygen -t rsa -b 4096 -N ''
cat ~/.ssh/id_rsa.pub >> ~/.ssh/authorized_keysBefore we start building let’s take a look at overal topology diagram and what we are trying to build:
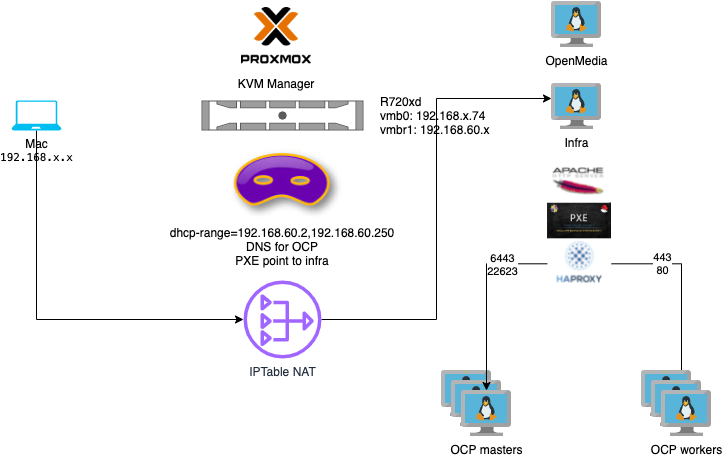
As you can see our Proxmox will have two network bridge, One will be connecting to your home lan and has an IP address from your router (192.168.x.y)."Make sure to set this as an static IP" The second bridge is used for all VMs on Proxmox for OCP cluster. This will give us the flexibility of using default IPs I have set for OCP cluster with no conflict with already used IPs in your home network. We will be using dnsmasq that would act as DHCP and DNS server to accomplish these tasks. But this created a new challenge as how can you access OCP UI and your application URL from your laptop/Desktop as you are not on the same network. After some thought and experience the easiest way I found was to add several routes to Proxmox for forward your request to our helper that is acting as a load balancer in front of OCP cluster.
Now that we know what we need on Proxmox lets set this up ssh to your proxmox and clone this git repo:
  git clone https://github.com/Keyvan-rh/Proxmox-OCP-Installer.git
  cd Proxmox-OCP-Installer
  cd proxmox
  inst_playbook="$PWD"
In this folder there are multiple yaml files for:
-
Preping/Creating your infra/helper node and OCP cluster: CreateCluster.yml
-
Removing OCP cluster from your Proxmox: DeleteCluster.yml
-
Install and Setup dnsmasq on Proxmox: Setup-proxmox.yml
-
Template for intstallation parameters: vars-temp.yml
Copy the vars-temp.yml to vars.yml and make necessary changes based on your environment:
   cd "$inst_playbook"
   cp templates/vars-temp.yml vars.yml
   nano vars.yml
After creating your vars.yml we are ready to setup our proxmox, run the following command in "Proxmox-OCP-Installer/proxmox" folder:
   cd "$inst_playbook"
   ansible-playbook Setup-proxmox.yml
This will make sure you can access what we will install later on infra box and Openshift environment, Reboot your box and make sure you have 2 interface active and check that the dns is working for you:
   ip a
   nslookup test.apps.<your clusterID>.<your domain>
One more thing before you can access all routes on OCP. You need to create a static route on your Router to forward all 192.168.60.0/24 request to your proxmox server.
|
ℹ️
|
For testing if you are using mac you can do the following: |
sudo route -n add -net 192.168.60.0/24 192.168.x.y|
ℹ️
|
replace 192.168.x.y with your proxmox IP and if you have used a diiferent subnet in your vars.yml change 192.168.60.0 to coorect subnet. |
We need to create a VM that will contain external Dependencys for OCP installation. This box would act as:
-
Haproxy: External load balancer for OCP masters
-
Apache Webserver: To host RHCOS images for OCP installation
-
PXE: For PXE booting our OCP nodes
You can install CentOS stream 8 or RHEL 8 as the OS.
You can download CentOS from : https://www.centos.org/download/
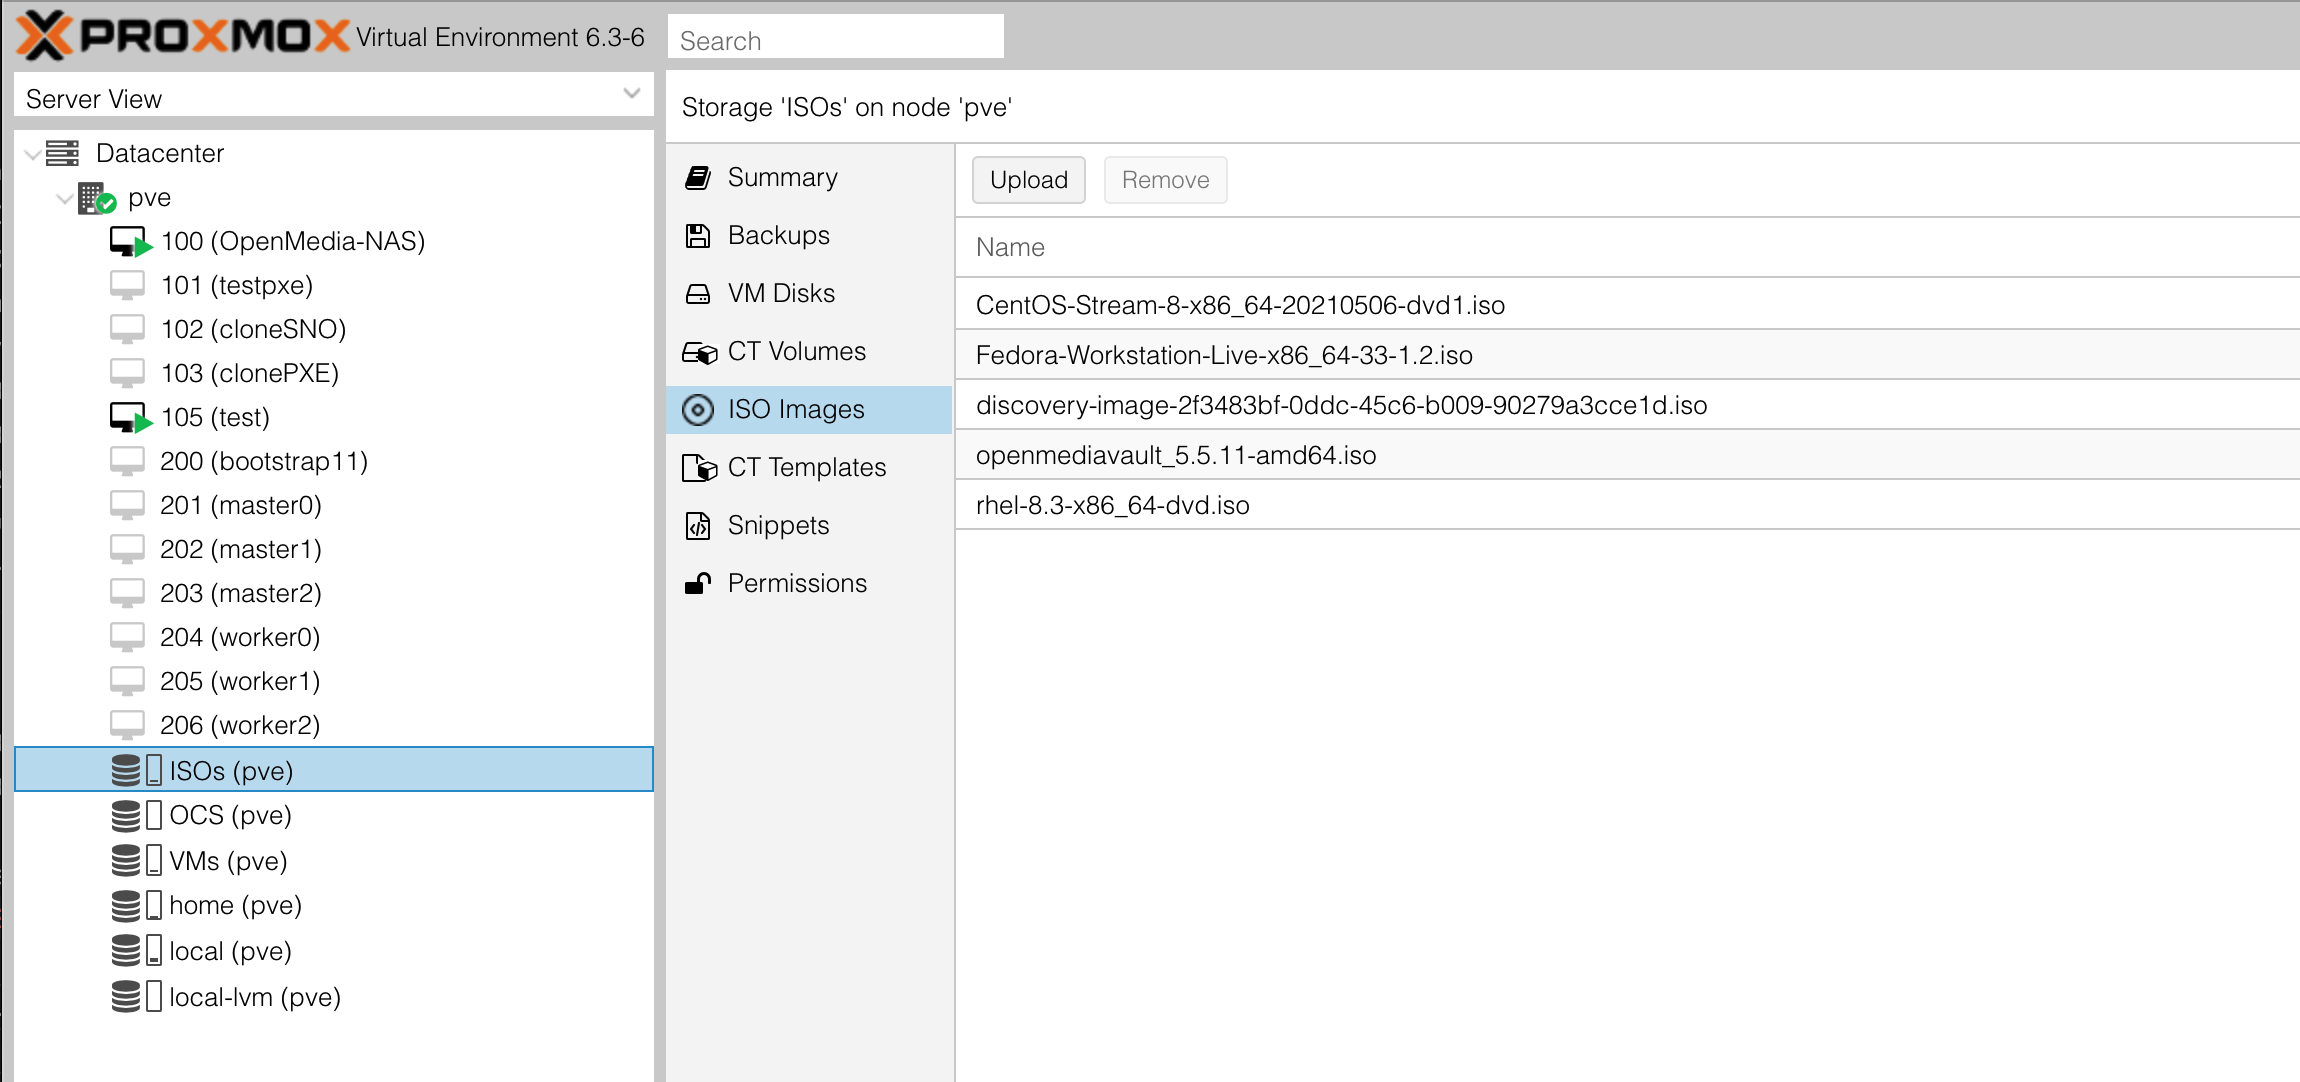
Upload downloaded iso to storage on proxmox:
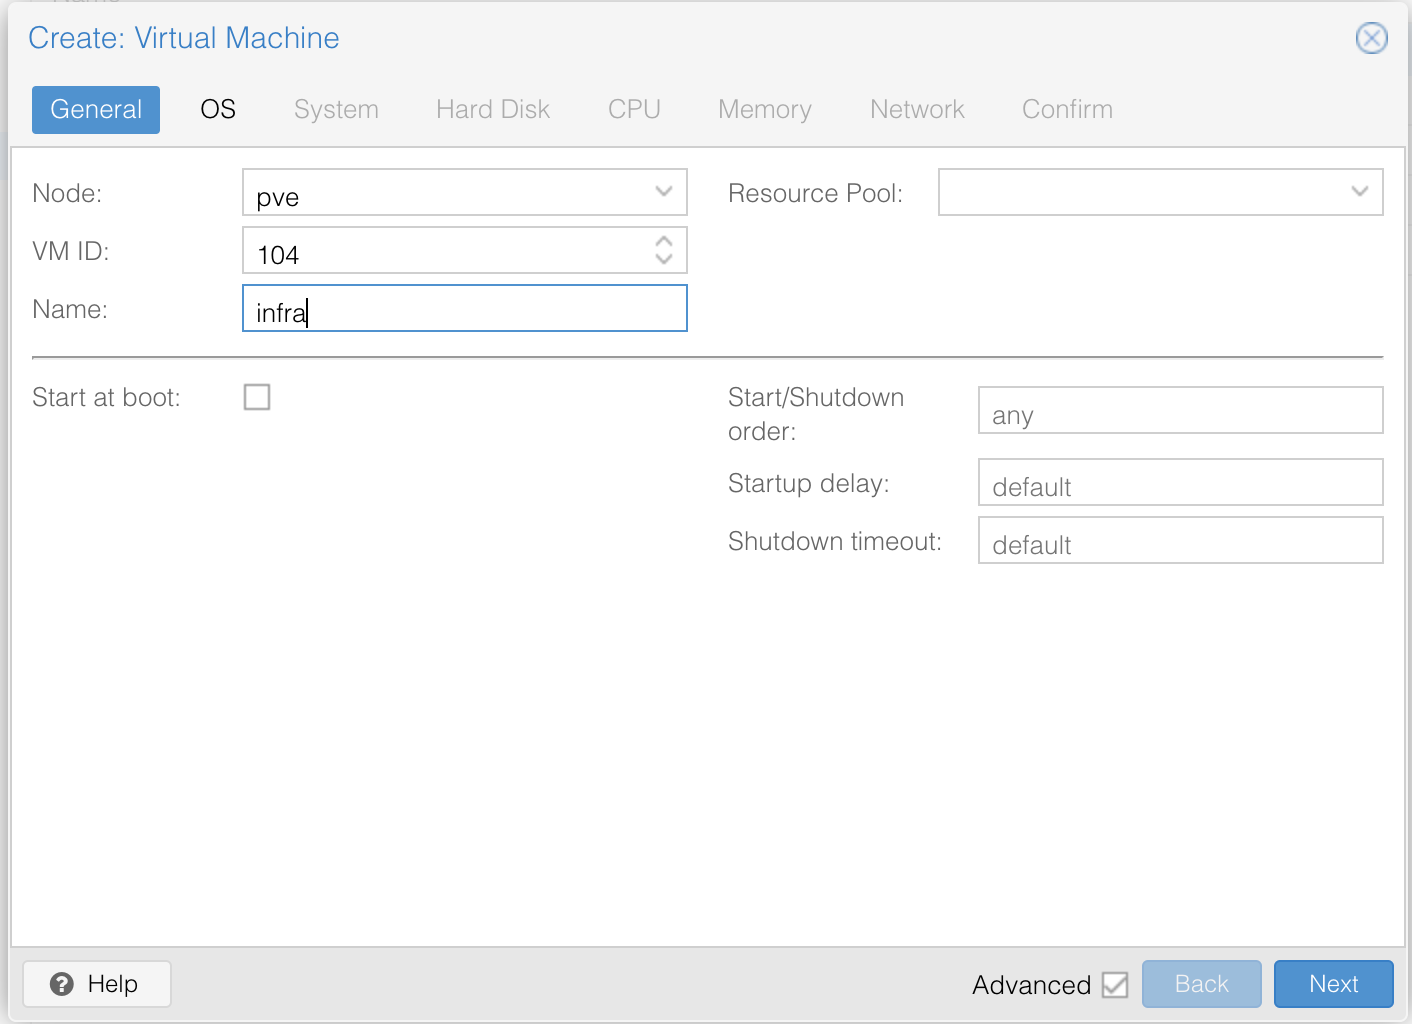
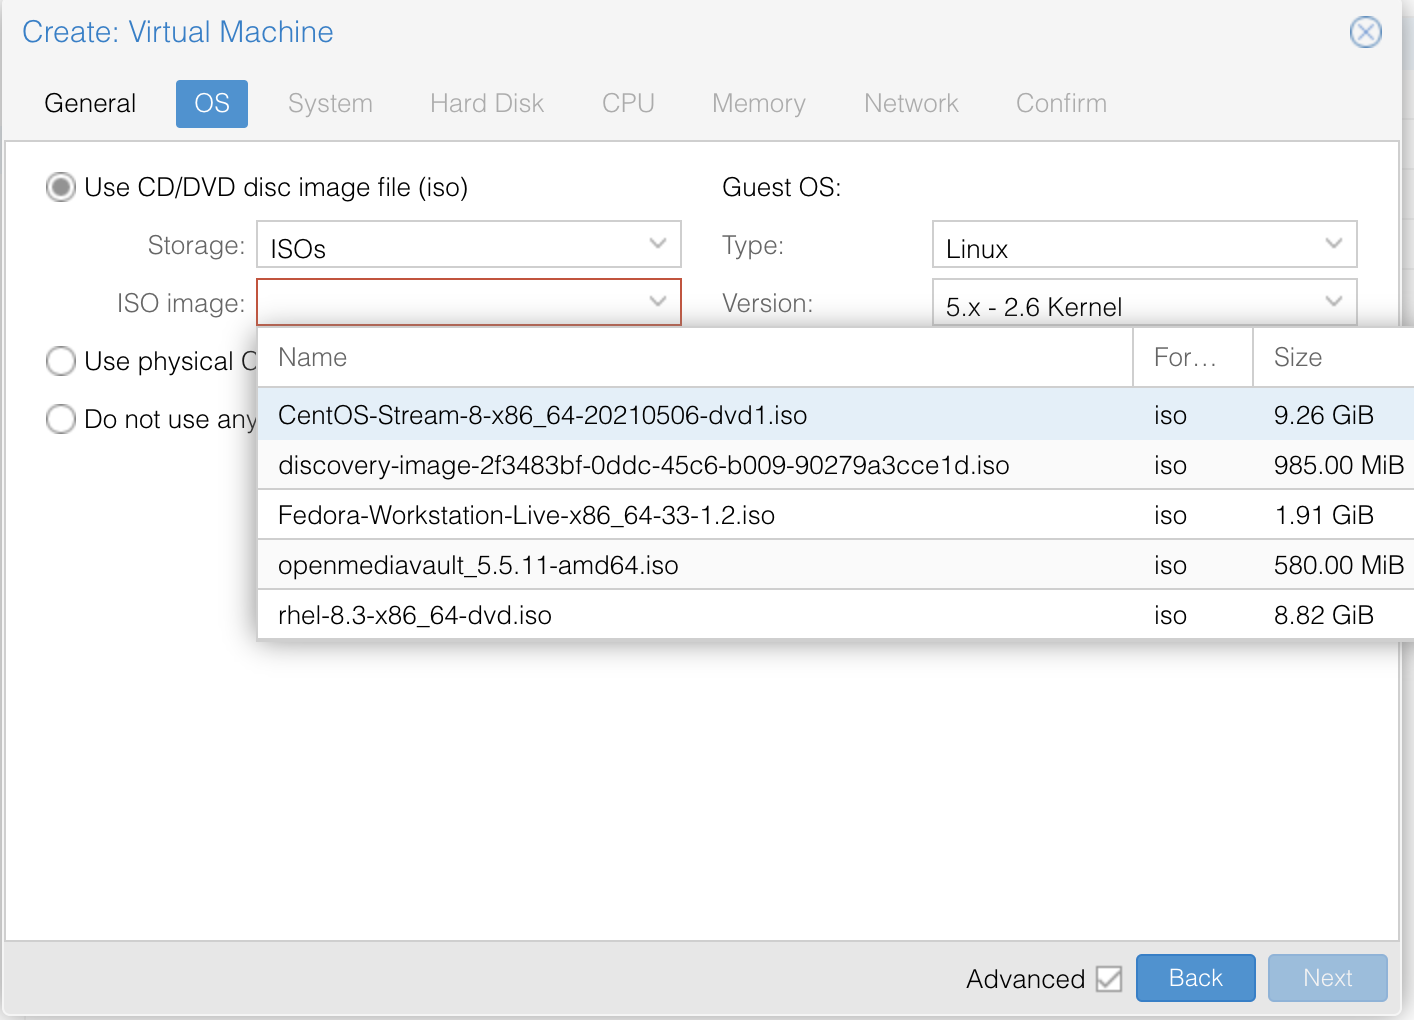
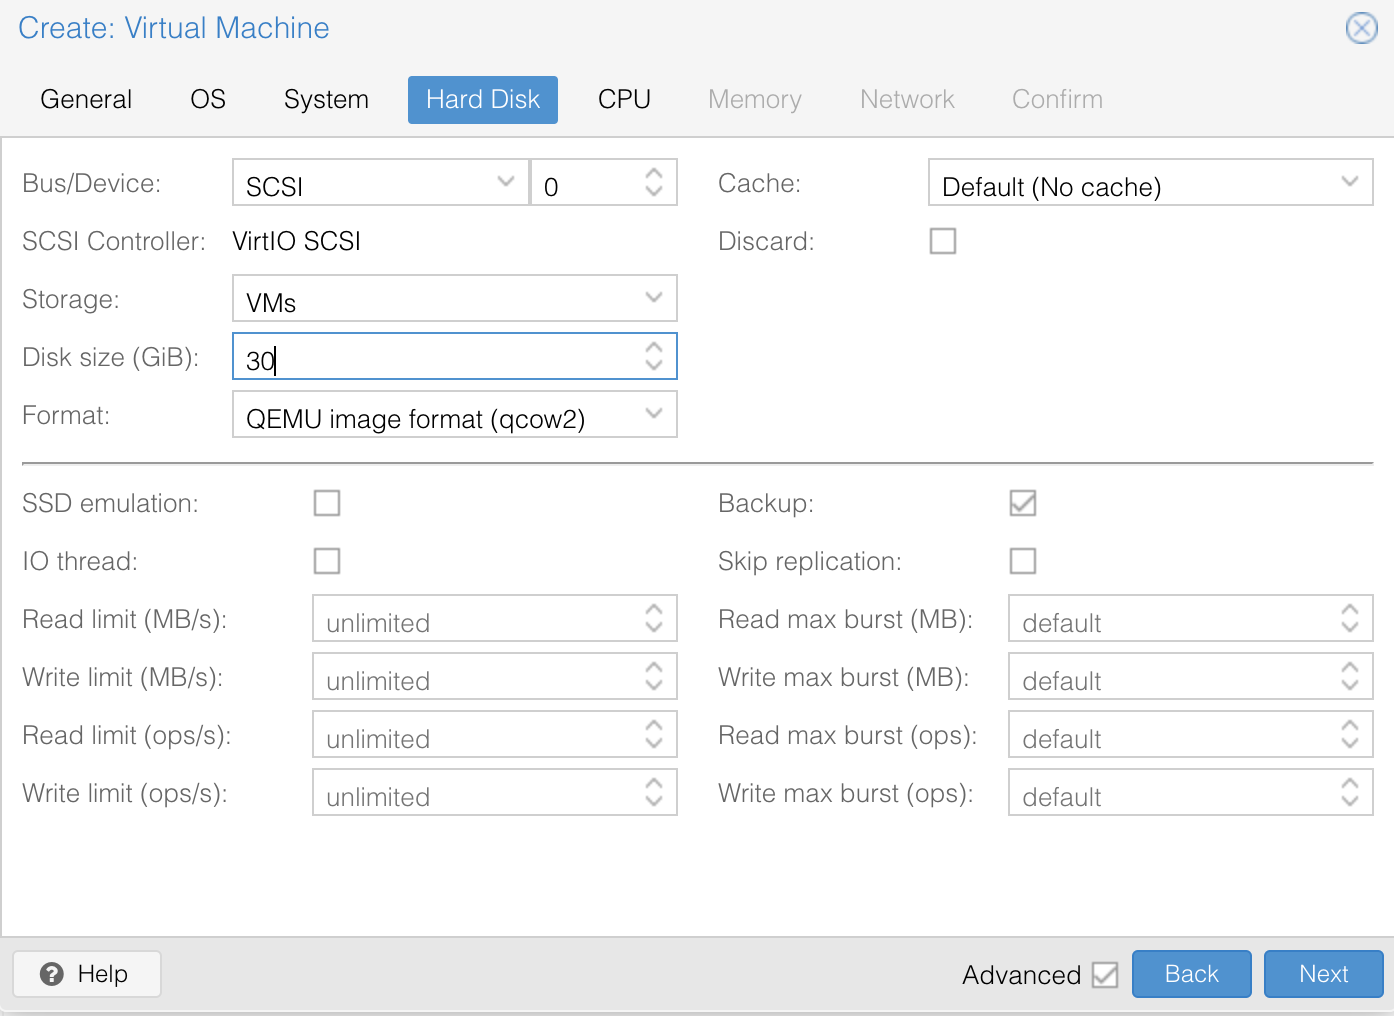
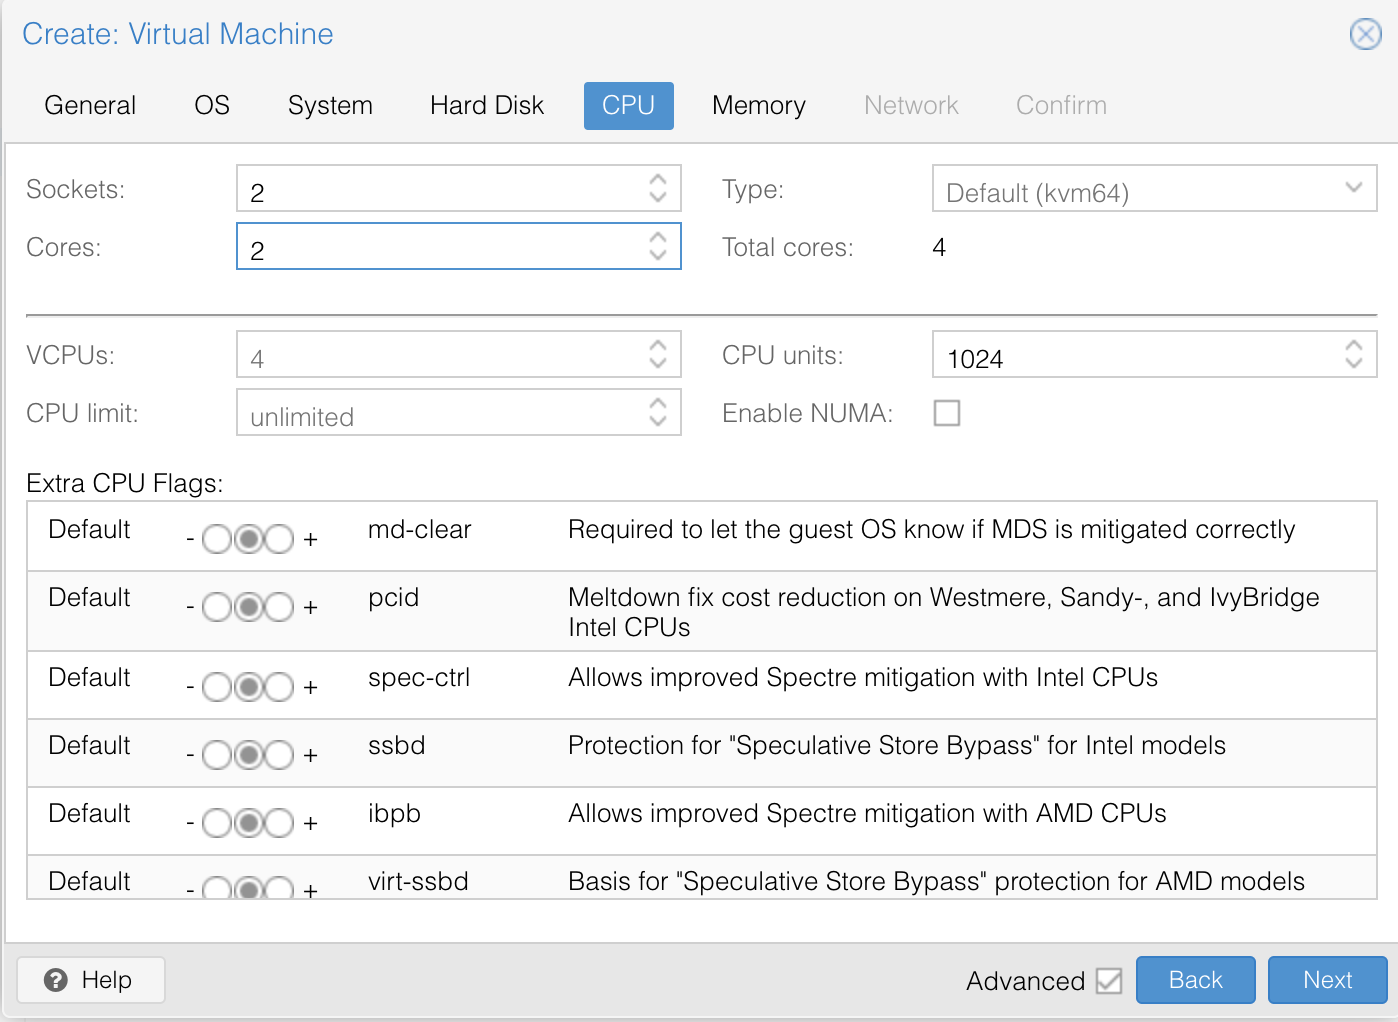
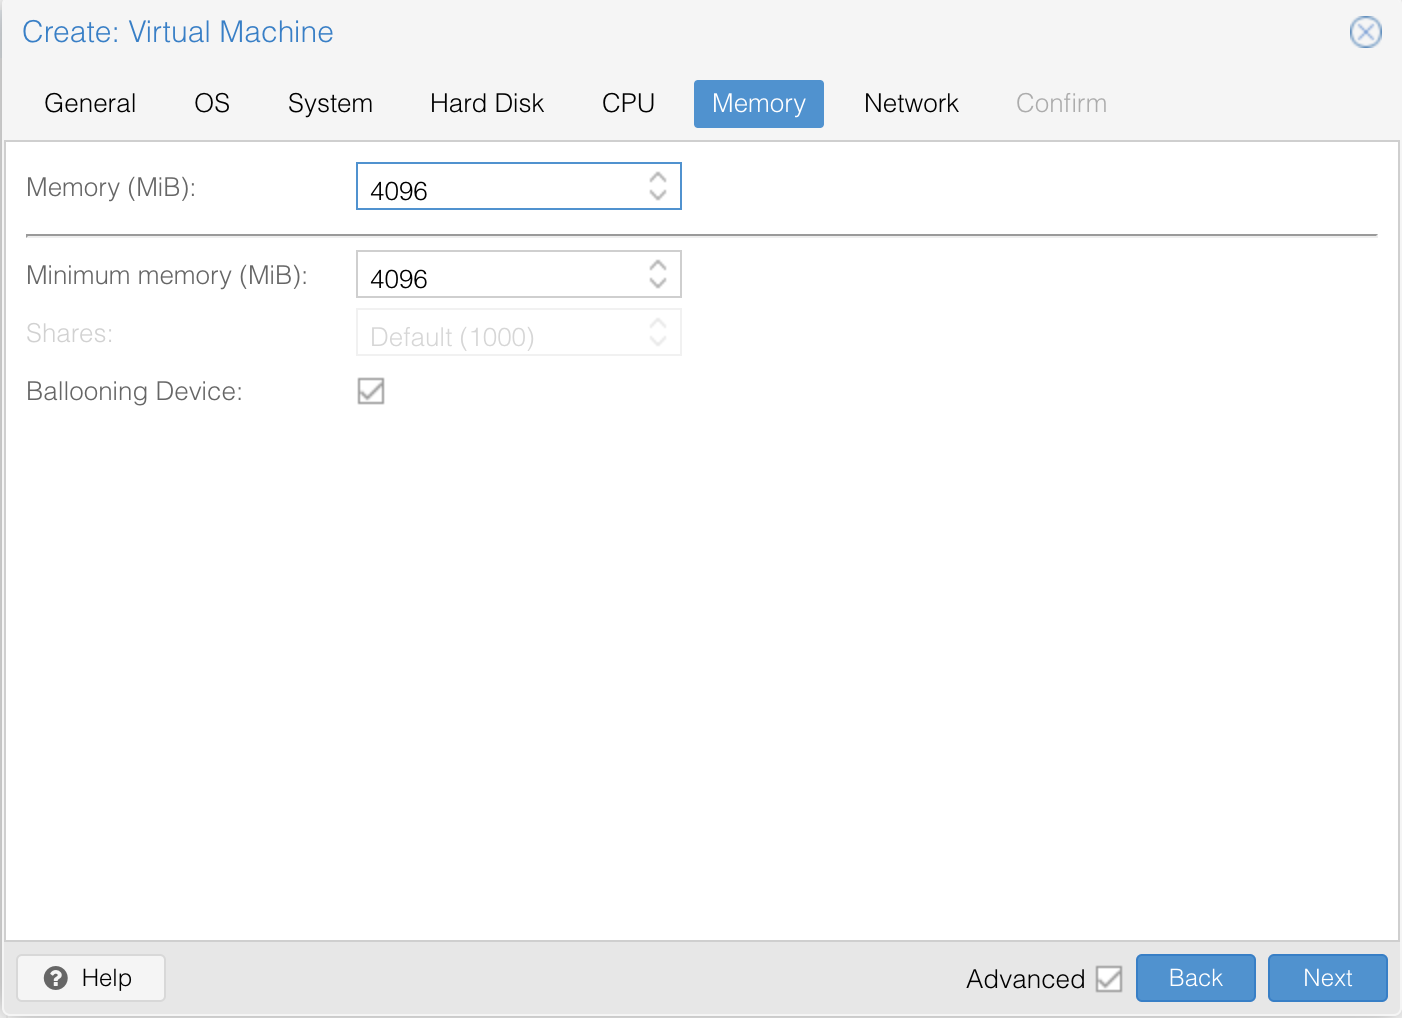
Now we can create our first VM by clicking on "Create VM" at the top right of proxmox UI and follow the following steps.
Select the storage you want to store your VM disk and set the value to 30 GiB.
To clone this repo and execute the script you need to install these two packages :
for centos follow these steps:
   ssh <your new vm>
   sudo dnf makecache
   sudo dnf install epel-release
   sudo dnf makecache
yum -y install ansible gitClone this git repo into the VM you just created above
  git clone https://github.com/Keyvan-rh/Proxmox-OCP-Installer.git
  cd Proxmox-OCP-Installer
  cd proxmox
In this folder there are multiple yaml files for:
-
Preping/Creating your OCP cluster: CreateCluster.yml
-
Removing OCP cluster from your Proxmox: DeleteCluster.yml
-
Setup variables for intstallation: vars.yml
There are couple places that you need to add your local and personal information before you can run the installer.
Before we start installing OCP cluster we need to update this file with your environment data. You need the folowing information:
-
IP address of your proxmox server
-
Name of your Proxmox server (default is pve)
-
domain name you like to use for OCP installation "home.lab".
-
If you would like you can change the clusterID as well this is usefull if you are planning to have multiple OCP cluster installed.
-
IP address of the new VM that is acting as Infra/Helper
-
NFS serever information, IP address and the exported path
-
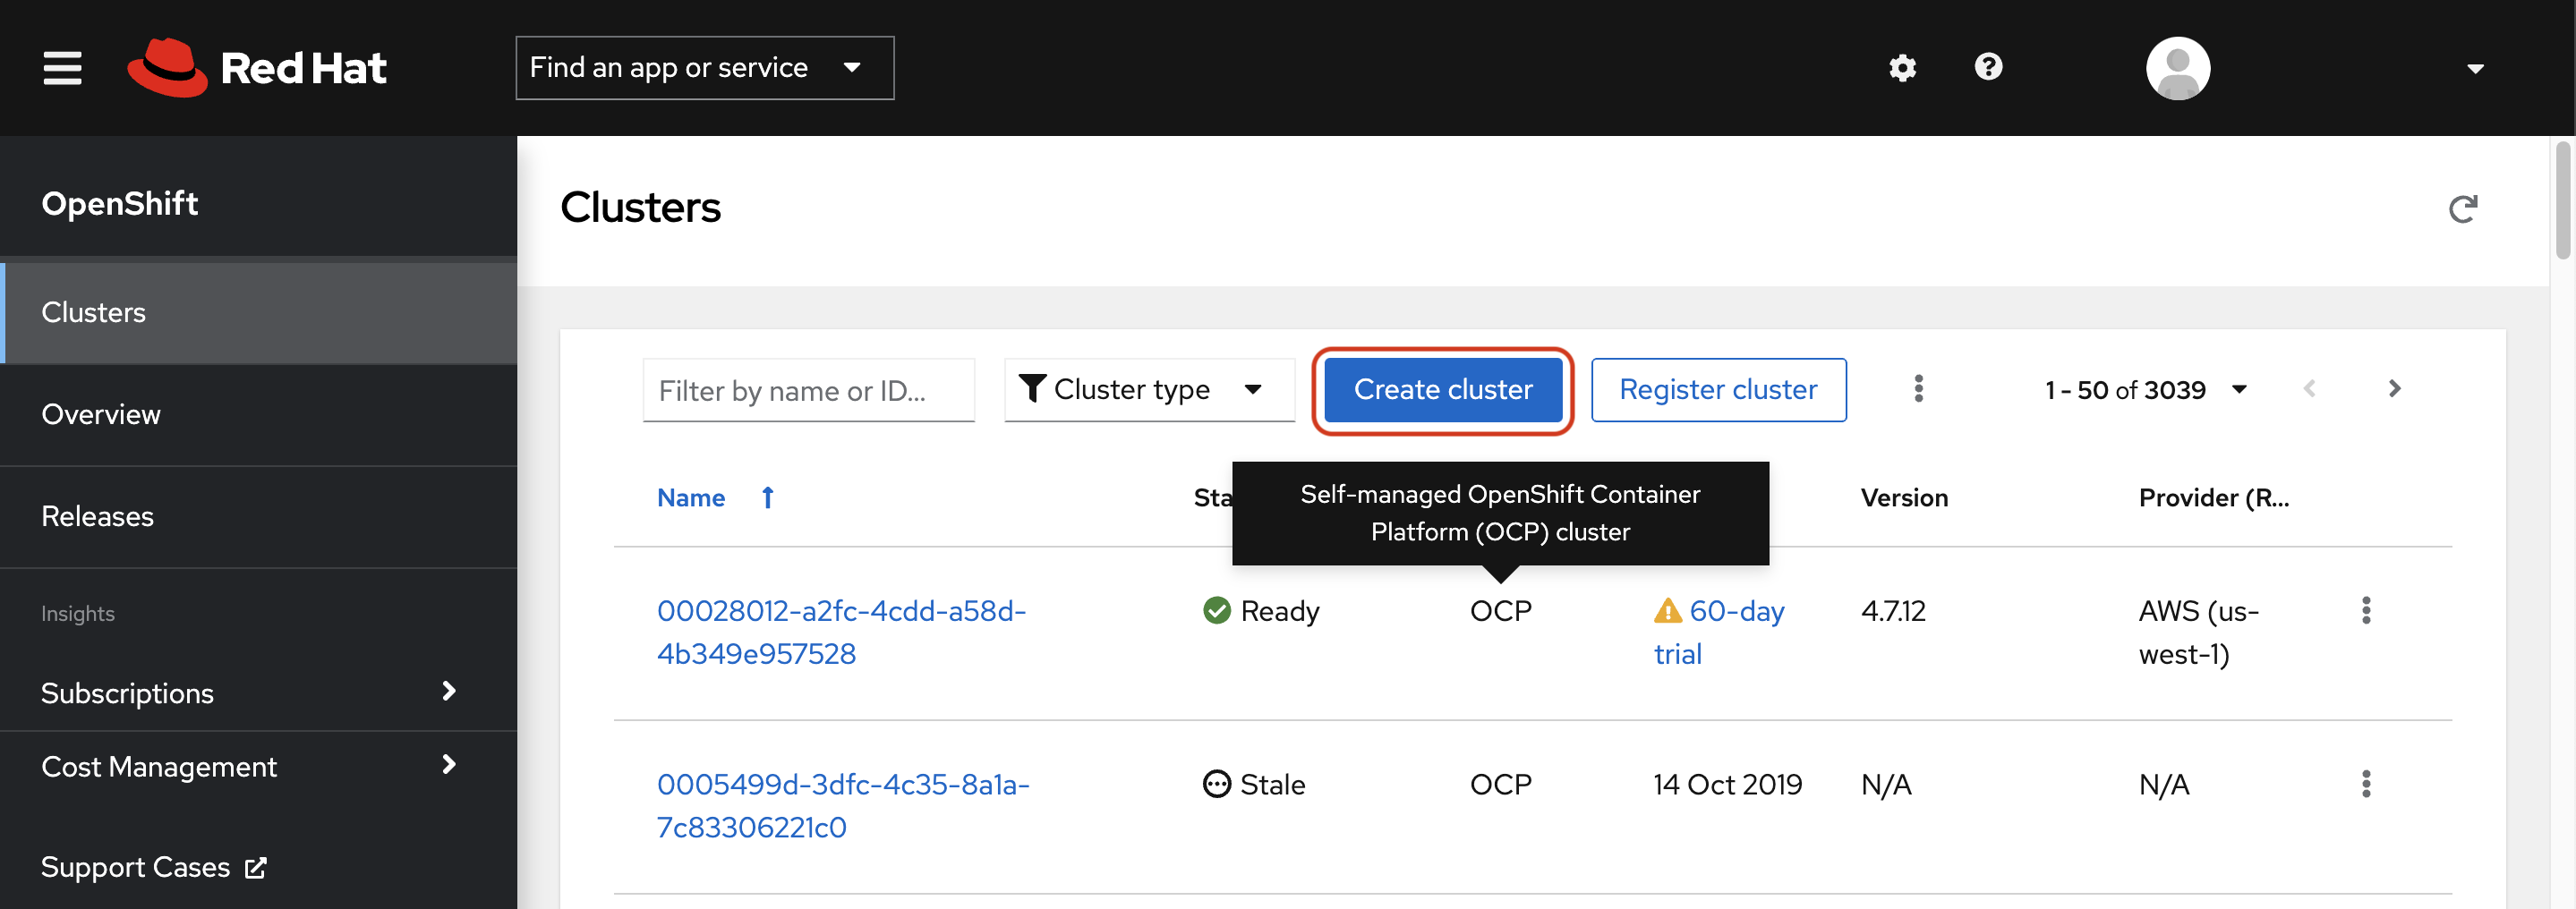
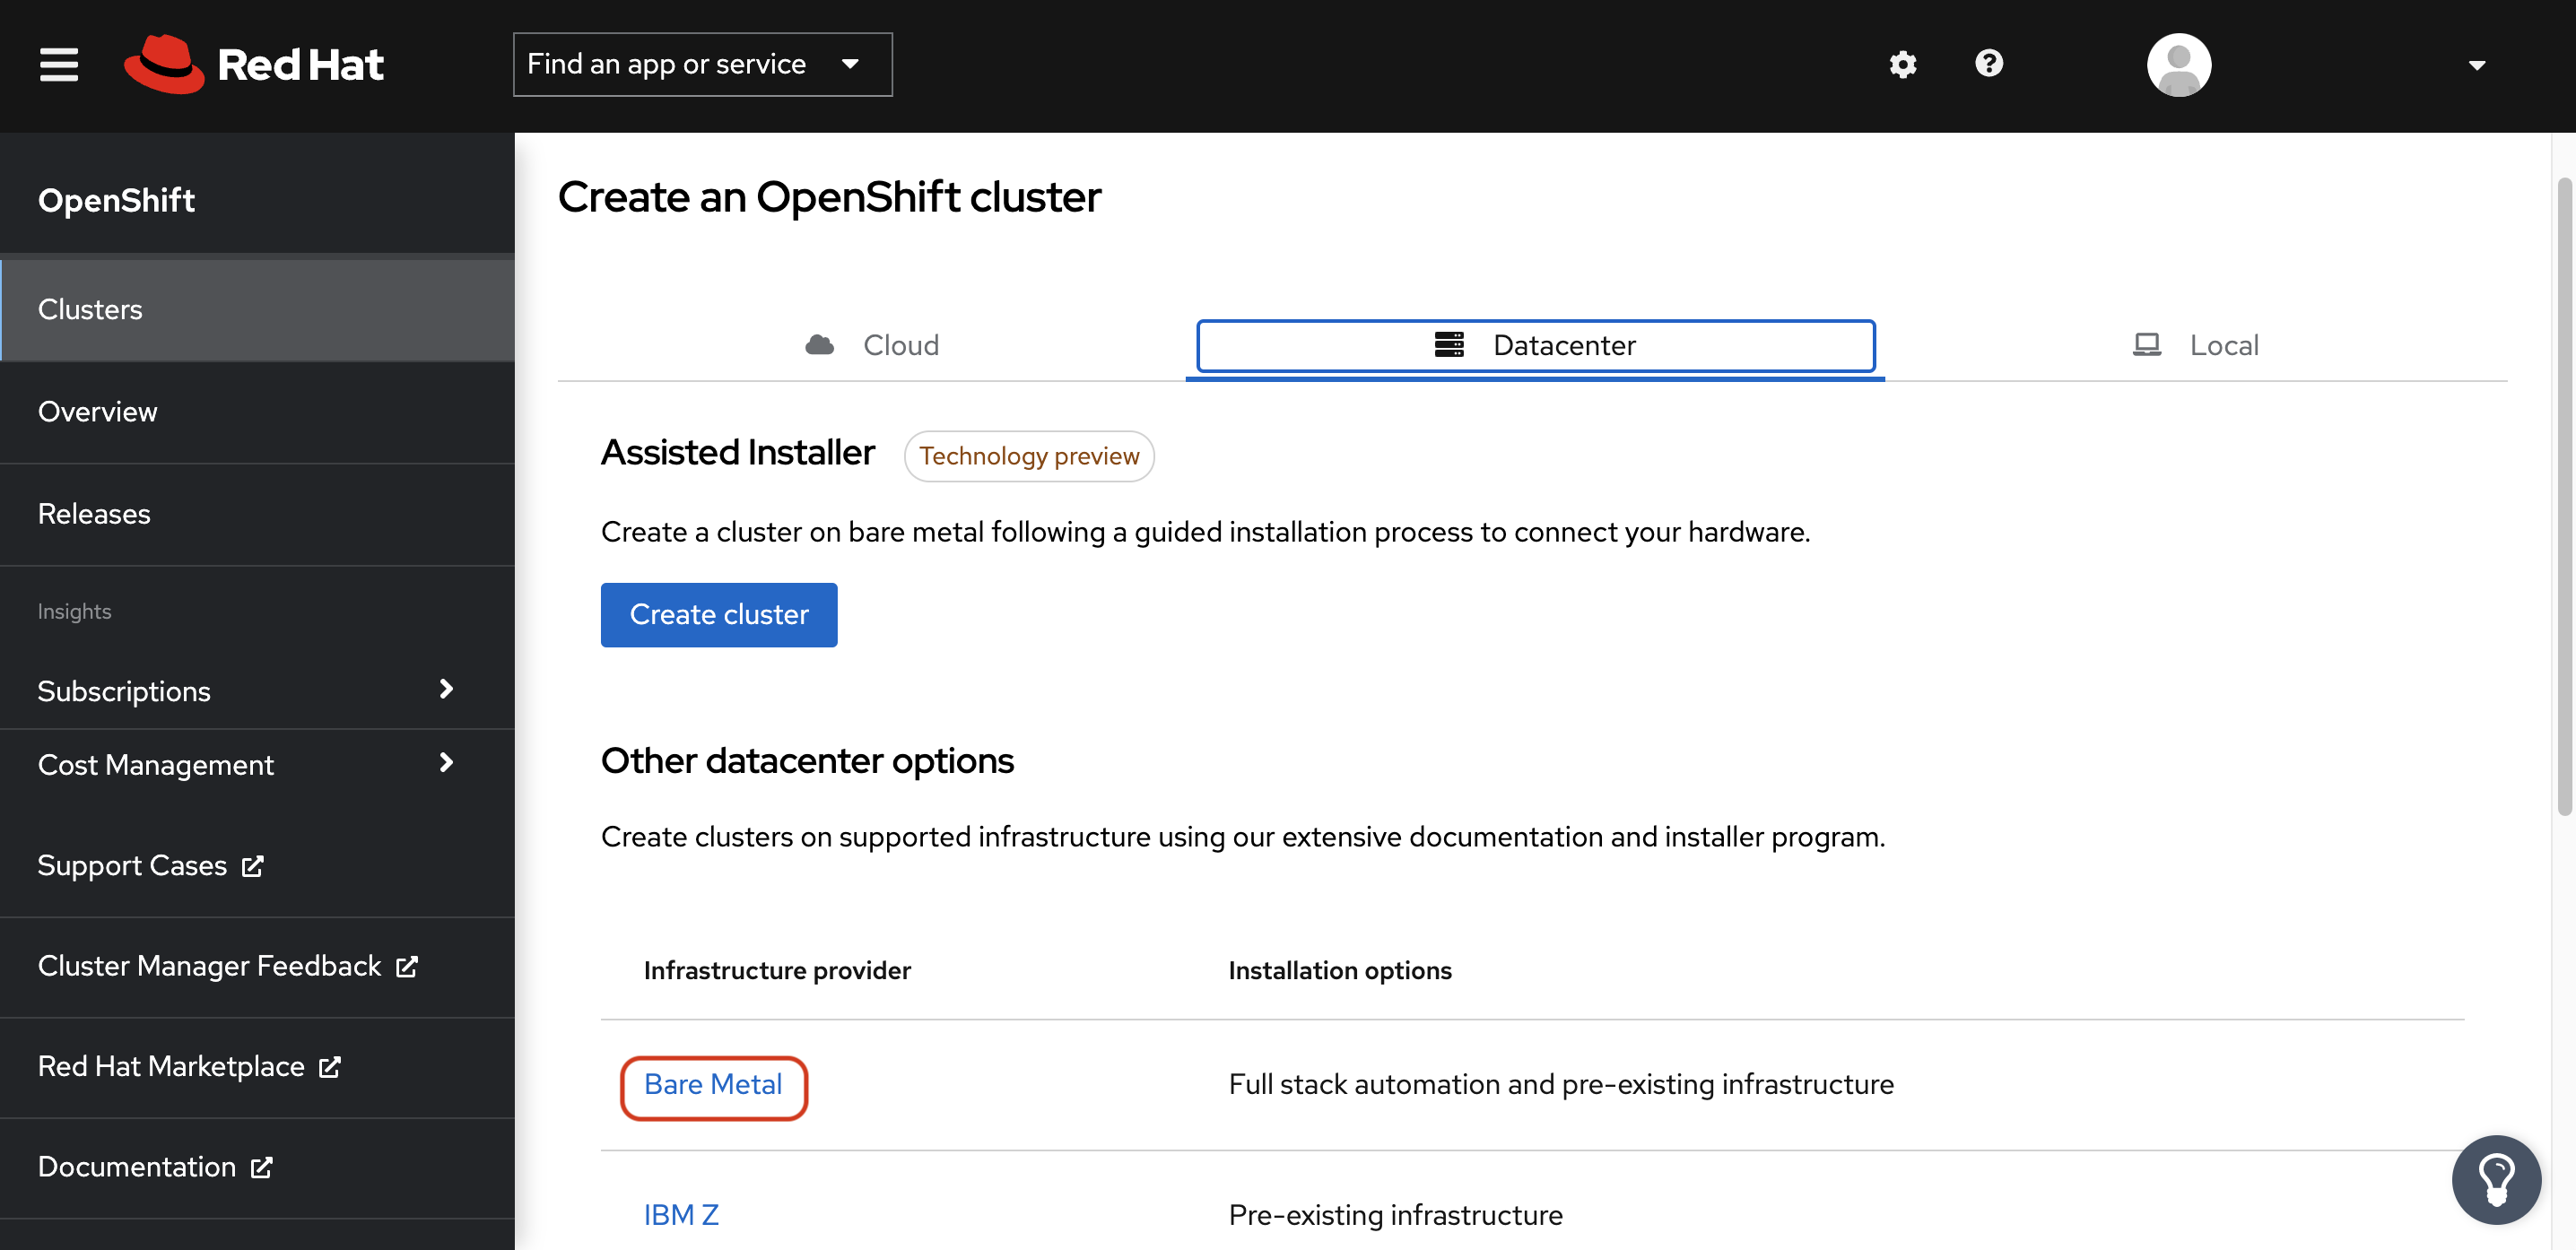
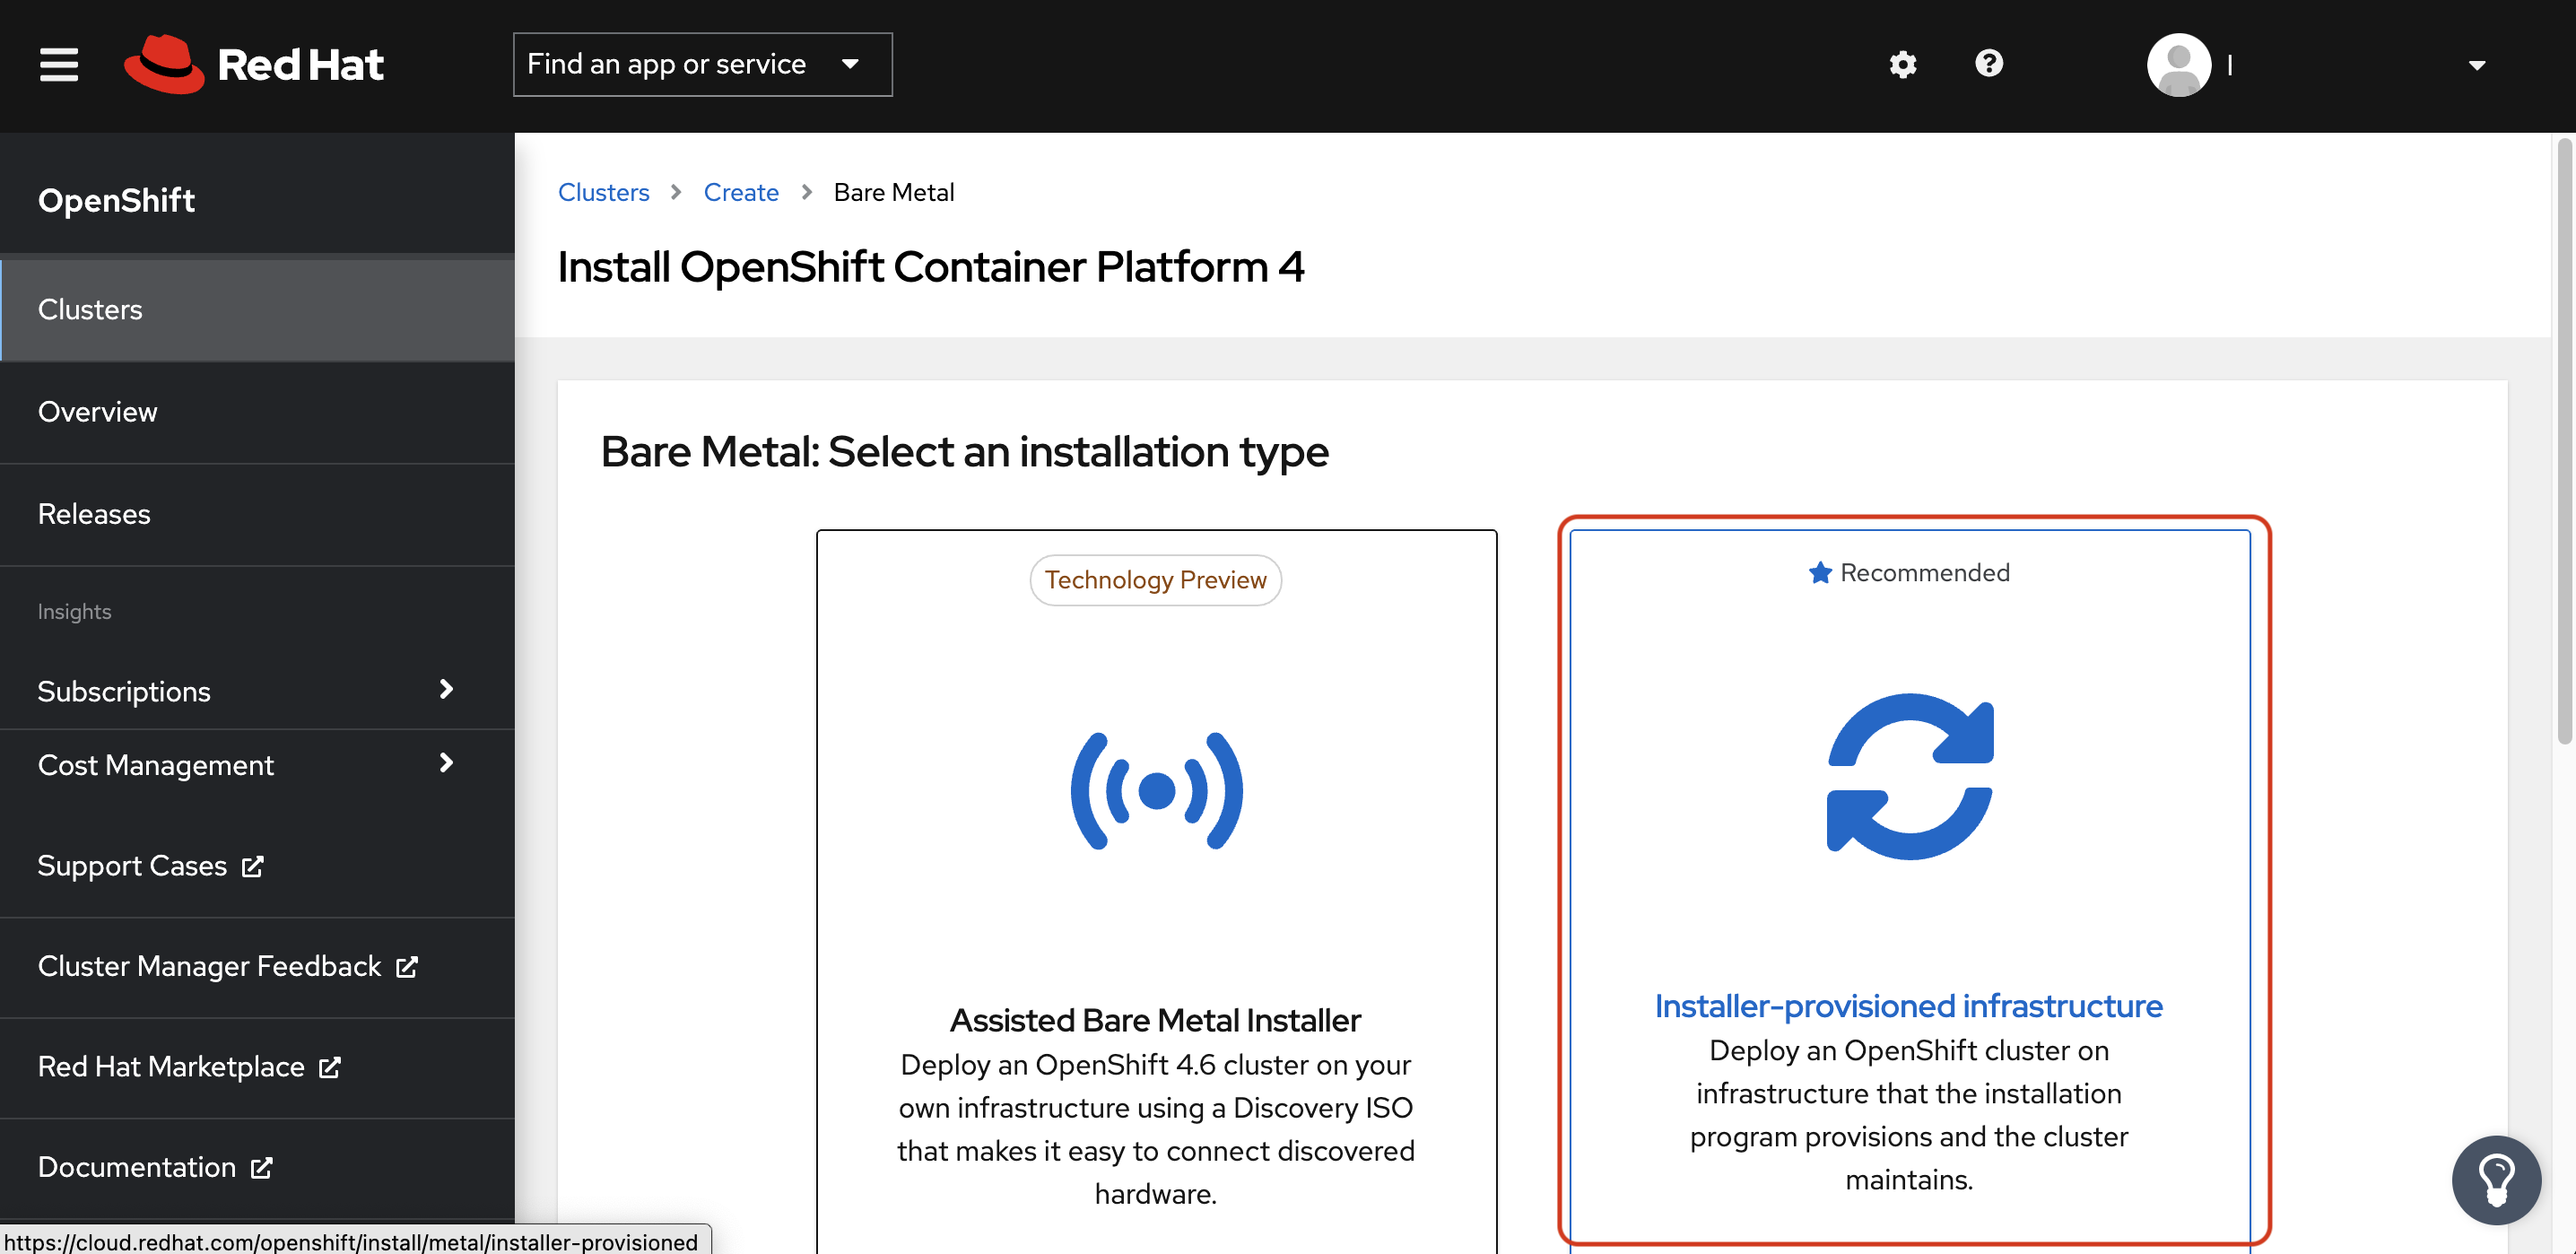
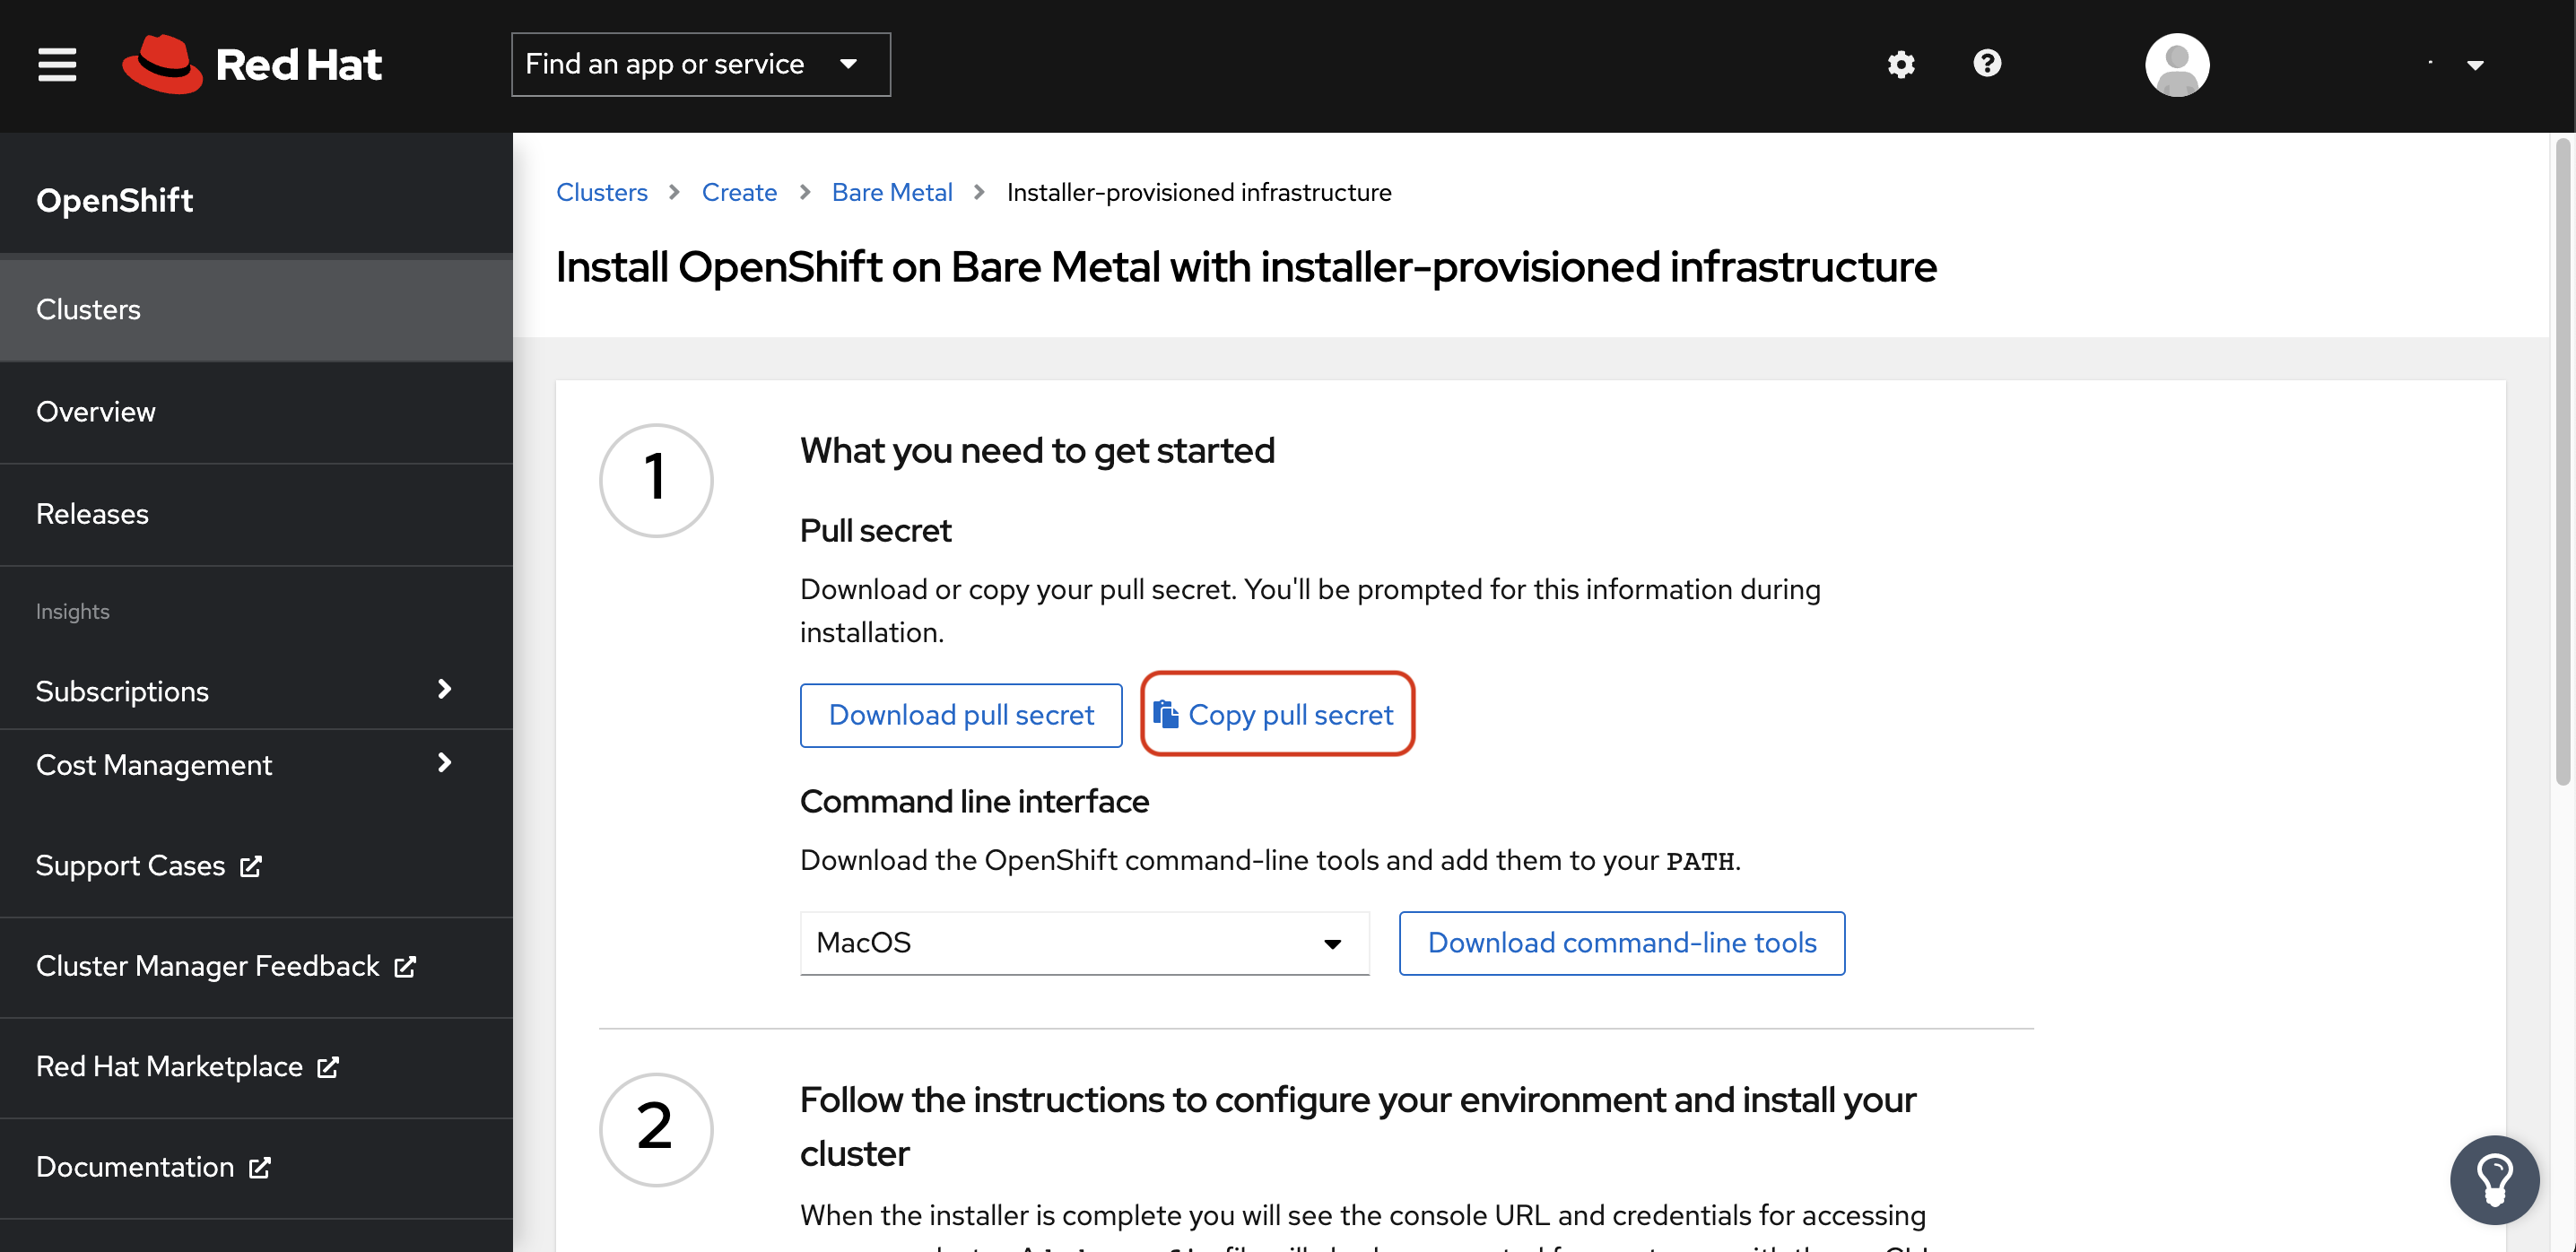
add your openshift pull secret (you can get this from cloud.redhat.com)
-
add your public sshkey key, this is used for OCP vms so you can login to vms using core user
proxmox:
   ip: <IP address of your proxmox server>
   name: 'pve'
clusterID: ocp4
domain: < you domain : example.lab >
ext_haproxy_ip: <IP address of your Infra/Helper server>
nfs_provisioner:
   - {ip: '<IP address of nfs server>', path: '<export path on nfs server>' }
pullSecret: < Add your Pull secret from cloud.redhat.com >
sshkey: < Add your ssh pub key >
The CreateCluster ansible script will use this data to setup your infra/helper and VMs for OCP cluster.
|
ℹ️
|
Pay particular attention to the Mac addresses and IP addresses assiged to each machine if these are used in your network you can modified to fit your environment. |
|
ℹ️
|
Create your own ssh key and add the public key to this file. |
ssh-keygen -t rsa -b 4096 -N ''Add your pub key to the authorized_keys on the proxmox box so the user that would run the ansible playbook can ssh to box with no password.
It is time to setup Infra box by installing and configure requiered pakages, open necessary ports, setuping up PXE boot and lot more.
Lets do it by executing the following command in this folder: Proxmox-OCP-Installer/proxmox
ansible-playbook CreateCluster.yml --tags build_infraBefore installing the OCP cluster we need to get the correct version of openshift installer and the RHCOS, then create the ignition files and place them in correct locations. To do that we need to execute the following command:
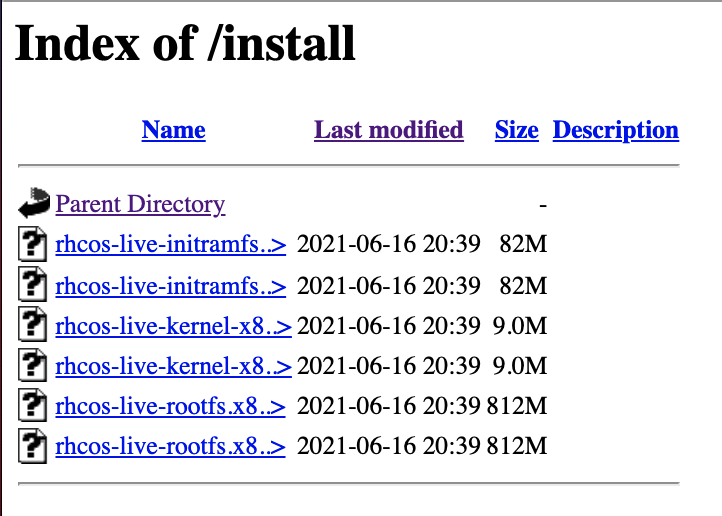
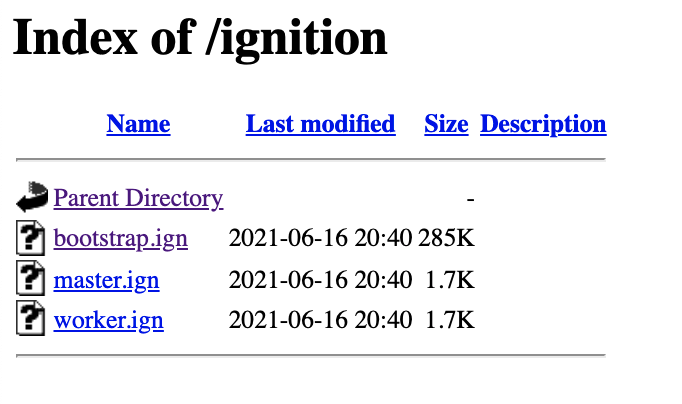
ansible-playbook CreateCluster.yml --tags prep_install http://<infra IP address>:8080/install http://<infra IP address>:8080/ignitionCheck if all auto pxe config files has been generated with correct mac address:
ls /var/lib/tftpboot/pxelinux.cfgAt this point we have everything we need to install openshift cluster, so lets run the OCP installation:
ansible-playbook CreateCluster.yml --tags install_ocpThis will take 40 to 50 minutes so go get to coffee and do other work that you push back till we setup your OCP cluster.
|
ℹ️
|
you can check the progress of installation in your command like and by going to looking at the external load balancer. first the bootstap will start and the end point will go green on the load balancer. When that is done the masters will start and after a while you should see their end points go green. AT this point the bootstarp will be shutdown and worker nodes will start. |
You can access the Openshift UI at the following URL just replace the ClusterID and domain section with what you have configured in vars.yml
User: kubeadmin Password: the password is print out at the end of the script. if you missed it you can go to the Infra/Helper VM go to were you clone the project and cd to "Proxmox-OCP-Installer" then run 51-wait-for-complete.sh this will print out all the info you need for your cluster.
the automated script has installed ocp cluster and internal container registery but the registery is set to use the local storage which is fine for the home lab.
|
ℹ️
|
if you would like to configure your registery to use your NAS you can execute the 61-setup-registery.sh and update the storage from "" to |

