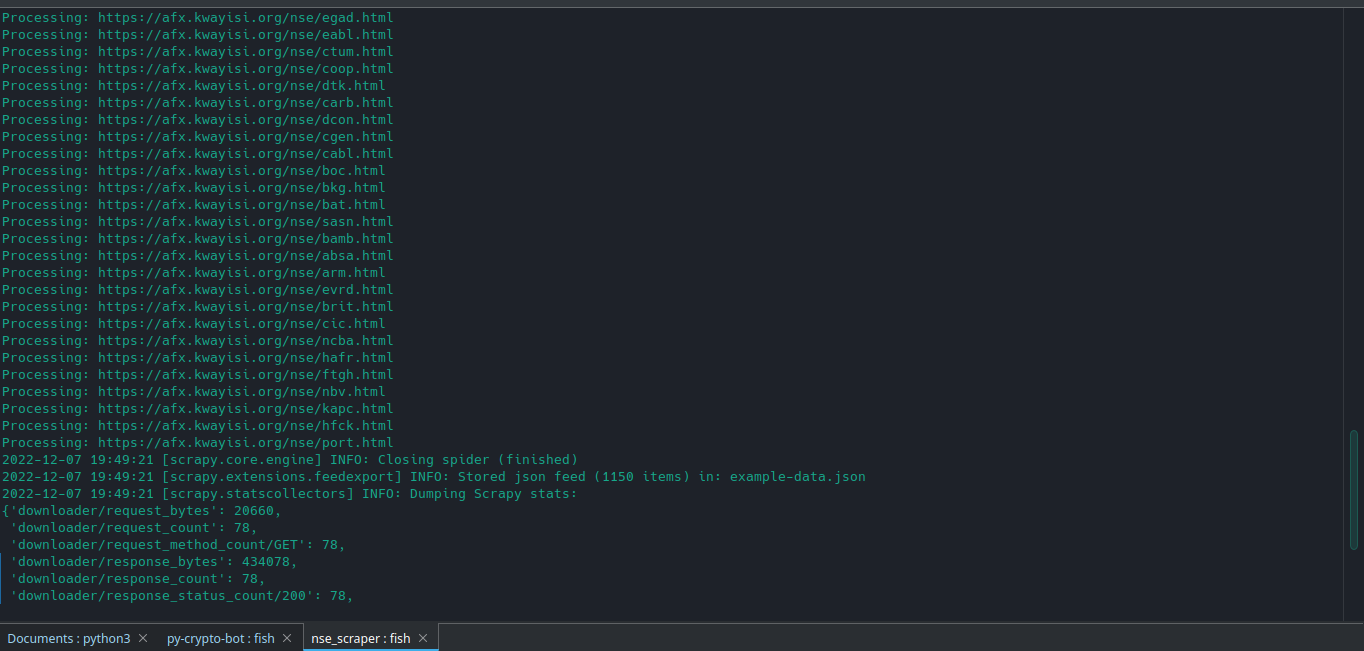
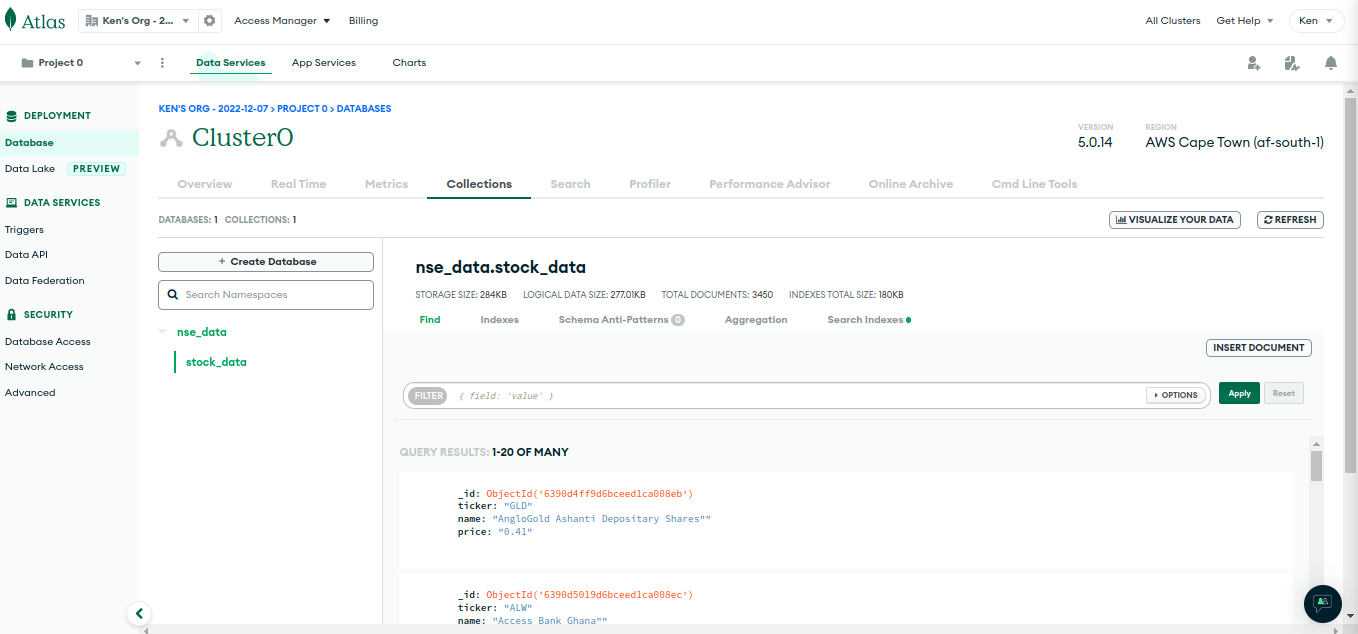
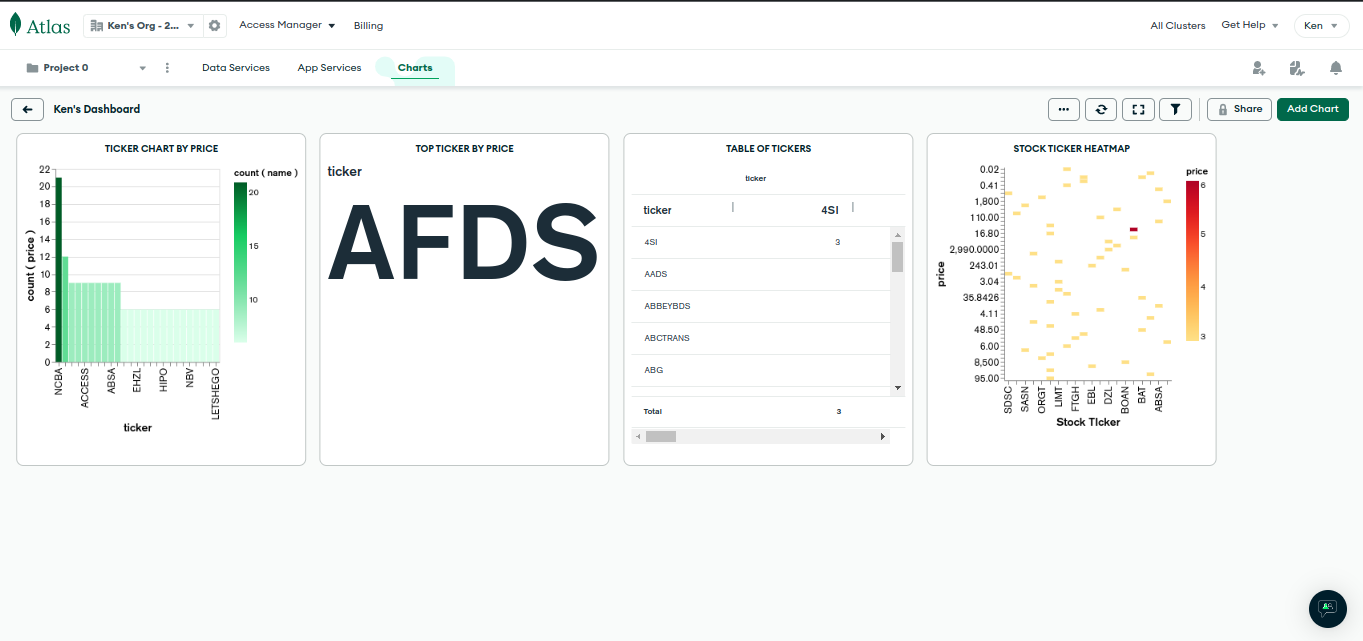
Web scraper utilizing scrapy to scrape live stock prices from the Nairobi Stock Exchange. The prices are then saved in MongoDB Database after each scrape, we use pymongo to connect to MongoDb Atlas. We then proceed to use Atlas Charts to visualize the data.
The accompanying article can be found here
The actual platform we are scraping is afx website.
- Python and pip (I am currently using 3.9.2) Any version above 3.7 should work.
- An Africas Talking account.
- Api Key and username from your account. Create an app and take note of the api key.
- MongoDB Atlas account, create a free account here
- Create a cluster and take note of the connection string.
Clone this repo
git clone https://github.com/KenMwaura1/nse-stock-scraperChange into the directory
cd stock-price-scraper
Create a virtual environment (venv) to hold all the required dependencies.Here we use the built-in venv module.
python -m venv env
Activate the virtual environment
source env/bin/activate
Alternatively if you are using pyenv.
pyenv virtualenv nse_scraper
pyenv activate nse_scraperInstall the required dependencies:
pip install -r requirements
Change into the nse_scraper folder and create an environment file.
cd nse_scraper
touch .env
Add your credentials as specified in the example file.
OR
Copy the provided example and edit as required:
cp .env-example env
Navigate up to the main folder stock-price-scraper Run the scraper and check the logs for any errors .
cd ..
scrapy crawl afx_scraper
or Run the scraper and have it output to a json file to preview.
scrapy crawl afx_scraper -o test.json Tweak the project name as necessary.
Ensure you add your configuration variables in ‘Settings’ → ‘Reveal Config Vars‘. This will allow Heroku to get and set the required environment configuration for our web scraper to run.
scrapy crawl afx_scraperNow we need add a scheduler for Heroku to run our notifiction script which will inturn send us texts. Since we already have an instance of Heroku running in our app we need an alternative. Advanced scheduler is a good option as it offers a free trial and if need be a $5 per month for an upgrade.
-
Setup Inside our daily-nse-scraper app, search for the advanced scheduler addon. Select the trail-free plan and submit order form.
-
Configuration
Click on the Advanced Scheduler addon. Inside the overview page. Click on Create trigger button. The free trial allows up-to 3 triggers.
We'll set a trigger for 11.00 am each day, specify the command python nse_scraper/stock_notification.py to run. Remember to select the correct timezone in my case its Africa/Nairobi and save the changes.

You should now have received a notification text if everything went as expected.


