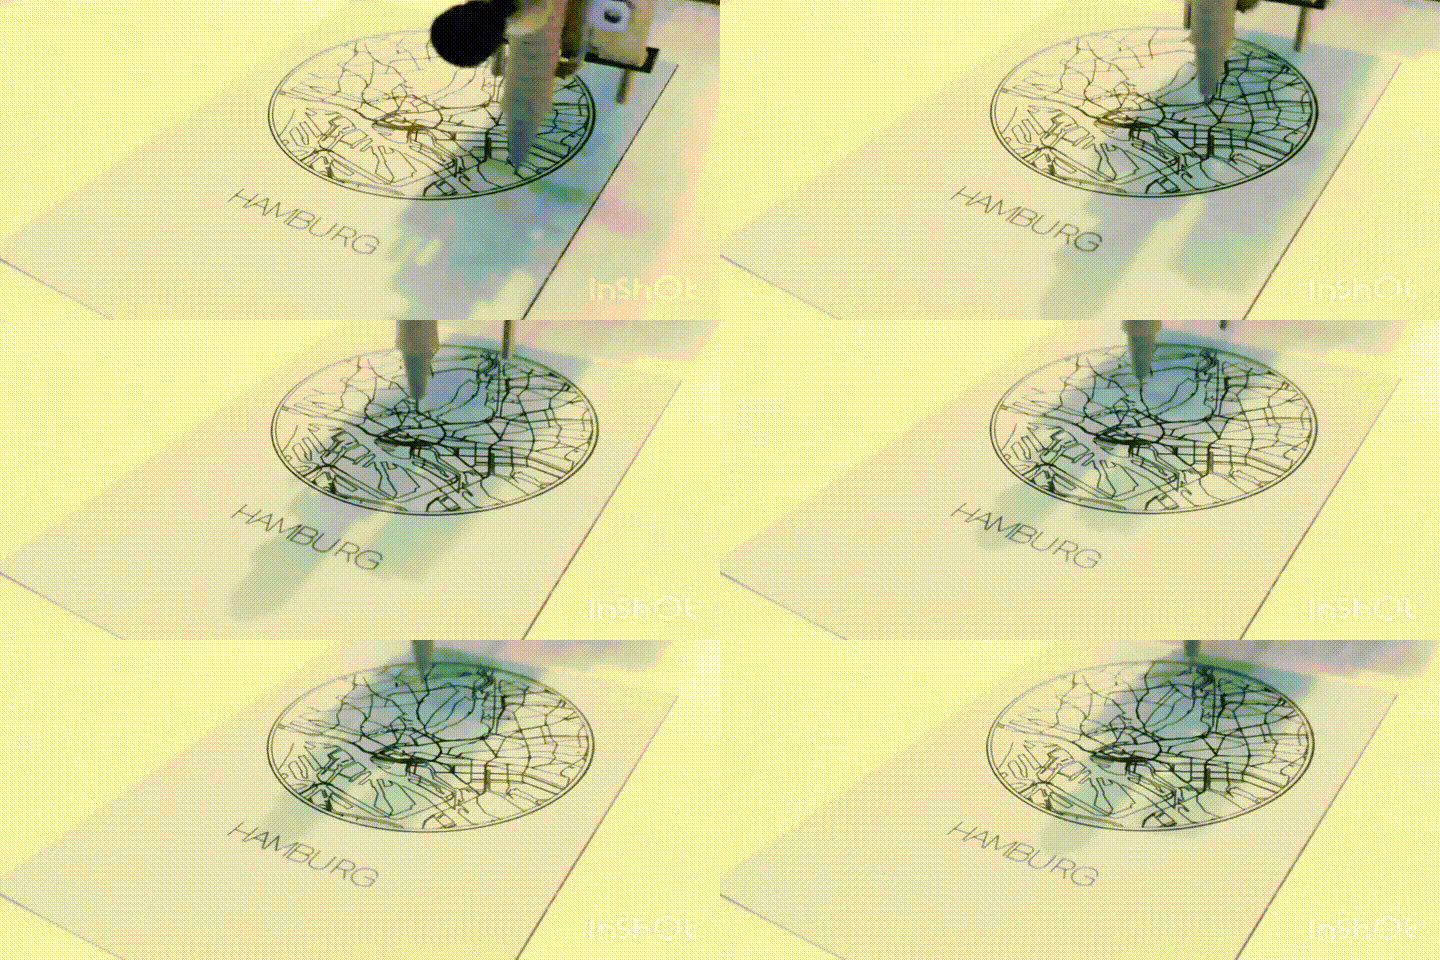
AxiDrawJS allows you to use JavaScript to draw on any flat surface with an AxiDraw1.
The AxiDraw V3 is a simple, modern, and precise pen plotter, capable of writing or drawing on almost any flat surface. It can write with fountain pens, permanent markers, and a variety of other writing implements to handle an endless number of applications.
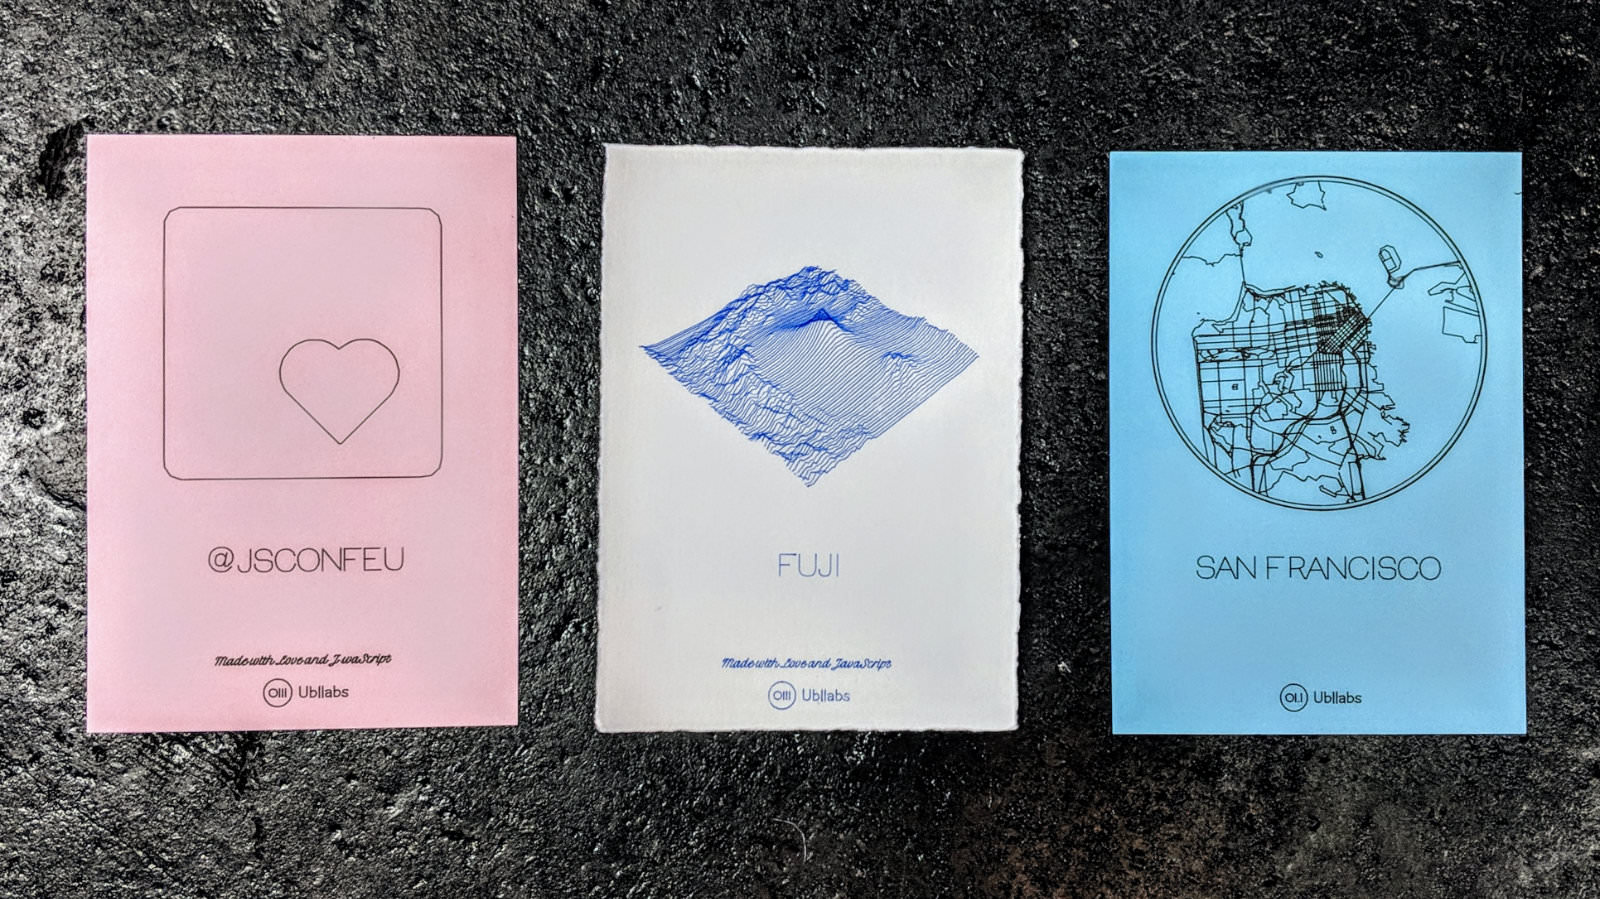
This repository includes some basic APIs and the following designs and guides:
- Map - choose a city and draw the streets
- Terrain - pseudo 3D map for mountains and hills
- Lorenz - the well-known Lorenz attractor
- JSConf - the logo of our favorite conference
- Label Only - to draw it using a different color
- Bounds - the reference paper size
- Adjust Pen - a guide to calibrating the plotter
Note: This project was built and tested on OSX. Use with care on other platforms.
Make sure you have the following tools installed:
Also, you’ll need a USB port.
Download or clone the repository, then install all dependencies:
npm installThis is required if you want to work with the map examples.
Copy the api-tokens.example.js to api-tokens.js in the root directory and
insert the necessary tokens for the API. Depending on whether you want to use
the Tilezen API or Mapbox API, you need to provide the corresponding key.
cp api-tokens.example.js api-tokens.js
In the end, it boils down to the decision if you want to work with
src/lib/load-lines.js or src/lib/load-lines-mapbox.js.
We currently prefer the latter and will probably keep working with it in the future as well.
Run the following command to start the server on localhost:
npm startIf the AxiDraw is not connected, the server starts in simulator mode. To visit the simulation go to http://localhost:8080. The CNC-Server will start on http://localhost:4242.
- Connect your AxiDraw to power and via USB to your computer.
- Start the server as explained above. It should log out
CONNECTSERIAL CONNECT!to show that it found the AxiDraw. - Go to http://localhost:8080/adjust-pen.html and follow the instructions.
- For drawing the reference borders go to http://localhost:8080/draw-bounds.html and press
Printto draw the bounds of the cards. Note: we’re using cards with the size DIN A6. - Place a card on the reference borders and you’re ready to go!
- On http://localhost:4242 you can see the CNC management board with the progress and further options.
In order to create your own drawings you should start with the high-level Plotter class from src/lib/plot-coords.js.
See src/draw-lorenz.js and html/draw-lorenz.html for a basic example. Note: This requires some boilerplate HTML tags (such as a #preview SVG) and styles. The final paper size is 496x700 pixels and equal to the DIN A6 paper format.
Basic JavaScript outline:
import Plotter from './lib/plot-coords';
const plotter = new Plotter();
plotter.coords = [...]; // assign the coords
plotter.print(); // start drawingIf you’d like to have more control over the robot, use the low-level API from src/lib/axidraw.js:
import createAxidraw from "./lib/axidraw";
const axidraw = await createAxidraw();
const coords = [...]; // a list of lines

for (let i = 0; i < coords.length; i++) {
  const line = this._coords[i];
  await axidraw.drawPath(line);
}You'll need to pass coords with [x, y] pairs that are in the ranging from 0 to 100.
Examples:
const square = [
  [[0, 0], [1, 0], [1, 1], [0, 1], [0, 0]]
];

const twoSquares = [
  [[10, 10], [11, 10], [11, 11], [10, 11], [10, 10]],
  [[20, 20], [21, 20], [21, 21], [20, 21], [20, 10]]
];You can also load SVGs and convert the <path> elements to coordinates:
import load from '../lib/load-svg-as-coords.js';
const coords = await load('/assets/my-logo.svg');In order to position and scale elements, use
import {scaleAndMove} from '../lib/scale-move';
const positionedSquare = [
  ...scaleAndMove(square, {scale: 2, x: 10, y: 10})
]Here is an example for drawing dynamic text:
import convertTextToCoords from './lib/convert-text-to-coords';
const text = await convertTextToCoords(text, {
  x: 100,
  y: 100,
  fontSize: 40,
  anchor: 'center middle'
});If you have a lot of random lines, it might take some time to draw them. Use this helper to sort the lines by picking the closest start point after finishing a line.
import {optimizeOrder} from './optimize-lines';
const randomLines = [...];
const sortedLines = optimizeOrder(randomLines);A simple way to increase drawing speed is to reduce the number of times the pen has to be moved up and down during the drawing process. Note: This will best work with the optimizeOrder helper described above.
import {optimizeOrder} from './optimize-lines';
const random = [...];
const sorted = optimizeOrder(randomLines);
const merged = mergeLines(sortedMapPaths);This project started when we were preparing our sponsor booth at JSConf EU 2018. Instead of just spreading swag, we wanted something original and customizable that people would love to take home. And since we are surrounded by digital products all day, we thought that an analog print could definitely make a difference.
At Ubilabs, we work with all kinds of mapping frameworks such as the Google Maps API or Mapbox.gl. The obvious next step was that our little friendly robot would be drawing one of these maps for you.
In the end, we were quite overwhelmed by the positive feedback. The robot was drawing non-stop during the conference and we produced more than 100 maps in two days. What we liked most was that it was a real ice-breaker when talking to strangers. We always asked them where they live to start the conversation. And while watching the robot draw their personal map, we got to know them and had the chance to tell them what we’re doing at Ubilabs.
Follow @ubilabs on Twitter for more projects like this and visit ubilabs.net to find out what kind of map projects we’re doing for our customers.
- AxiDraw is a trademark used with permission from Evil Mad Science LLC.


