![]()
This article refers to SwiftUI apple example and records the results of the exploration here, I hope to be helpful to you.
For the content described in this article, by default you have some experience based on Swift language development, so it will not describe every detail in detail; if you have doubts about Swift syntax, you can learn Swift Grammar.
When learning and using SwiftUI, if you have any questions, you can join the SwiftUI QQ Group: 18552966 to discuss communication.
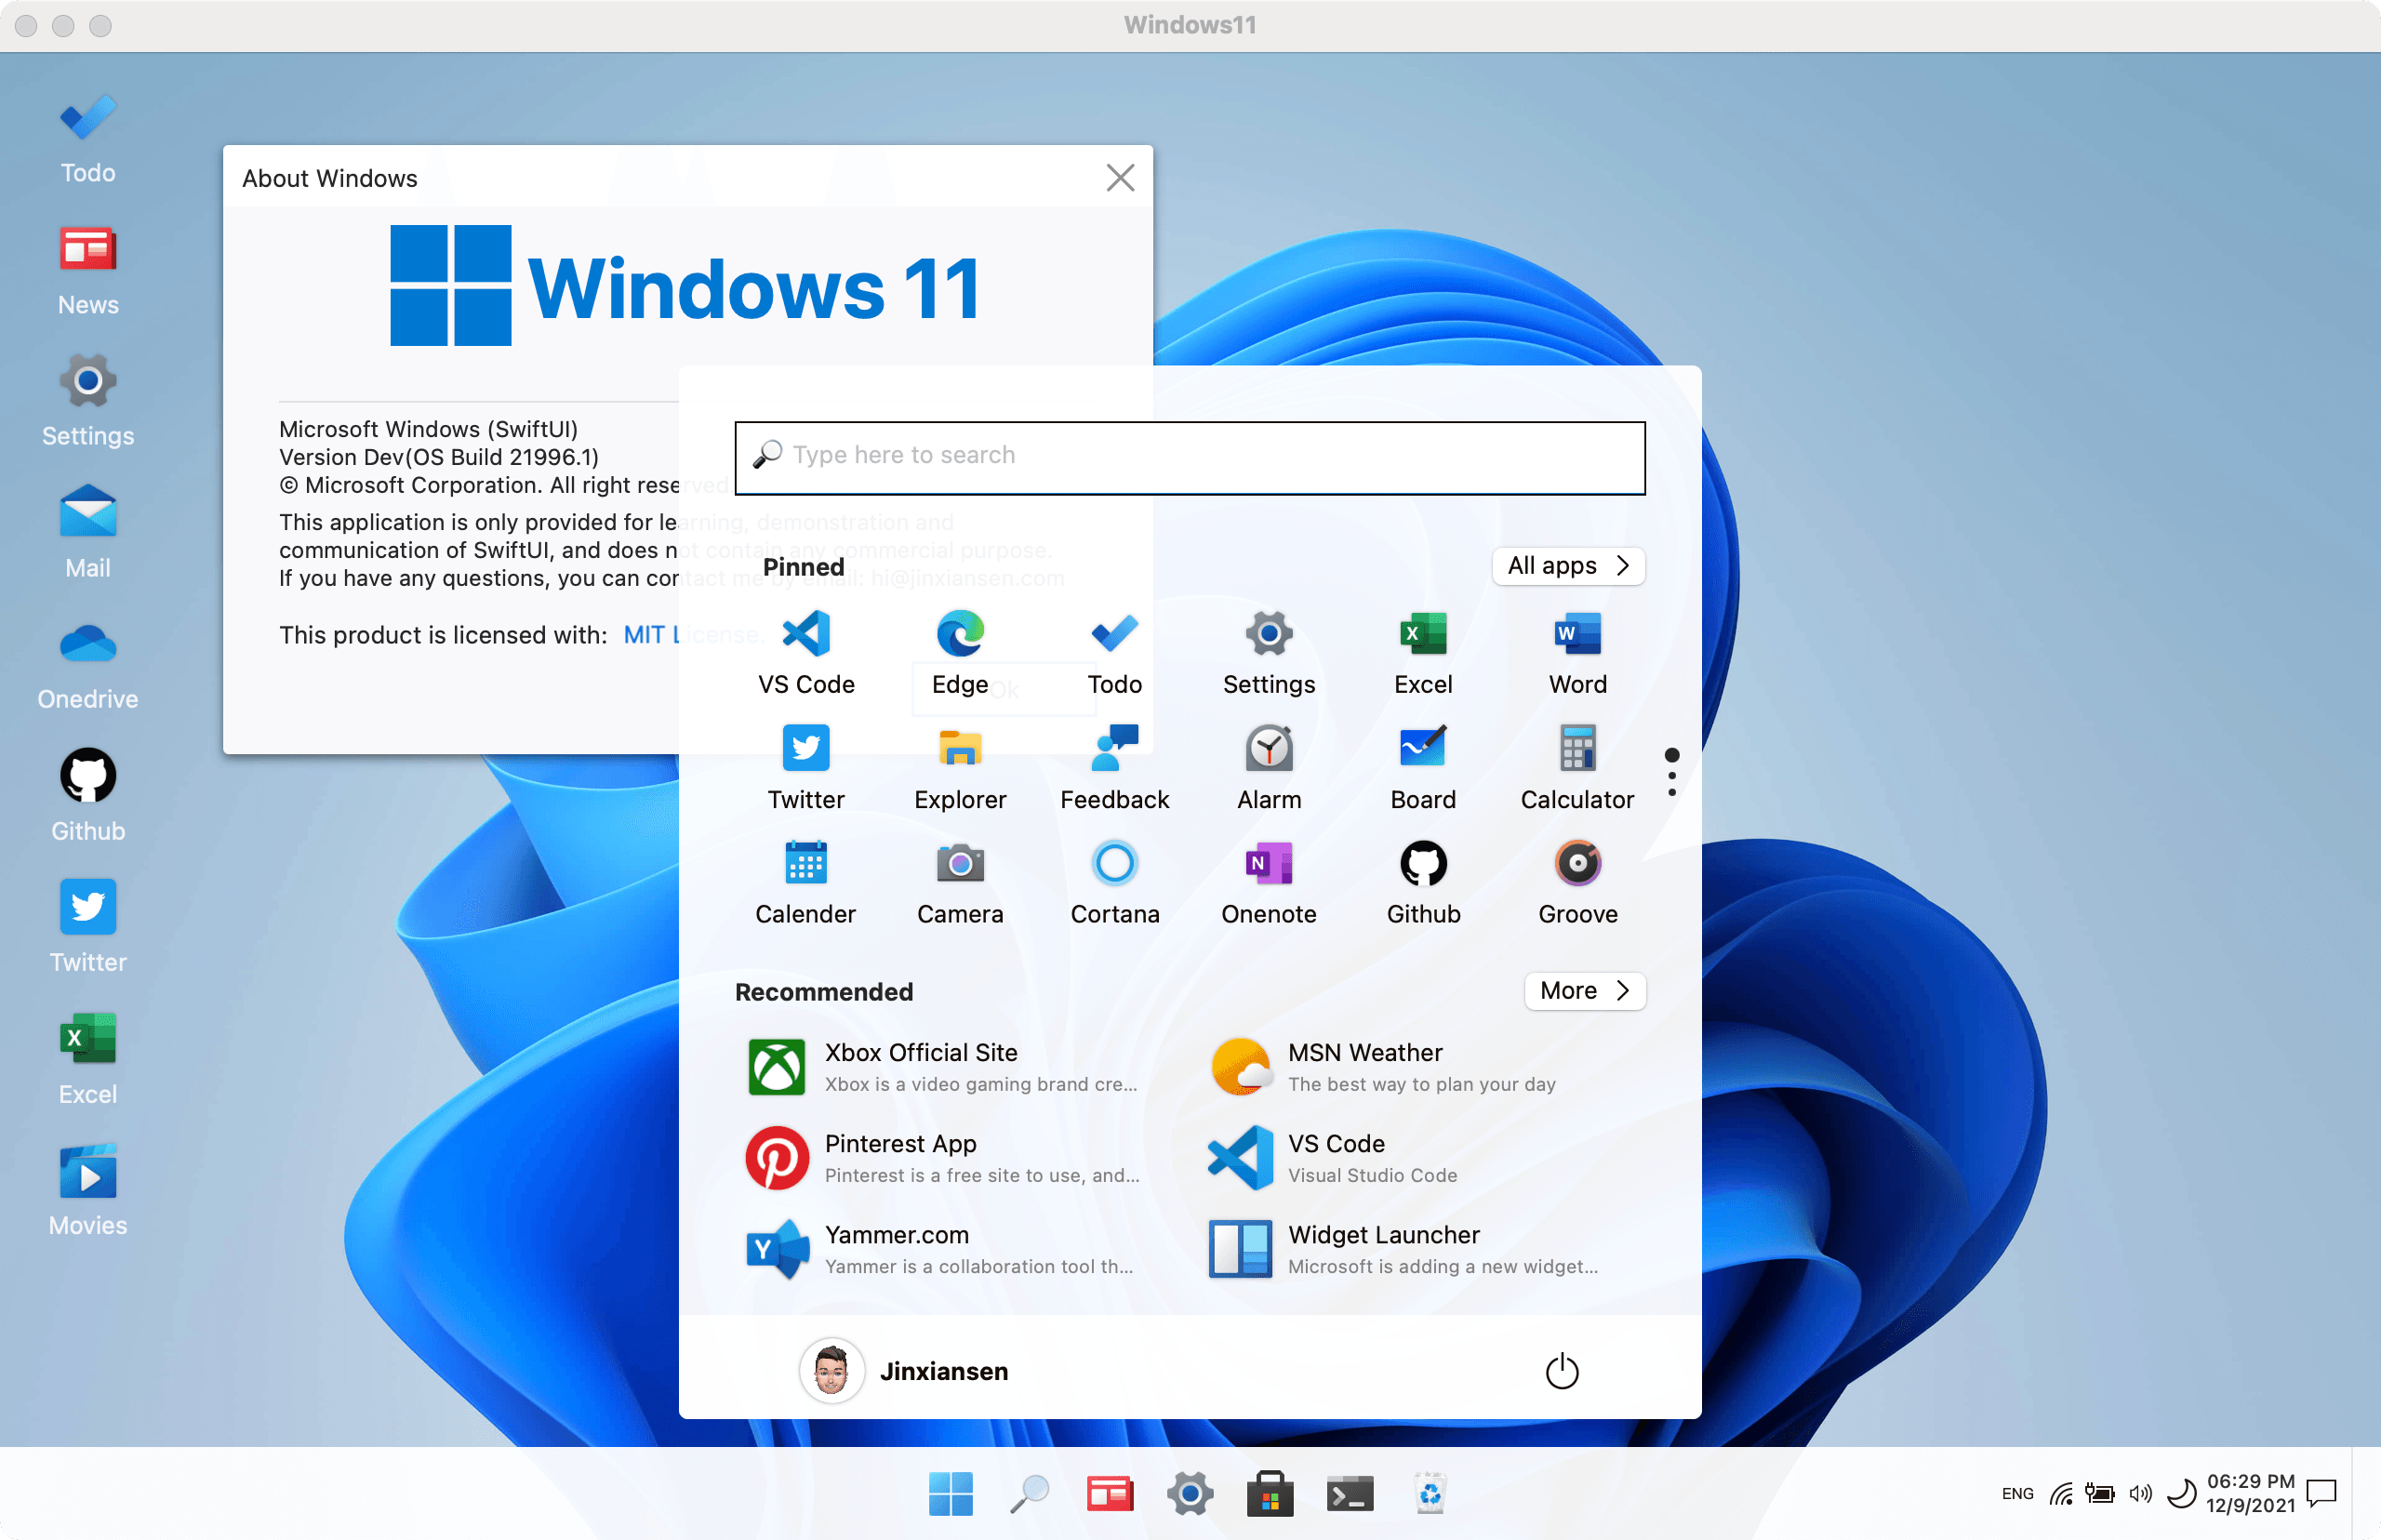
Recommended Preview: Windows 11 desktop client implemented using SwiftUI.


- macOS 10.15
- Xcode 11.0
- iOS 13.0
-
Text
-
Image
-
-
Picker
-
Special Views
-
Stacks
-
List
-
Container Views
-
Architectural Views
-
Alert
-
Bindings
-
Data-Dependent Views
-
Environment Values
-
-
Preferences
-
Transactions
-
Basic Gestures
-
Combined Gestures
-
Custom Gestures
Text is used to display one or more lines of text content with the same effect as UILabel, but it is even better.
If you want to create Text, just create it with Text("SwiftUI");
With chained syntax, you can also add multiple attributes to the text, such as fonts, colors, shadows, spacing between top left and right, and so on.
Example:
Text("SwiftUI")
    .foregroundColor(.orange)
    .bold()
    .font(.system(.largeTitle))
    .fontWeight(.medium)
    .italic()
    .shadow(color: .black, radius: 1, x: 0, y: 2)
View running results

HStack and VStack controls are used to host multiple views, as mentioned later.
TextField is used to add a normal input box, which is often used as a text input.
Example:
TextField(self.$name, placeholder: self.nameText, onEditingChanged: { changed in
    print("onEditing: \(changed)")
}) {
    print("userName: \(self.name)")
    self.endEditing(true)
}}
.padding(10)
.frame(height: 50)
.textFieldStyle(RoundedBorderTextFieldStyle())
.padding(EdgeInsets(top: 0, leading: 20, bottom: 0, trailing: 20))
View running results

SecureField is generally used as a password input. It is used in the same way as TextField. The example and the running effect are the same as TextField.
The Image control is used to display images, example:
Image("icon")
    .resizable()
    .frame(width: 100,
           height: 100,
           alignment: .center)
View running results

webImage is used to download the web image, use the URLSession to download the original Image after successful download; you can also use Kingfisher in the downloadWebImage function .
Example:
var body: some View {
        Image(uiImage: self.uiImage ?? placeholderImage)
            .resizable()
            .onAppear(perform: downloadWebImage)
            .frame(width: 80,
                   height: 80,
                   alignment: .center)
            .onTapGesture {
                print("Tap ")
        }
    }
View running results

Button is used to respond to click events.
Example:
Button(action: {
    print("Tap")
}) {
   Text("I'm a Button")
}
View running results

Waiting for release.
Waiting for release.
NavigationButtonPage is used to push to the next navigation page.
Example:
NavigationLink(destination: NavigationButtonPage()) {
            Text("NavigationButton").bold()
                .foregroundColor(.orange)
                .font(.largeTitle)
            }
    .navigationBarTitle(Text("Page"))
View running results

PresentationButton is used to pop up a page. has deprecated, please use NavigationLink
EditButton is used to trigger the editing state, just use the navigationBarItems setting when using it.
Example:
navigationBarItems(trailing: EditButton())View running results

Waiting for release.
Picker can customize the selector of the data source.
Example:
Picker(selection: $leftIndex, label: Text("Picker")) {
    ForEach(0..<leftSource.count) {
        Text(self.leftSource[$0]).tag($0)
    }
    }.frame(width: UIScreen.main.bounds.width/2)
View running results

DatePicker is used to select the absolute date of the control.
Example:
DatePicker(selection: $server.date,
in: server.spaceDate,
displayedComponents: .date, label: {
    Text("")
})
View running results

Toggle is used to switch the selected state, for example:
Toggle(isOn: $isOn) {
    Text("State: \(self.isOn == true ? "Open":"open")")
}.padding(20)
View running results

Slider A control for selecting values from a finite range of values, example:
Slider(value: $data.rating)View running results

Stepper is used to increase or decrease the value, example:
Stepper(value: $value, step: 2, onEditingChanged: { c in
    print(c)
}) {
    Text("Stepper Value: \(self.value)")
    }.padding(50)
View running results

SegmentedControl is used for segmentation condition selection, example:
SegmentedControl(selection: $currentIndex) {
    ForEach(0..<items.count) { index in
        Text(self.items[index]).tag(index)
    }
    }.tapAction {
        print("currentIndex: \(self.currentIndex)")
}
View running results

WebView is used to display an open web page, example:
struct WebViewPage : UIViewRepresentable {
    func makeUIView(context: Context) -> WKWebView  {
        return WKWebView()
    }
    func updateUIView(_ uiView: WKWebView, context: Context) {
        let req = URLRequest(url: URL(string: "https://www.apple.com")!)
        uiView.load(req)
    }
}
View running results

UIViewController is used to display the UIViewController that opens UIKit in SwiftUI and opens the SwiftUI View in UIViewController.
Example:
First define:
struct ControllerPage<T: UIViewController> : UIViewControllerRepresentable {

    typealias UIViewControllerType = UIViewController

    func makeUIViewController(context: UIViewControllerRepresentableContext<ControllerPage>) -> UIViewController {
        return T()
    }

    func updateUIViewController(_ uiViewController: UIViewController, context: UIViewControllerRepresentableContext<ControllerPage>) {
        debugPrint("\(#function):\(type(of: T.self))")
    }

}
Then use this:
NavigationButton(destination: ControllerPage<UIKitController>()) {
    PageRow(title: "UIViewController",subTitle: "Open UIViewController")

}
View running results


HStack is used to arrange the subviews on a horizontal line.
Example:
HStack {
    Text("made in China.")
    Divider() // Just add a line.
    Text("the People's Republic Of China.")
}
View running results

VStack is used to arrange the subviews on a vertical line.
Example:
VStack {
    Text("made in China.")
    Divider() // Just add a line.
    Text("the People's Republic Of China.")
}
View running results

ZStack is used to override the subview, aligned on two axes.
Example:
ZStack {
    Text("made in China.")
    Divider() // Just add a line.
    Text("the People's Republic Of China.")
}
View running results

List list container to display a list of data.
Examples:
List(0..<5) { item in
    Text("Hello World !")
}.navigationBarTitle(Text("List"), displayMode: .large)
View running results

ScrollView is a scroll view container.
Example:
ScrollView {
    Text("SwiftUI").padding(20)
    Divider()
    Image("icon").resizable()
        .frame(width: 300, height: 300, alignment: .center)
    Divider()
    Text("Views and ... user interface.")
    }
    .border(Color.gray.gradient, width: 1)
            .cornerRadius(10)
            .padding(10)
            .navigationBarTitle(Text("ScrollView"))
View running results

ForEach is used to present a view based on a collection of existing data.
Example:
let data = (0..<5)
var body: some View {
    ForEach(data) { e in
        Text("Hello \(e)")
            .bold()
            .font(.system(size: 25, design: .monospaced))
            .padding(5)
}
View running results

Group is used to aggregate multiple views, and the properties set on the Group will be applied to each child view.
Example:
Group {
        Text("Hello World !")
        Text("Hello World !")
      }
View running results

Waiting for release.
Section is used to create the header/footer view content, which is generally used in conjunction with the List component.
Example:
Section(header: Text("I'm header"), footer: Text("I'm footer")) {
    ForEach(0..<3) {
        Text("Hello \($0)")
    }
}
View running results

Form A container for grouping controls used for data entry, such as in settings or inspectors.
Example:
Form {
   TextField("First Name", text: $firstName)
   TextField("Last Name", text: $lastName)
}
View running results

NavigationView is used to create a view container that contains the top navigation bar.
Example:
NavigationView {
Text("🧚♂️🧚♀️🧜♂️🧜♀️🧞♂️🧞♀️").blur(radius: 5)
Text("Swifter Swifter")
.bold()
.foregroundColor(.orange)
.font(.largeTitle)
}
.navigationBarTitle(Text("NavigationView"))View running results

TabView is used to create a view container that contains the bottom ** TabBar**.
Example:
TabView(selection: $index) {
    ForEach(0..<imgs.count) { item in
        TabItemPage(index: item)
            .tabItem{
                Image(self.imgs[item])
                Text("\(item)")
        }
        .tag(item)
    }
}
View running results

Waiting for release.
Waiting for release.
Alert is used to display a bullet reminder that needs to be associated with a trigger event.
Example:
alert(isPresented: $showAlert, content: {
            Alert(title: Text("确定要支付这100000000美元吗?"),
                  message: Text("请谨慎操作\n一旦确认,钱款将立即转入对方账户"),
                  primaryButton: .destructive(Text("确认")) { print("转出中...") },
                  secondaryButton: .cancel())
        }).navigationBarTitle(Text("Alert"))
View running results

ActionSheet is used to pop up a selection box.
Example:
ActionSheet(title: Text("Title"),
            message: Text("Message"),
            buttons:
    [.default(Text("Default"), onTrigger: {
        print("Default")
        self.showSheet = false
    }),.destructive(Text("destructive"), onTrigger: {
        print("destructive")
        self.showSheet = false
    }),.cancel({
        print("Cancel")
        self.showSheet = false
    })])
usage:
.actionSheet(isPresented: $showSheet, content: {sheet})View running results

Modal is used to pop up a view.
Example:
Modal(Text("Modal View"),onDismiss: {
    print("View Dismiss !")
})
View running results

Popover is used to pop up a view, see the results below.
Example:
.popover(isPresented: $showPop, content: {
                ImagePage()
        })
View running results

- The code involved in the above example is in this repository code. It is recommended to download and run the view.
- If you have better usage and suggestions about SwiftUI, look forward to sharing it!
- If there are omissions and errors in the examples in this article, please create a Issue !
email : hi@jinxiansen.com
微博 : @晋先森
SwiftUI is released under the MIT license. See LICENSE for details.