uunlnk-style file protection & drop-in shell-script-based replacements for trash & unlink functionality in third-party macOS file managers
If you want to protect your files against accidental deletion in macOS, you only have the ability to "lock" files, as the Finder calls it, which in reality corresponds to the old Unix immutable flag (uchg), or you can use a deny delete access control entry (ACE). In both cases this also renders the file uneditable, which is why in the former case (uchg), when you want to modify a "locked" file, some applications create a copy of the "locked" file's contents, create a new file with a different inode number, and then delete the "locked" original, but very few applications actually respect the user's wishes and re-apply the immutable flag to the new file. Files protected with a deny delete ACE apparently can not be handled by the system APIs at all, and any attempts at proper file modifications will fail. Long story short, macOS and its Unix underpinnings do not always play well together.
There is, however, an old Unix flag called system no-unlink (sunlnk), which (also on macOS) protects important files from deletion, but still allows certain file modifications. The variant user no-unlink (uunlnk) is actually present in macOS, and can even be set with the right tools, but it is disregarded by the system and removed as soon as such a file is opened or modified. At any rate, the sunlnk and uunlnk flags would not be sufficient for our needs anyway, because they still prohibit the user from performing certain modifications like mounting over a file or renaming it. But especially the latter is important for every-day file usage.
The Trash Tools, in tandem with its protect script, can offer at least a workaround: protect will add an extended attribute (XA) to a file, and if Trash Tools' file removal scripts access that file, any trash or unlink operation will fail, while the user is still free to perform any and all other file operations, including renaming, moving to a different location, and modifying file contents. These protected files can still be trashed or unlinked by other processes, but if the user remaps the keyboard shortcuts of all trash and unlink routines in his file manager to the Trash Tools scripts, any accidental file deletions will at least be prevented in the user's file manager of choice.
Most users will probably have no need for such a solution, because the normal user just moves files to the Trash, and can then easily restore them, if the deletion was an accident. But these tools might be valuable for those users who perform a lot of permanent deletions on scratch or RAM disks. Accidents in these situations cannot be undone. Furthermore, some third-party file managers do not offer the option to undo a Trash operation or restore a file from the Trash to its original path.
- regular file copies of protected files will have the same protection (i.e. XAs) as the originals
- on volumes without support for extended attributes, e.g. mounted NAS volumes, the protection flag and tag for
foowill be written as._foo - if background jobs are in place that auto-delete Apple Double files on a volume, Trash Tools will not work
- the protected status will not help against overwriting a file during copy-paste or copy-move; for that you would need drop-in replacements for those commands as well (CMD-V and CMD-OPT-V)
- option #1: clone repository and create symbolic links into one of your bin directories
- option #2: manually download repository and copy the shell scripts into one of your bin directories
- if necessary, set the executable bits with
chmod +x
- option #1: refresh the repository clone
- option #2: manually download the repository again
- find the
CFBundleIDin the./Contents/Info.plistof your default file manager (i.e. not macOS Finder; see above), e.g.info.filesmanager.Filesfor Nimble Commander - execute the command
defaults read -g NSFileViewer 2>/dev/null - if there is no output, or if the bundle ID does not match your default file manager's bundle ID, execute the command
defaults write -g NSFileViewer <CFBundleID>, while replacing<CFBundleID>with the actual bundle ID of your default file manager - execute the command
tt-setupand check the output for errors or warnings - populate the file protection list at
~/.config/TrashTools/protections.txtfor files that shall never be unlinked or moved to the Trash (filenames only!)
protect(toggle file protection): CMD-OPT-CTRL-Ktrashes(move to Trash or put back for trashed files): CMD-DELempty-trashes(empty Trashes): CMD-SHIFT-DELempty-trashes --force(empty Trashes without asking): CMD-OPT-SHIFT-DELundo-trashes(undo trash operations): CMD-CTRL-DELunlink(permanent file deletion): CMD-OPT-DEL
Toggle file protection by writing the extended attribute local.lcars.fpsr#PS. Additionally, a user tag called "Protected" will be added, so you can quickly list all your protected files with Spotlight (search for tag:protected), or with mdfind and list-protected.
Note: .DS_Store files, Apple Double files, and already trashed files cannot (and should not) be protected.
List currently protected files on all volumes or in specified paths. Examples:
list-protected(rawmdfindlist of all protected filepaths)list-protected -v(list protected files with extended attribute prefixed)list-protected -v 2>/dev/null | sort -n -t ';' -r -k2(sort protected files, most recent first)list-protected -v 2>/dev/null | sort -n -t ';' -r -k2 | awk -F":" '{print substr($0, index($0,$2))}' | sort(sort protected files, most recent first, filenames only & sorted by name)list-protected <file>(list protection status of a single non-directory file)list-protected <directory>(list protection status of a single directory file or volume, and of all its contents)
Note: on volumes without an index or without support for indexing, list-protected will use find -xattrname instead of mdfind, i.e. searching a path with a lot of files could take a long time.
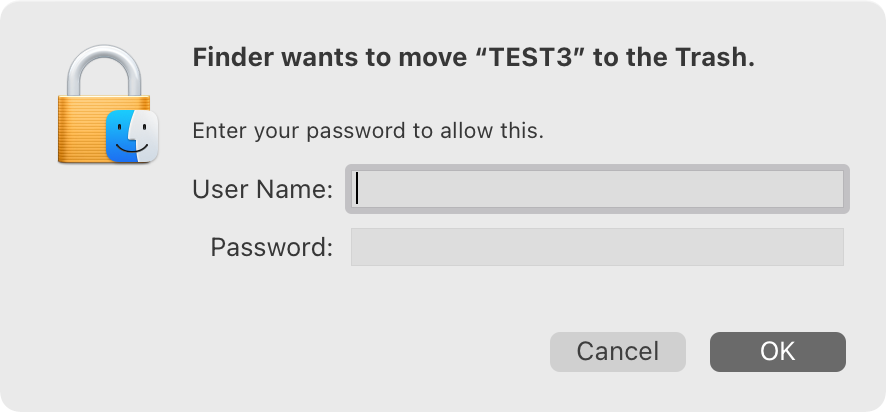
Move files to the relevant Trash, including iCloud Trash. On volumes without .Trash or .Trashes, the underlying requisite trash CLI will automatically create the necessary Trash directory; if those volumes do not support the macOS Trash system, you will need to use the unlink command instead. Files without write access will be handled by macOS Finder; writable files will be deleted by the trash CLI, which uses the regular system API.
When using trashes on trashed files, the script will call the dependent put-back helper (see below) that will call Finder to move the selected files back to their original path (if possible). It is also possible to put back nested files that are not in the root of the Trash folder.
Note: using the system API or the Finder (for files without write access) instead of simple mv routines is important, because the system's move-to-Trash or put-back functionality is needed to properly remove or register certain filetypes, e.g. for an effective uninstallation of applications containing system or network extensions.
Note: trashes will delete .DS_Store files immediately.
Dependent helper script called by trashes when the keyboard shortcut for move-to-trash (usually CMD-DEL) is used on trashed files.
Note: for the same reasons as stated above, put-back will use the Finder for restoring individual trashed files to their original location; if you have disabled Finder, put-back will launch Finder hidden and in the background, and immediately quit Finder again, so the operation will be barely noticeable.
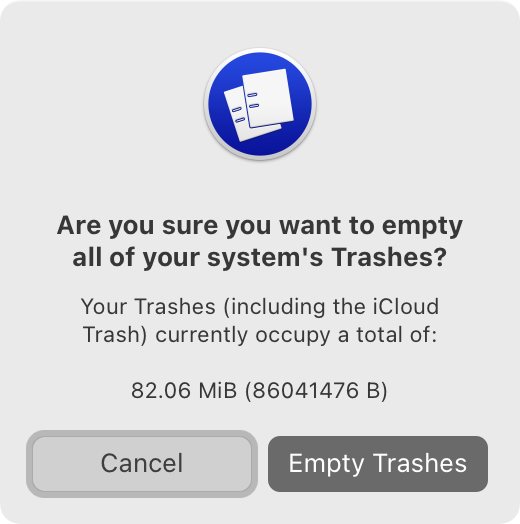
Empty all Trashes. Use the --force argument with an alternate keyboard shortcut, if you want to skip the prompt. The command supports all Trashes, including iCloud Trash, /System/Volumes/.Trashes/$UID/ and ./Trashes/$UID/ on any mounted & writable volume. It is also possible to view a list of all trashed files before emptying the Trashes.
Note: for the same reasons as stated above, empty-trashes will still utilize the Finder to empty the Trashes; if you have disabled Finder, empty-trashes will launch Finder hidden and in the background, and immediately quit Finder again, so the operation will be barely noticeable.
Undo the last move-to-trash operation. The move-to-trash history will not be persistent across reboots.
Note: for the same reasons as stated above, undo-trashes will use the Finder for restoring trashed files to their original location; if you have disabled Finder, undo-trashes will launch Finder hidden and in the background, and immediately quit Finder again, so the operation will be barely noticeable.
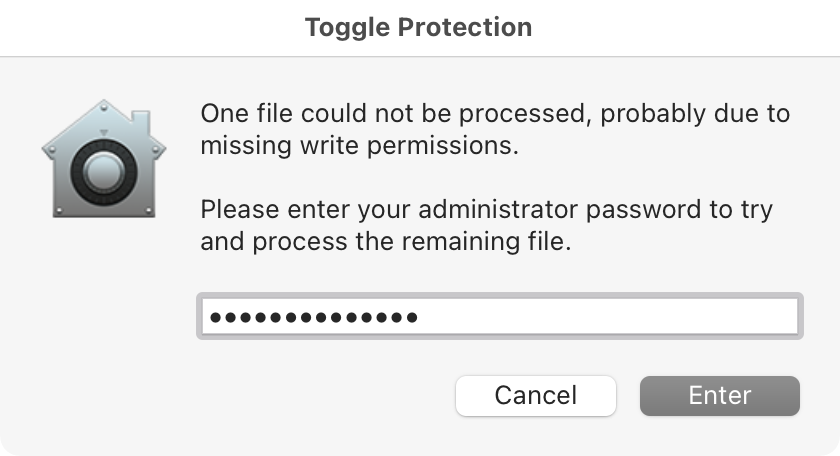
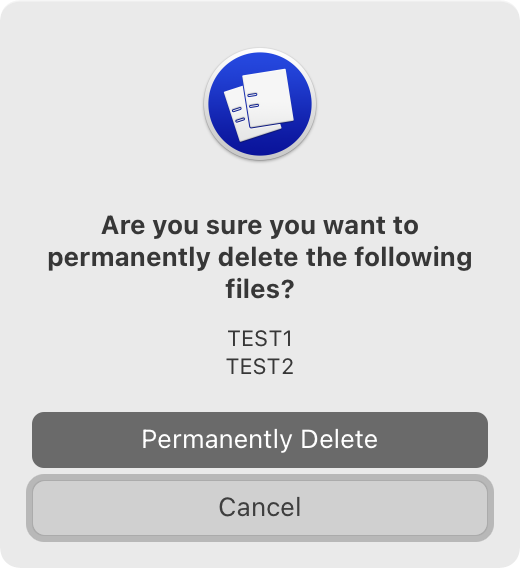
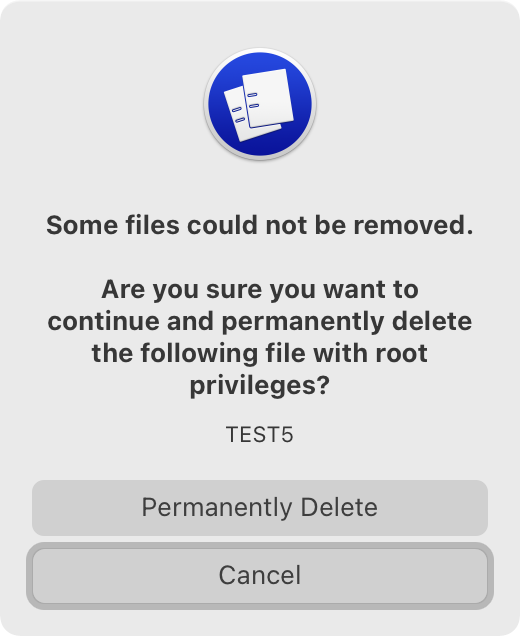
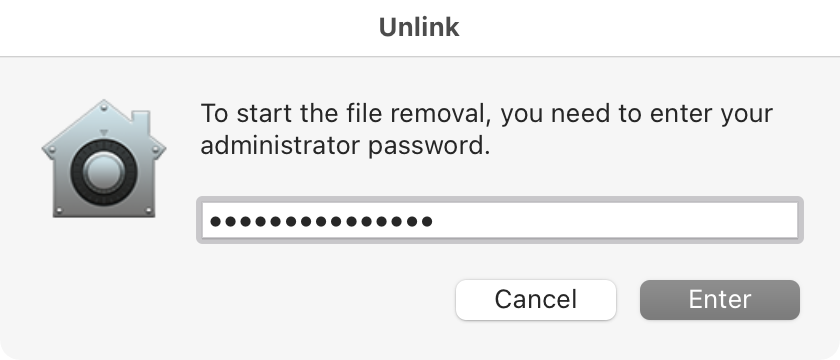
Permanently delete (unlink) files. Internally, this command uses rm -rf. In case the executing user has no write access, files will be removed with sudo -S rm -rf, and the user needs to enter his administrator password first.
Note: unlink will delete .DS_Store files immediately.
You have additional options for the tt-setup command:
-p|--protectionswill list the user-defined filenames that are categorically protected from deletion-h|--historywill print information about the previous move-to-trash operation
- delete the repository and all copies or symbolic links of the following CLIs:
tt-setupprotectlist-protectedtrashesempty-trashesundo-trashesput-backunlink ~/.config/TrashTools~/.cache/Finder
- try to increase speed for move-to-trash operations
- try to increase speed of file protection checks before move-to-trash and unlink

