A nano project to start a Vaadin V8 project based on JDK10. Perfect for Micro-UIs packed as fat jar in a docker image. On my Laptop the Server is started in approx 300ms.
You can use this as dependency as well. For this you should add the following into your pom.xml
<dependency>
  <groupId>org.rapidpm.vaadin</groupId>
  <artifactId>nano-vaadin-v08</artifactId>
  <version>x.y.z</version>
</dependency>The target of this project is a minimal rampup time for a first hello world. Why we need one more HelloWorld? Well, the answer is quite easy. If you have to try something out, or you want to make a small POC to present something, there is no time and budget to create a demo project. You don´t want to copy paste all small things together. Here you will get a Nano-Project that will give you all in a second.
Clone the repo and start editing the class demo.HelloWorld.
You will find it in the test source folder.
public class HelloWorld  {

  public static void main(String[] args) {
    //reference the Supplier
    setProperty(COMPONENT_SUPPLIER_TO_USE, HelloWorldSupplier.class.getName());
    //start the Server
    new CoreUIService().startup();
  }


  /**
   * start adding your UI elements here.
   */
  public static class HelloWorldSupplier implements ComponentSupplier {
    @Override
    public Component get() {
      return new Label("Hello World");
    }
  }
}This project will not use any additional maven plugin or technology. Core Java and the Vaadin Dependencies are all that you need to put a Vaadin app into a Servlet-container.
Here we are using the plain undertow as Servlet-Container.
As mentioned before, there is not additional technology involved. No DI to wire all things together. The way used here is based on good old Properties.
But let´s start from the beginning.
The class CoreUIService will ramp up the Container. For this you should invoke the method startup(). (see HelloWorld) The app itself will be deployed as ROOT.war. If nothing else is defined, the port 8899 and the IP 0.0.0.0 will be used. But you can define the port and the IP. The corresponding properties are
- CORE_UI_SERVER_HOST = "core-ui-server-host";
- CORE_UI_SERVER_PORT = "core-ui-server-port";
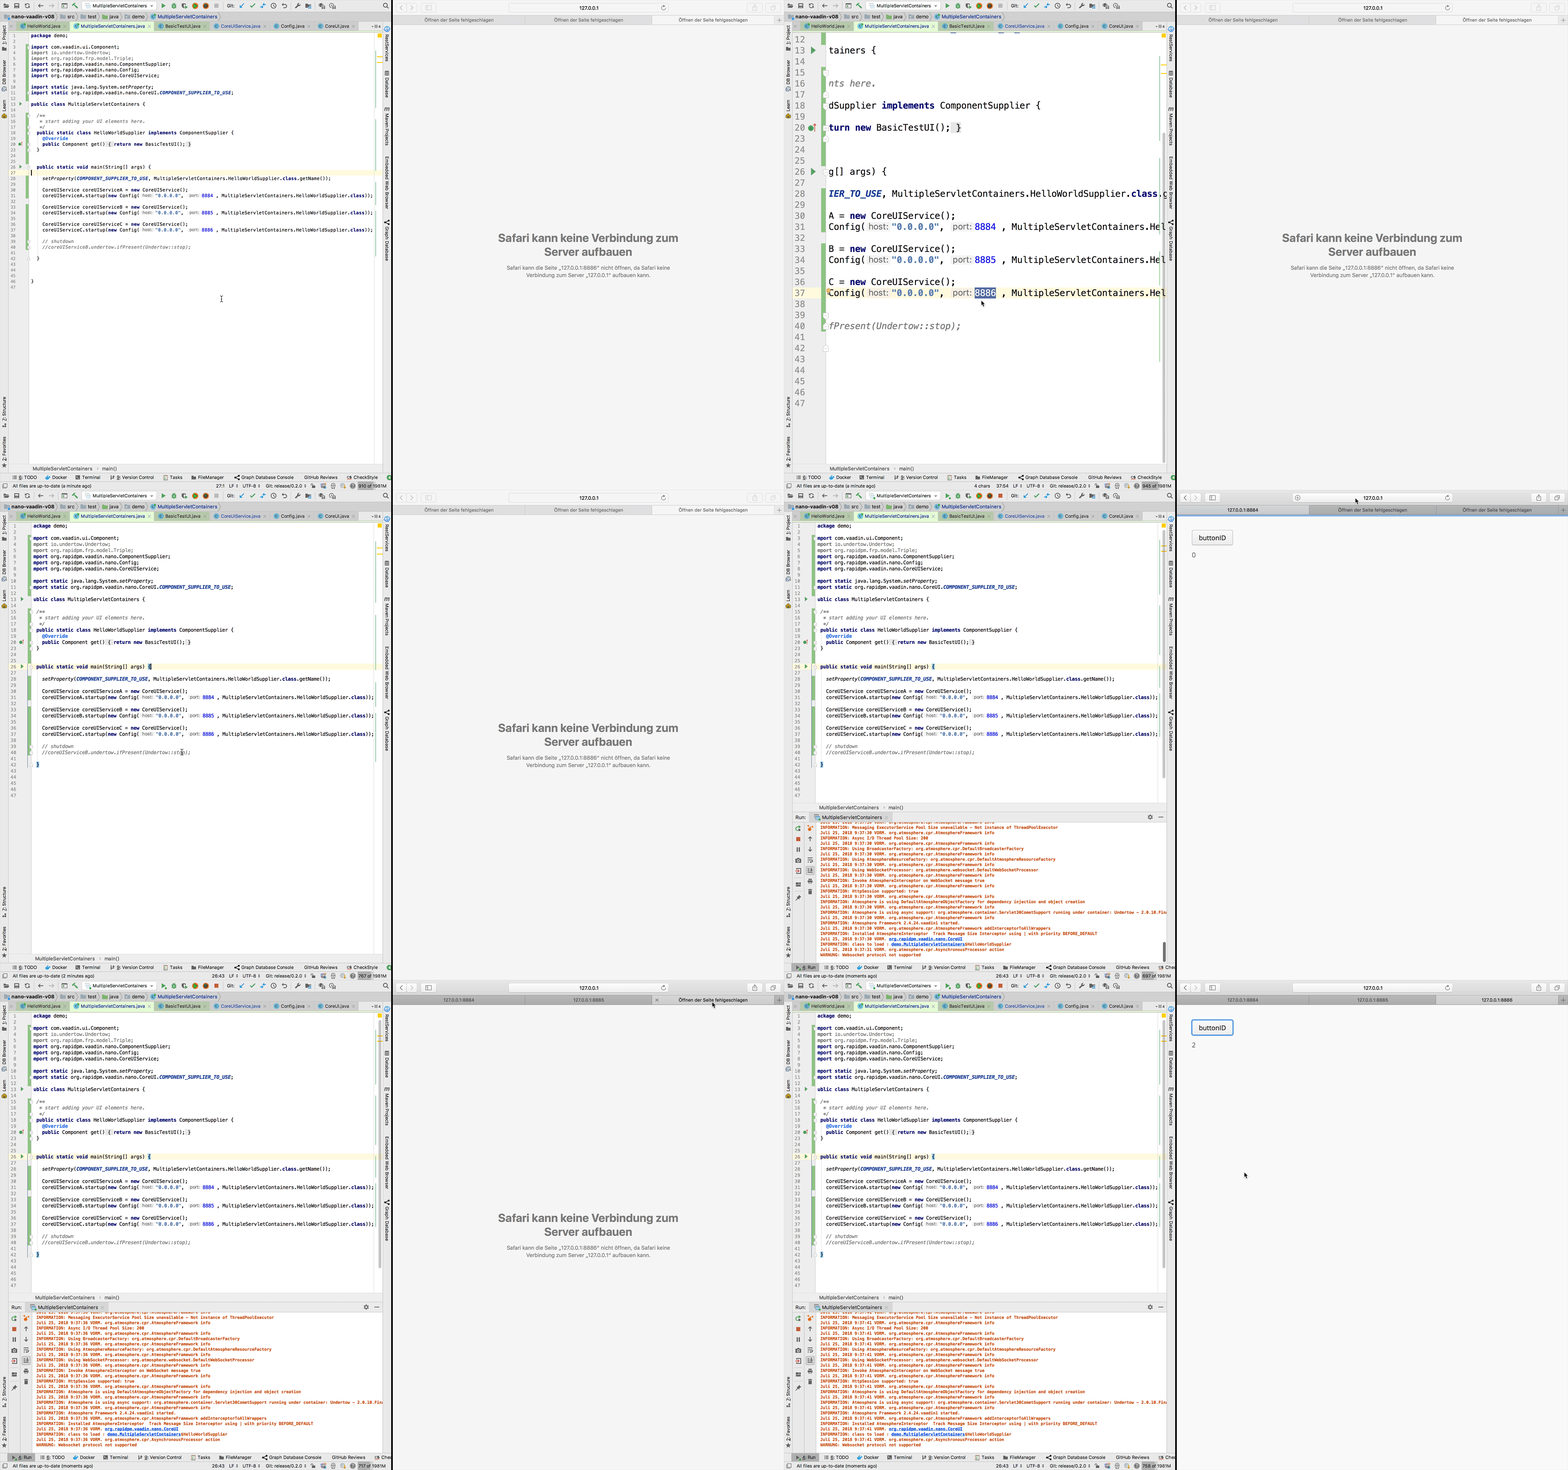
If you are using the method startup(Config config) you can set this values manually, without using system-properties. This is usefull in an environment, where multiple Servlet - containers are started on the same host. With this you can implement concurrent tests.
With this you can use the Container for jUnit - UI tests easily. Every test will get a random port to have concurrent tests. How to do this you can read under http://vaadin.com/testing or check the OpenSource project on github https://github.com/vaadin-developer/vaadin-testbench-ng
For a Vaadin app you need a VaadinServlet. This is in a generic way implemented for this project. What you will do, is the mapping to your UI class. But for this project even this boiler-plate code is done. The reference will be ui = CoreUI.class
@WebServlet(value = "/*", asyncSupported = true, loadOnStartup = 1)
@VaadinServletConfiguration(productionMode = false, ui = CoreUI.class)
public class CoreServlet extends VaadinServlet {
  //customize Servlet if needed
}
The UI class is responsible to create an instance of the components you want to have. The property that will reference the Supplier is used to load the class and create an instance.
@PreserveOnRefresh
@Push
public class CoreUI extends UI implements HasLogger {
  public static final String COMPONENT_SUPPLIER_TO_USE = "COMPONENT_SUPPLIER_TO_USE";

  @Override
  protected void init(VaadinRequest request) {
    final String className = getProperty(COMPONENT_SUPPLIER_TO_USE);
    logger().info("class to load : " + className);
    ((CheckedSupplier<Class<?>>) () -> forName(className))
        .get()
        .ifFailed(e -> logger().warning(e))
        .flatMap((CheckedFunction<Class<?>, Object>) Class::newInstance)
        .flatMap((CheckedFunction<Object, ComponentSupplier>) ComponentSupplier.class::cast)
        .flatMap((CheckedFunction<ComponentSupplier, Component>) Supplier::get)
        .ifPresentOrElse(this::setContent,
                         failed -> logger().warning(failed)
        );
  }
}
Remember the part in the class HellWorld
setProperty(COMPONENT_SUPPLIER_TO_USE, HelloWorldSupplier.class.getName());The steps are quite easy. First of all, clone the repo and try to build it with mvn clean package or use your IDE, if maven is not installed for command line usage on your machine.
If this is running well, start the main Method from the class HelloWorld.
Now you can use a browser on http://localhost:8899/
To create your own demos, edit the Supplier.
Happy Coding.
if you have any questions: ping me on Twitter https://twitter.com/SvenRuppert or via mail.
