Replacement PCB for TS100, adds USB-C PD to every hacker's favourite tool!

Hardware v2.4 is released, changelog: you don't need to solder the tip connector anymore, software v0.6 is released!
Features:
- You can solder!
- Temperature can be adjusted via buttons
- USB-PD requests highest voltage
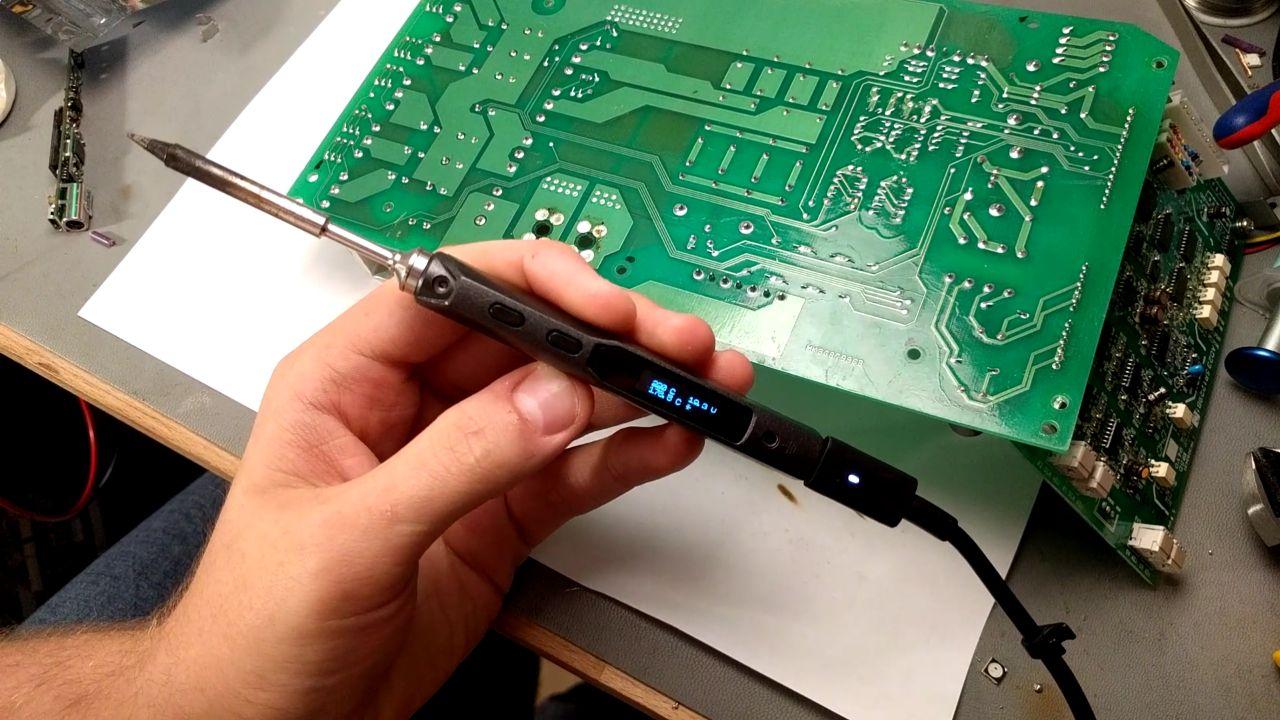
- Display shows set-temperature, temperature, input-voltage and power applied
- Saves last set-temperature
- Designed by an Otter chirps :3
The BOM can be found at KiCAD/Otter-Iron/production/kitspace_bom.csv. Most parts are generic parts, which can be ordered and assembled regularly. However, the display and tip-holders need special attention. The PCB has to be ordered with a thickness of 1mm (1.6mm works too, but 1mm has a better fit).
- Note: C19 and C20 changed from 100nF to 1µF in the last revision, please make sure to populate 1µF!
- Please add a pullup to the displays reset if the display does not work. See image below:

The original tip-holders are custom made thus it is not possible to buy them, if you already have a TS100 it is highly recommended to recycle those. They can be unscrewed, cut to size and soldered/screwed onto the Otter-Iron. This is the preferred option!
If you don't own a TS100 you can buy one from miniware (price ranges from 35$ to 45$) and harvest the parts (as well as the casing and tip!).
You can also buy the littlefuse fuseholders mentioned in the BOM. Those however have a very bad fit, you have to bend them and add a little solder notch, otherwise you may destroy your tips. In addition to this solution you also need to buy a spare case+tip which is ~25-35$, this is the least preferred option.
The display can be bought from LCSC note: Do not buy displays from LCSC, they seem to be faulty! or Aliexpress, I haven't found it at Mouser yet (Maybe its this display?). It is the last part to be assembled, it is soldered on the back of the PCB facing the PCB and the tip-end.
To flash the Otter-Iron short the DFU-jumper shown in the image below while plugging it into your computer. This will put the iron into DFU mode allowing you to flash it via DFU/USB.
If you already have ad firmware >= v0.2 flashed, you can press both buttons while plugging in to enter DFU mode.
Run this command to flash the downloaded binary.
$ dfu-util -a 0 -s 0x08000000:leave -D firmware.bin


- Write a better regulation
- Current measurement
- Store last setpoint
- Better Fonts/UI
- PD-Profile cycling
Todo next hardware revision:
- Add barrel jack
- Add grounding solution
- Fix Tag-Connect see #4
- Optimize display-connector
- Add display reset pullup
- Add display reset line
- Add inrush current protection