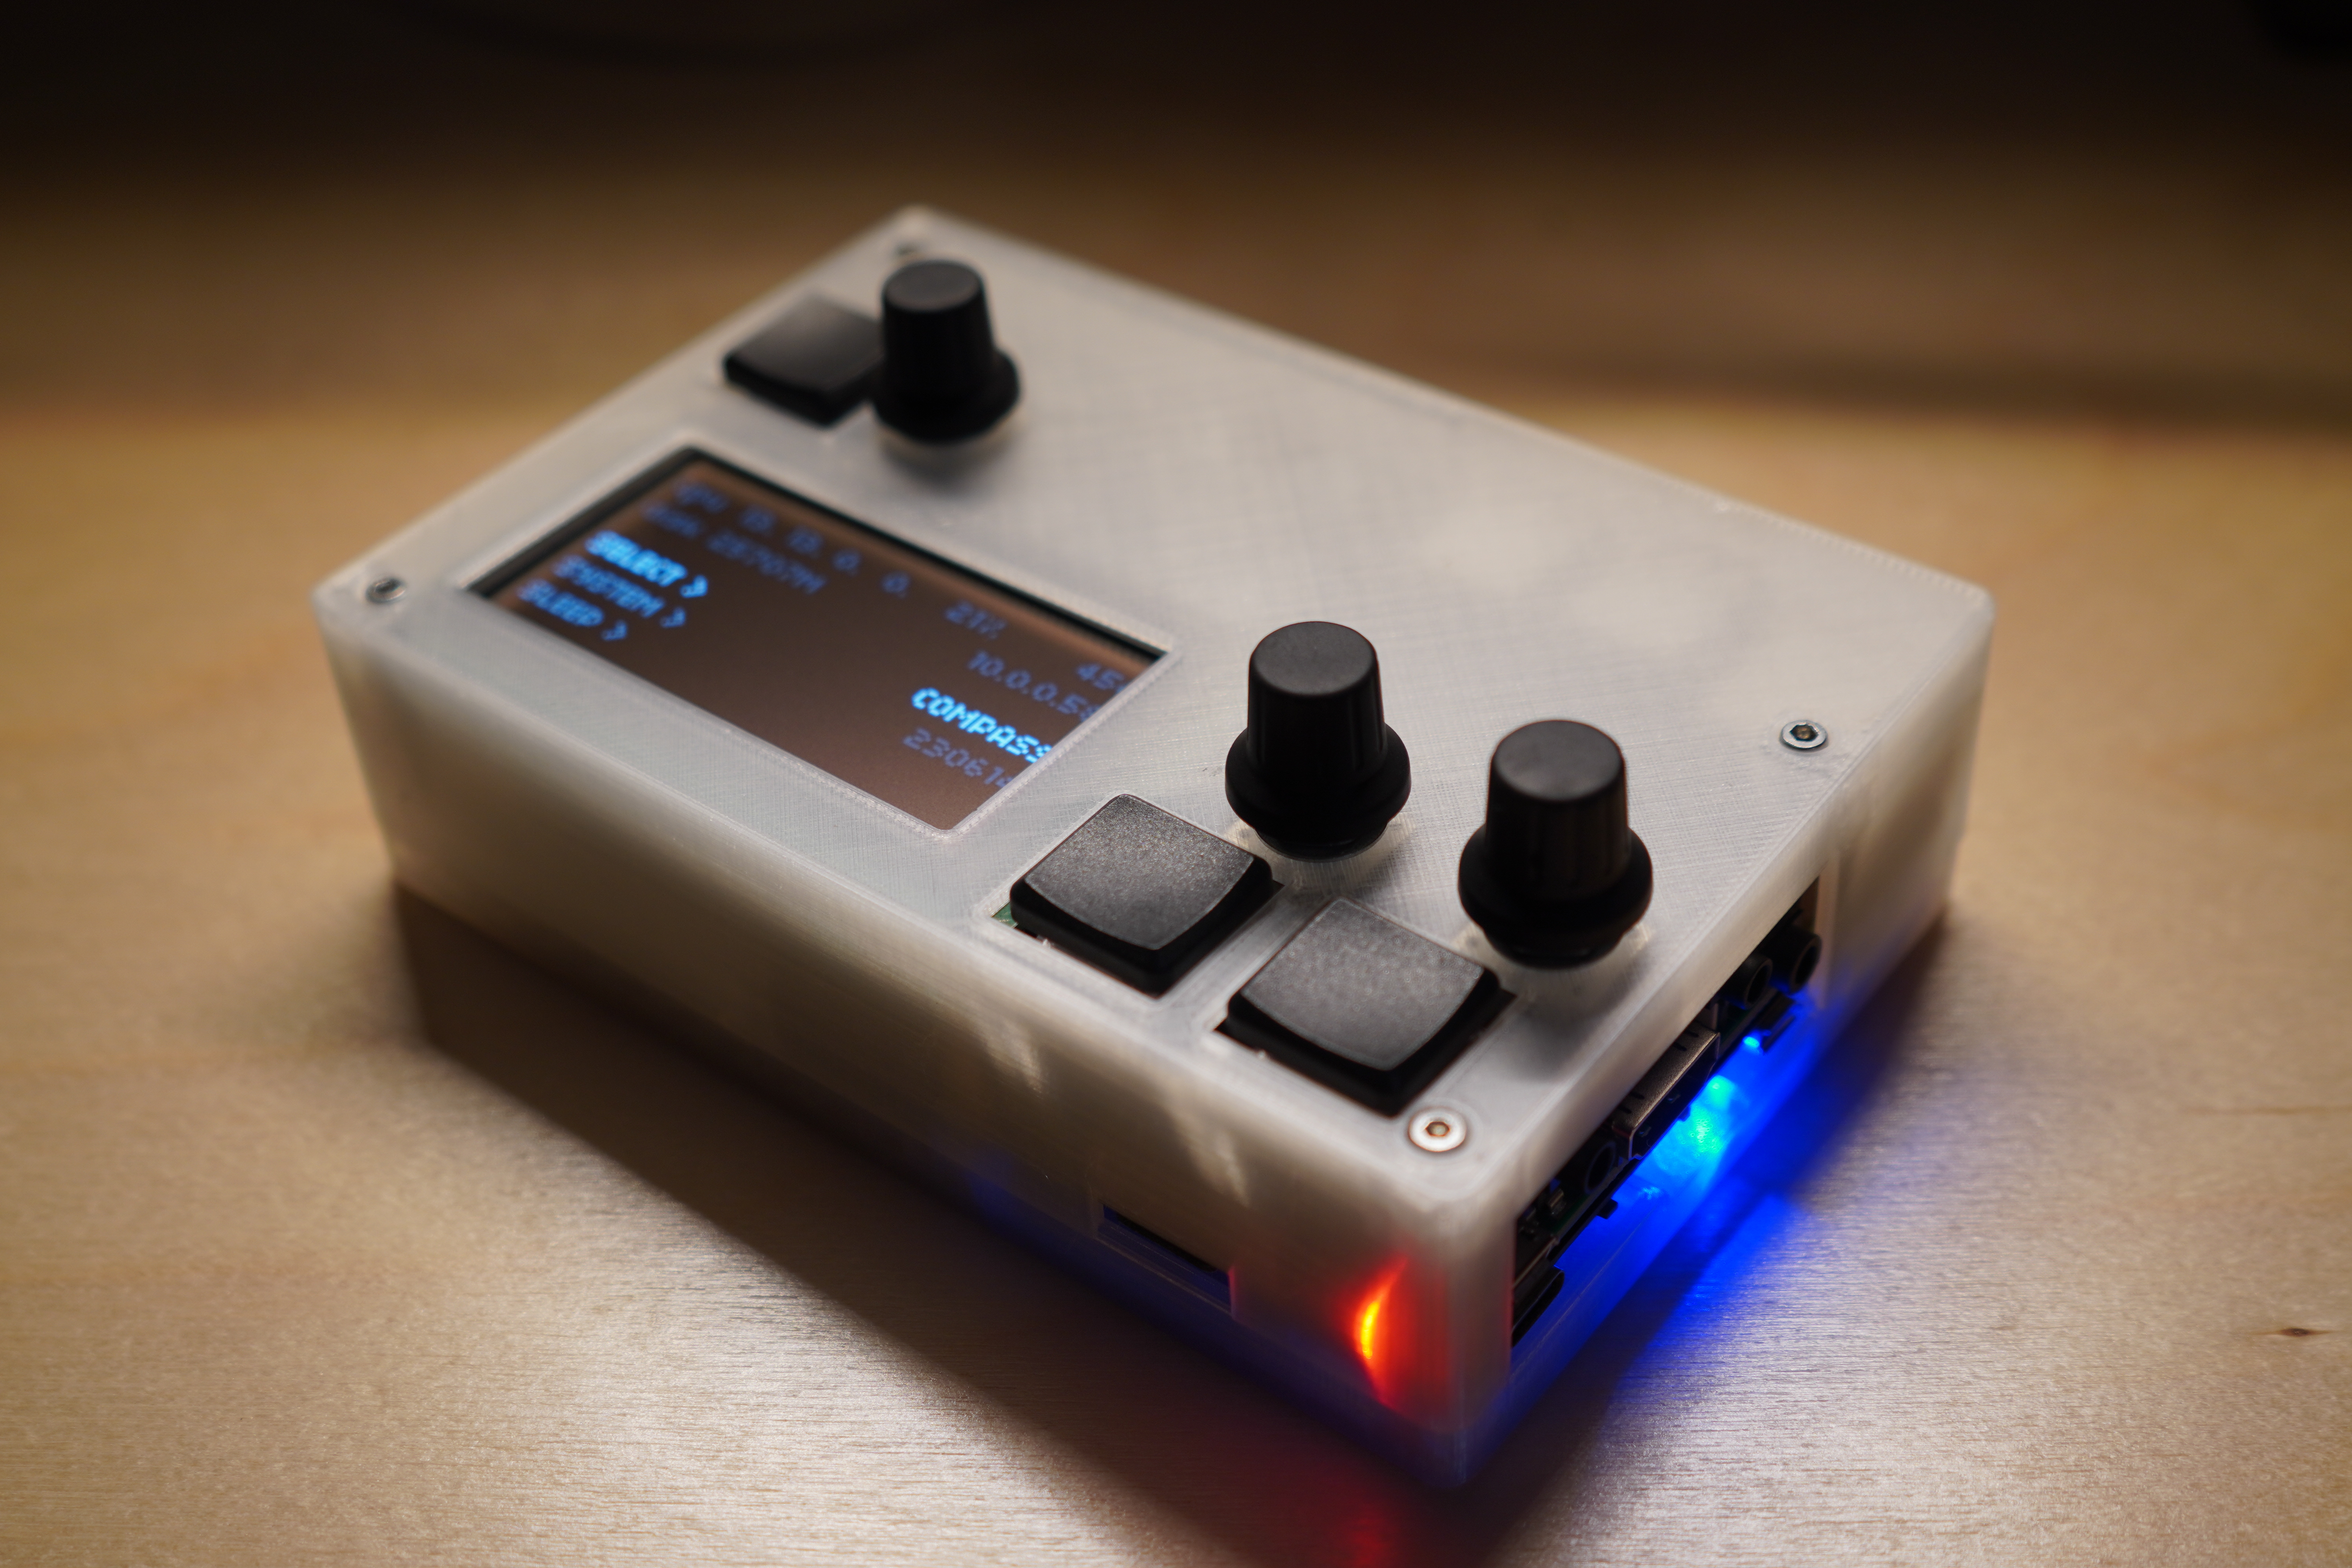
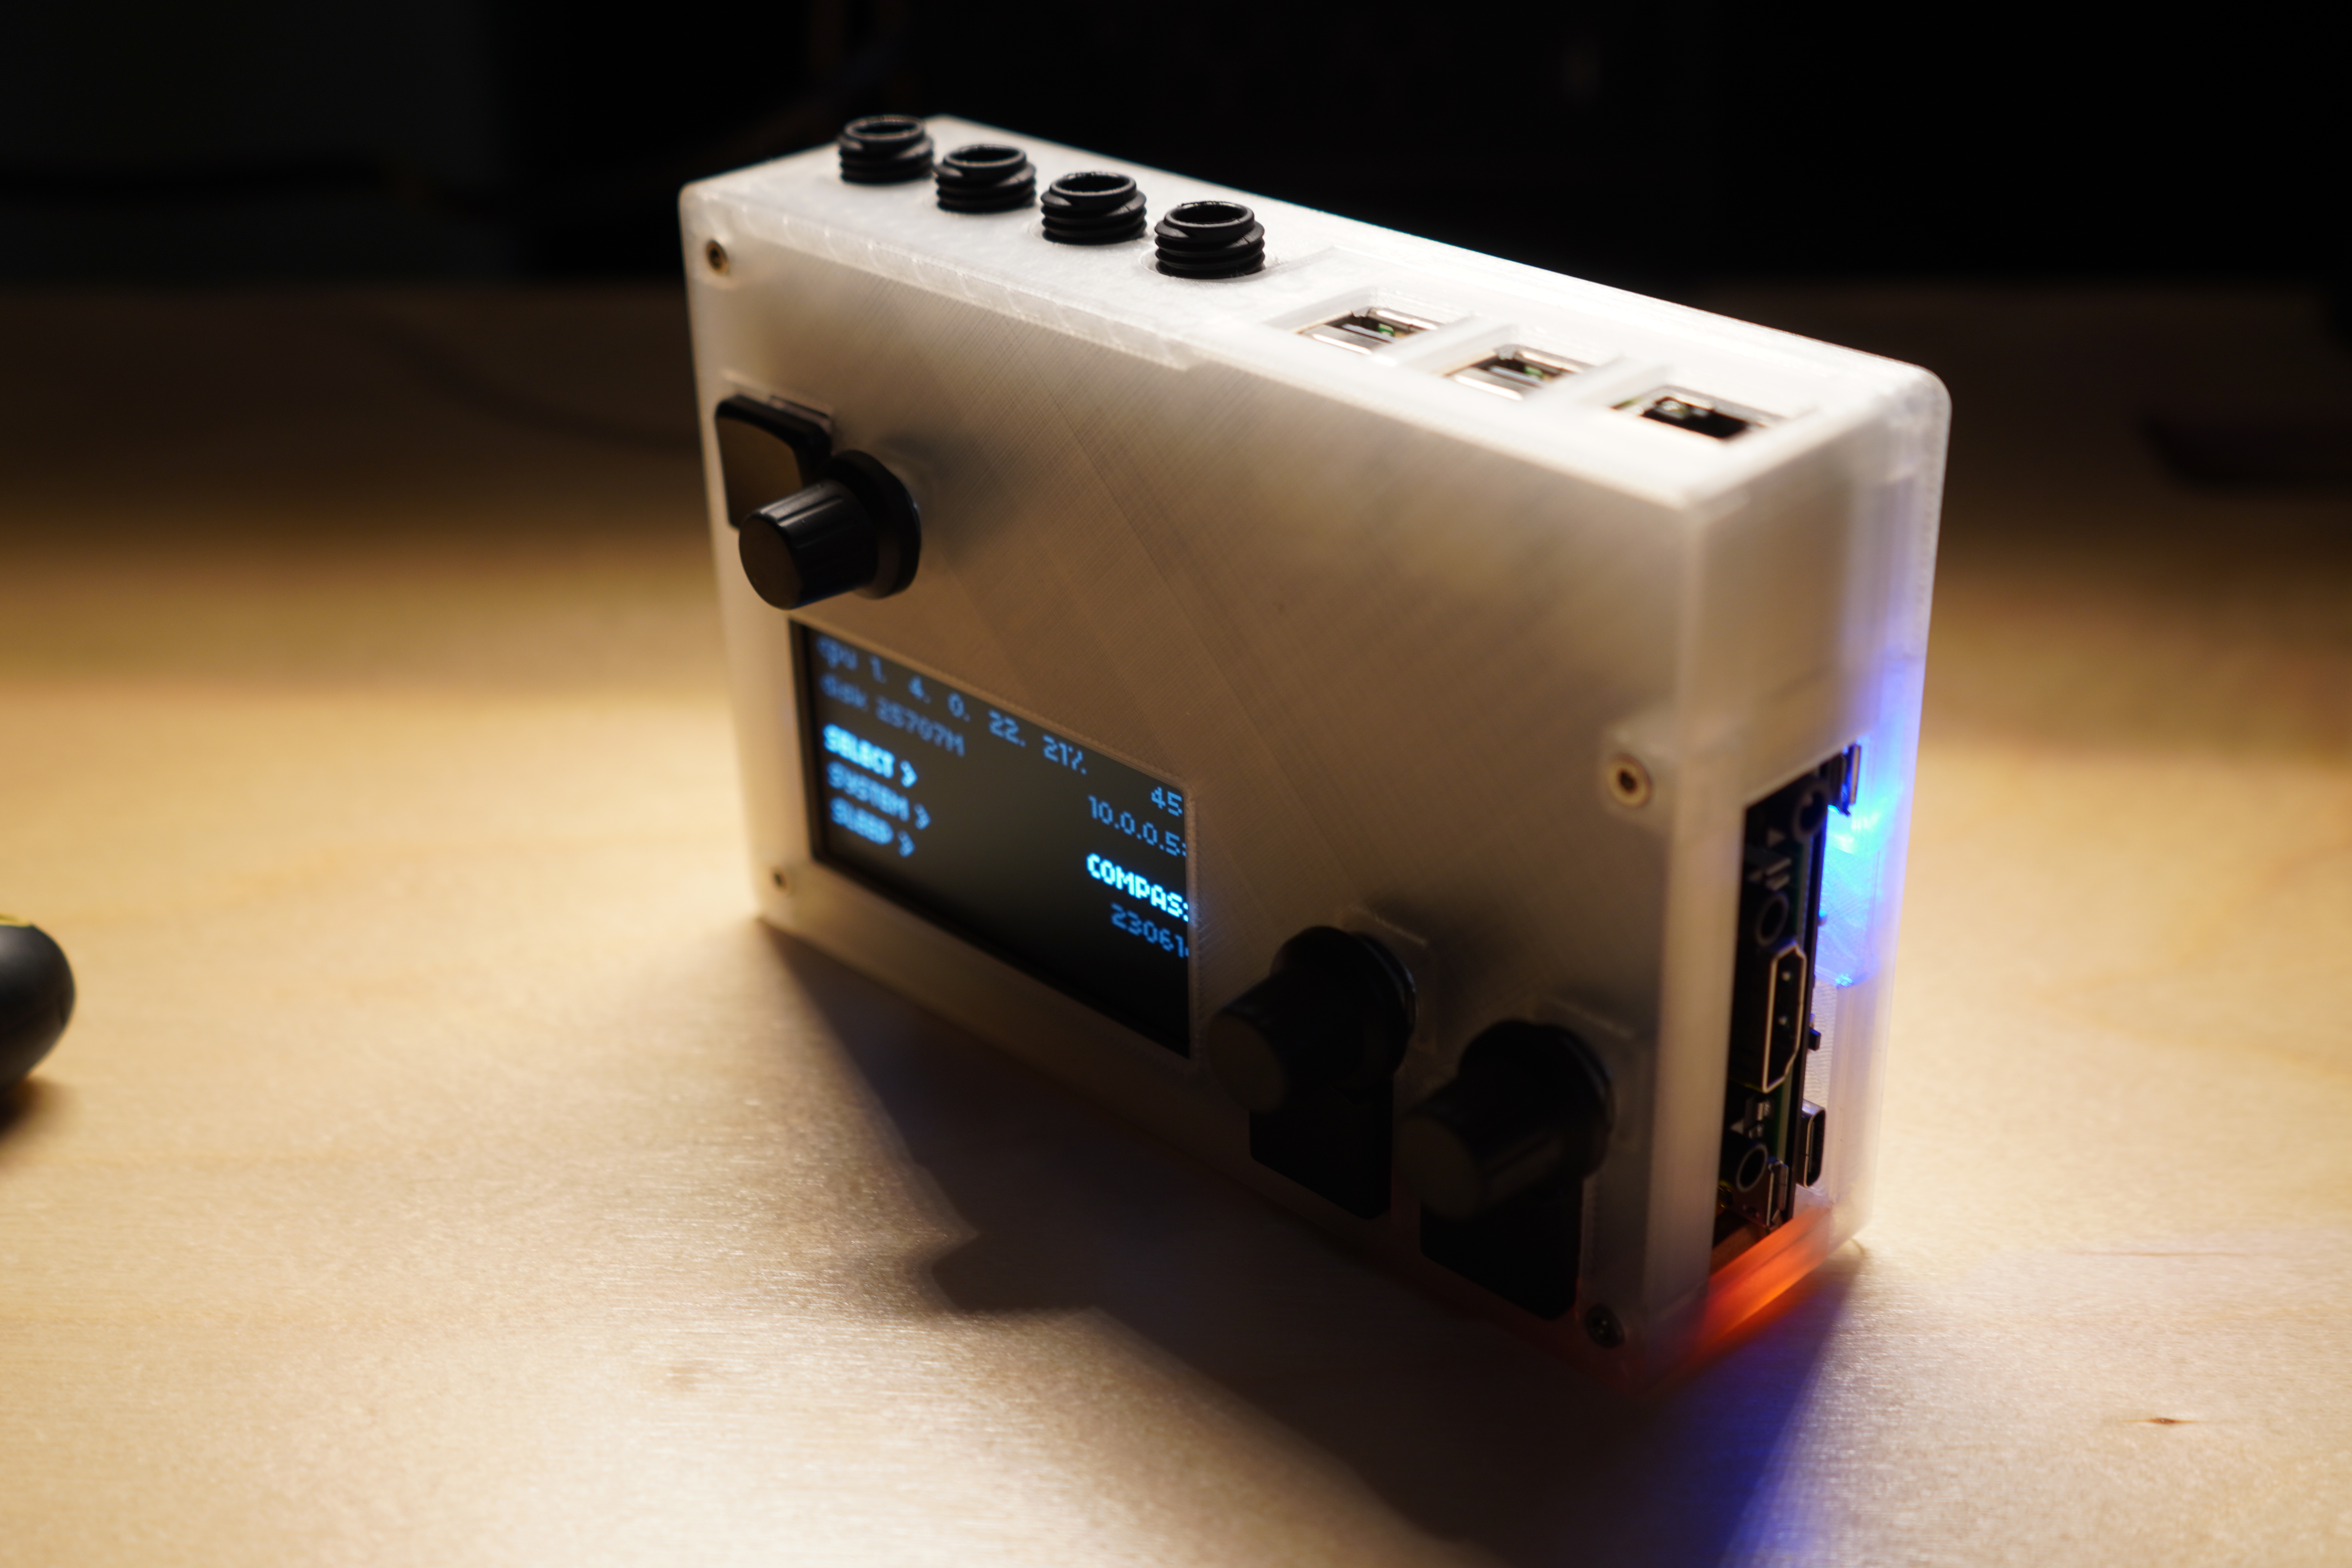
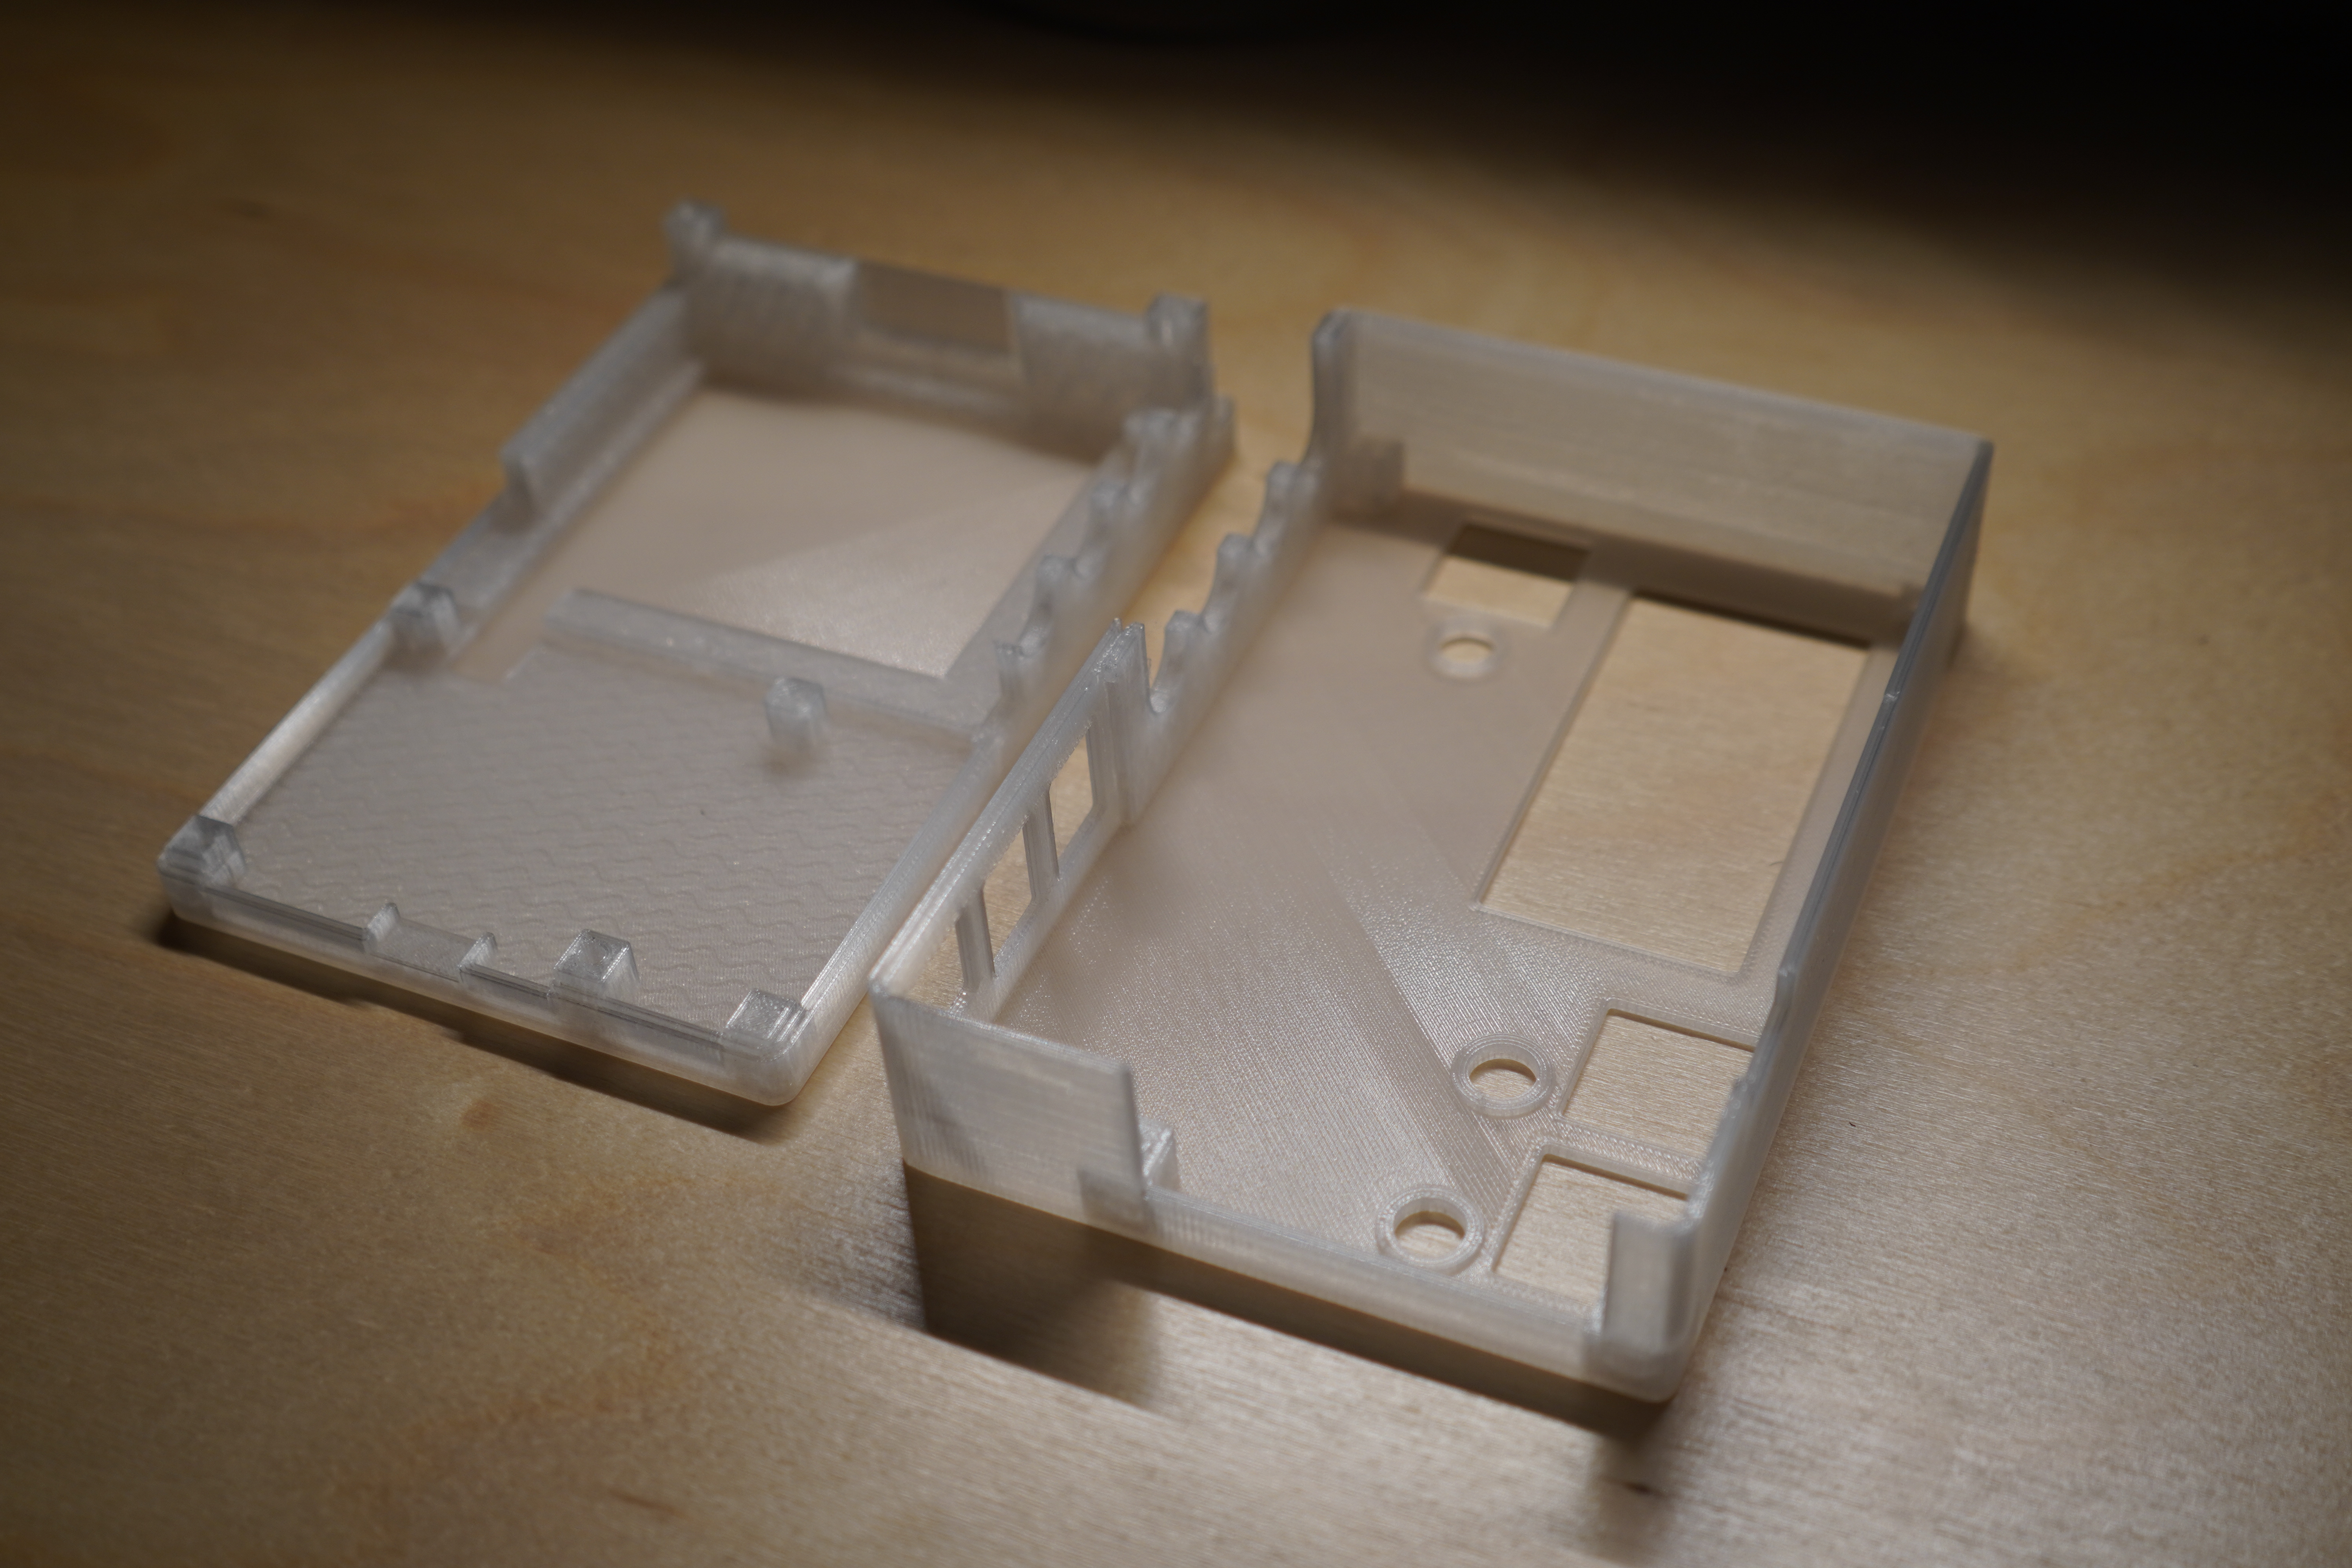
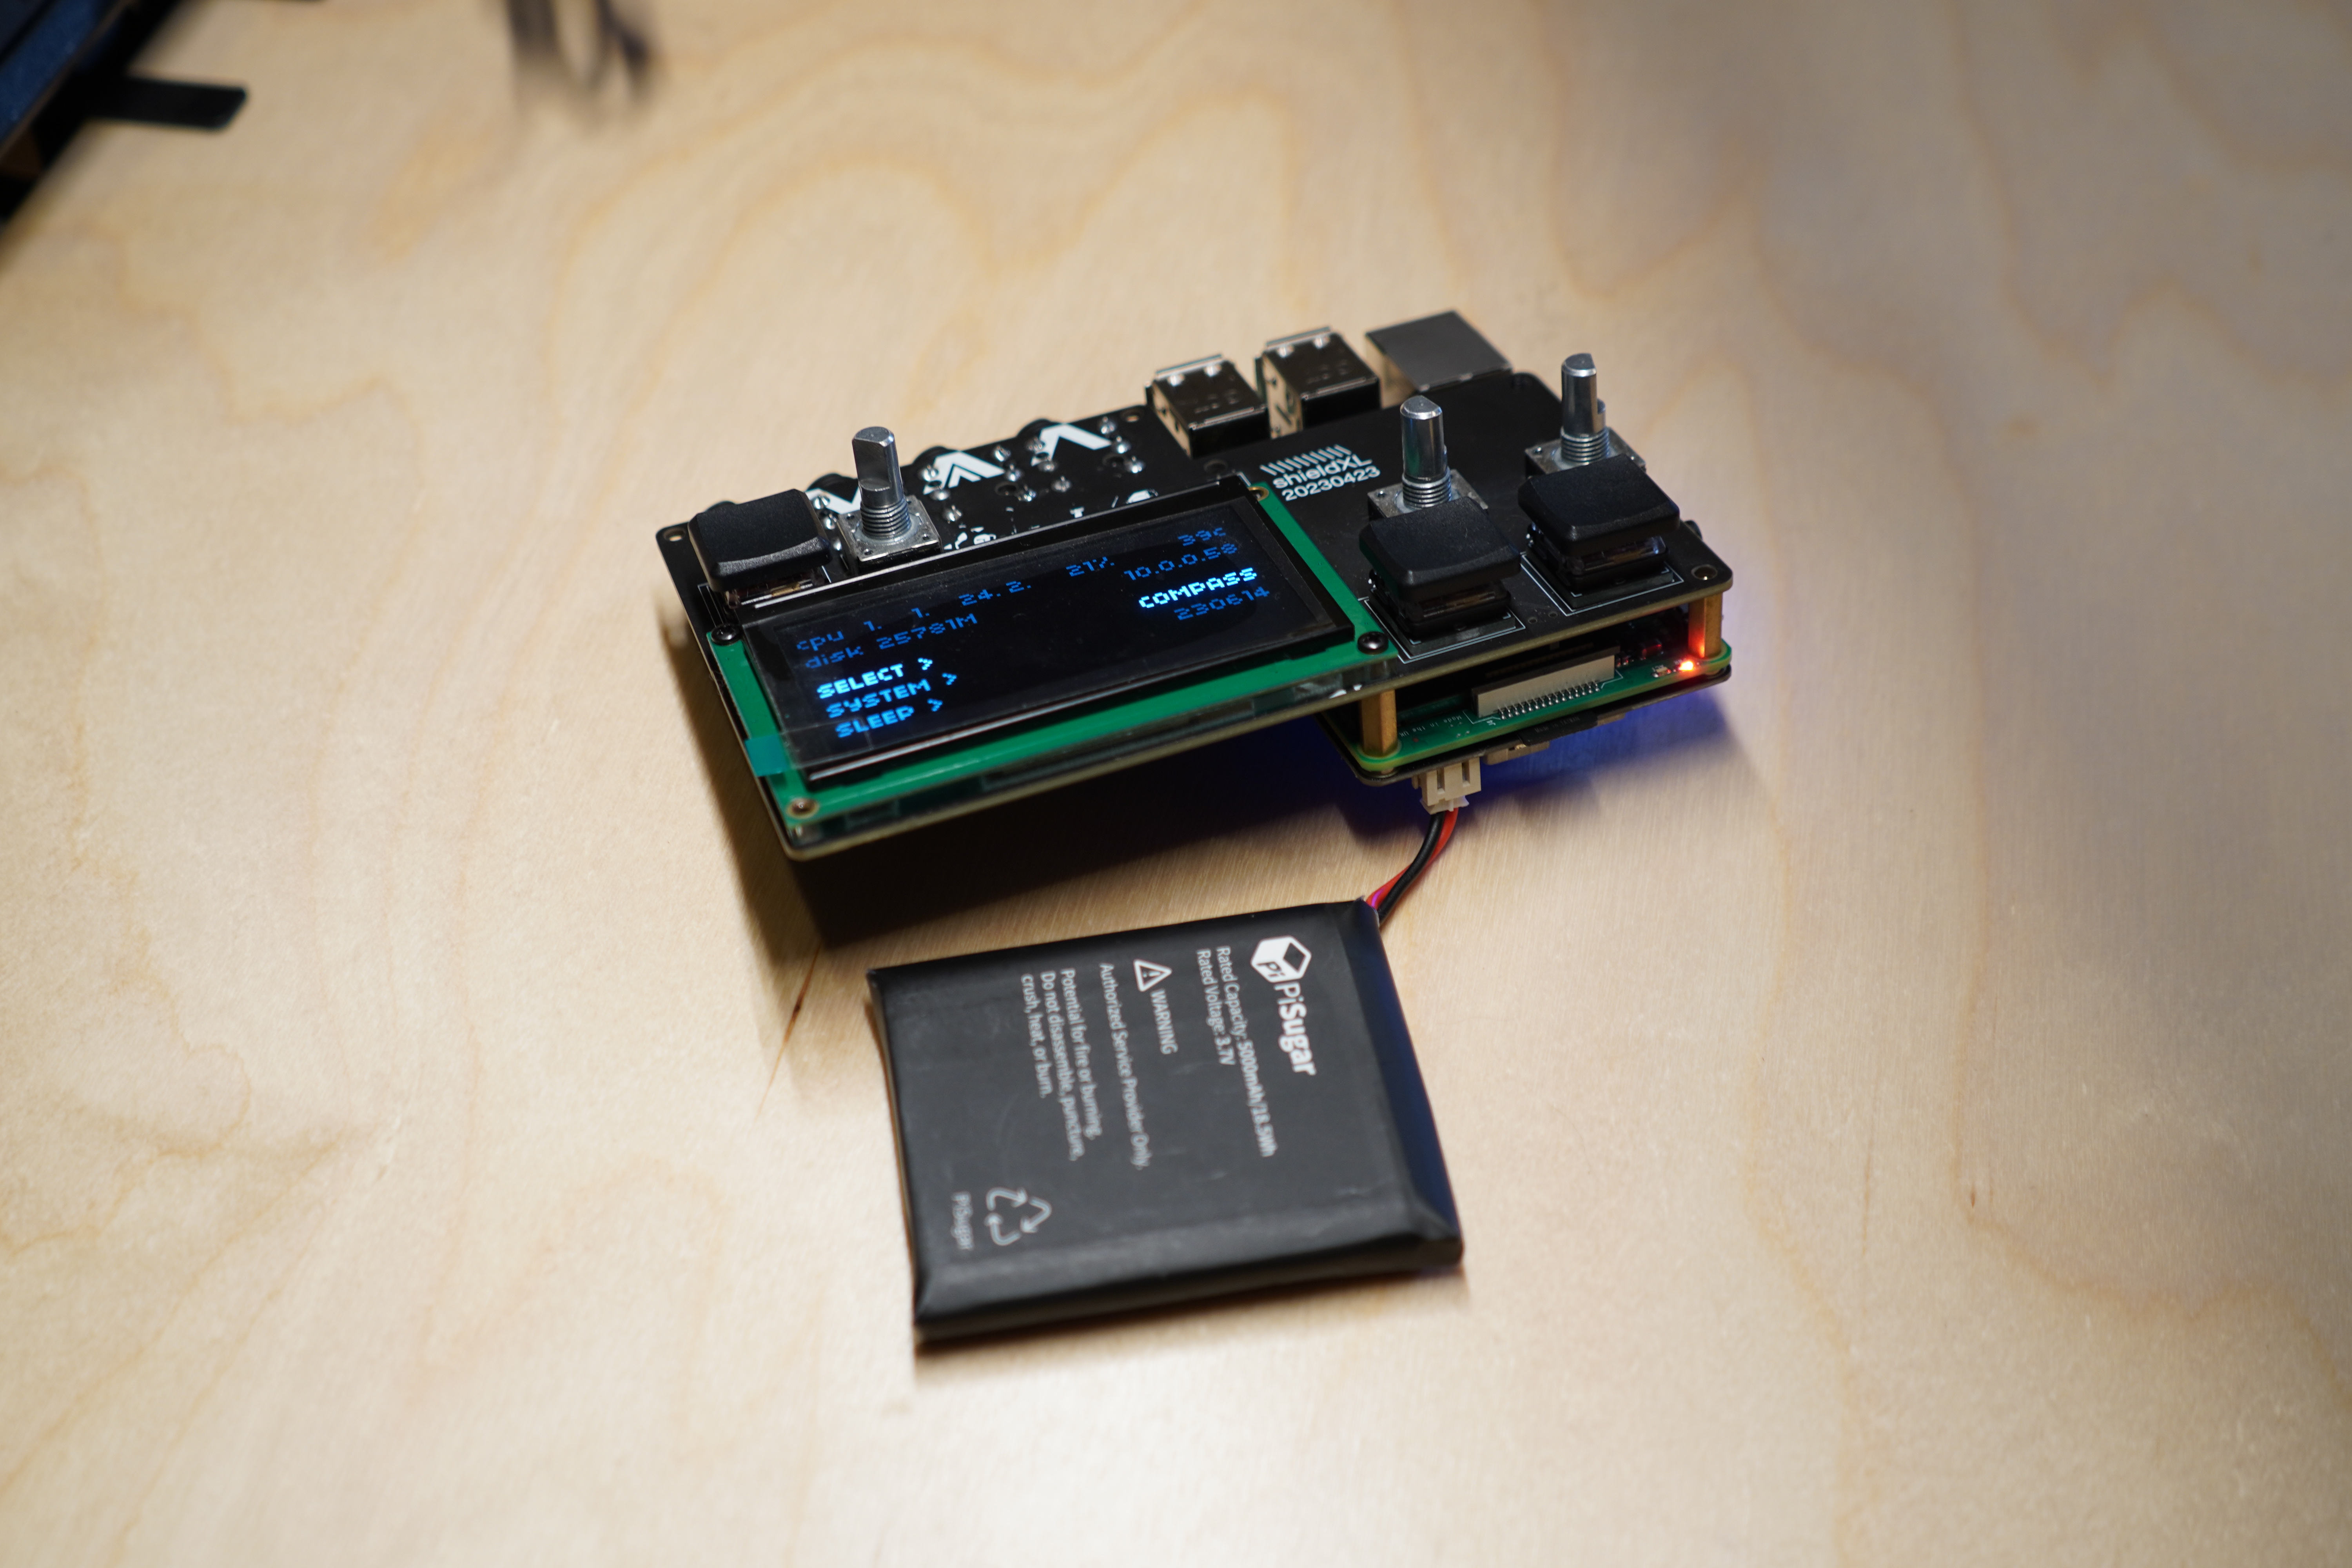
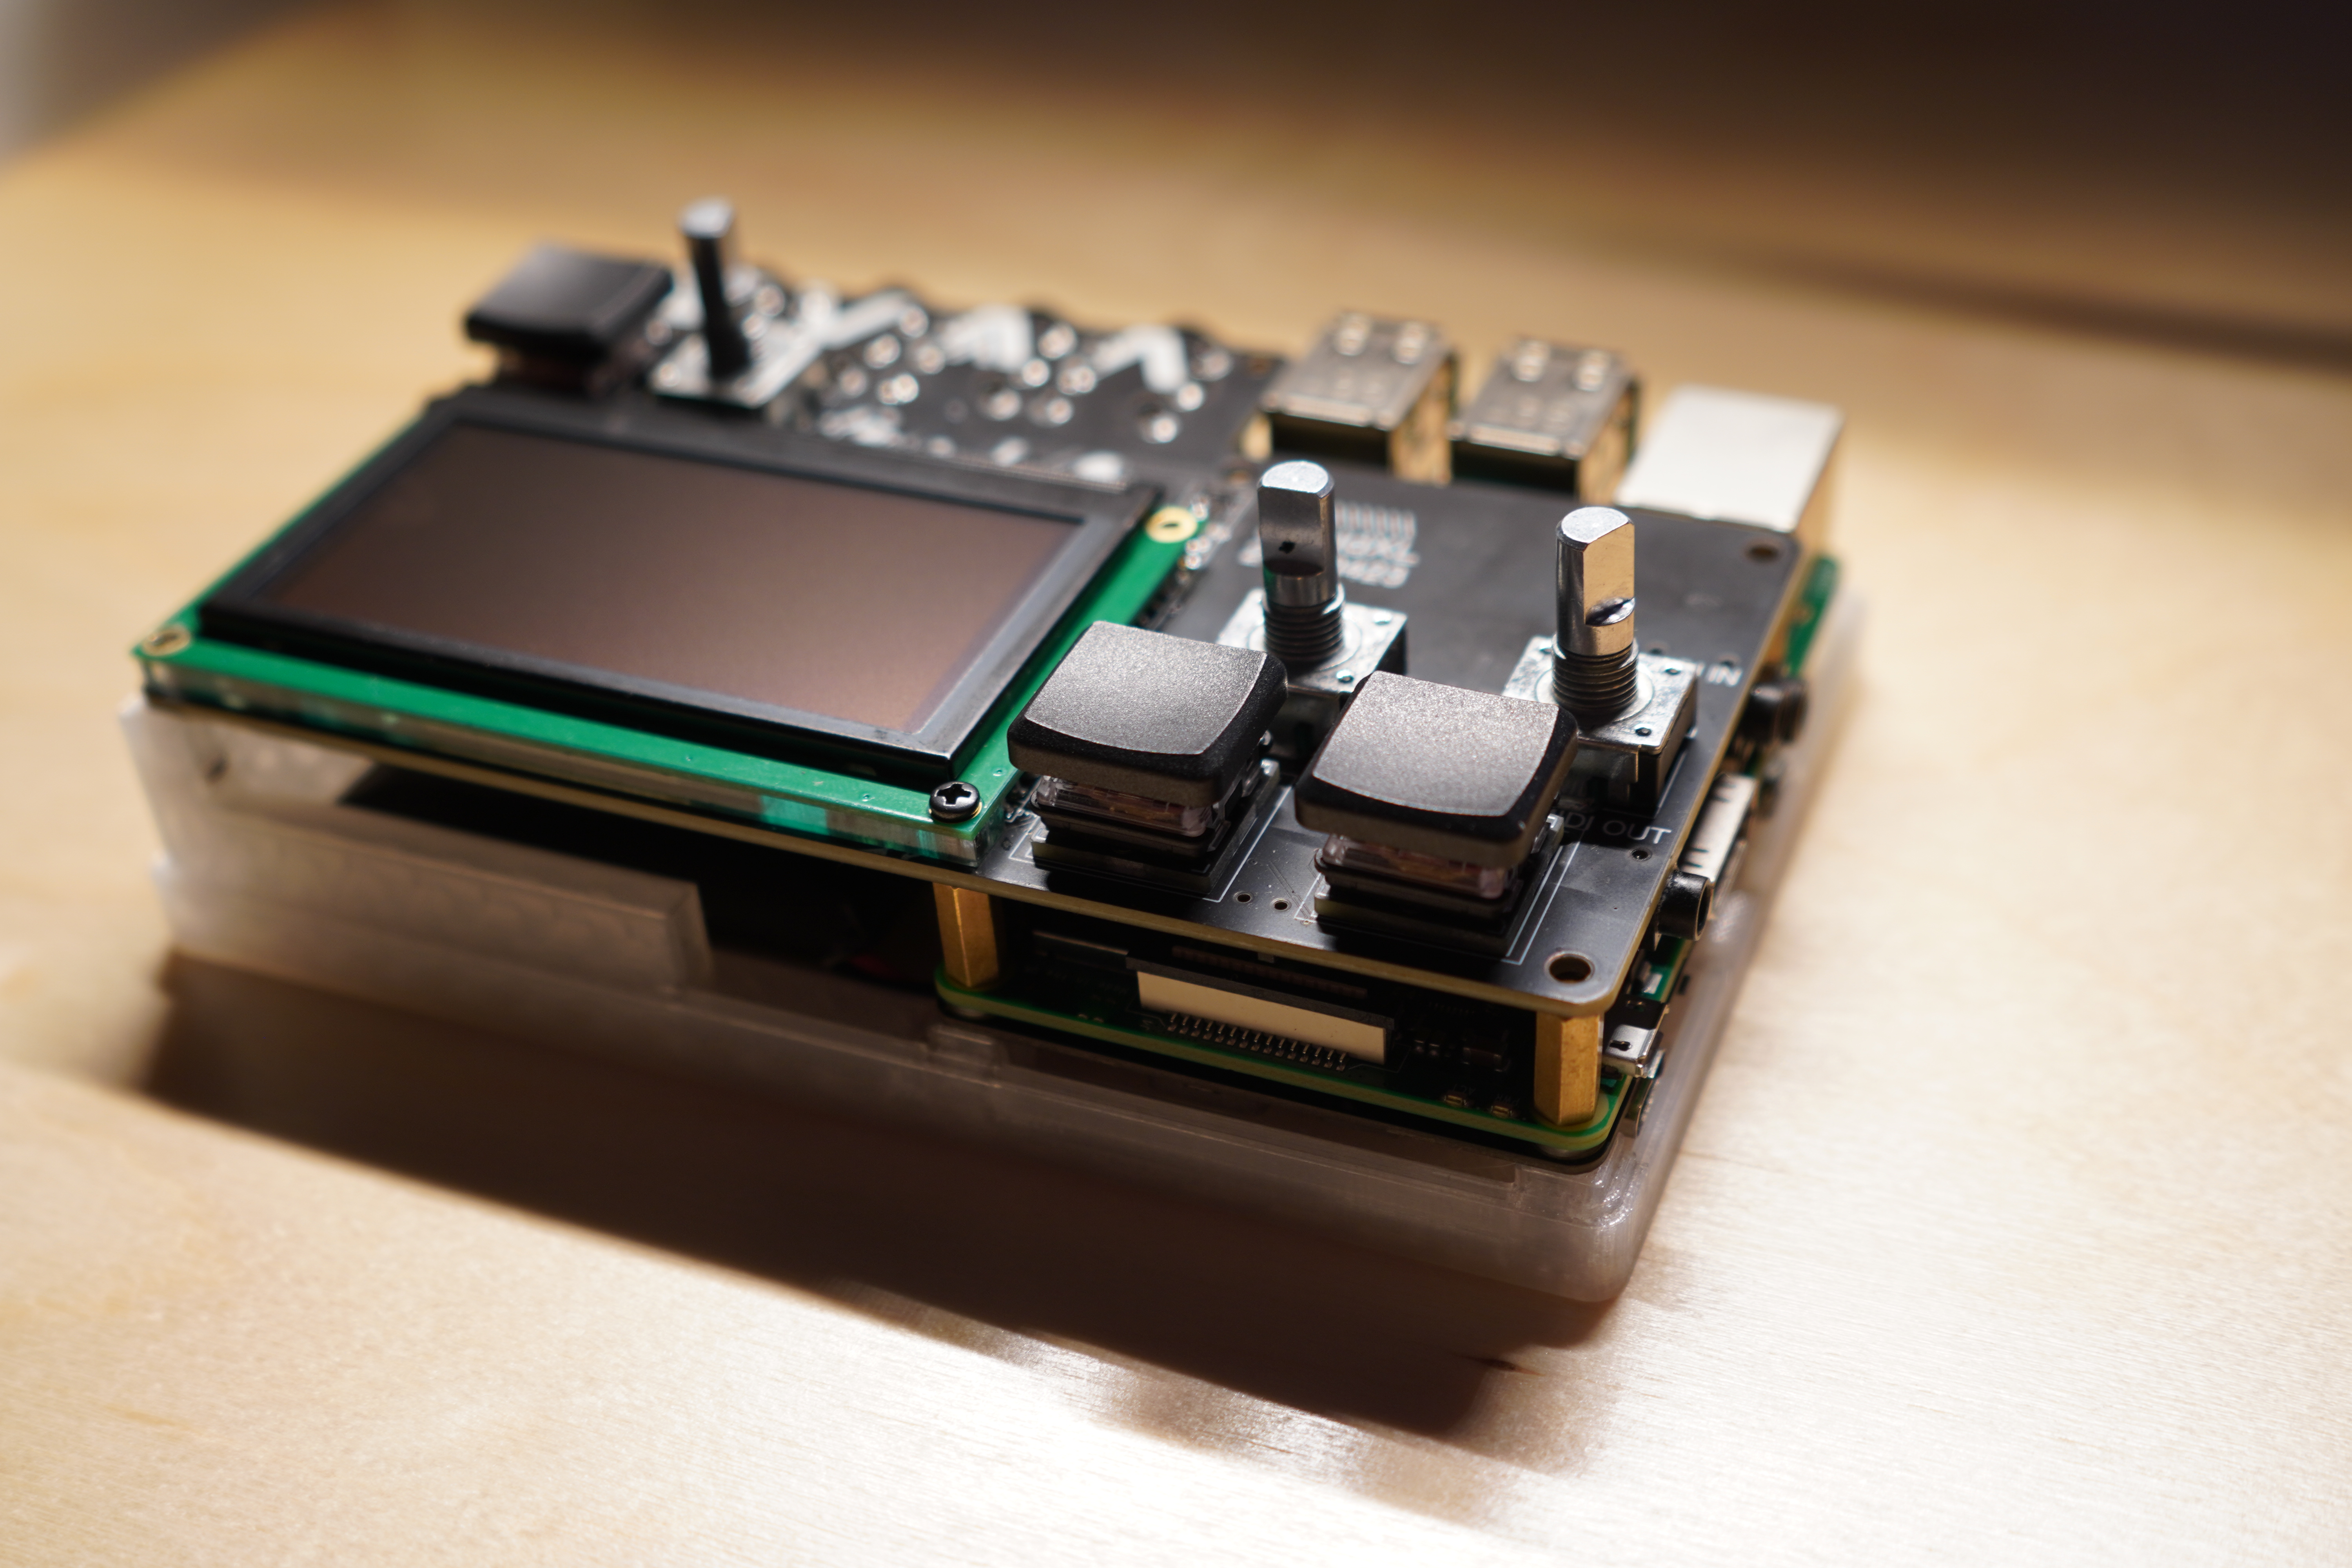
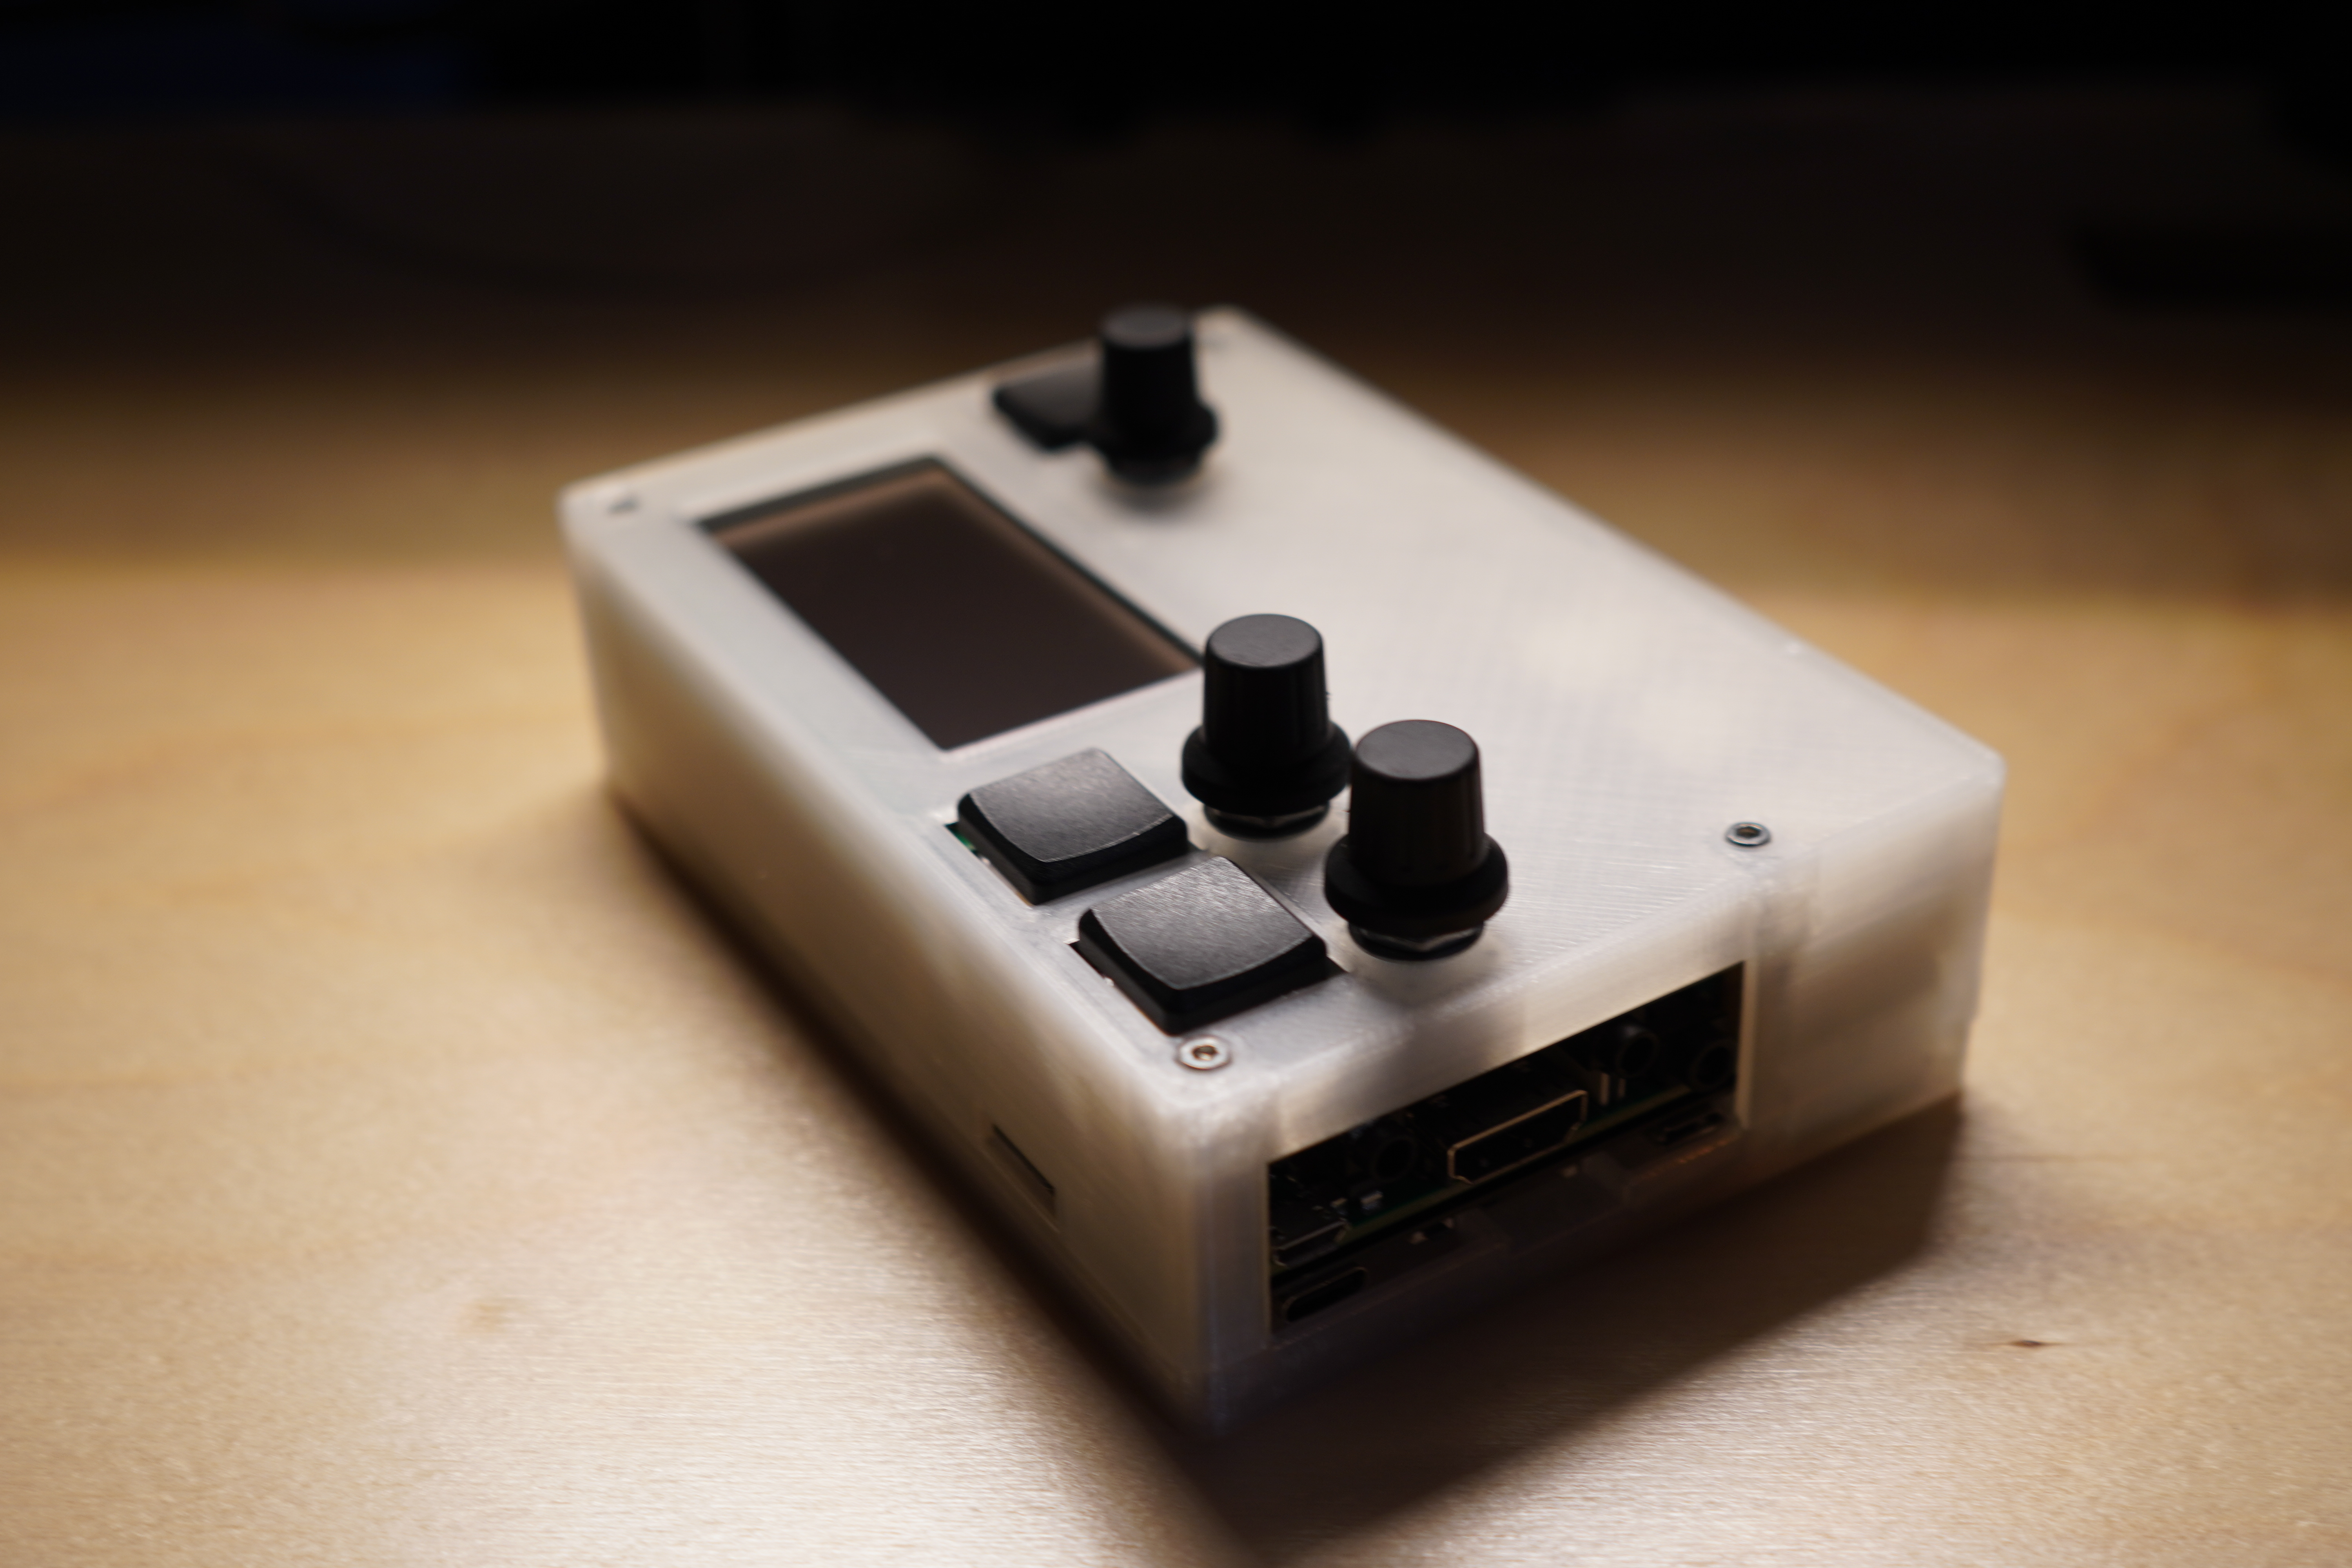
A case and internal battery mod for the shieldXl
This mod is not supported by Denki Oto and they are not responsible for assisting with assembly or troubleshooting.
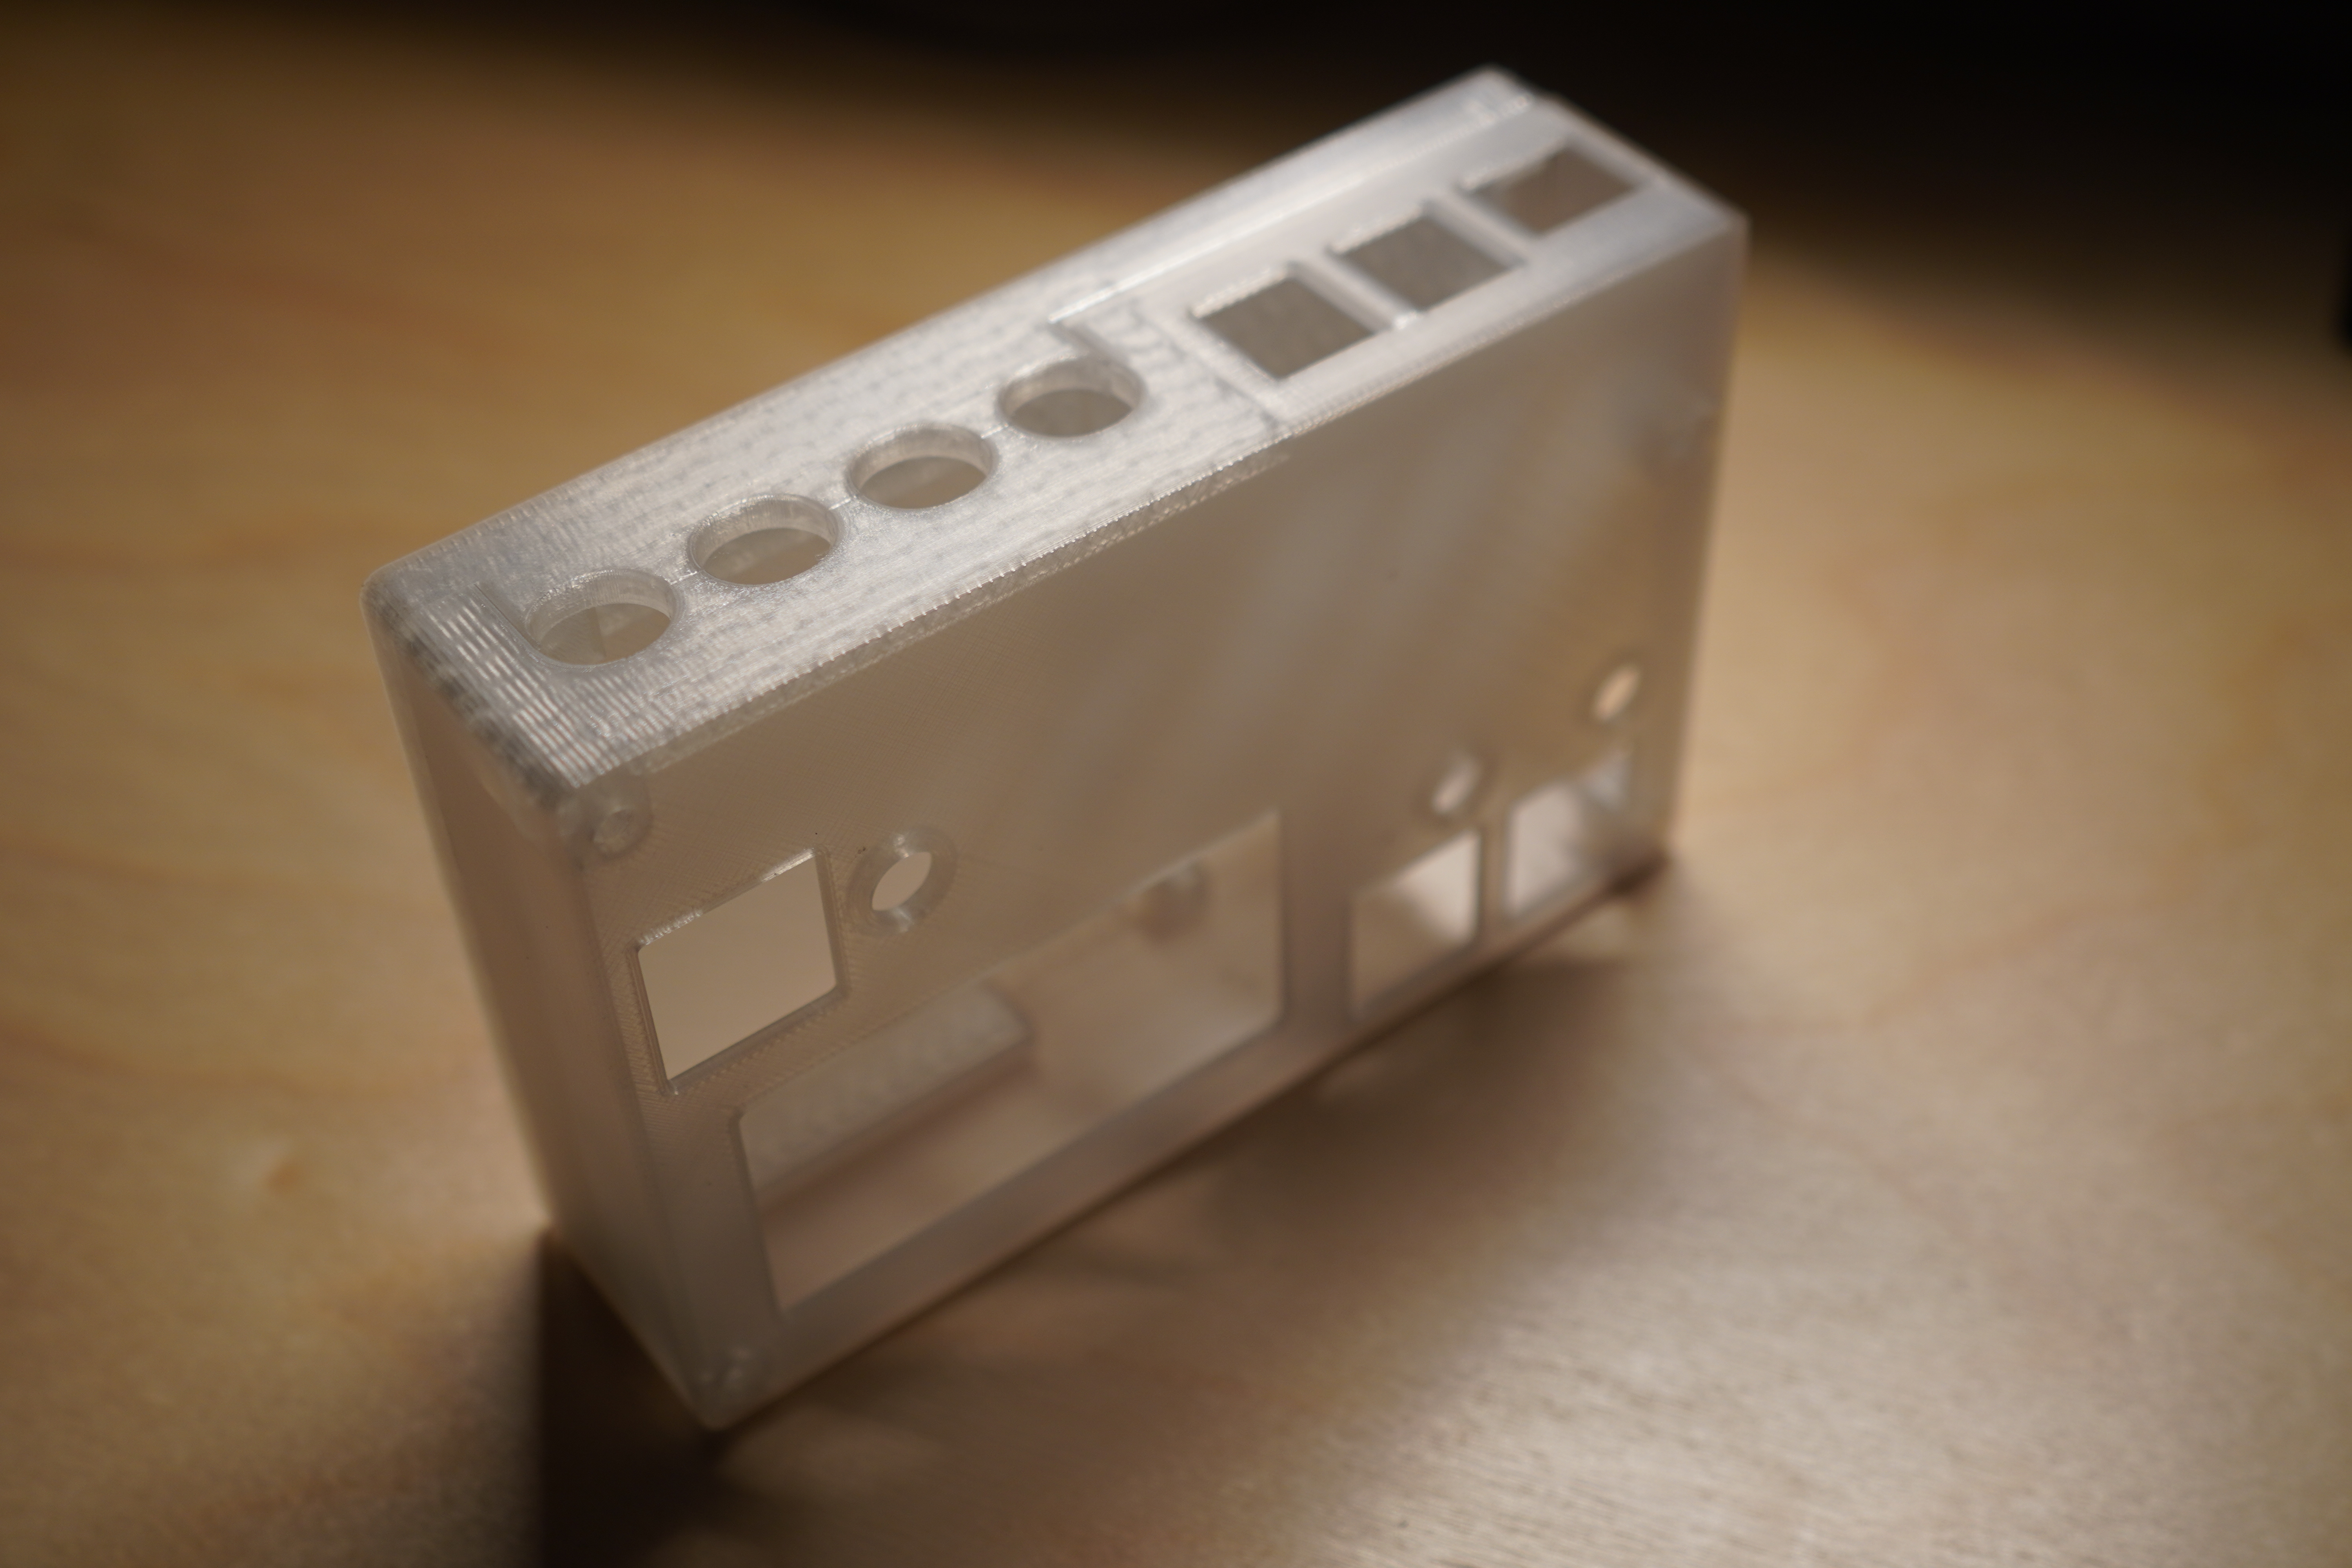
The USB and Ethernet ports are aligned for raspberry pi 3B+. Raspberry pi 4 will work but the cutouts will not be aligned correctly.
Kits for the Pi 3B+ flavor of this case are available of on the Modbang shop.
| Table of Contents |
|---|
| Credits |
| Use |
| BOM |
| Case |
| Installation |
| Troubleshooting |
Referenced model was designed by CarlosUnch, John Park and Steven Noreyko.
Project inspiration from Peter Kassel FAQ/troubleshooting contributions:
- Moneo
Toggle the power switch to turn on the battery (Blue light will illuminate and green light should flash)
- 1x assembled shieldxl
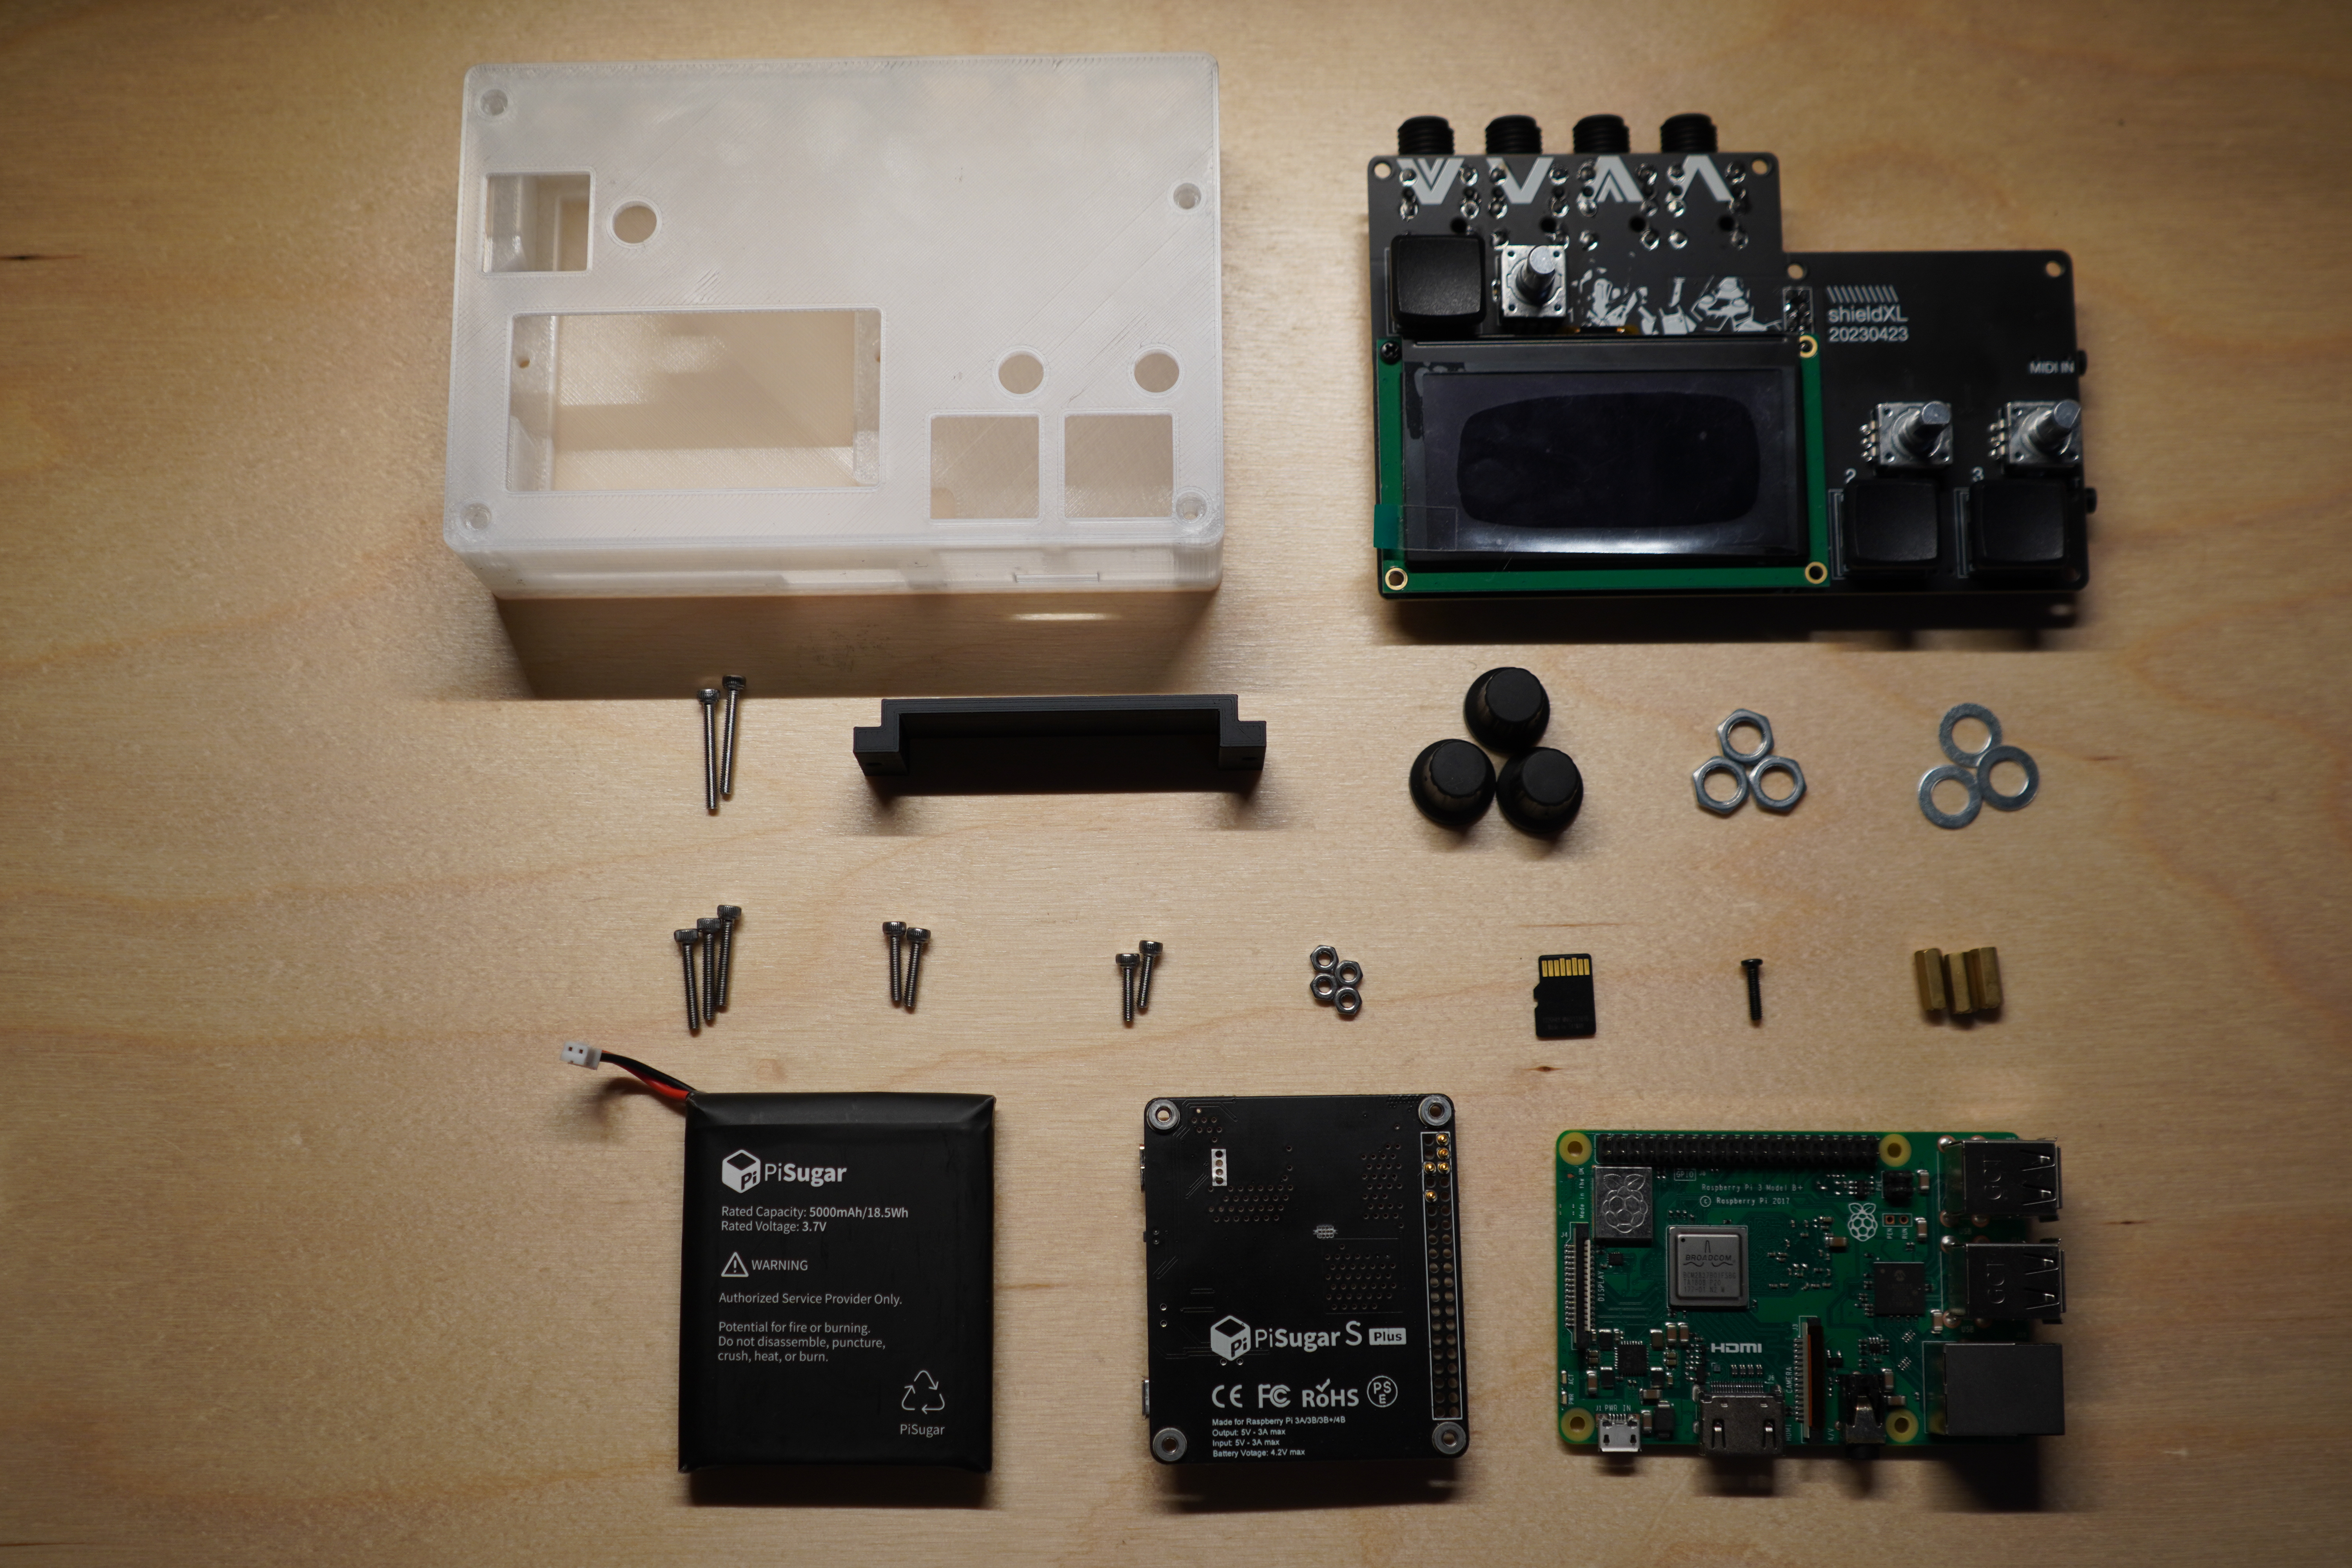
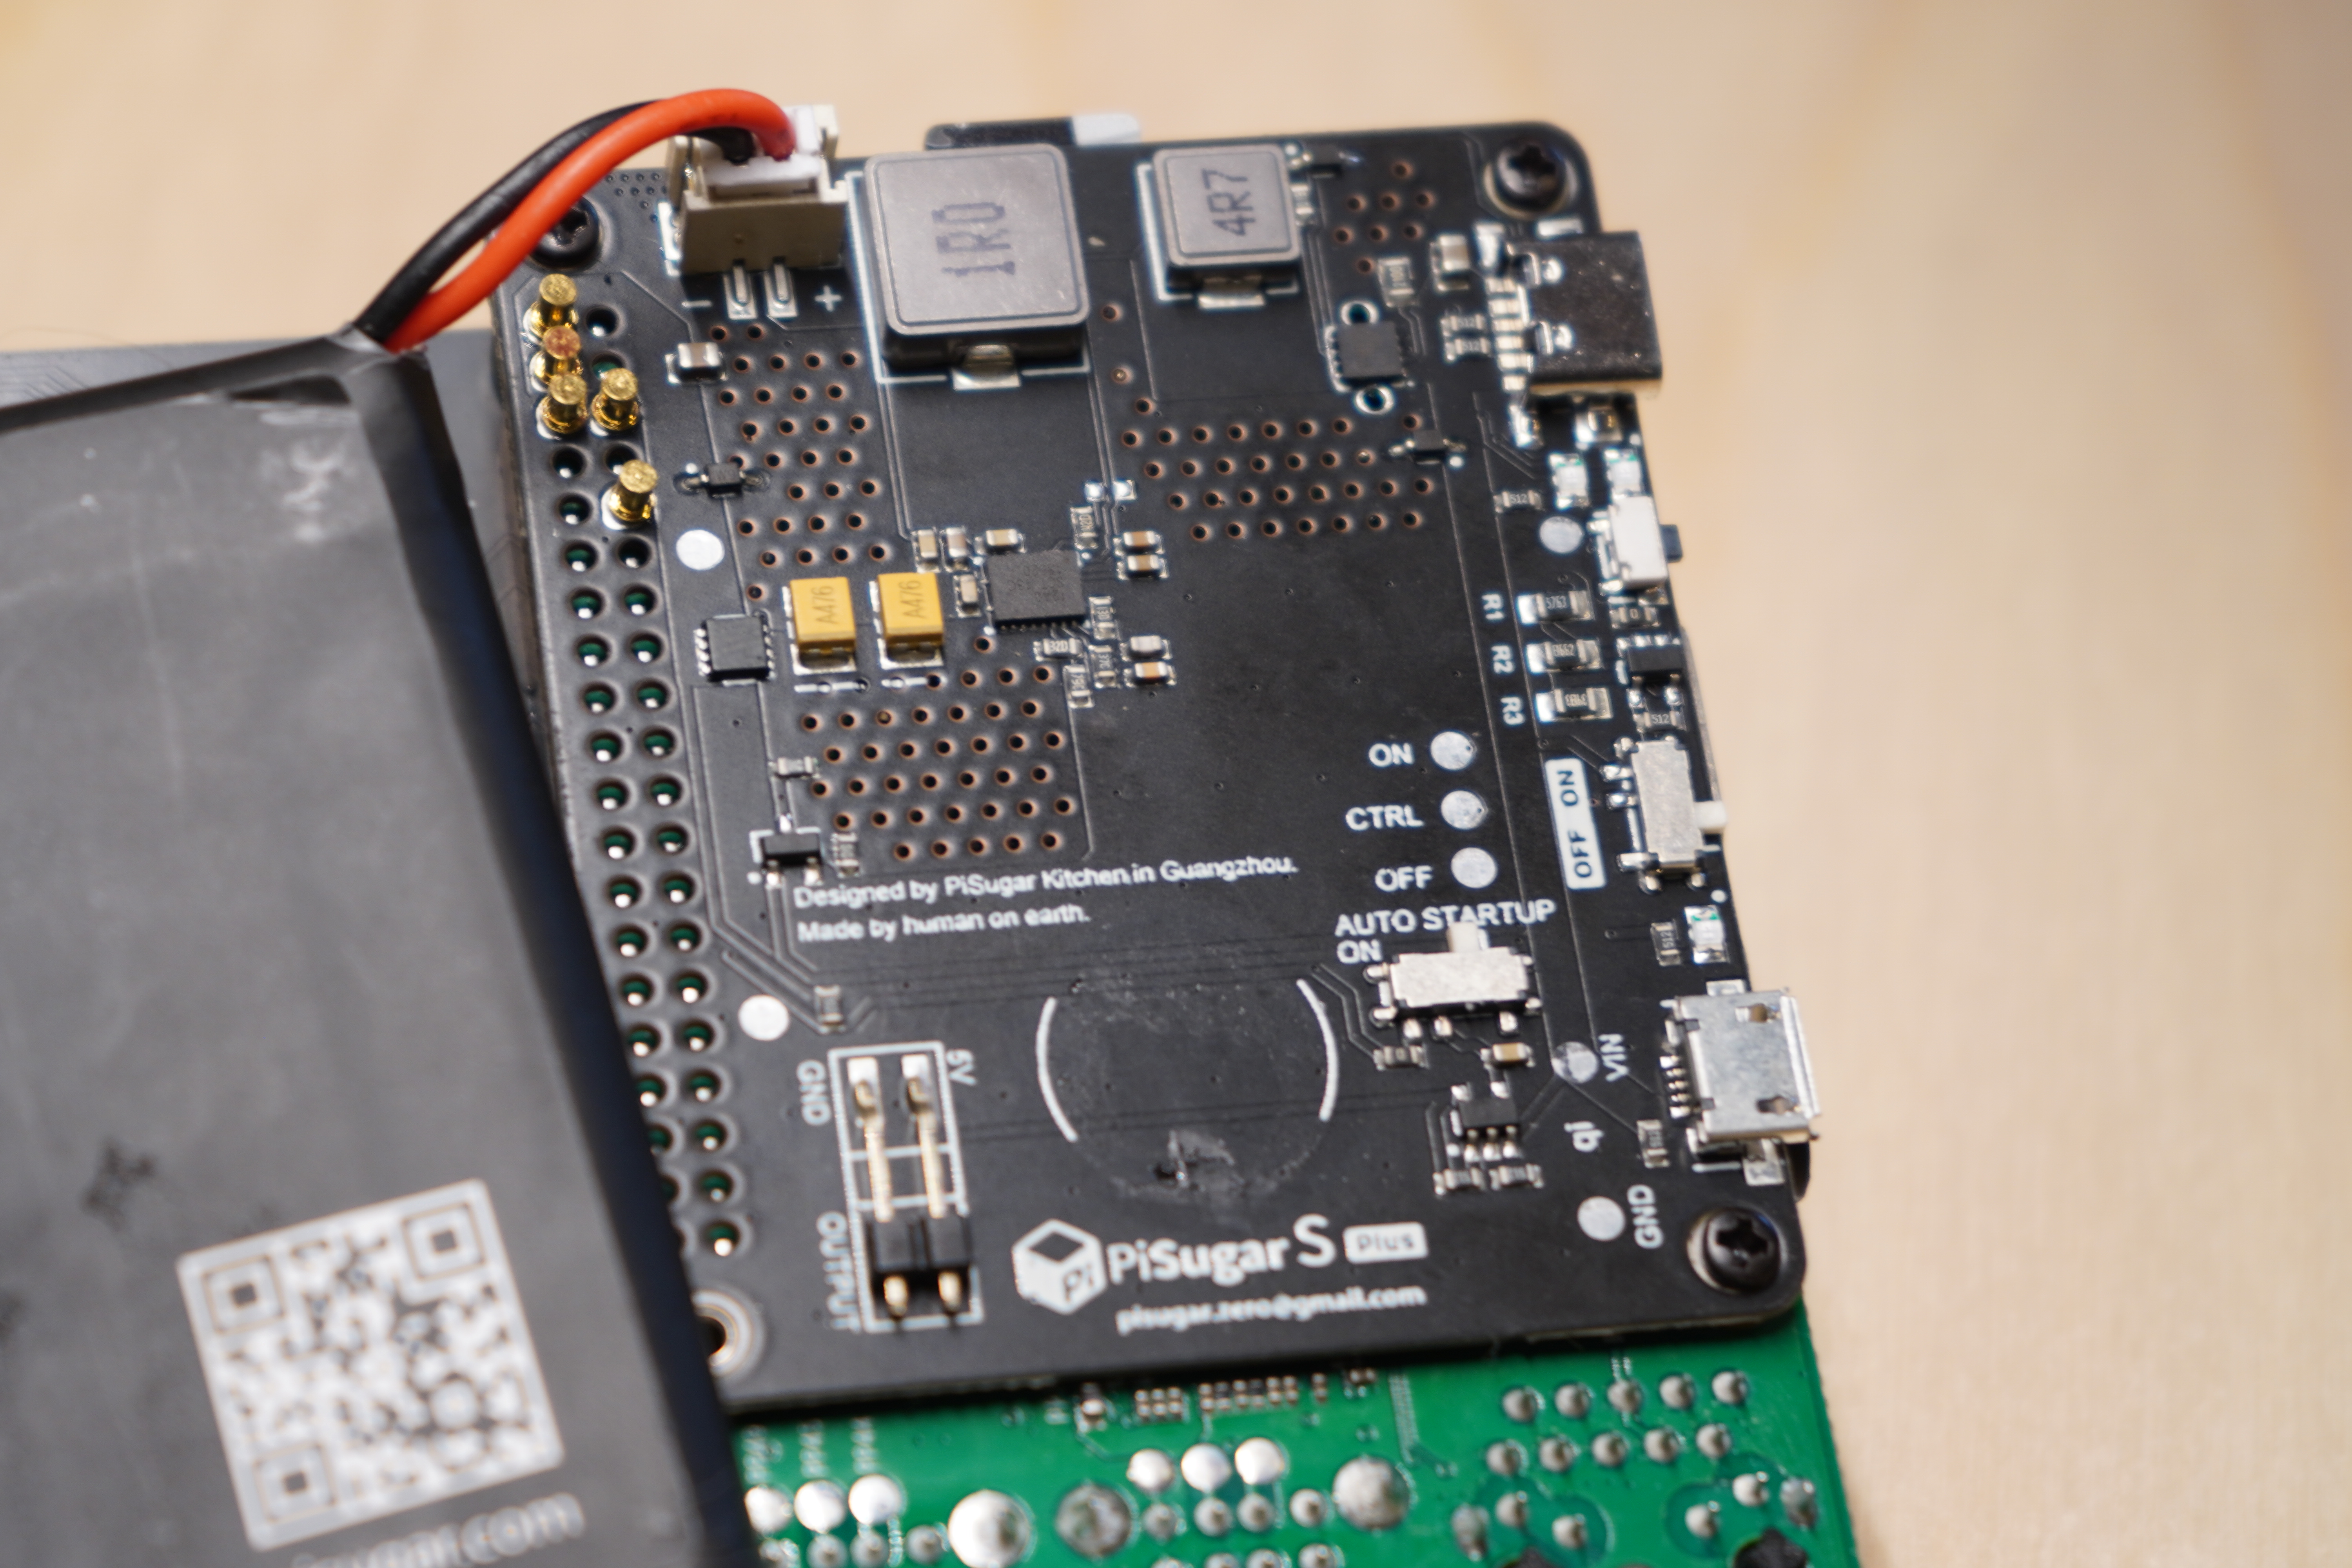
*(bom for the shieldXl is available over on GitHub and kits are available at the Denki Oto Shop) - 1x Pisugar S Plus battery assembly (5000mAh 5 volt 3 amp)
- 1x shieldXl_battery case (see Models & Printing)
%! - 1x pig tail JST-PH 2.0 female header
%! - M2.5 bolts
- 2x 20mm
%! - 3x 16mm
%! - 2x 12mm
%! - 2x 10mm
%! - 1x 9mm
*
- 2x 20mm
- 2x M2.5 hex nuts 4x M2.5 hex nuts if using the
bottom with hex nut.stlfile. - 2x M2.5 heat set inserts None if using the
bottom with hex nut.stlfile. - 3x M2.5 11mm f-f standoffs
* - 3x encoder nuts + washers
* - 3x encoder caps
*
Items marked with * are included in the shieldXl kit from Denki Oto.
Items marked with %! are included in the shieldXl battery kit on the Modbang shop.
STL made in reference to the original shieldXl case. shieldXl_battery design was made with Blender and CAD Sketcher.
gcode and prusa slicer files can be found in /prints, stls in /models. Tested with PLA on Prusa MK3 and Prusa MK4 printers.
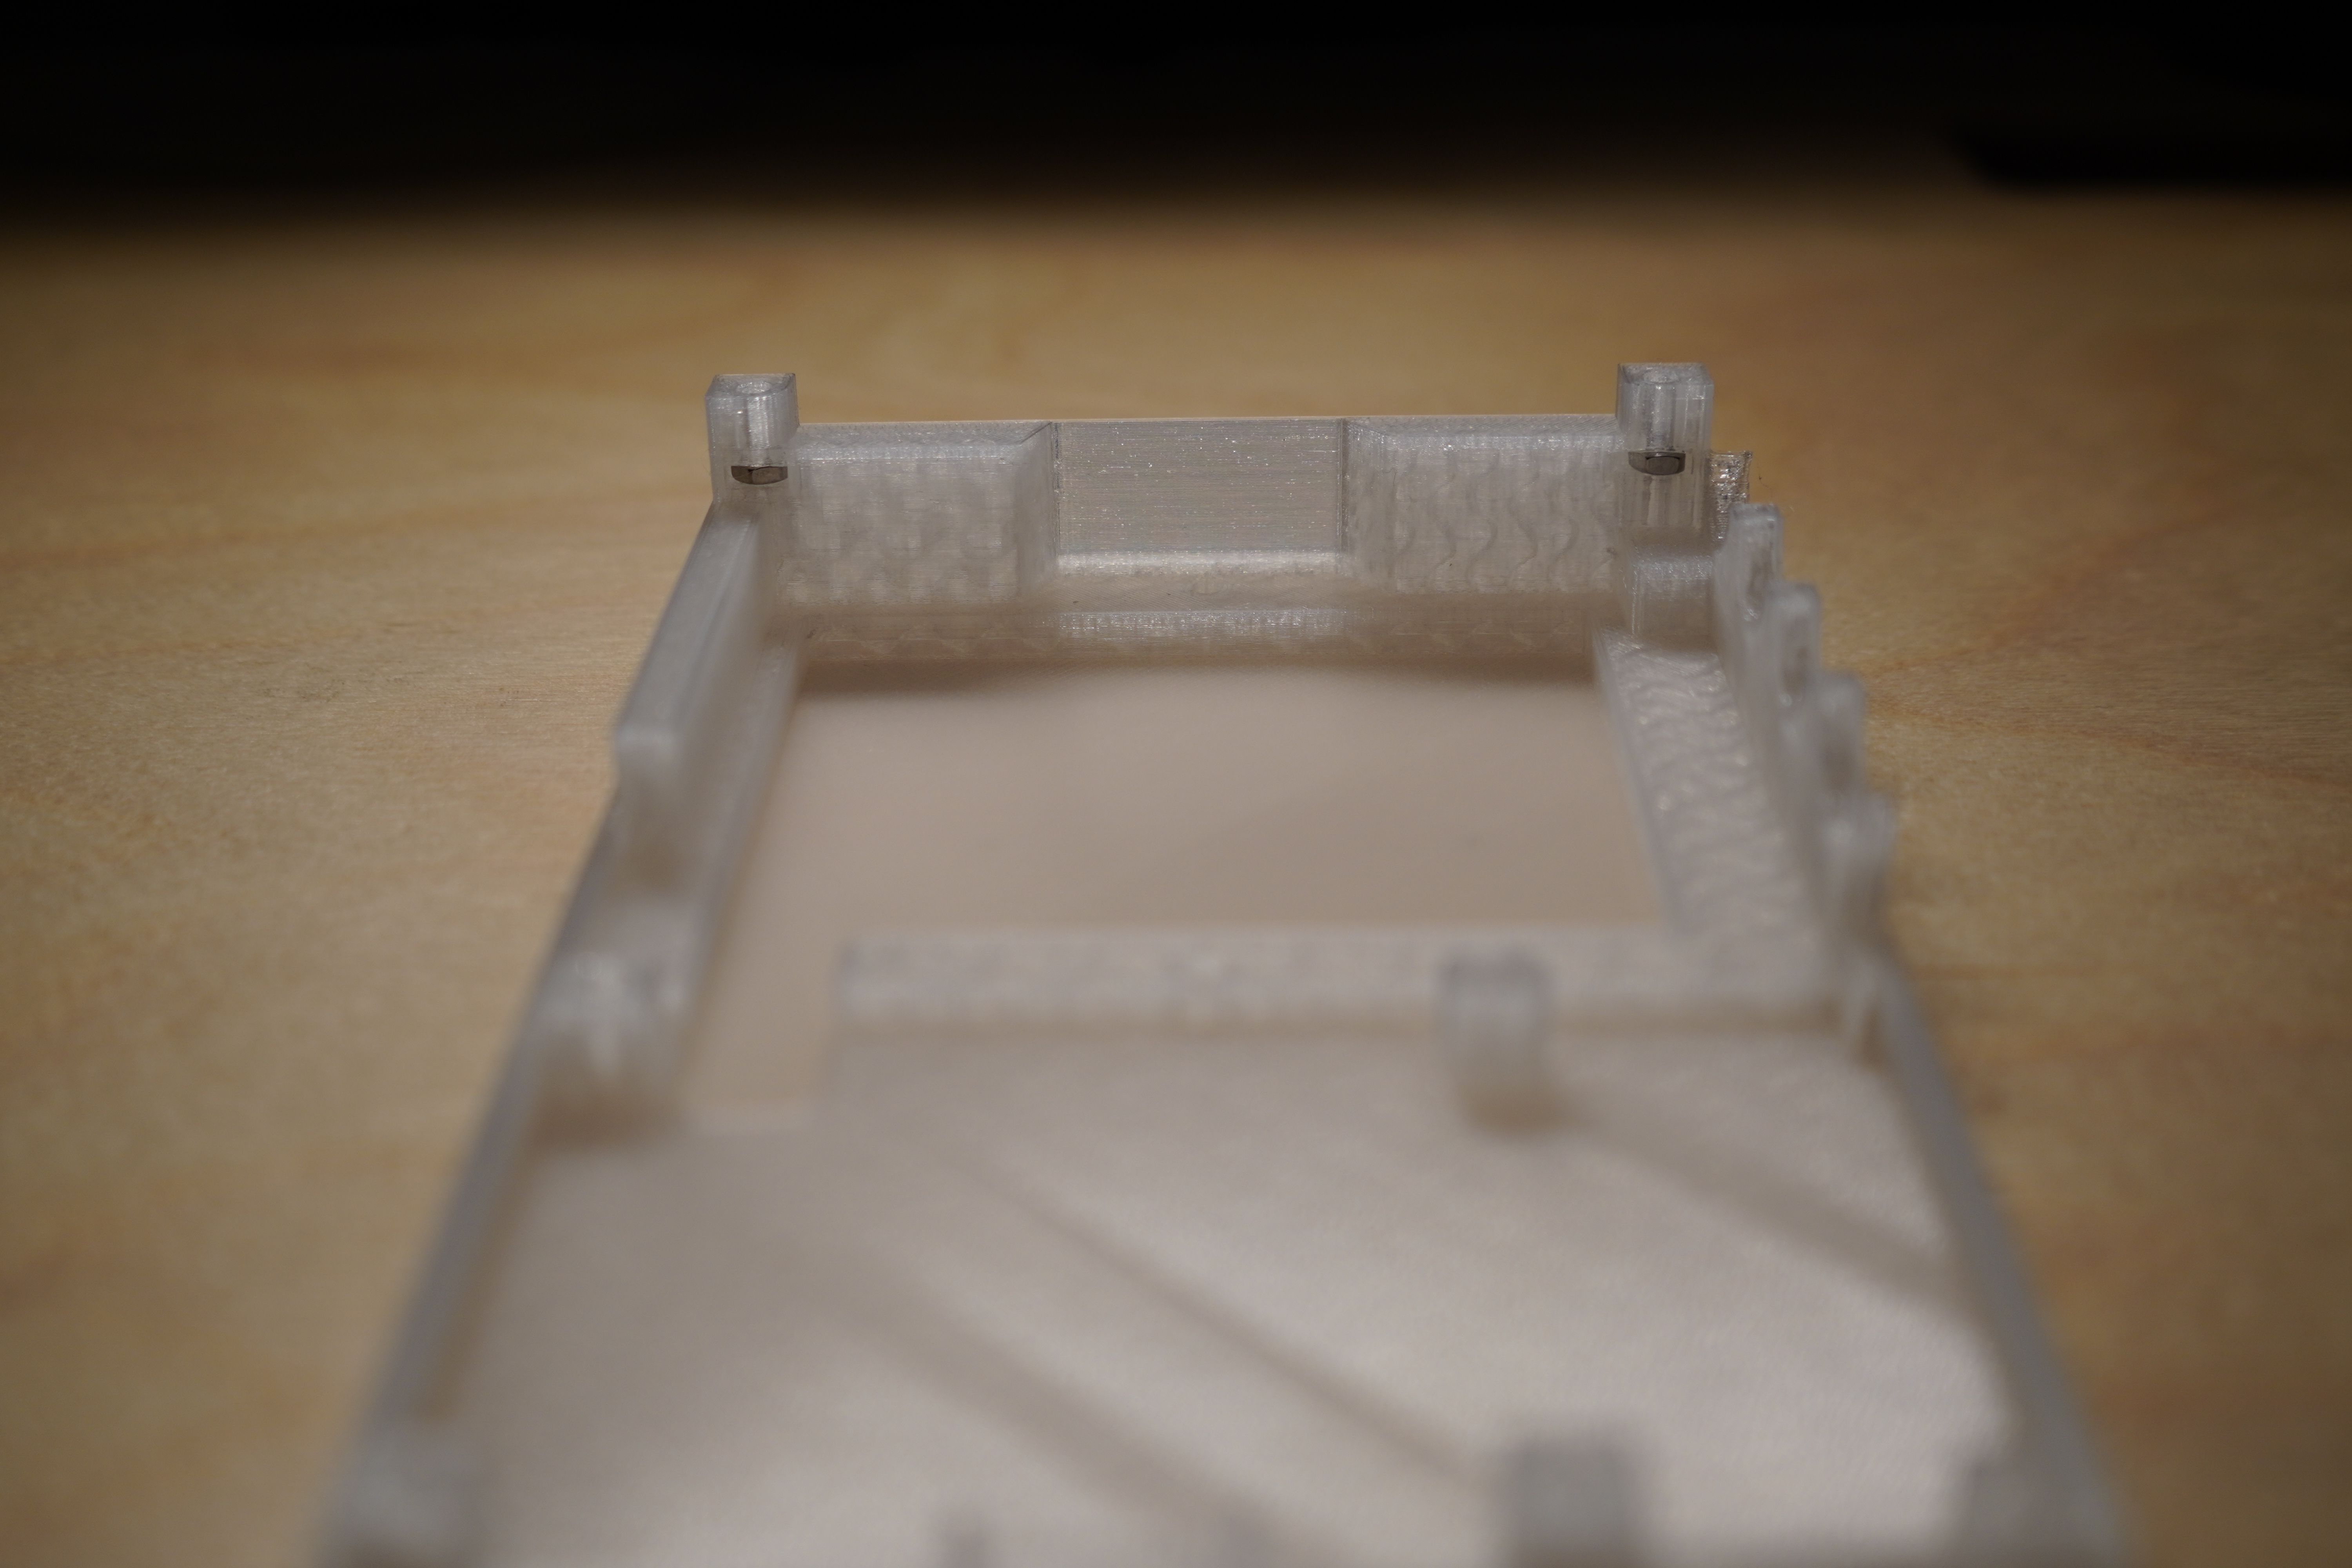
There are two flavors of top parts depending on the type of raspberry pi you use (3B+ or 4). Make sure to select the approriate stl.
There is an alternative bottom part for using hex nuts instead of heat set inserts.
!!Assemble the battery and shieldxl outside of the case and boot the device to verify things are working before attempting to install the assembly into the case!!
- Assemble the shieldXl
- Using a guitar pick or similar plastic device, carefully remove the battery from both the li-po battery pack and pi sugar pcba
- Place the pi sugar pcba against the bottom of the pi, make sure the spring loaded pin contacts are seated correctly.
- Using the bolts included with the pisugar, attach the pisugar to the pi
- Connect the battery to the pisugar pcba
- !!IMPORTANT!! Ensure the dip switch on the bottom of the pi sugar board is set to
off - Plug in the pi sugar to a charger (both usb-c and usb micro ports will charge the battery)
NOTE: The original battery header can be left on the pisugar.
- Insert either
2hex nuts or2heat set inserts into the bottom portion of the case.
- Remove the pi from the shieldxl pcba
- Remove
allstandoffs from the shieldxl except for the bolt/nut through the upper right corner of the display. - Disconnect the battery from the pisugar pcba.
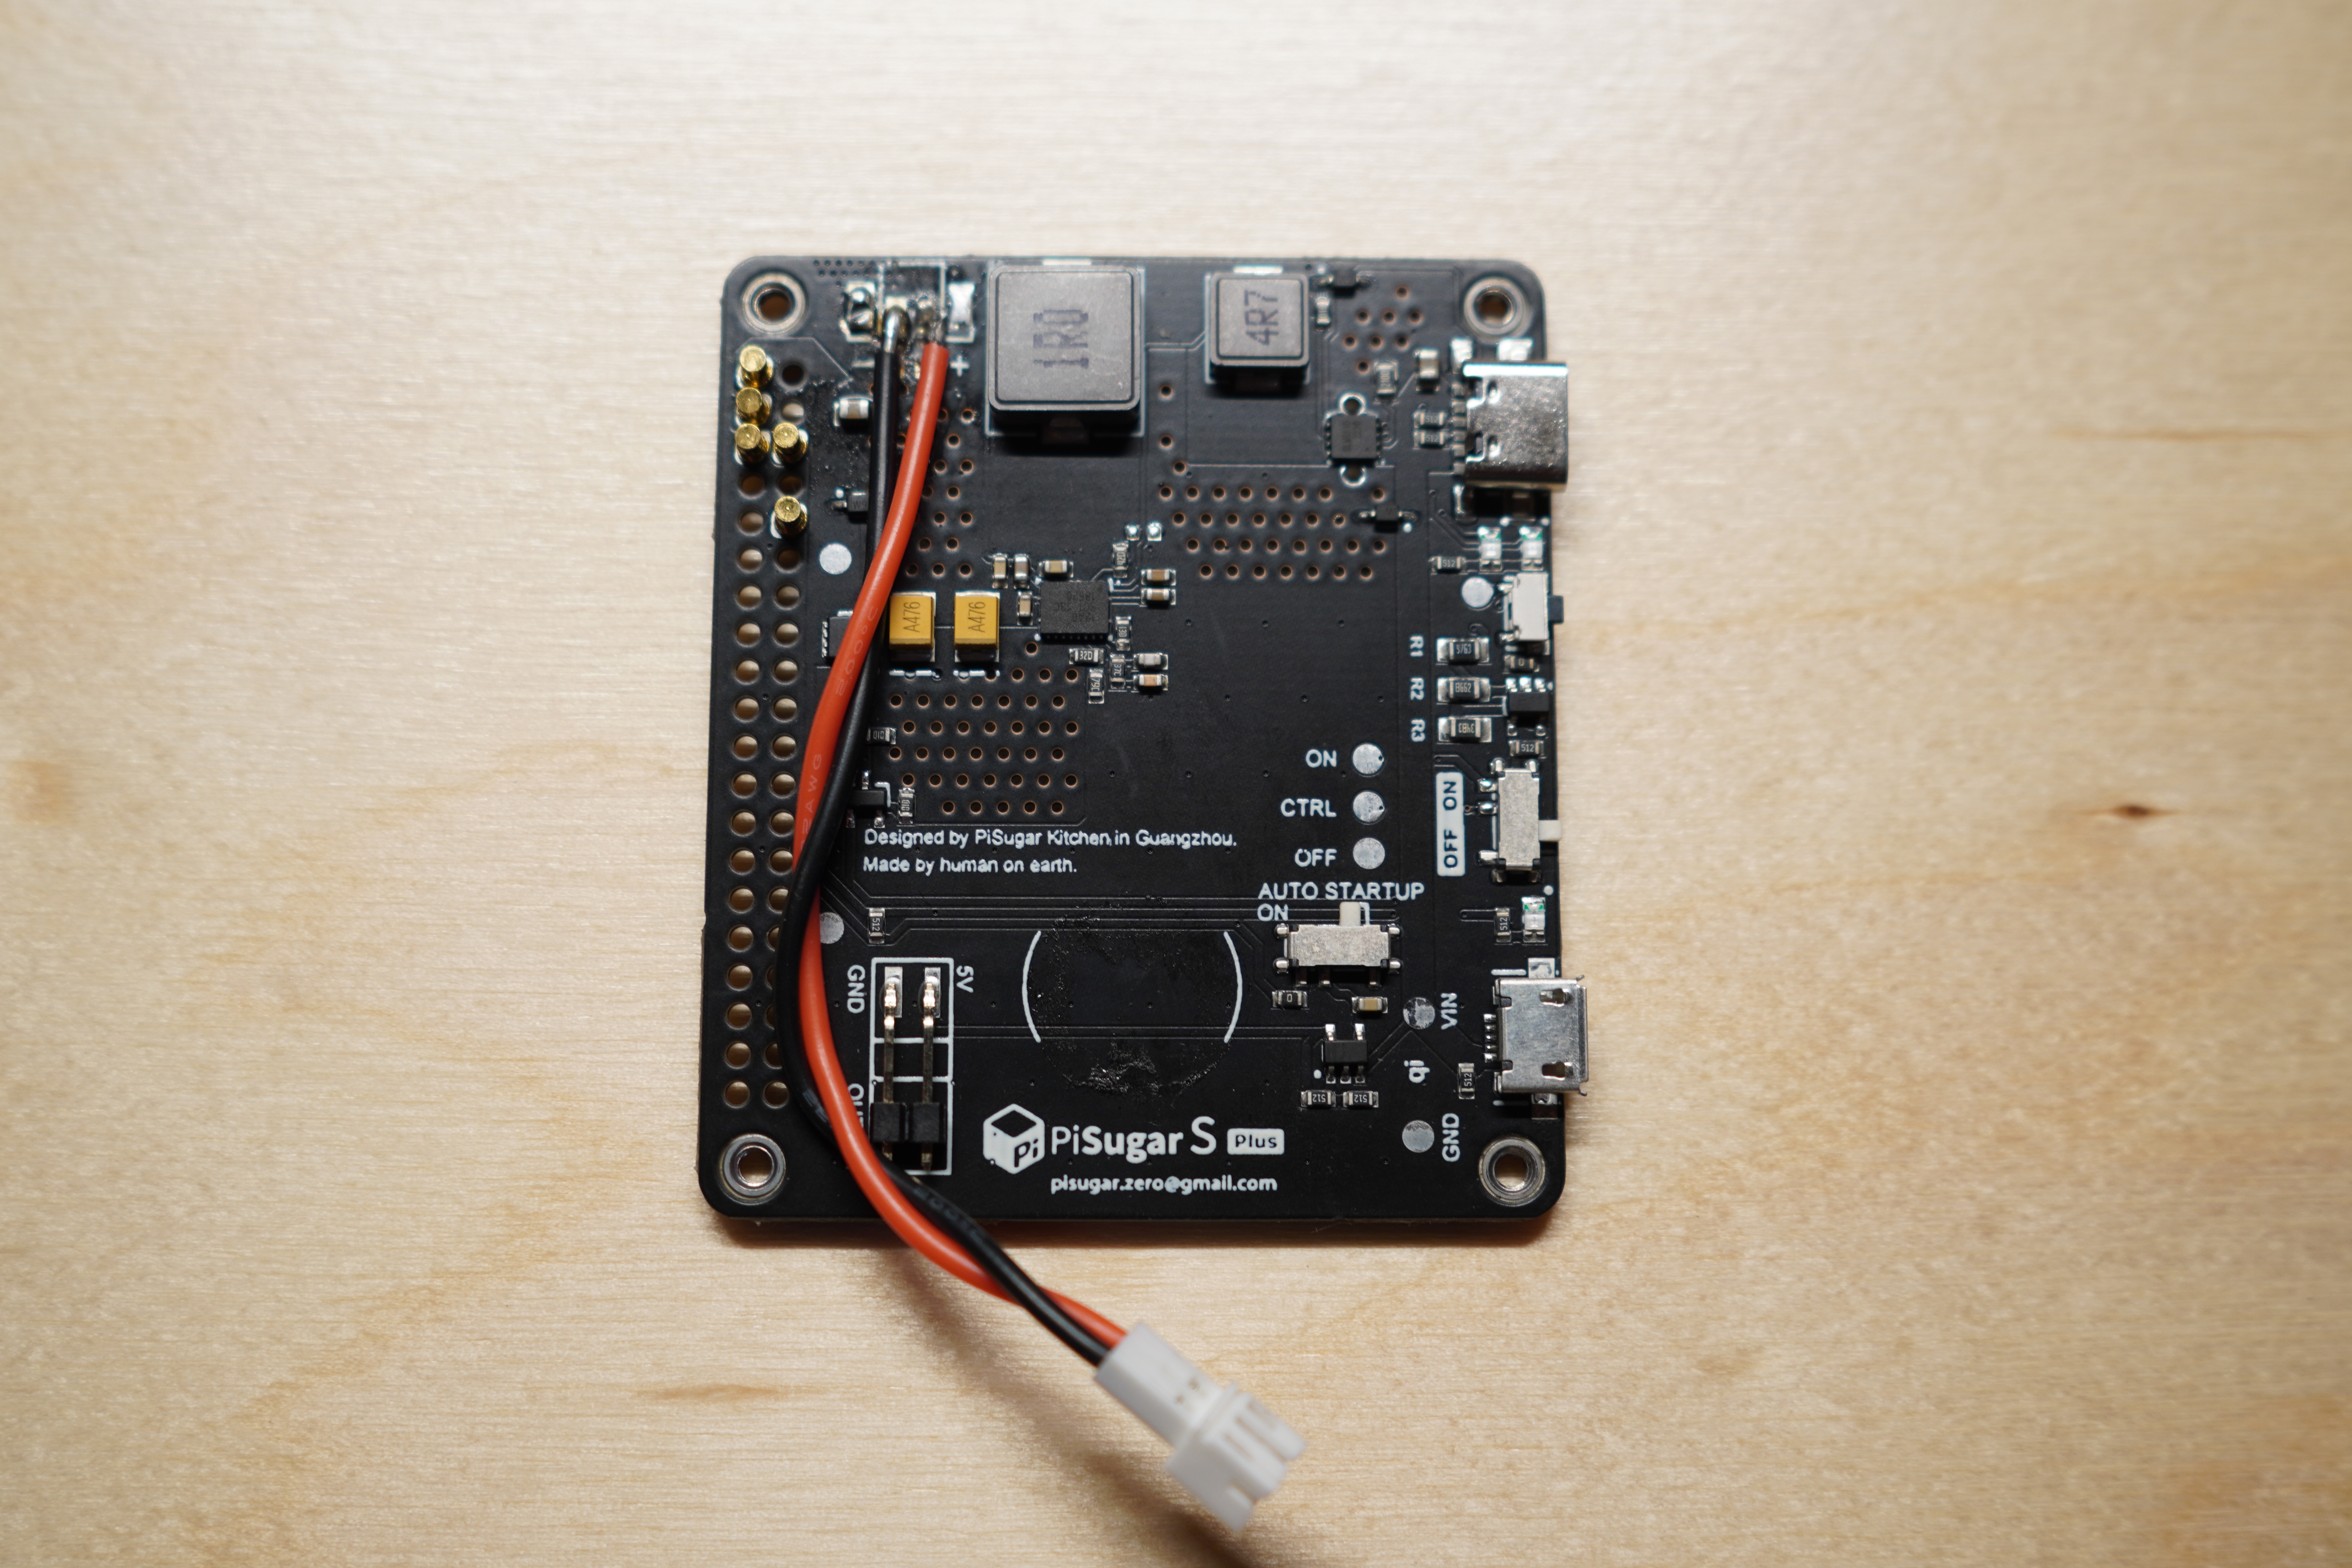
- Carefully solder the leads of the JST pigtail to the contacts on the pisugar pcba. The original jack does not need to be removed.
I chose to remove it because I may attempt to create a slightly thinner bottom portion of the case but this may not happen.
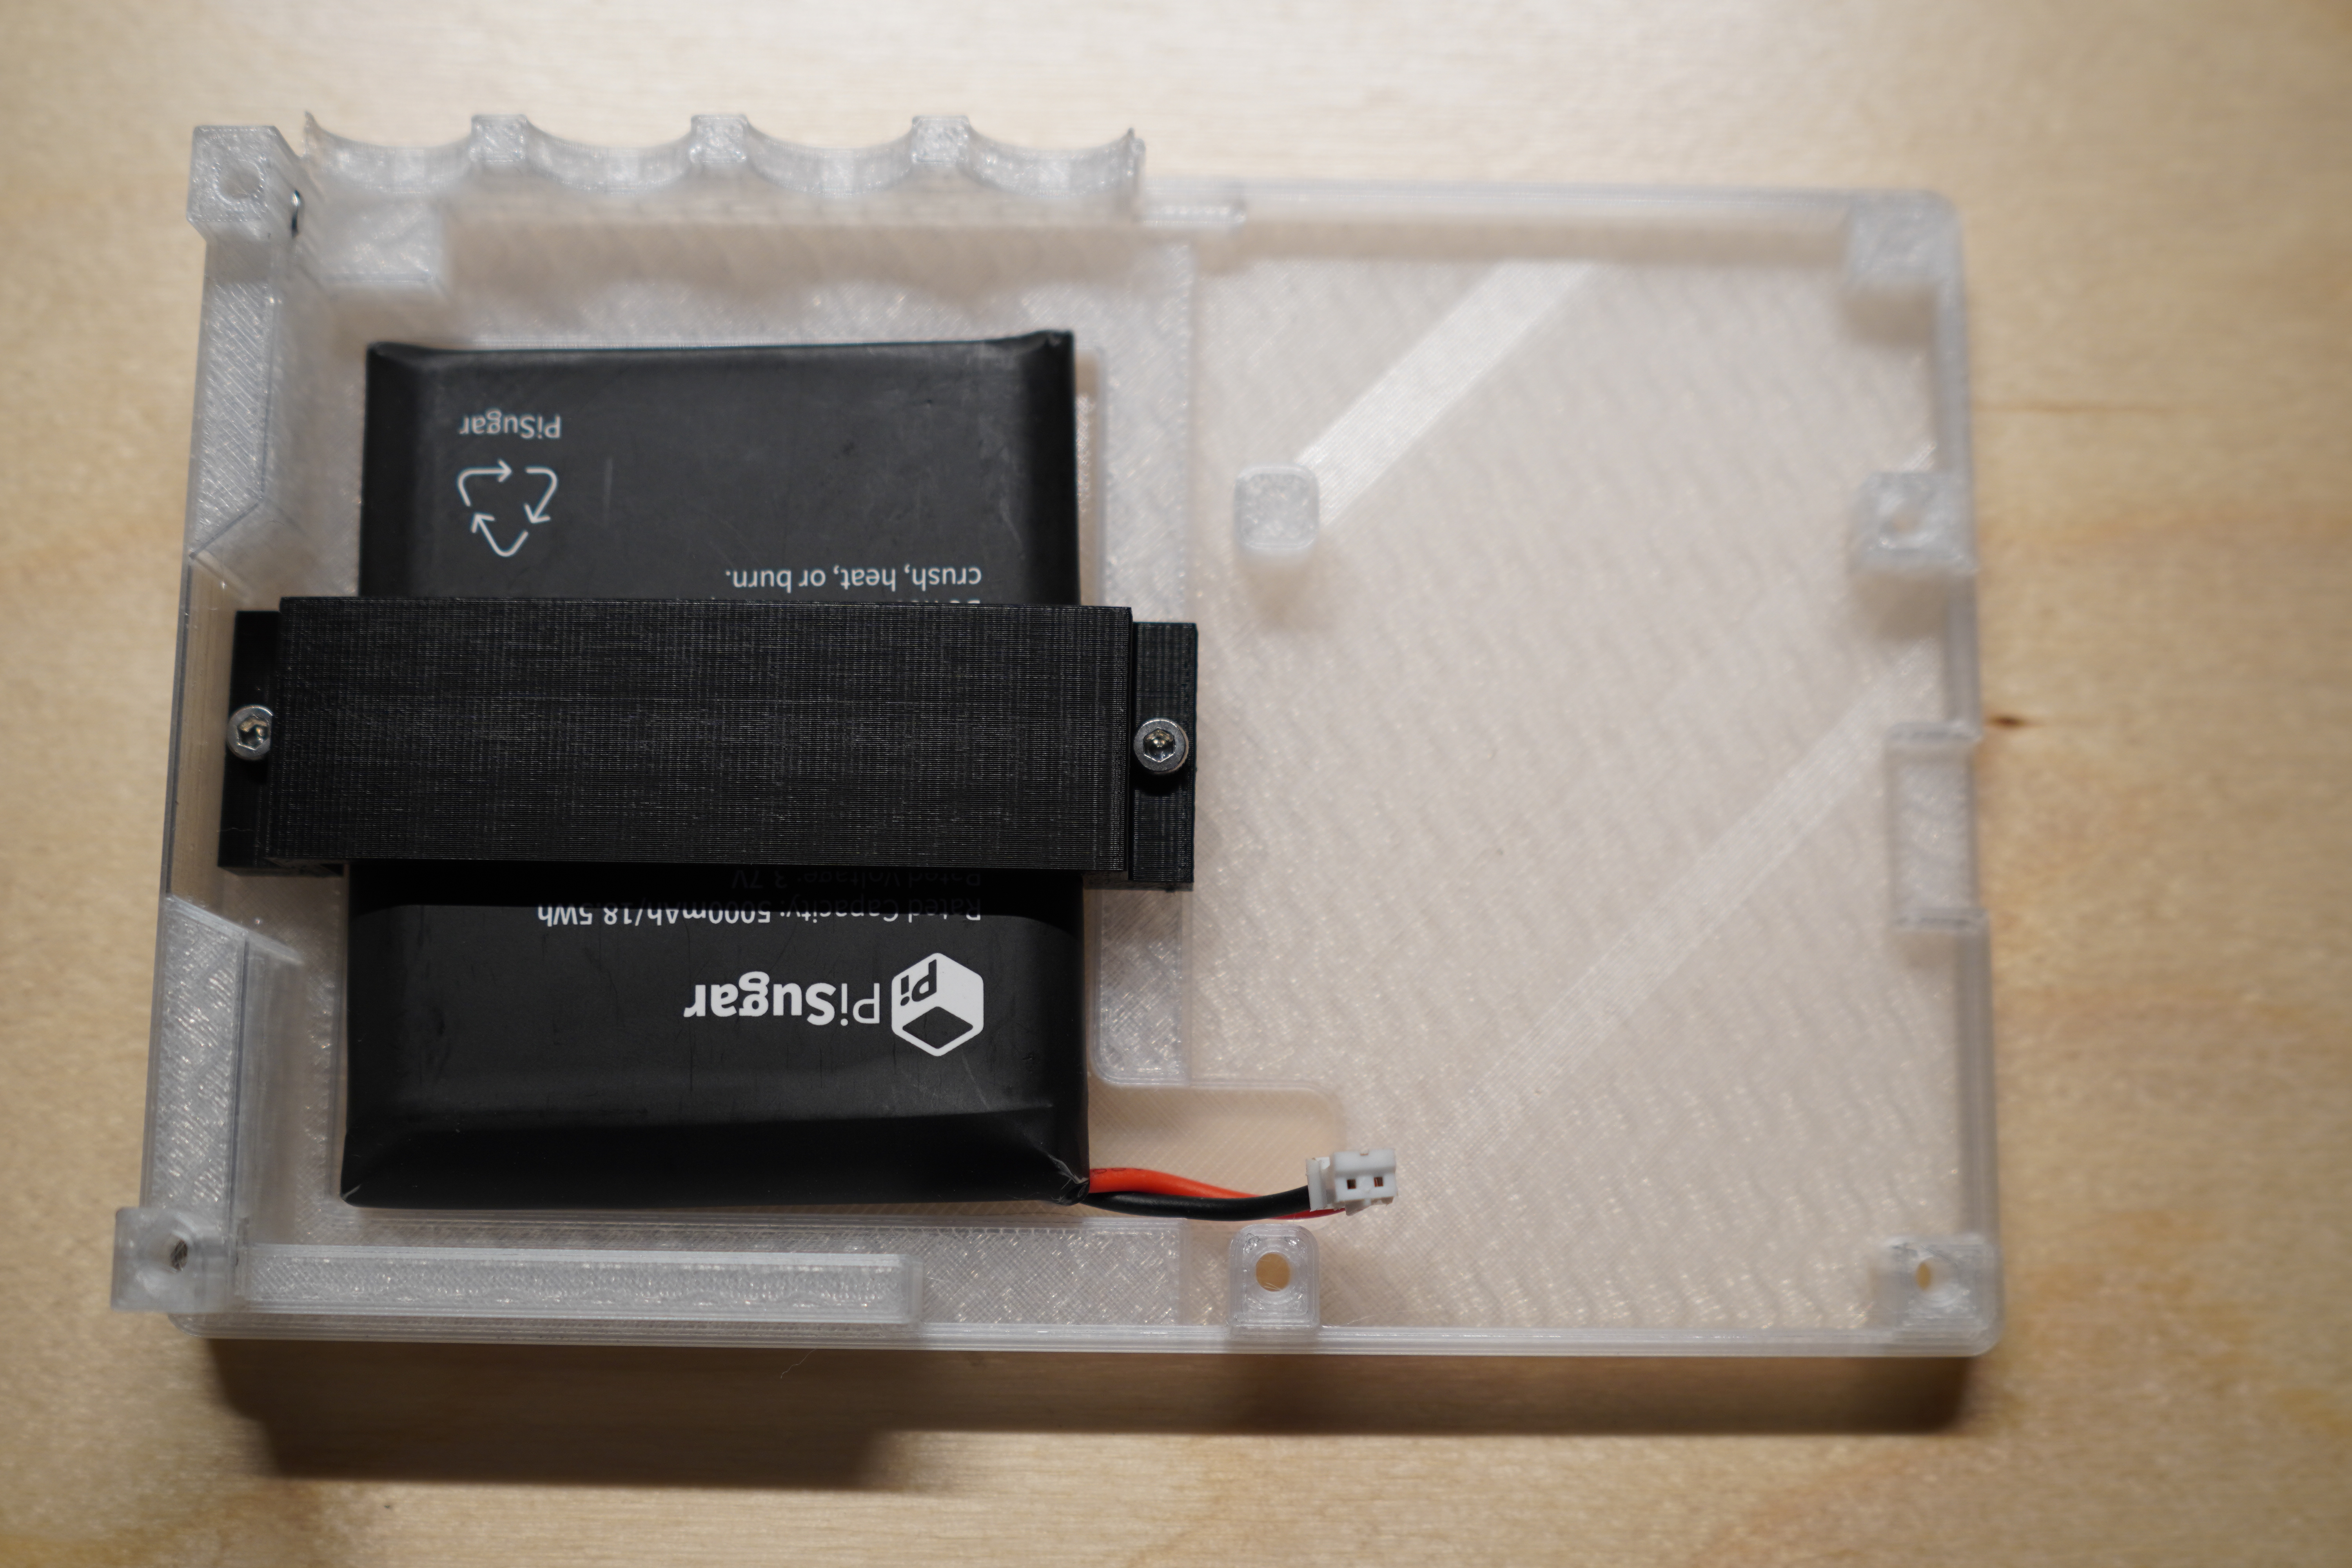
- Set the battery into the compartment on the bottom case part and attach the battery arm with
210mm bolts and2nuts.
- Connect the battery to the pig tail adapter.
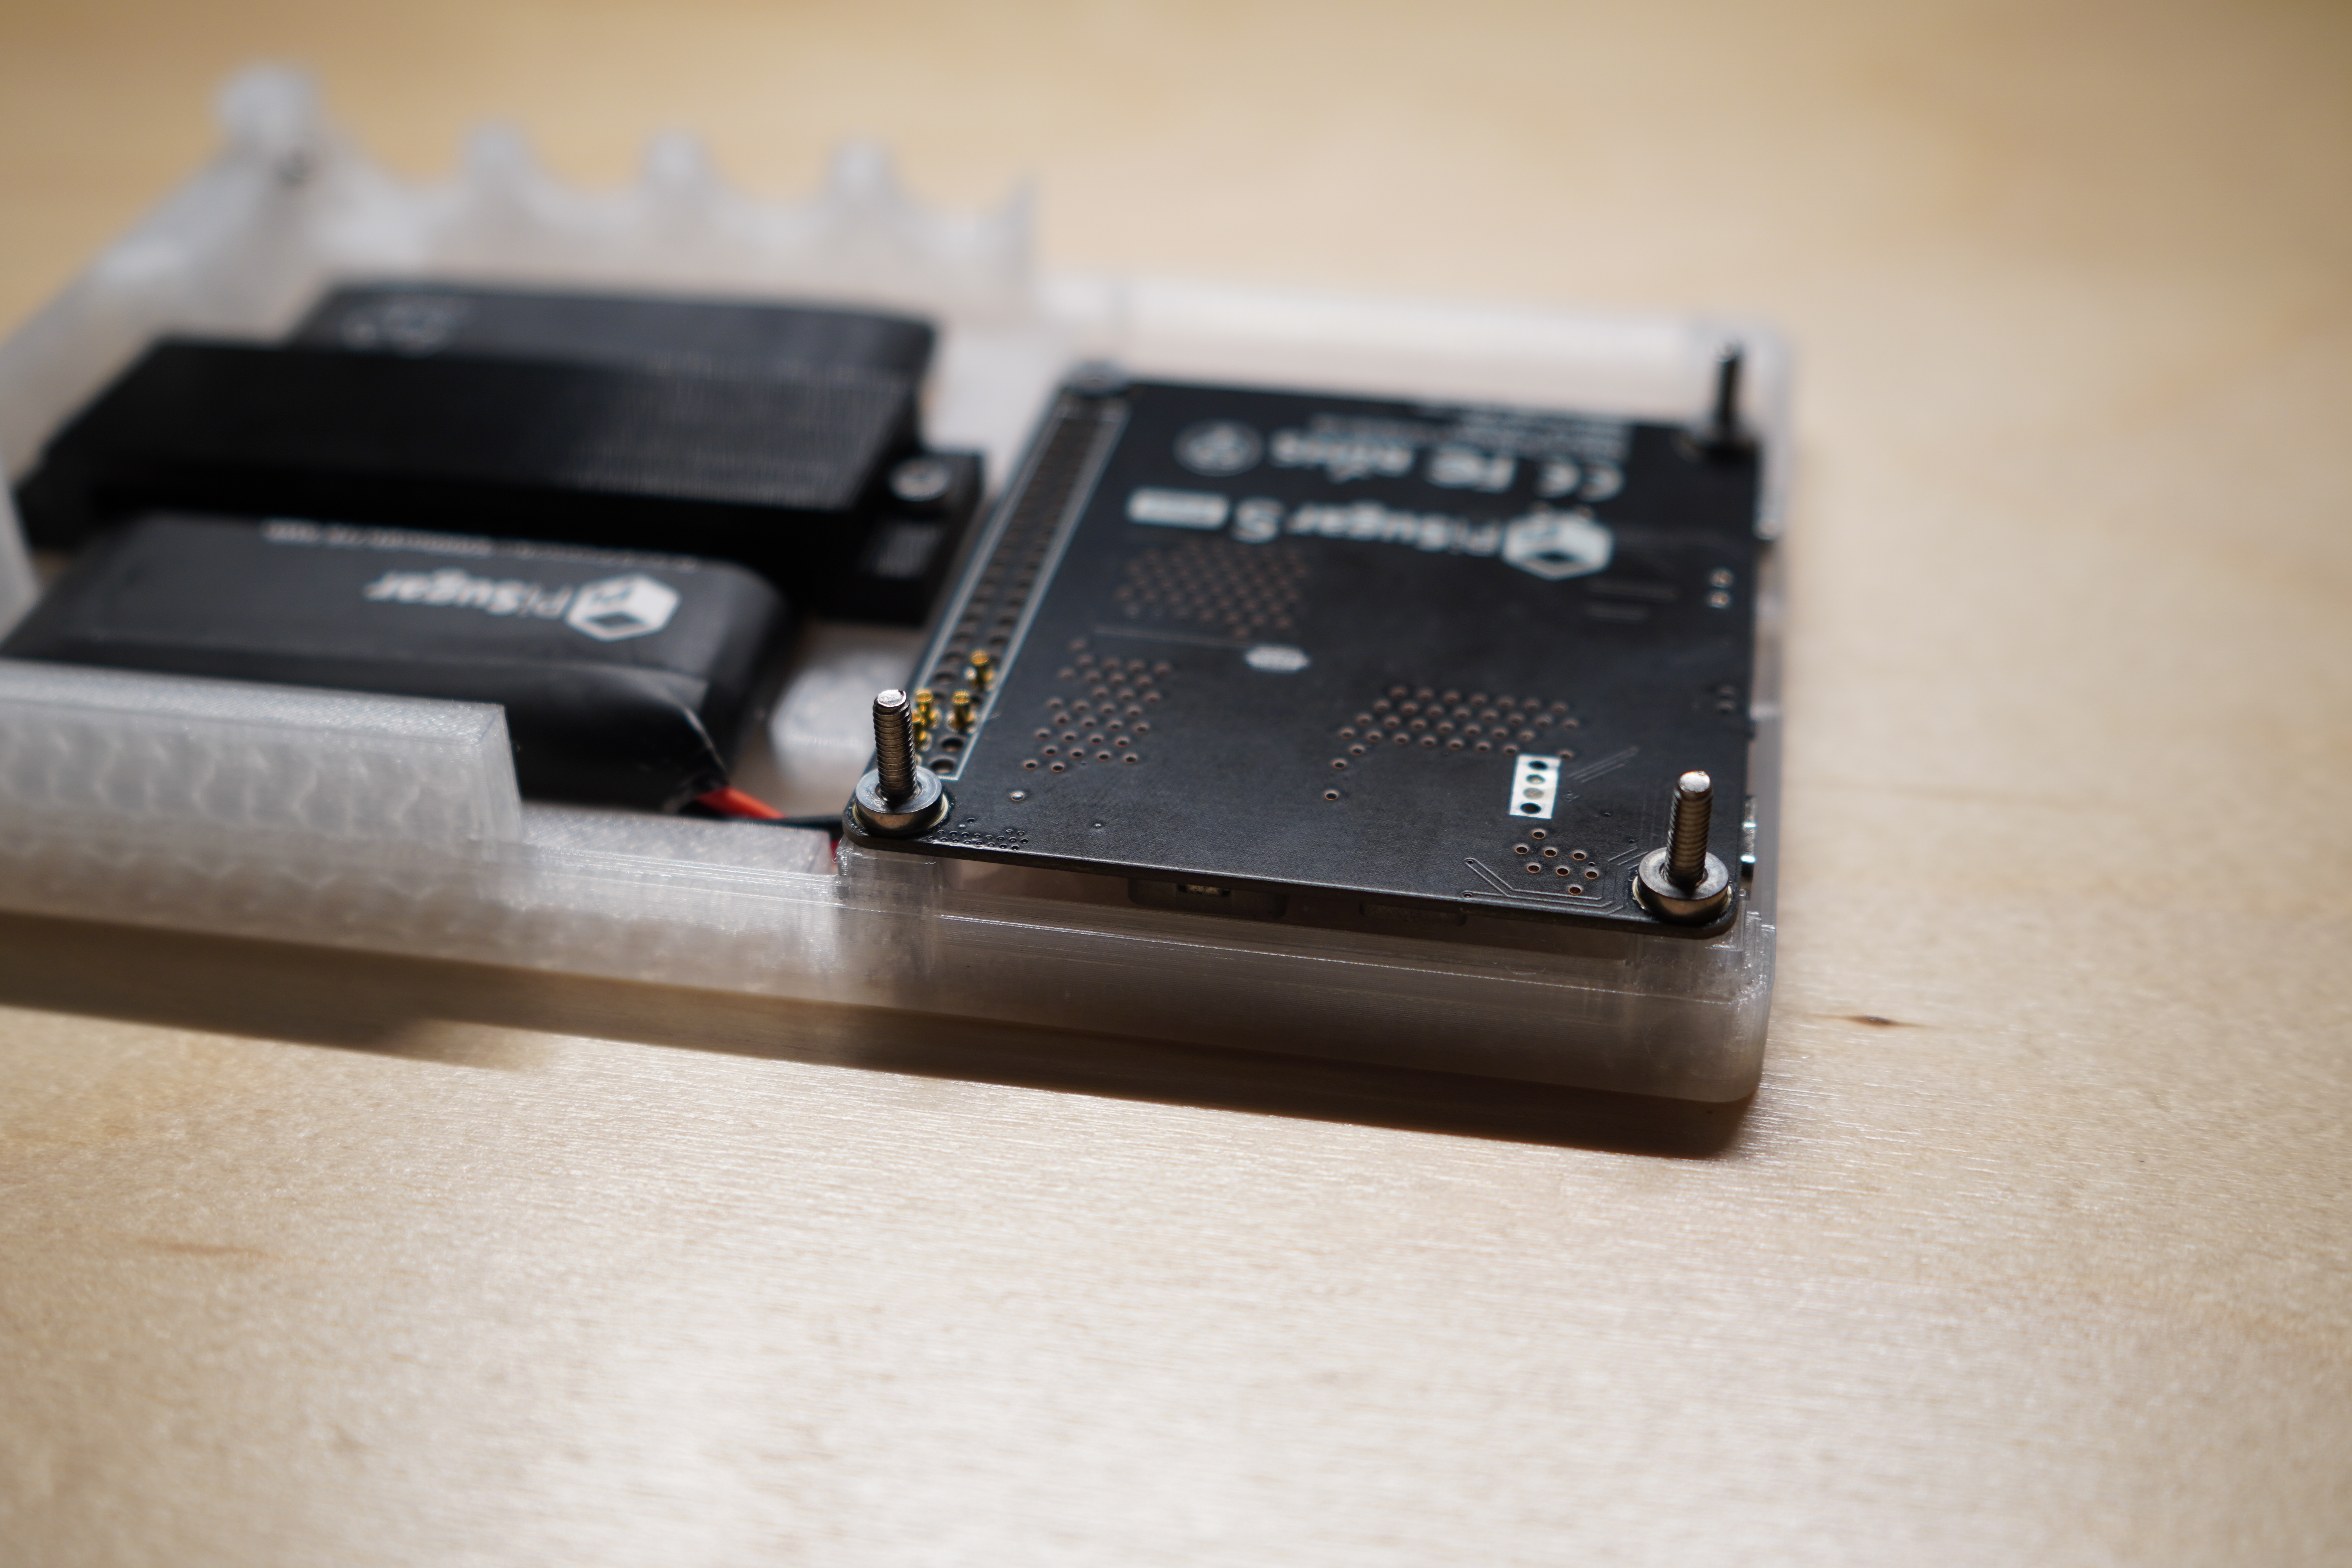
- Set the pisugar pcba on the bottom case with the power header side facing down.
- Thread
316mm bolts into the pisugar pcba from the bottom of the case. The bolts should be threaded all the way through the case and the pi sugar.
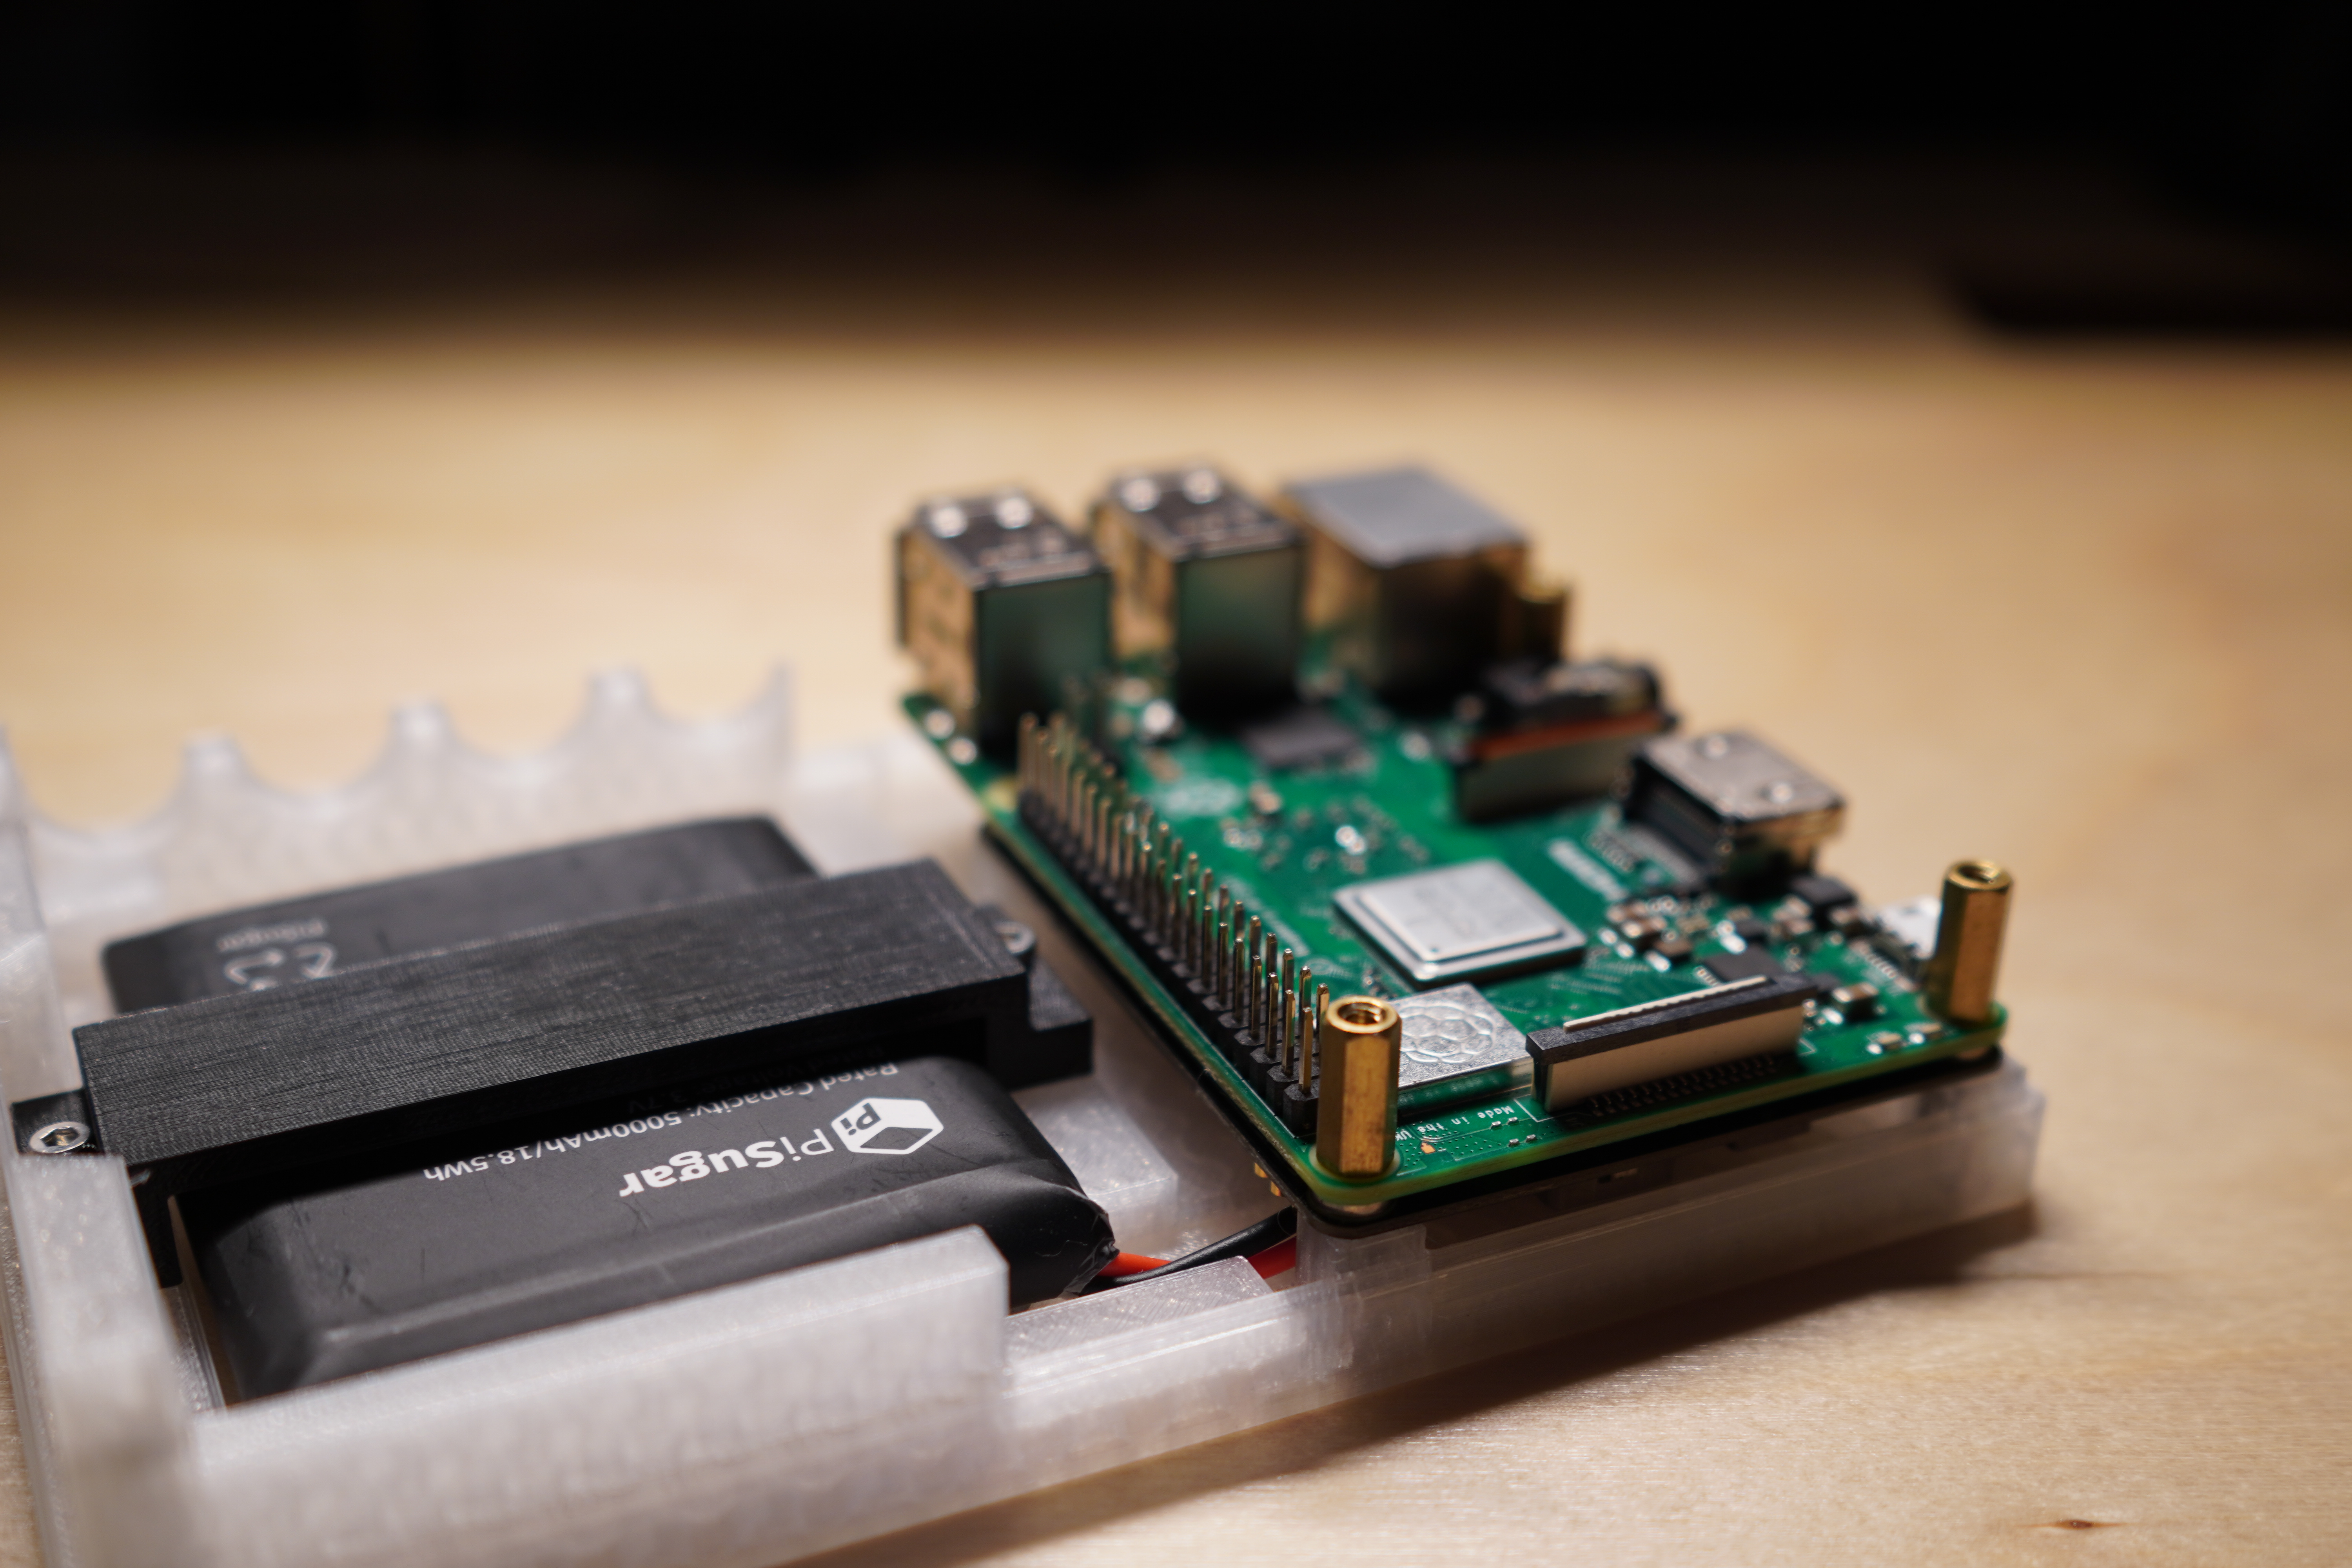
- Place the pi on top of the pisugar, ensure that the spring loaded pins on the pisugar press into the back of the gpio pins on the pi board. (A good amount of force will be needed to get the pi sugar flush with the pi)
- Thread the
3standoffs up to the pi. Ensure there are no gaps between the case, pisugar, pi, or standoffs.
- Carefully align and gentily press the shieldXl pcba onto the pi.
- Thread the 9mm bolt through the bottom right corner of the display and into the standoff.
- Carefully align and gentily press the case top onto the shieldXl. First align the left side of the case and push to the right.
- Thread the
220mm bolts into the left holes on the top of the case. - Thread the
2remaining 12mm bolts into the right holes on the top of the case. - Place the
3washers and nuts onto the encoders and tighten by hand. - Insert the micro sd card into the pi.
Double check soldering on the pig tail extension. If the connection isn't solid, boot up behavior can be intermittent or non-functional.
Double check that the micro sd card is inserted into the pi correctly.
