Pre-configured virtual machine aka Vulnbox aimed to Attack Defence CTF types.
A fully configured image can be found here. This Repo contains scripts and configs that had been used during machine setup. You can customize them to improve your usage experience.
- Based on Debian 11
- Two network interfaces: NAT and Host-Only
- Default credentials debian:debain (sudo su - to became root)
- Preinstalled popular cli tools: git, htop, curl, openvpn, tmux, tldr and neovim
- Neovim and tmux preconfigured for comfortable use
- Installed Docker
- Downloaded Packmate - Advanced network traffic flow analyzer for A/D CTFs
- Downloaded S4DFarm - DestructiveFarm fork for automated flags sending
Note - Packmate and S4DFarm must be configured manually due to the peculiarities of each event.
I am using Debian 11 as a build base. I prefer pure Virtualbox image from Linux VM Images website(There are also provided VMware images). Alternatively you can use original debian netinstaller if you want a desktop enviroment for example.
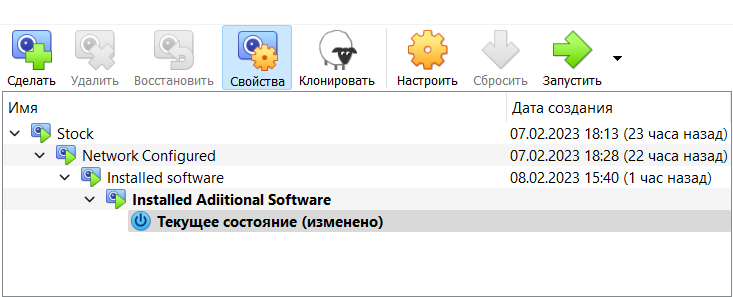
Also, my image assumes several snapshots so that the user can skip some installation steps
All further interactions I recommend to perform by root.
There are two network interfaces in this virtual machine. NAT for internet communications and Host-Only for communications with Host. The second interface is optional, but it allows you to connect to the machine via ssh and have all the functions you need without Desktop Enviroment. You may skip this section if you don't need a local network with a host.
After login you can see that the second network interface is down and IP didn't assigned.

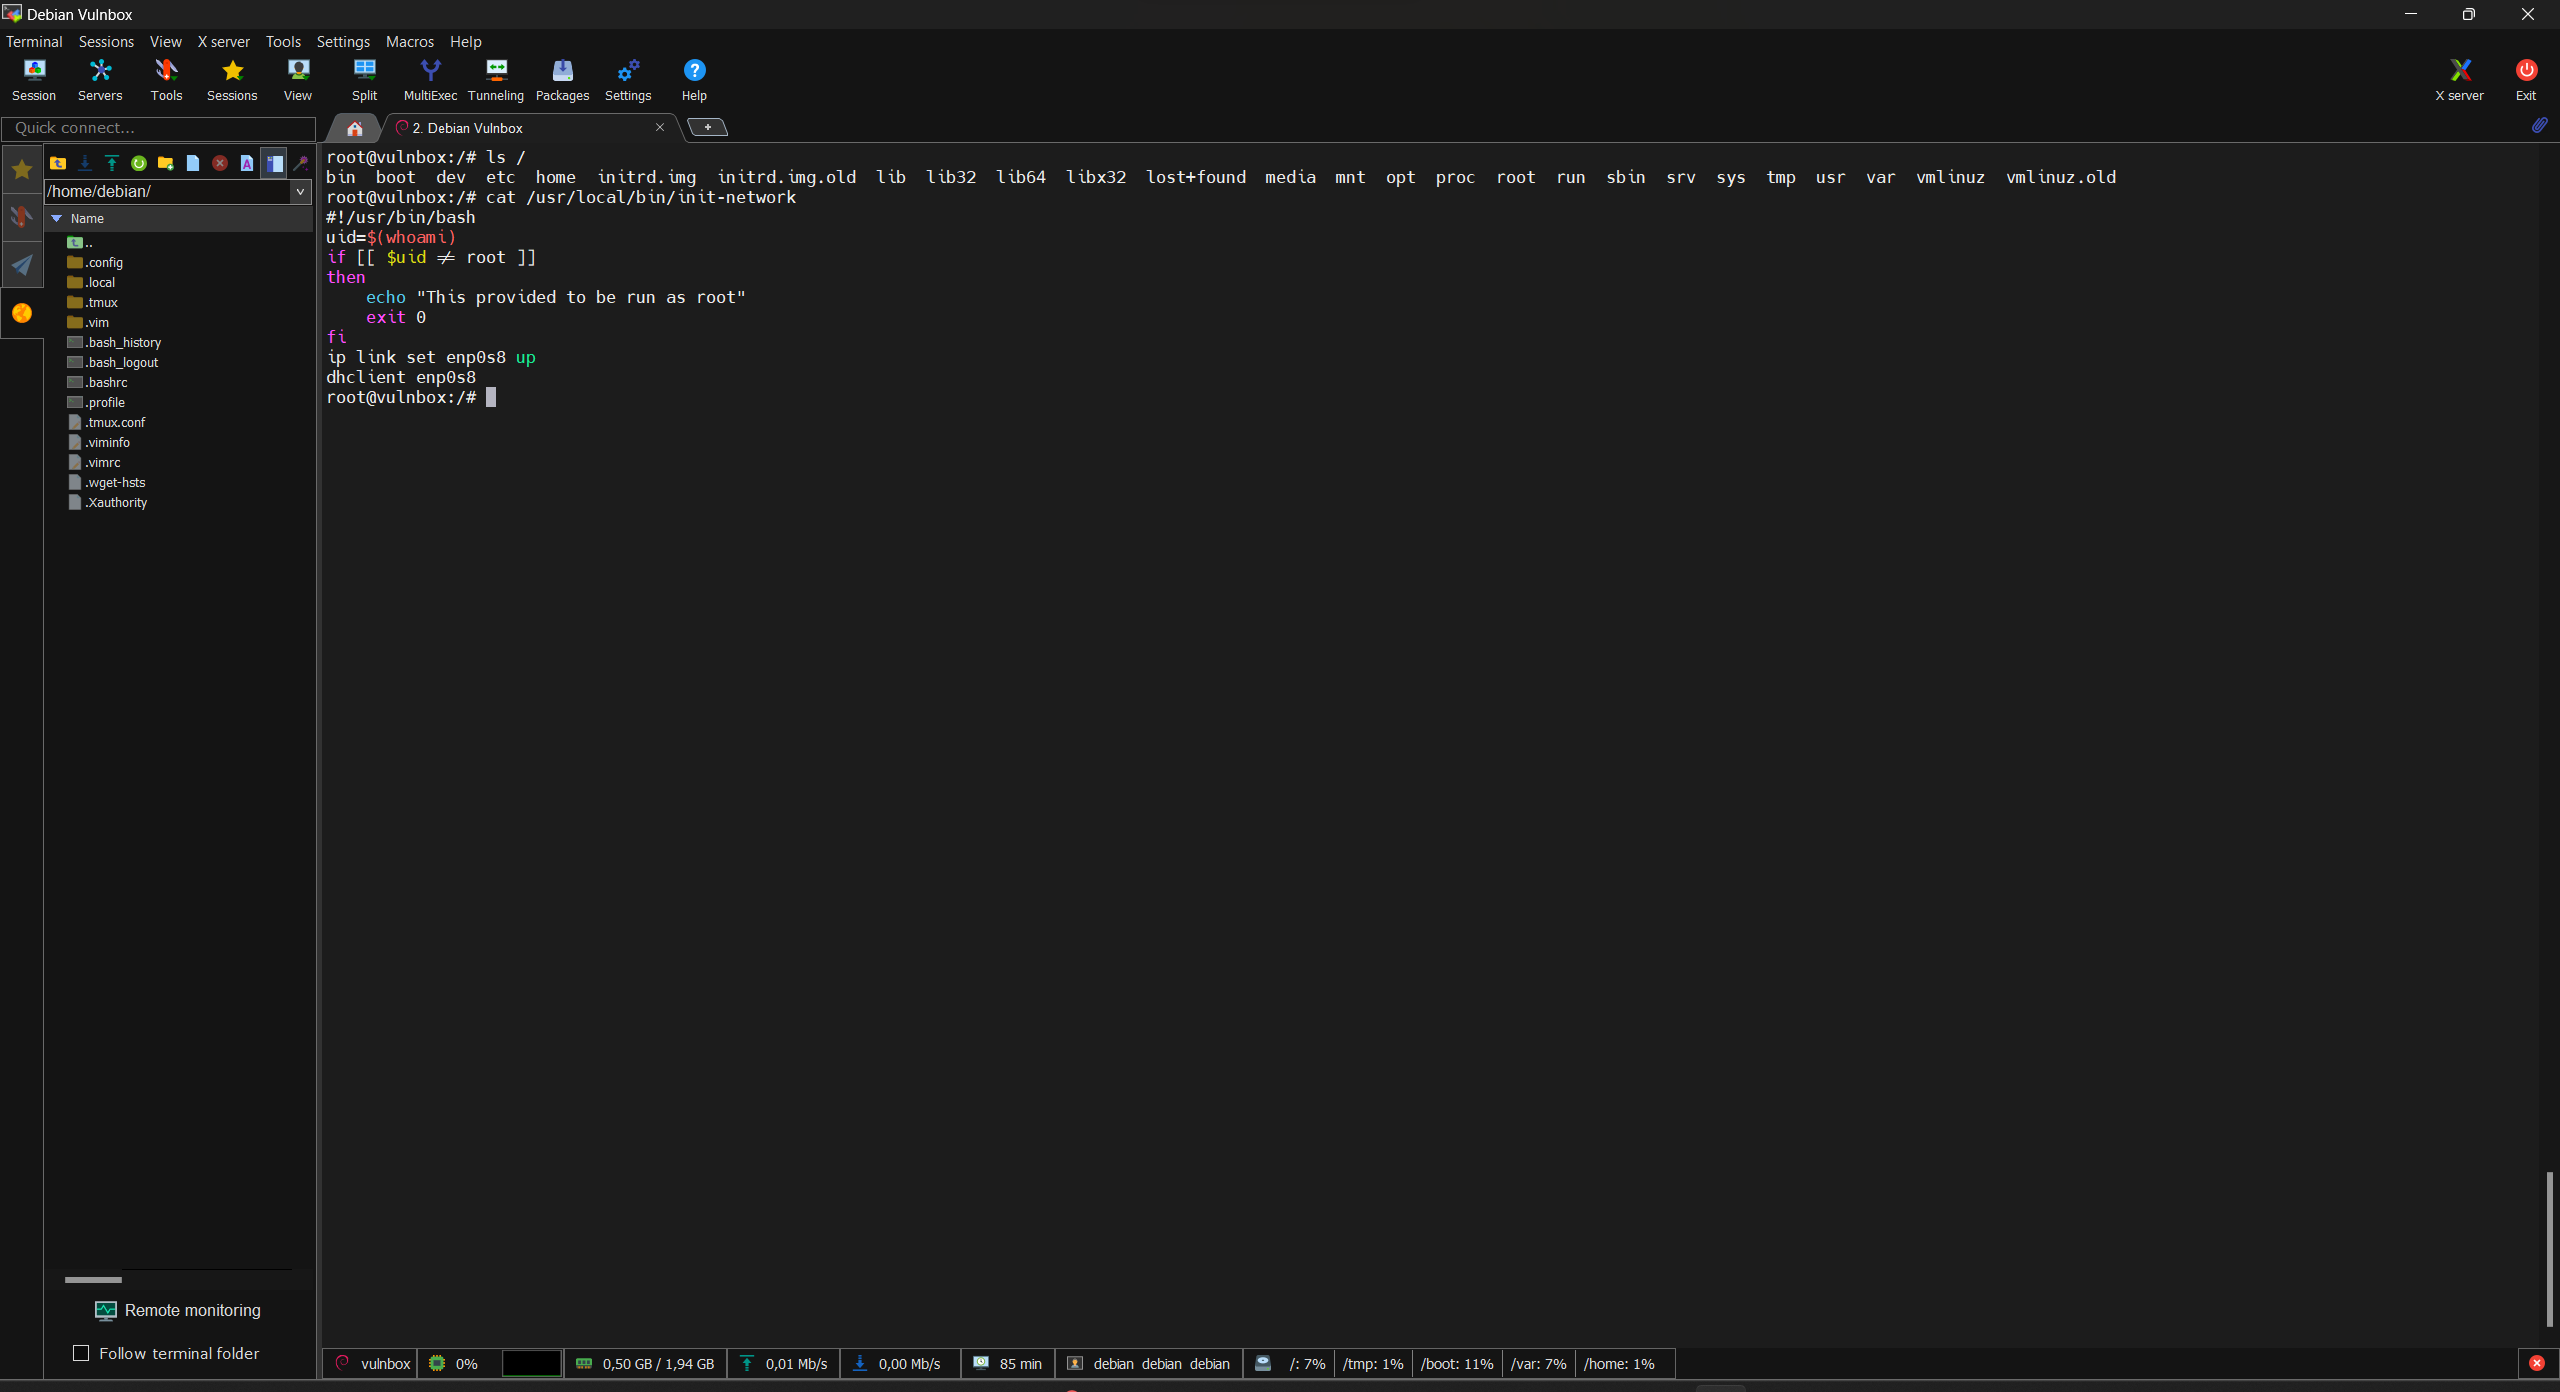
To turn interface UP type in terminal this command
ip link set enp0s8 up
After that, to assign an IP using a DHCP client, enter this command
dhclient enp0s8
After that the local IP will be obtained and you can connect to it via ssh

The above actions are also available in the script init_netwrok.sh
wget -qO https://raw.githubusercontent.com/Ivanich41/AD-Vulnbox/main/scripts/init_network.sh | bashTo update package bases and install software suit type this commands as root. Add or remove any packages as you see fit
apt update
apt install -y neovim tmux tldr curl htop git openvpn
The above actions are also available in the script install_stuff.sh. Also installs previous init-network script.
wget -qO https://raw.githubusercontent.com/Ivanich41/AD-Vulnbox/main/scripts/install_stuff.sh | bashNote - The configuration will be described for the user root. If you need to configure it for a debian user, do all of the following on that user's behalf with their home directory. Performing these actions from root can break file access permissions
Run deploy_configs.sh srcipt:
wget -qO https://raw.githubusercontent.com/Ivanich41/AD-Vulnbox/main/scripts/deploy_configs.sh | bashNext run
nvim ~/.vimrc
ignore warnings, it's ok
Type
:source %
and hit Enter. The file ~/.config/nvim/init.vim should be writable, if not, create it manually and paste into
set runtimepath^=~/.vim runtimepath+=~/.vim/after
    let &packpath = &runtimepath
    source ~/.vimrc
Close this file and open .vimrc again
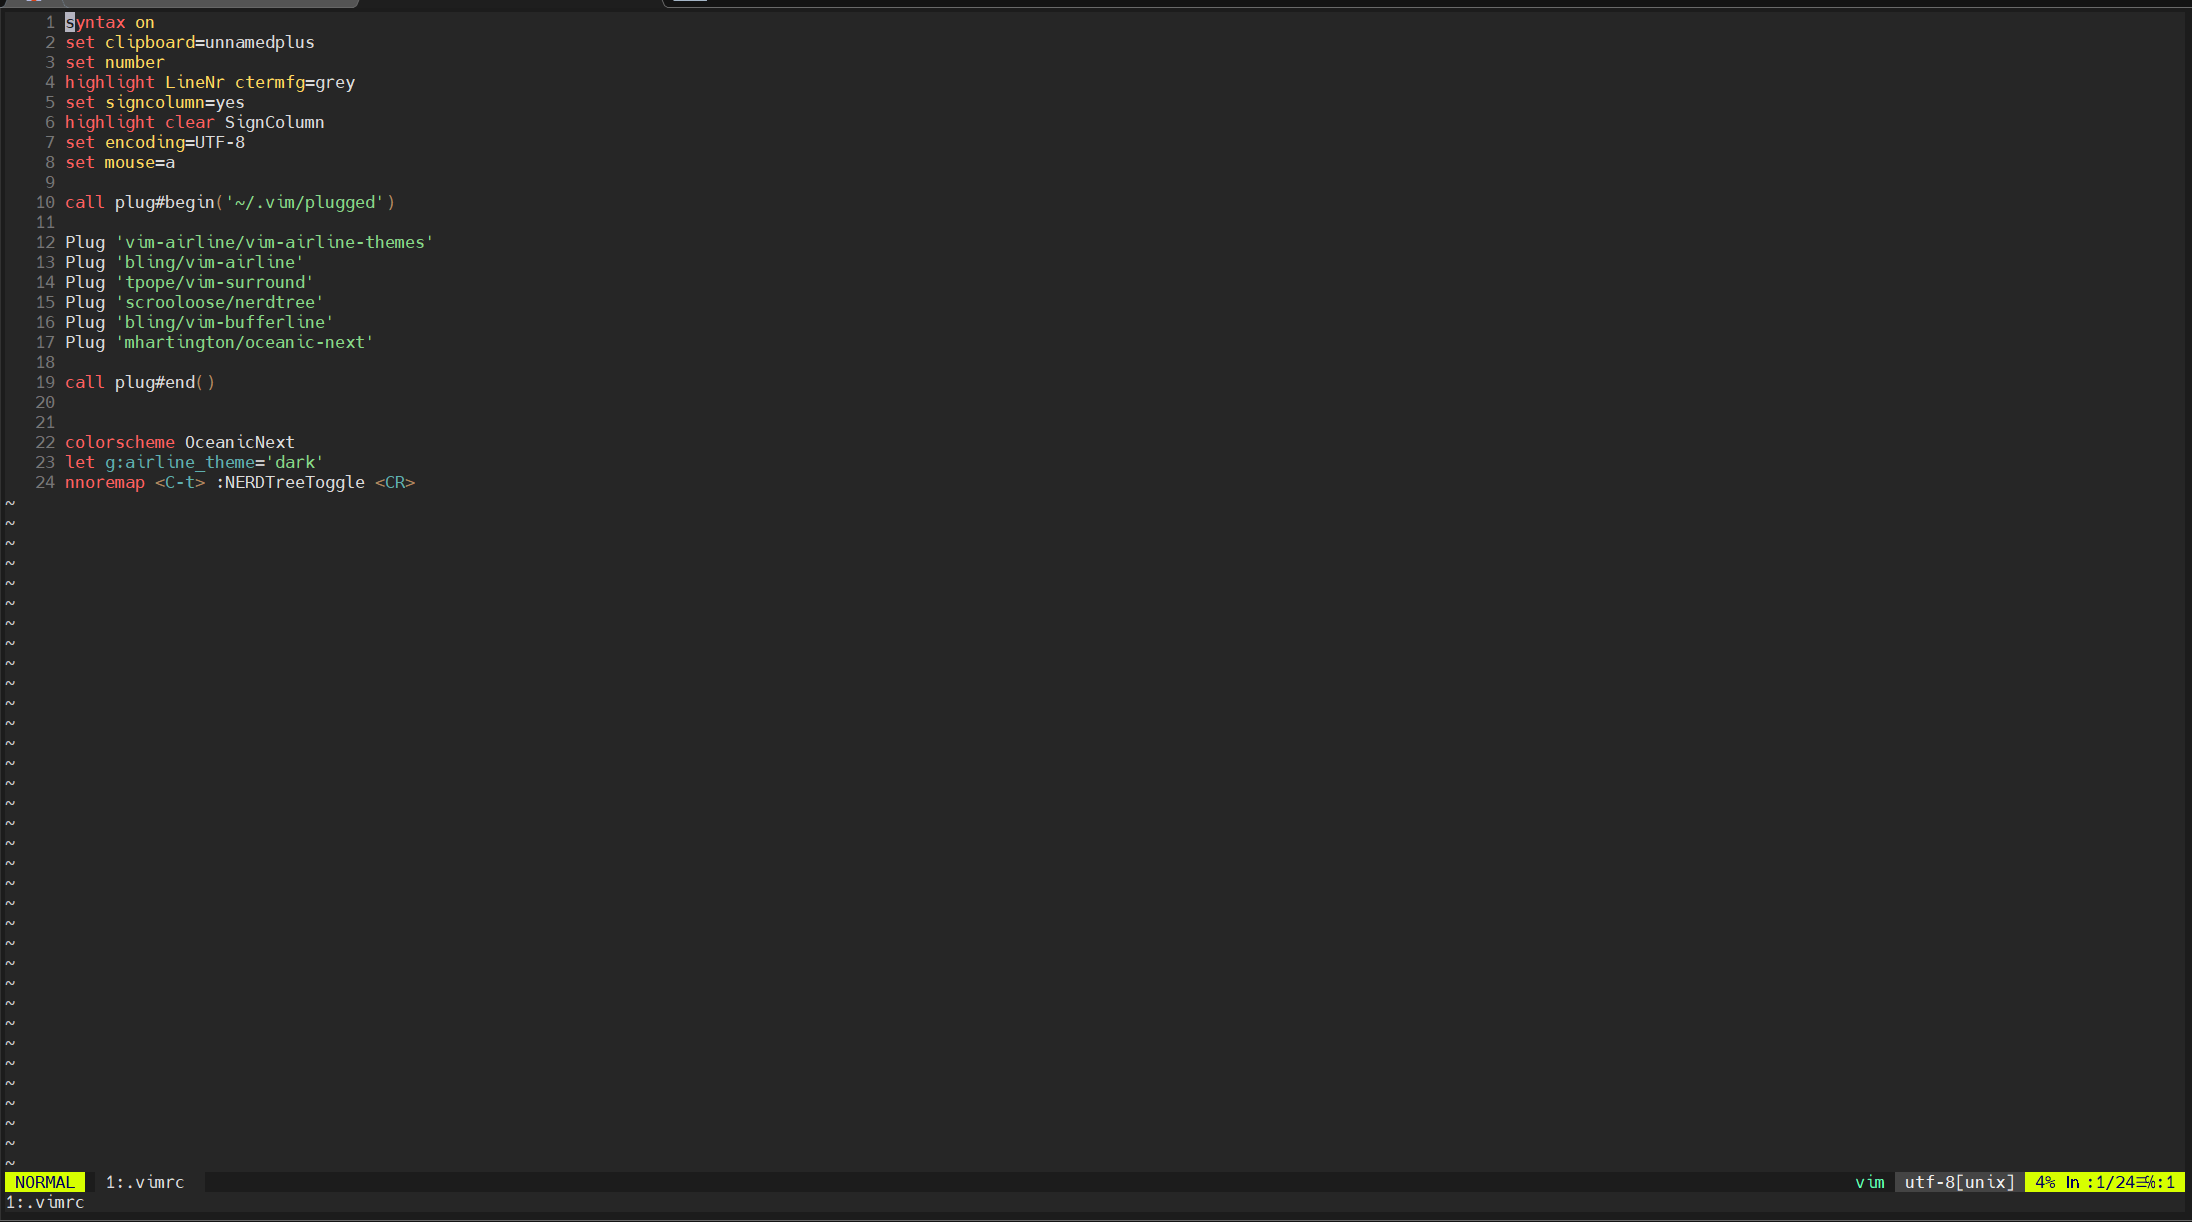
Try input :PlugInstall. Plugins should be installed. Type :source % for last time to apply theme
In the end it should look like this

Presented Neovim Plugins.
Plug 'vim-airline/vim-airline-themes' - Themes for Nepvim status bar.
Plug 'bling/vim-airline' - Powerful status bar.
Plug 'tpope/vim-surround' - Faster text surrounding
Plug 'scrooloose/nerdtree' - File explorer (Ctrl+T to toggle)
Plug 'bling/vim-bufferline' - Display opened files in status line
Plug 'mhartington/oceanic-next' - Color scheme. Selected by default
Next add following line in the end of ~/.bashrc:
alias tmux="TERM=screen-256color-bce tmux"
and then enter
tmux source ~/.tmux.conf
This line fixing neovim colors in tmux.
Just in case check existence of .tmux dir in the user's home folder
ls -la ~ | grep .tmux
After adding alias run tmux and hit Host-key(Ctrl+A in my config) and type captital I letter. You should see folowwing message

Presented Tmux Plugins.
@plugin 'tmux-plugins/tpm' - Tmux plugin manager
@plugin 'tmux-plugins/tmux-resurrect' - Restore tmux session after reboot
@plugin 'tmux-plugins/tmux-yank' - Easy vim-like copy with xclip support
@plugin 'tmux-plugins/tmux-prefix-highlight' - Highligt prefix on status bar then pressed
@plugin 'xamut/tmux-network-bandwidth' - Display network speed on status bar
@plugin 'tmux-plugins/tmux-online-status' - Display online status on status barTo install docker engine run
curl -fsSL https://get.docker.com -o get-docker.sh
sh get-docker.sh
Packmate can be found here
git clone --recurse-submodules https://gitlab.com/packmate/Packmate.git
Before startup edit .env in Packmate root folder
S4D Farm here
git clone https://github.com/C4T-BuT-S4D/S4DFarm.git
To configure S4D Farm edit /server/app/config.py file.
In addition to a simple connection via ssh, I can offer 3 options for interaction.
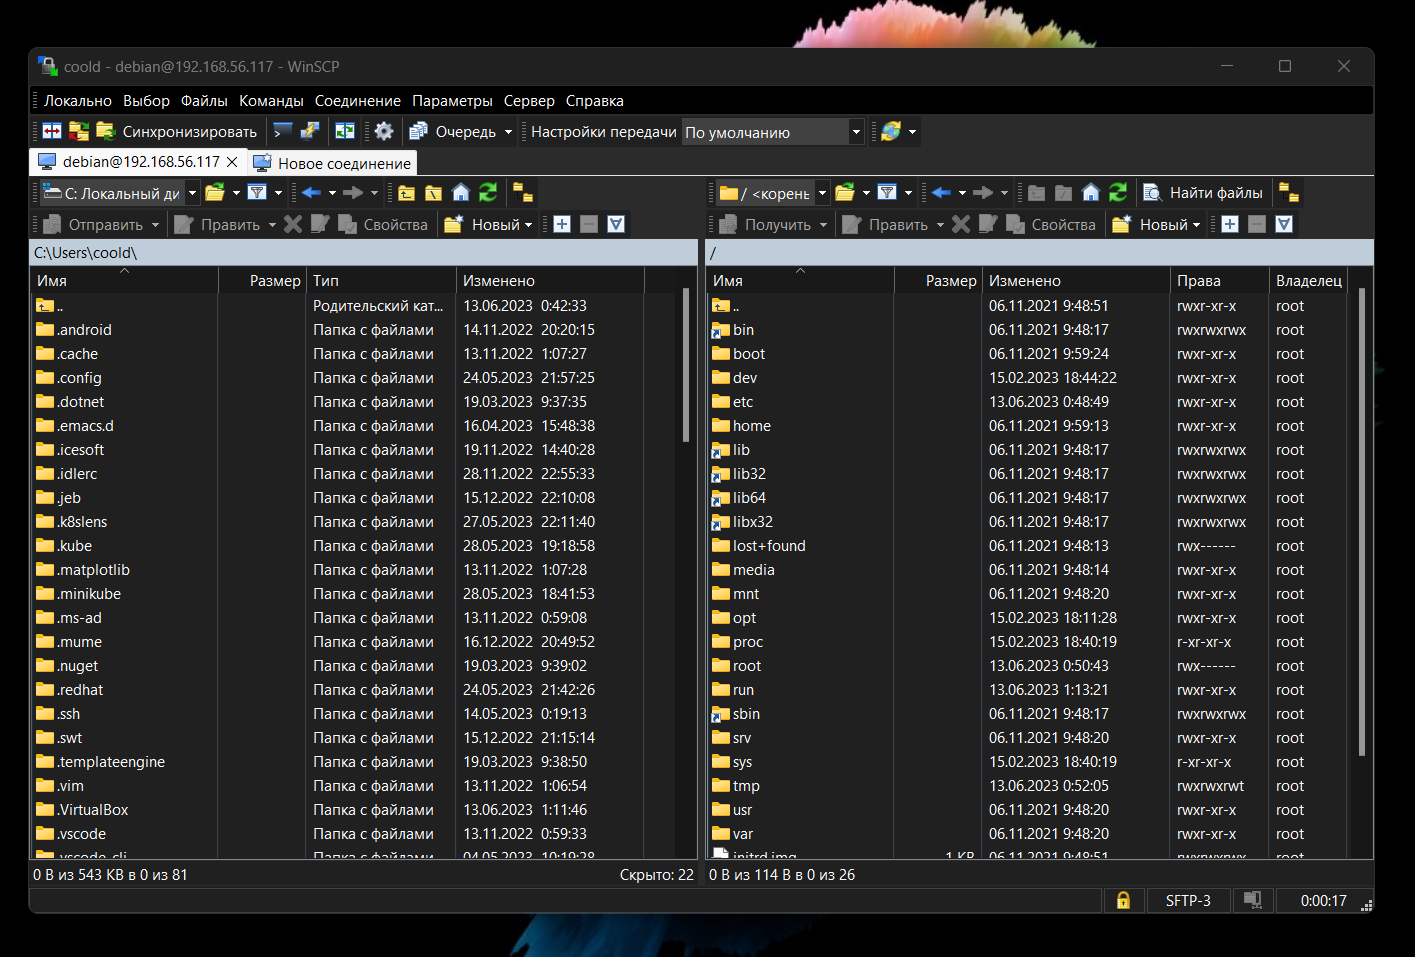
A good option if you use a cli text editor and a regular terminal/tmux. This will allow you to quickly move between directories in the graphics window without entering the complicated sftp/scp command. Thanks to this method, all team members will be able to quickly upload files.
For windows I reconmend WinScp, Cyberduck for Mac and FileZilla for Linux.
The main idea of this method is fast access to a remote file system.
VS Code fans can install the ssh plugin and edit files remotely.
MobaXTerm (Windows Only)
Mobaxterm is an advanced administration tool with many connection protocols support It combines the advantages of the previous methods:
- SSH browser with drag and drop support
- Built in remote text editor
- Remote monitoring window
Unfortunately, Moba only supports Windows. I tried to run it through emulation on a Mac, but it looked pretty bad.


