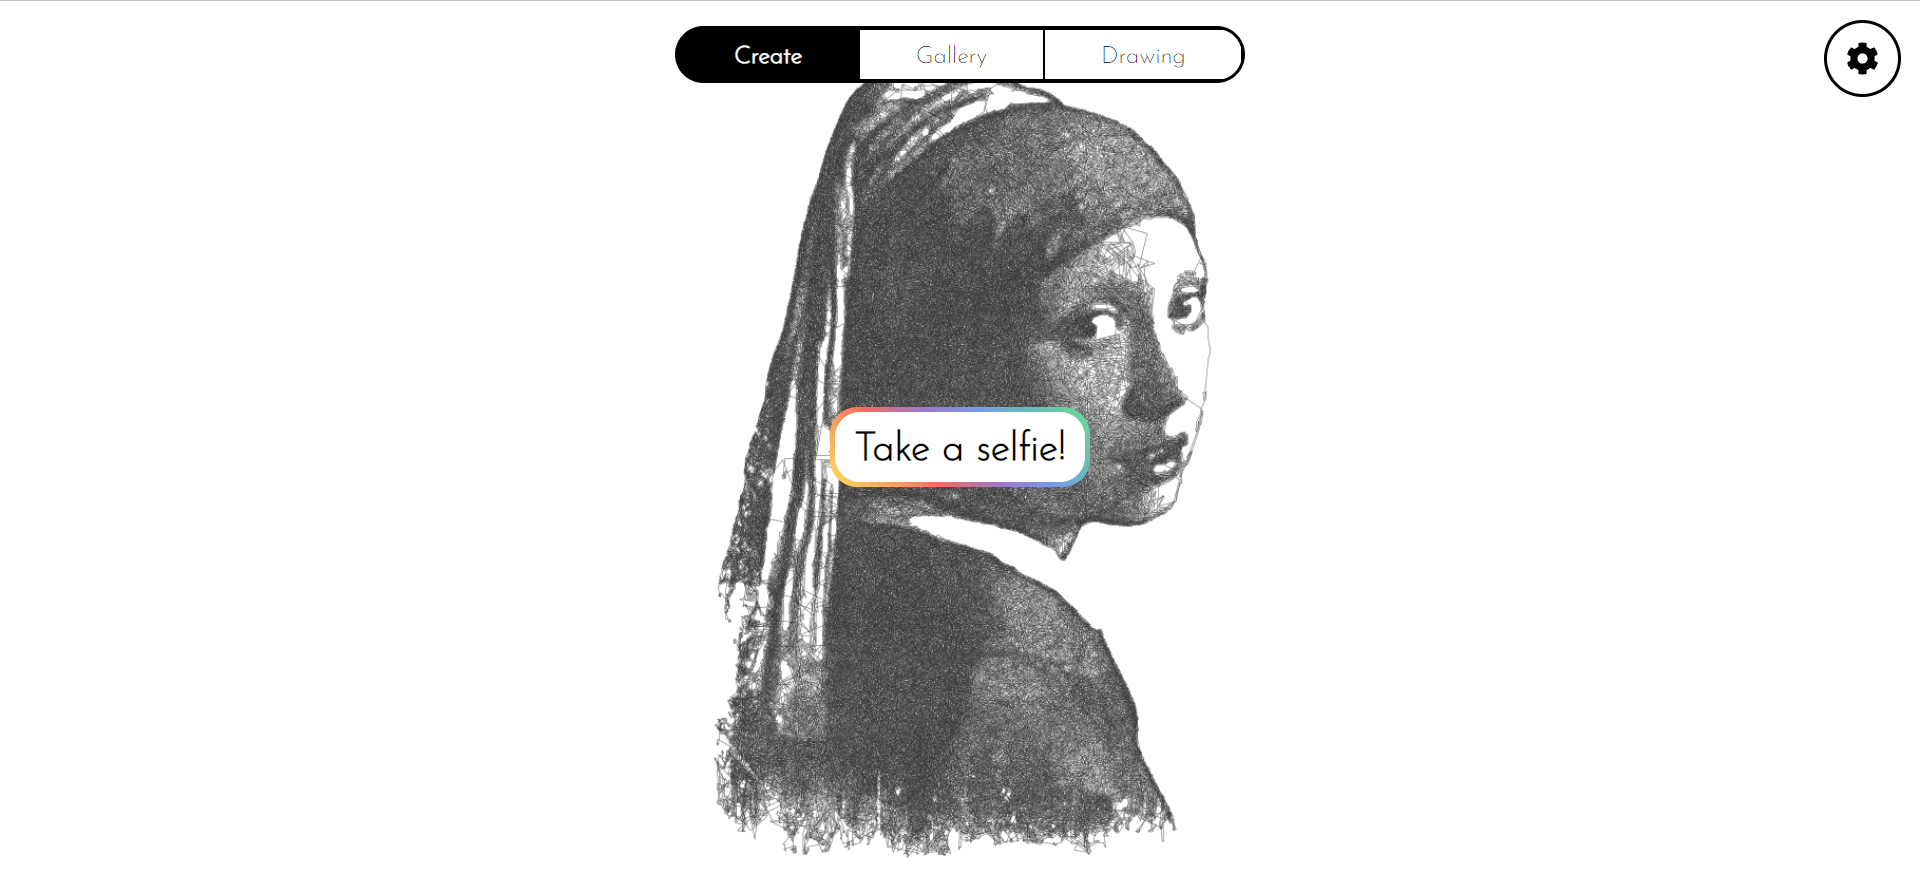
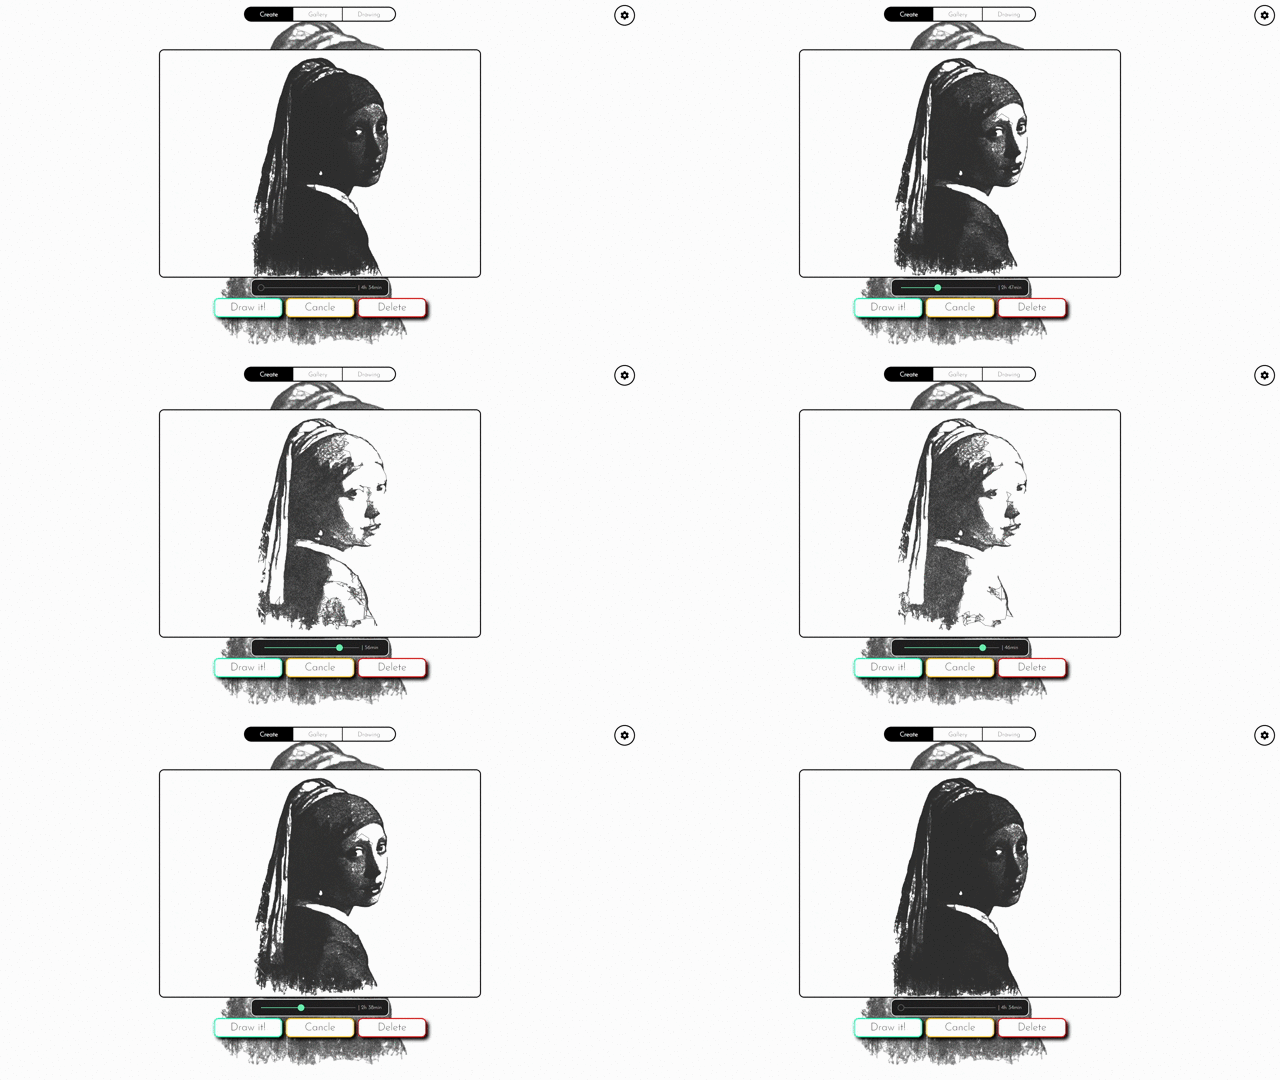
Depictor is a web application designed to run on a Raspberry Pi, providing a straightforward and user-friendly interface for generating and drawing images with a 2D plotter. It offers features like automatic background removal, custom G-code settings, print time estimates, a gallery of previous prints, and much more.
Depictor is currently optimized for GRBL plotters, but the basic features should work with most plotters that support standard G-code.
Note: While this project is no longer under active development for new features, I still use and support it. If you encounter installation issues or bugs, feel free to reach out, and I'll be happy to help.
The image conversion functionality is based on the Drawbot_image_to_gcode_v2 project.
- Features
- Demo
- Screenshots
- Installation & Setup
- Supported Raspberry Pi models
- Adding Custom Image Converters
- Acknowledgements
- License
- Run Locally
- Support
- Modern and responsive web interface
- Image to gcode converter
- Automatic background removal
- Gallery with all previous drawings
- Live print progress view with time estimates
- One click updates
I couldn't test this guide with a lot of people, so if something isn't clear or doesn't work, please create a new Issue or write an email to juliushussl@gmail.com.
Warning: Currently Depictor isn't designed to work along other programs on your rpi. When installed it will use an apache server on port:80 and an express application on port:3001. So please be carefull when installing Depictor on an already used pie and check that all ports are free!
- Raspberry pi
- min. 4GB micro sd card
- plotter that works with grbl (other non grbl plotter should also work in theory if they support the standard gcode set)
- a cable to connect the plotter and rpi over usb
If you are already familiar with rpis these are the simplified quick install instructions:
- install a raspbian os light image on the rpi.
- ssh into the rpi.
- execute these three commands:
  wget https://raw.githubusercontent.com/Iqwertz/Depictor/main/install.sh
  sudo chmod +x install.sh
sudo ./install.sh- Connect the plotter with the rpi via USB.
- Open a browser and enter the ip of your rpi in the browser to access the web interface. If everything was successful you should see the Depictor landing page!
- (Before you start your first drawing you should check out the 'Setup' section)
If you don't have any experience with Raspberry Pi's or have struggles to install Depictor with the quick install instructions, this is a step-by-step guide on how to install it:
To install raspbian on an sd card I recommend using the Raspberry Pi imager. You can download it here: www.raspberrypi.com/software/. After installing Raspberry Pi imager and opening it up choose Raspberry Pi OS Lite (32-bit) as the os. Then select the correct sd-card and set the following settings (of course you have to change the username and password and set the correct wifi credentials):
(The settings are in german and I cant find way to change that but I think it is clear which settings should be used)Then click on write and wait. After the imager finished the write process remove the micro-sd card and put it into the rpi. You successfully created a raspbian image!
To install Depictor on your rpi you have to ssh into it. To do so open a terminal and type in ssh pi@depictor.local (if you changed your username replace pi with your username). There may be some warning... just accept it by typing yes and then enter your password. If every thing was successful the last line in the terminal should be: pi@depictor:~ $ Now paste these three commands:
  wget https://raw.githubusercontent.com/Iqwertz/Depictor/main/install.sh
  sudo chmod +x install.sh
  sudo ./install.sh
(Or use this one liner:)
wget https://raw.githubusercontent.com/Iqwertz/Depictor/main/install.sh && sudo chmod +x install.sh && sudo ./install.shThe installation will take a few minutes. After it finished you successfully have installed Depictor! You can access it by opening this url in the browser: depictor.local.
Before you try to draw your first image, you probably have to adjust these three settings (all of them can be found in the settings tab in the top right):
To be able to connect the plotter with the rpi you have to select the correct port in the settings. To test if you have selected the correct port you can open the terminal and check if the grbl greeting is displayed.
In this text field you can paste some gcode that gets appended to the gcode file before drawing it. Before starting your first print please adjust the feedrate (default: 4000) and the homing command (default: $H) for your plotter.
Depictor will automatically scale your gcode to the size of your drawing area. There are 3 default profiles for A5, A4 and A3 paper sizes (They only work if one edge of the paper is in 0,0 and if your plotter coordinates are in mm). If the default profile doesn't fit your drawing area you can also create a custom profile:
Here you can configure the commands to lift and lower the drawing pen. If these commands are different on your plotter please change them here.
The background remove function uses the remove.bg api. To enable it you have to get an API key:
- Register on remove.bg
- Go to the api settings: https://www.remove.bg/de/dashboard#api-key
- Click on "Show API key".
- Copy the key and paste it in the settings of Depictor under "BgRemove API key"
(Note: When using the free version of the api you can only convert 50 pictures a month. If you need more you can buy more on the remove.bg website)
The project was developed and tested with a Raspberry Pi 3B but should work on every official model. However, it is not recommended to use a Raspberry Pi zero due to its limited processing power (the image conversion will take 15+ min).
Currently Depictor supports the following image converters:
There are plans to add more image converters in the future (suggestions are welcome :).
Also in the far future there may be a option to add a custom image converter via the web interface. But for now you have to add a custom image converter manually: More information on how to do this can be found here: CustomConverter.md
- Huge thanks to Scott-Cooper, for creating the Drawbot_image_to_gcode_v2 which is used to convert the images to beautiful gcode.
- gcode-cli
- remove.bg
Clone the project
git clone https://github.com/Iqwertz/Depictor.gitGo to the project's backend directory:
cd Depictor/BackendInstall backend dependencies :
npm iStart the backend server:
npm run startor
nodemonGo to the project's frontend directory:
cd Depictor/FrontendInstall frontend dependencies:
npm iStart frontend live server:
ng serveTo generate a new release run
./ generateRelease.shFor support, email juliushussl@gmail.com .


