
The DrChat app demonstrates how to build a feature-rich telemedicine chat application using PubNub Chat and PubNub Kotlin SDK. Learn how to add private messaging for patients and doctors and group messaging for doctors to talk about cases. Learn how to build advanced features like online/offline presence indicators, typing indicators, read receipts, and file upload. You can download the project to run on your local machine, and explore the code to see how we built it.
 |
 |
 |
|---|
The application demonstrates how to build a chat application using:
- 1:1 messaging between patients and doctors
- Group messaging between doctors via cases
- Fetching history of missed messages
- Encrypted messages for privacy
- Offline / online presence indicator
- Typing indicators to show activity
- Message read receipts in 1:1 messaging
- File upload to share images and files
-
Navigate to the PubNub Dashboard and login to your account.
-
Select an App or create a new App.
-
Select a Keyset or create a new Keyset.
-
Enable Presence, Storage & Playback, Files features and select the nearest region.


-
Save changes.


-
Clone the GitHub repository.
git clone https://github.com/pubnub/kotlin-telemedicine-demo.git
-
Install the project to initialize data.
cd kotlin-telemedicine-demo/setup npm install -
Start the initialization. You'll be asked to enter your Publish Key and Subscribe Key from the PubNub Dashboard. You can also optional pass a cipher key to enable message encryption.
npm start
-
Start Android Studio and open a project. Wait until the gradle sync process is over.
-
Select the default configuration if it's available or create the new one.

To add a new configuration click on Add Configuration / + and select Android App.
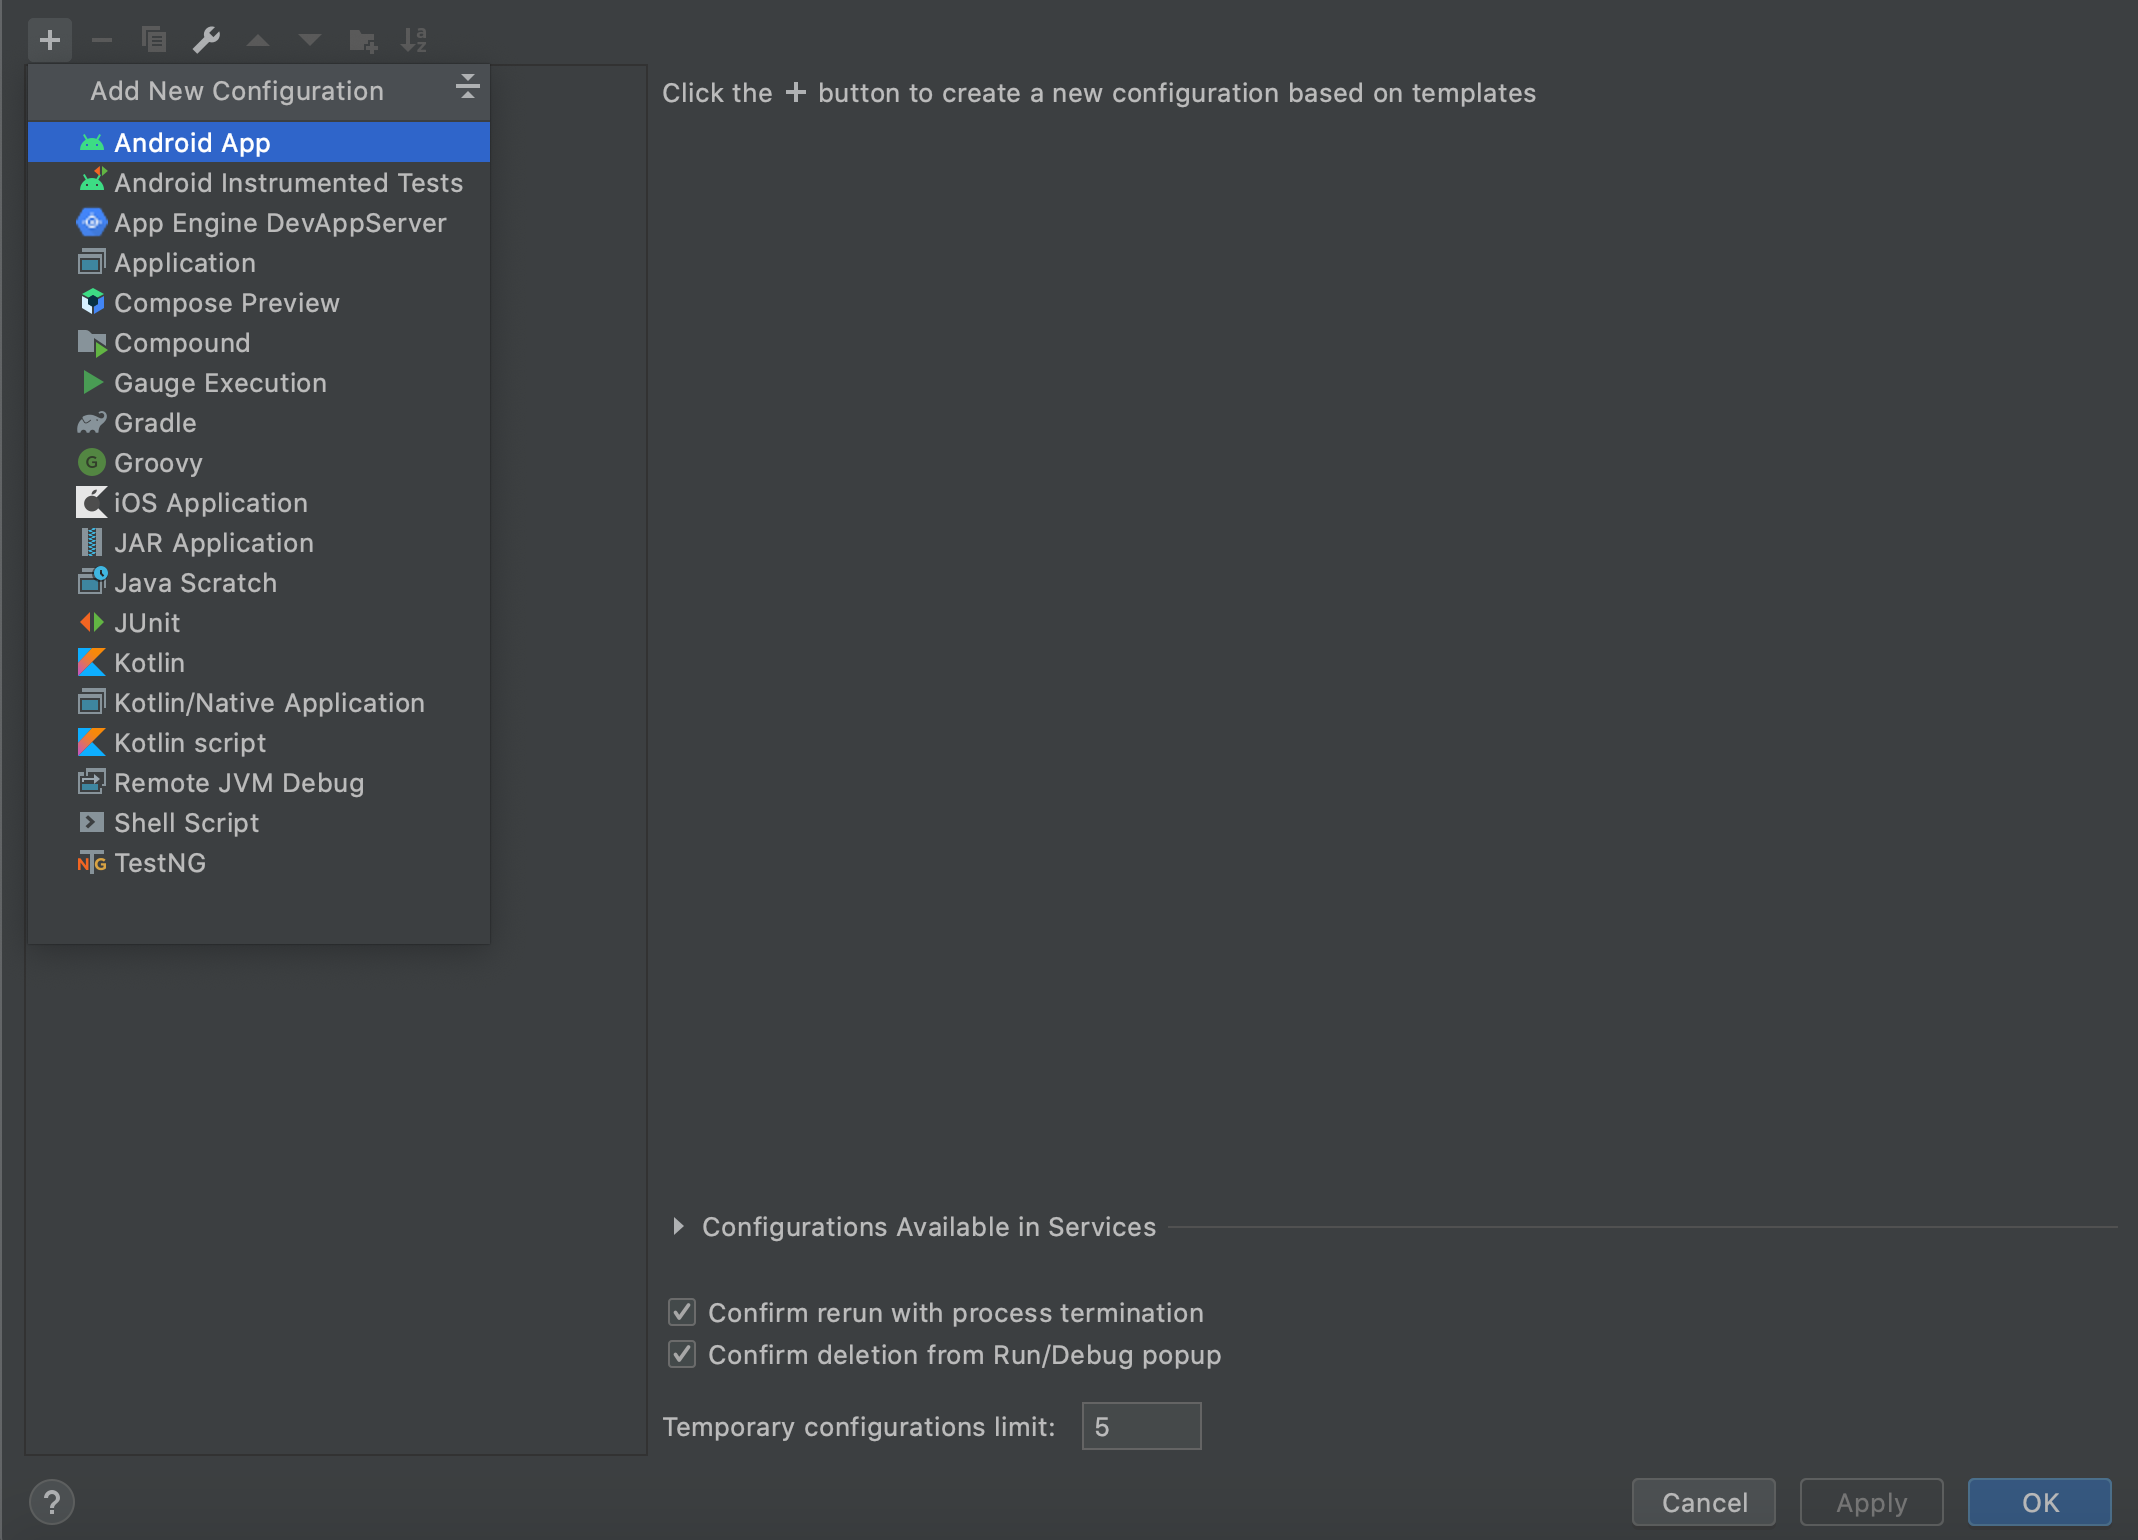
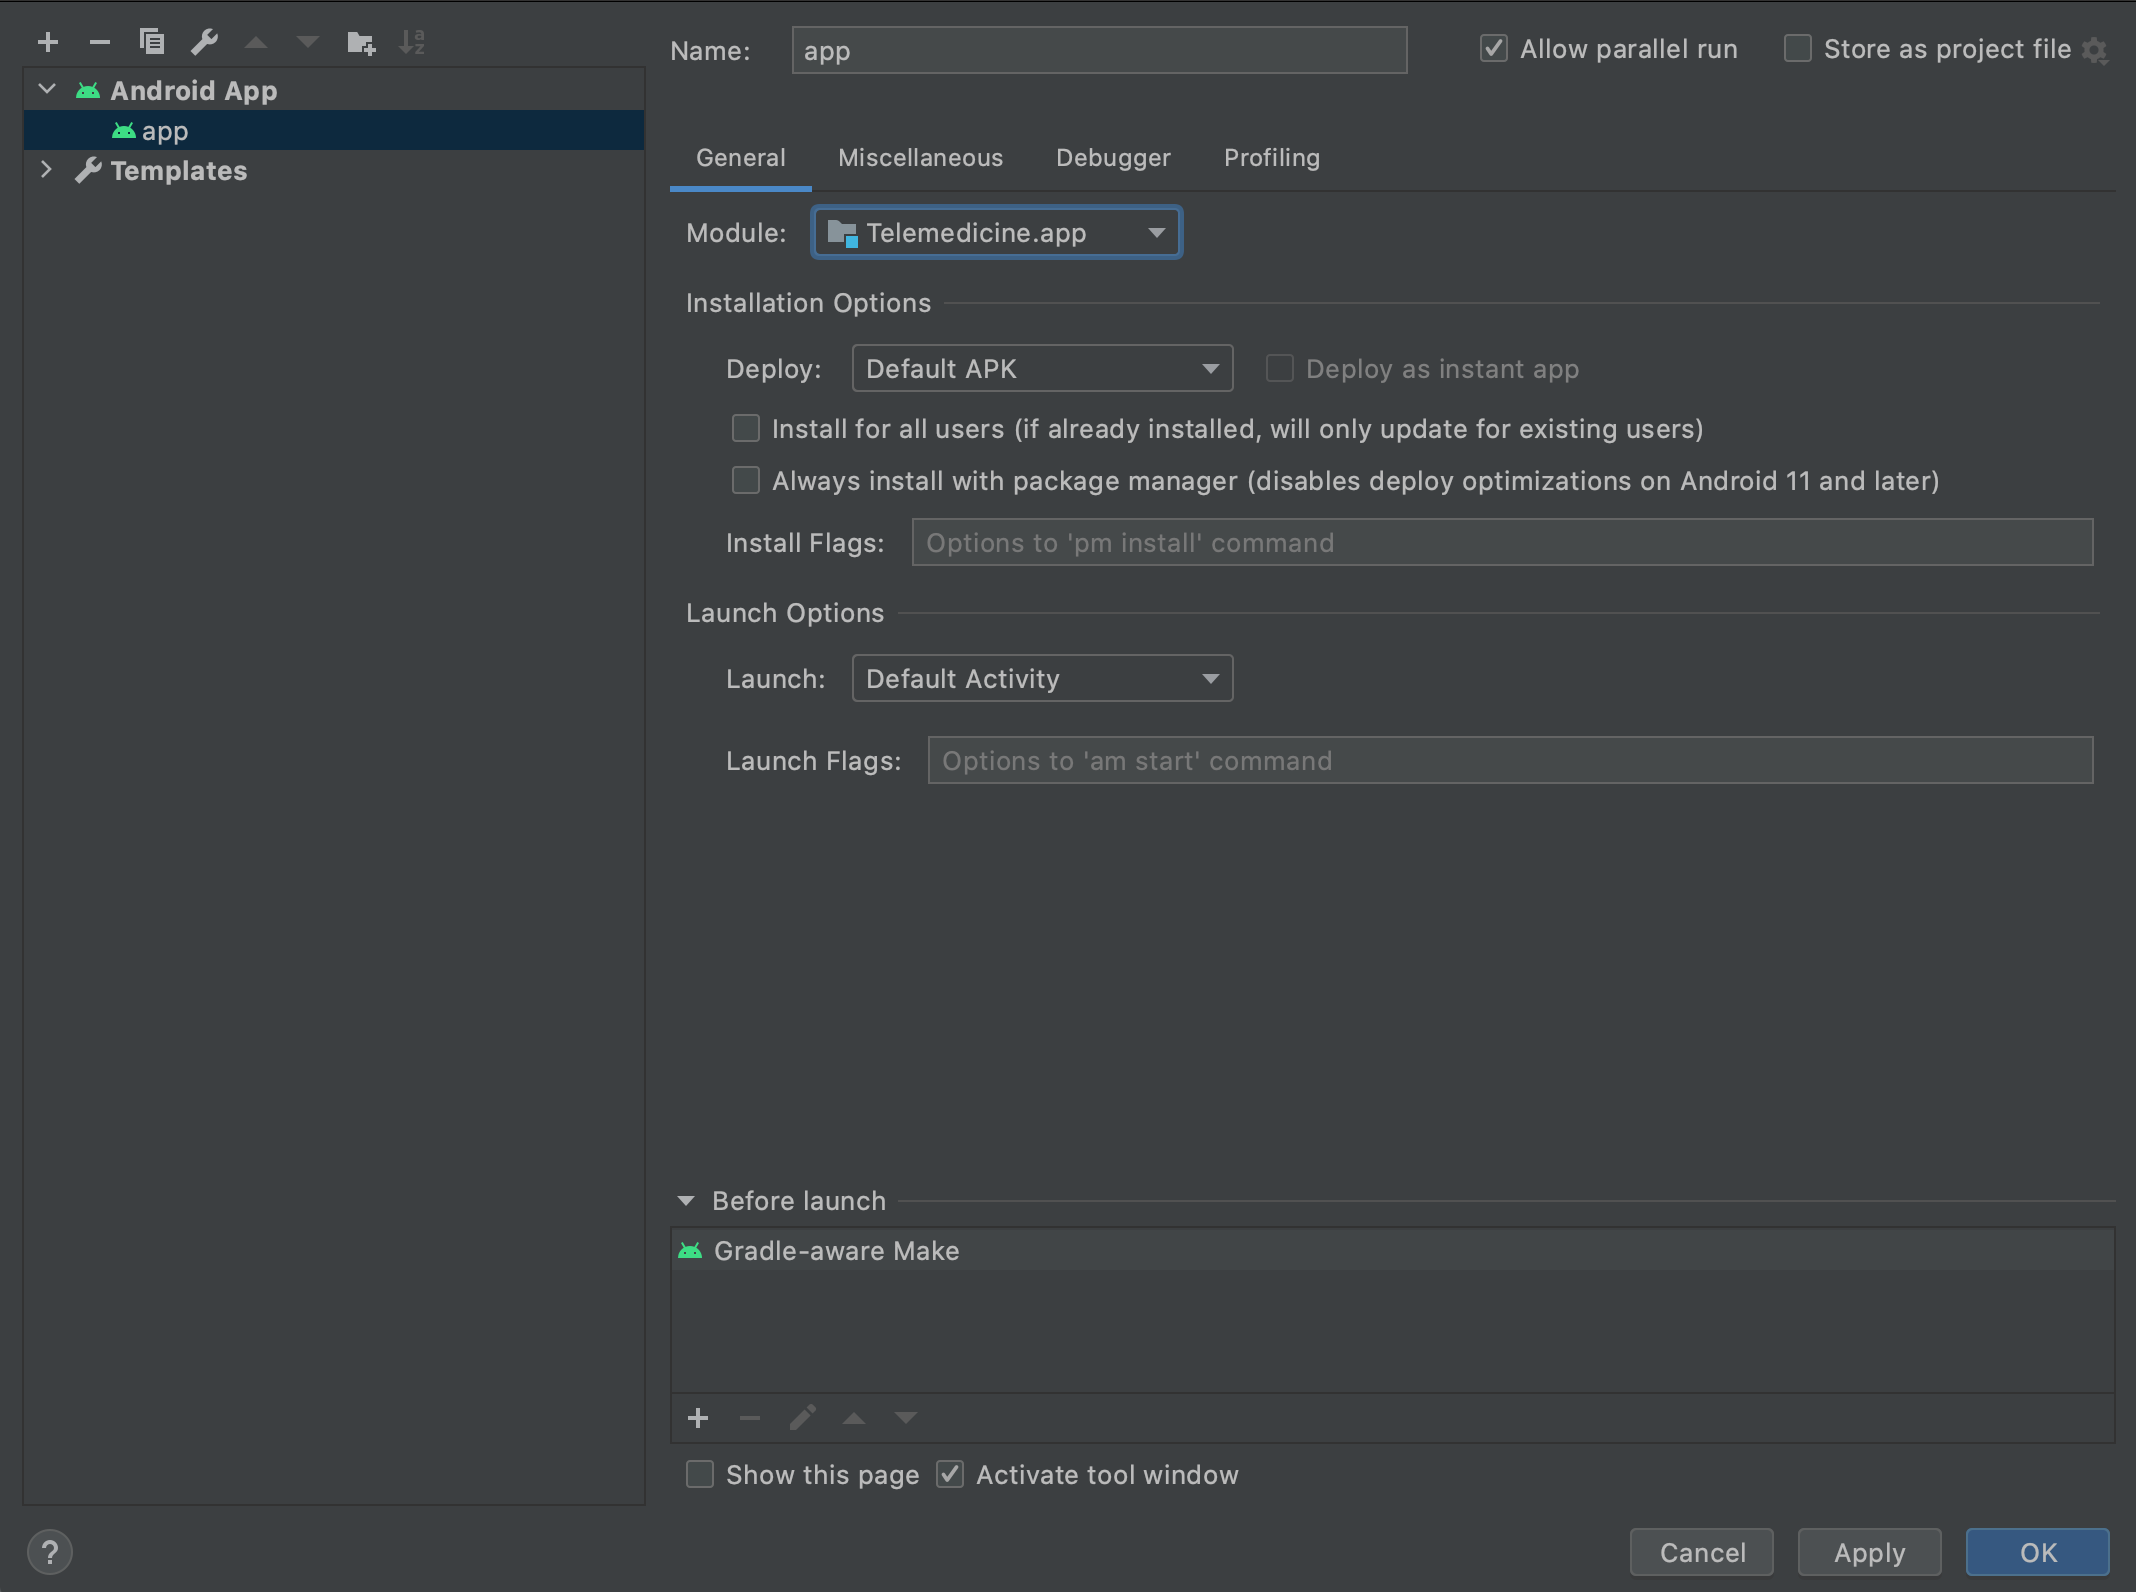
Please enter your configuration name, select Telemedicine.app in Module and click OK.
-
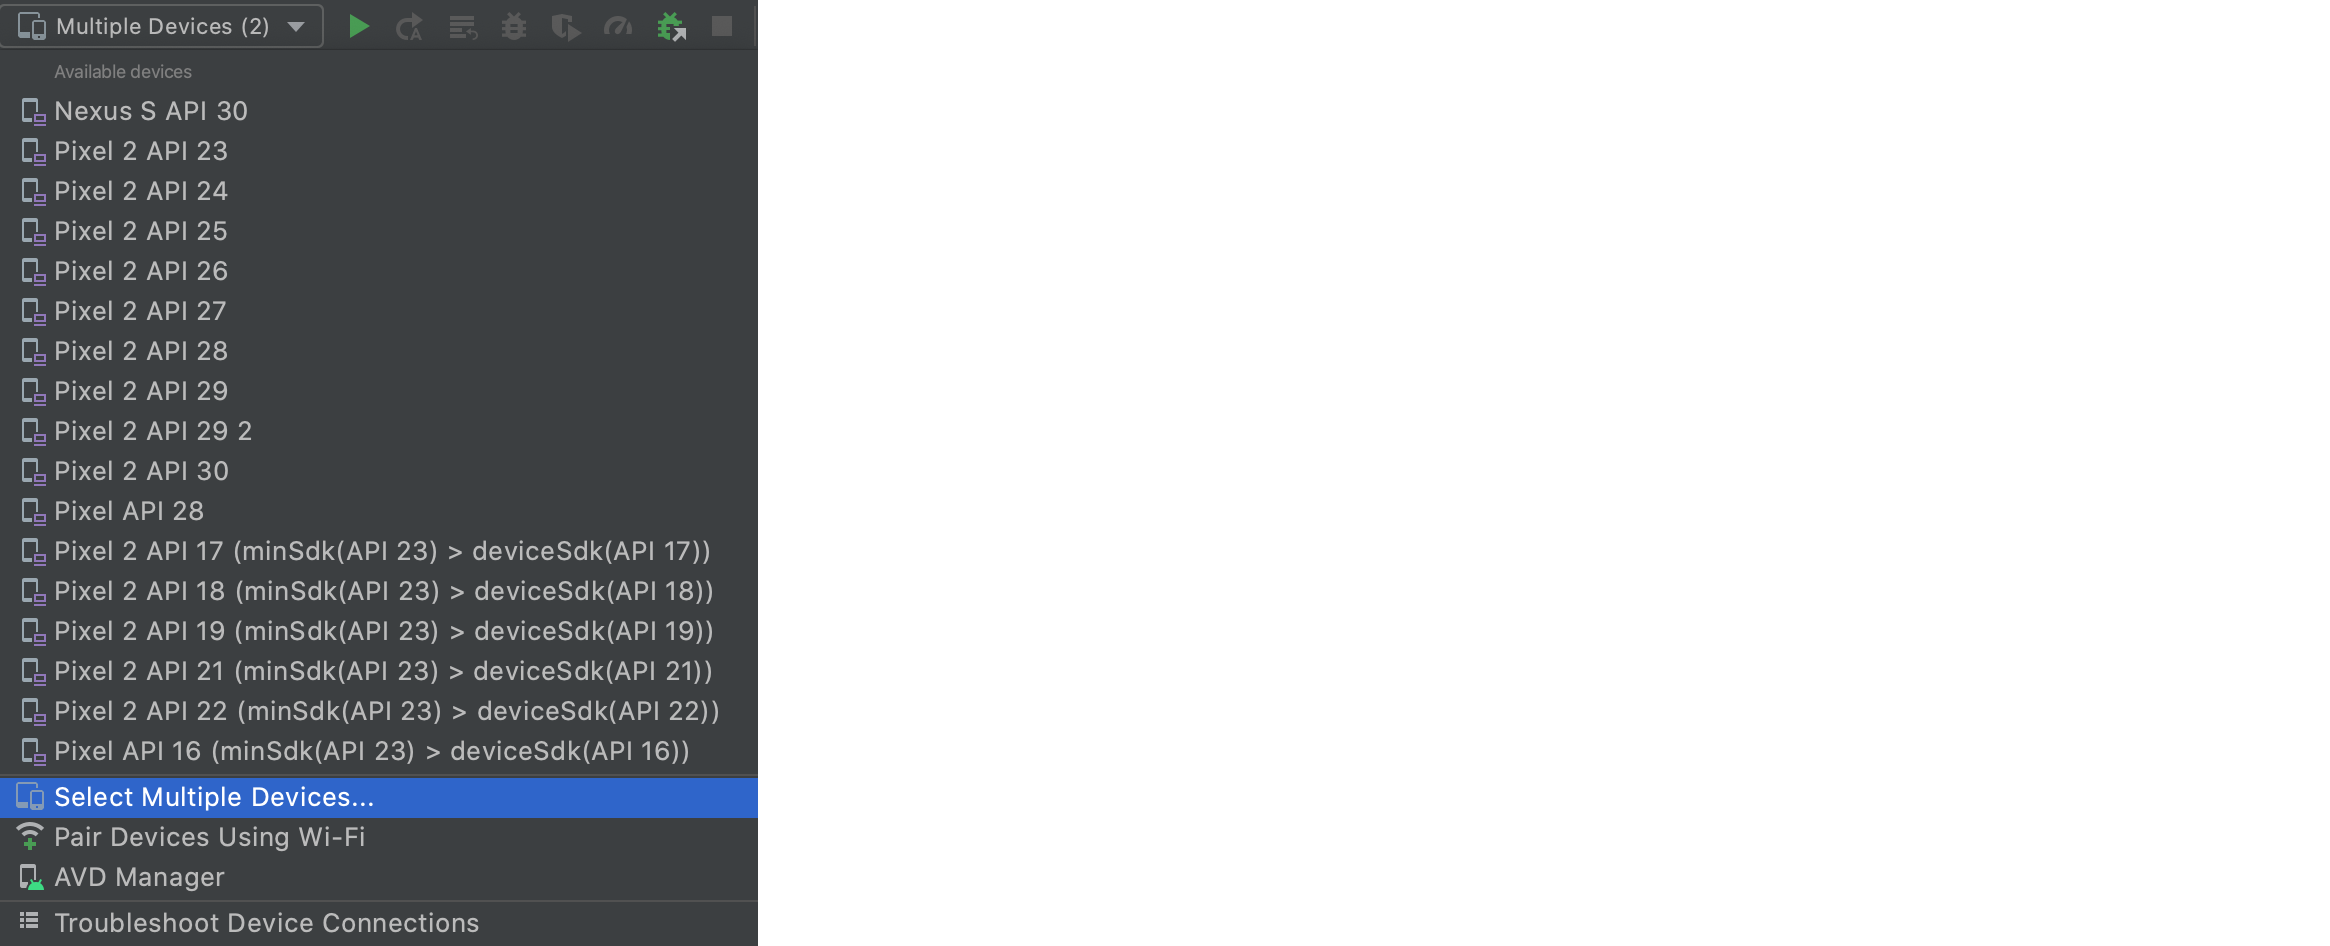
Please connect your Android phone or start an emulator and run application with selected configuration. To run application on both emulators you can use Select Multiple Devices.
If you need to create new emulator please check next section.
-
Push random images to device Pictures directory. You can do it directly from Android Studio Terminal or system Terminal.
cd kotlin-telemedicine-demo
./gradlew pushPhotos


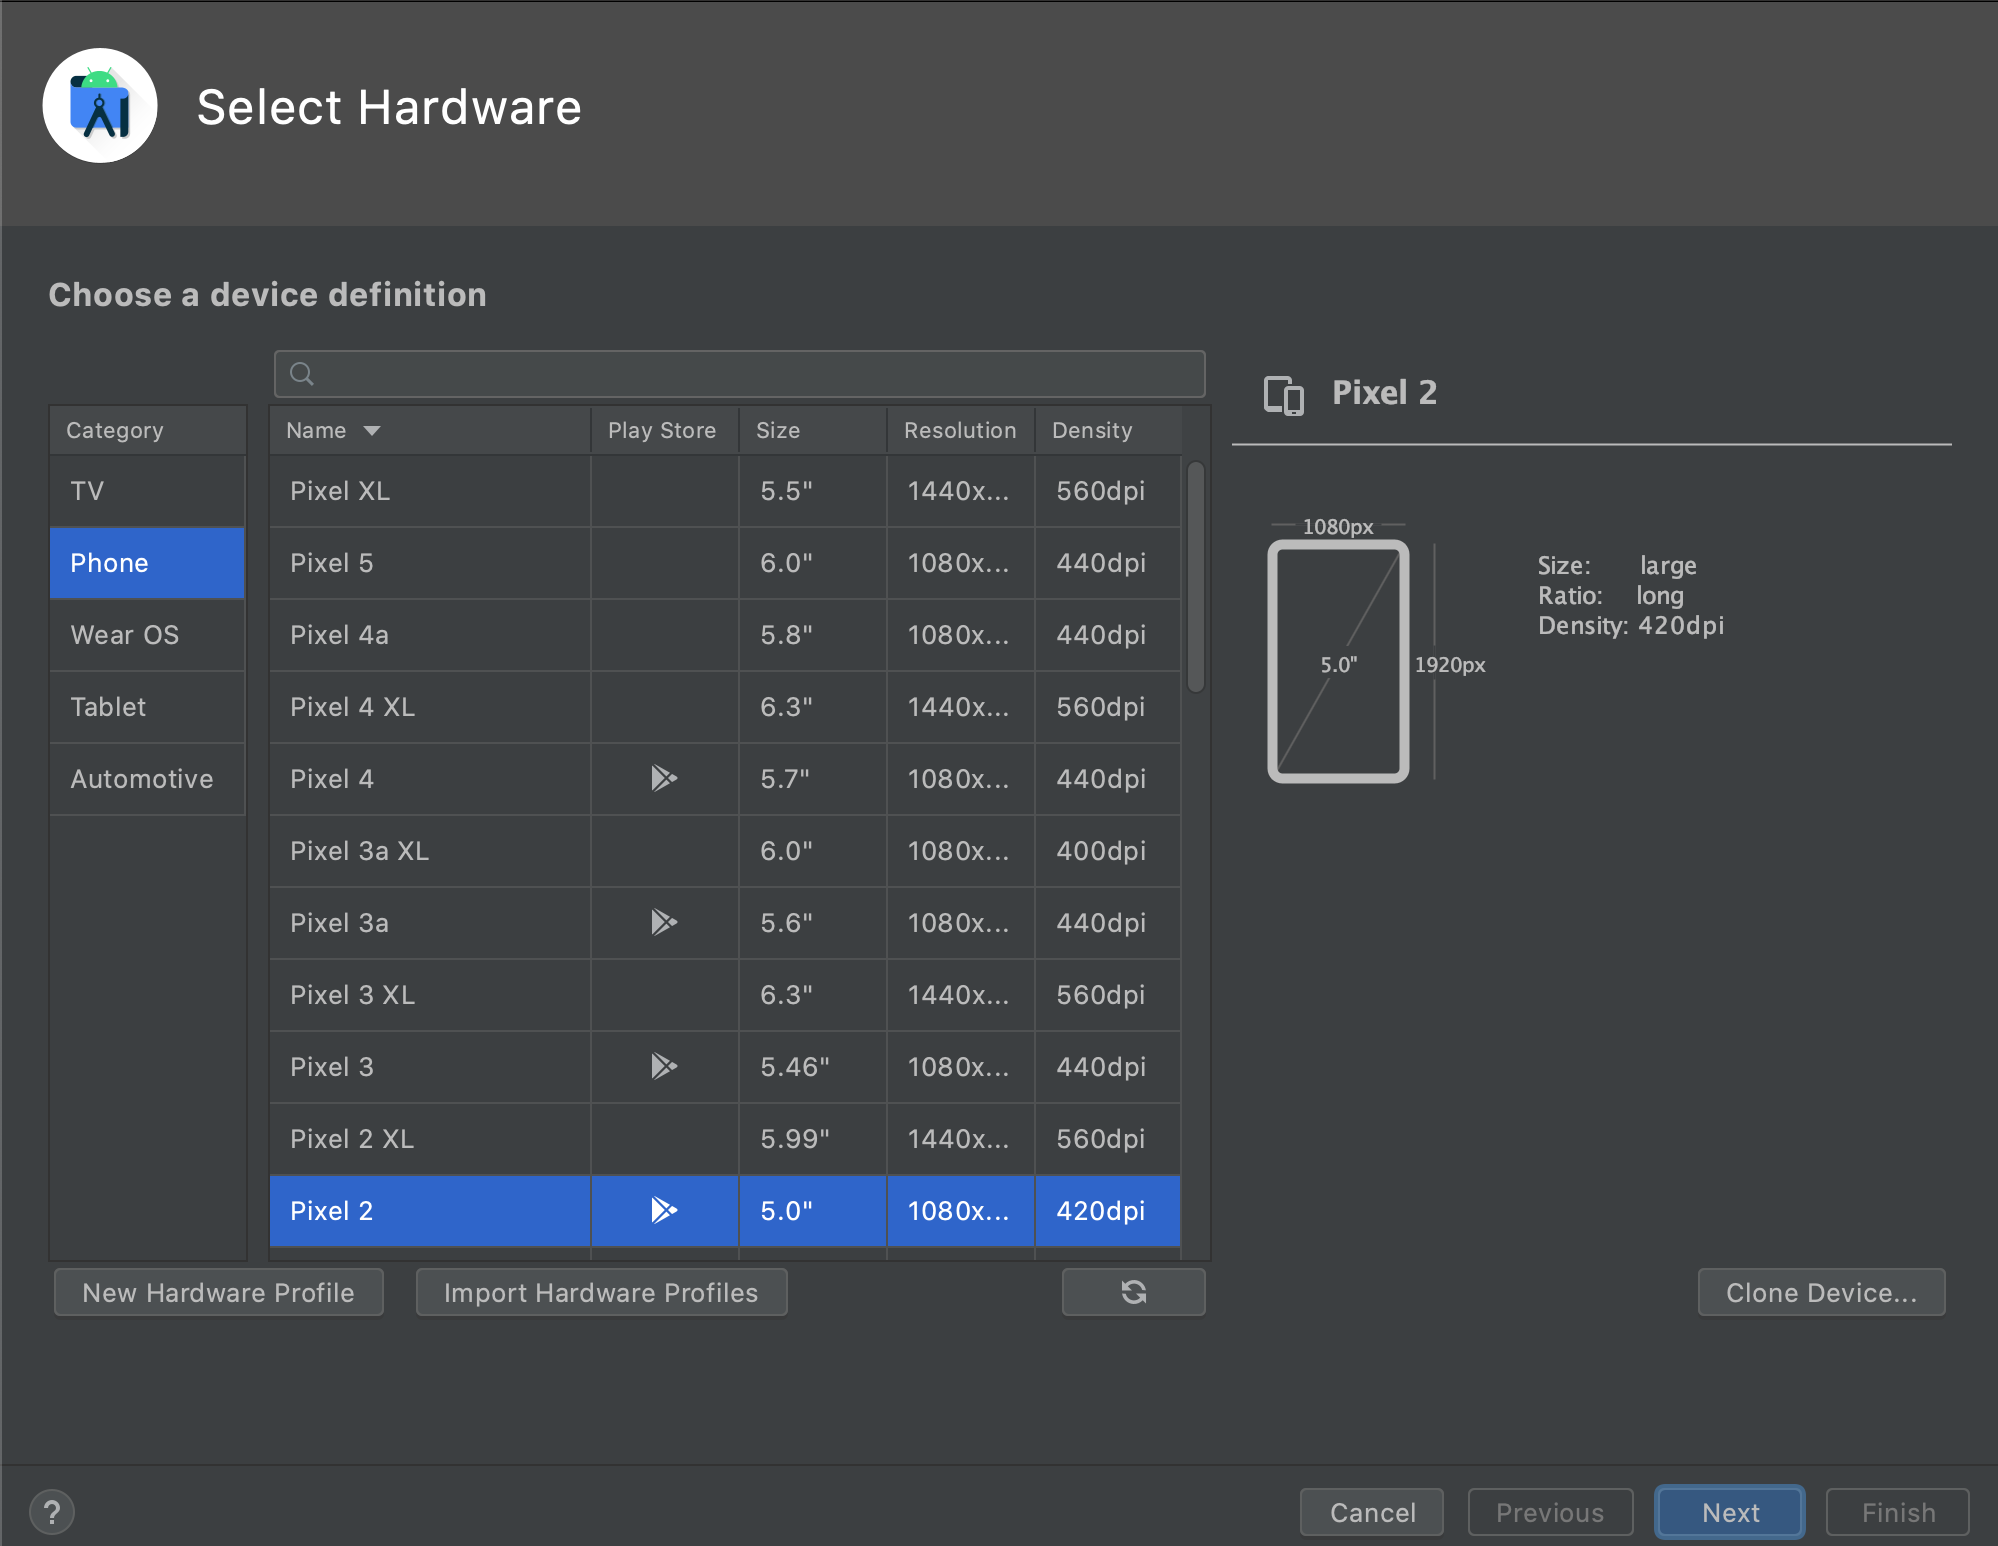
For this project we suggest to create two Pixel 2 devices with Android Q (API 29) system.
-
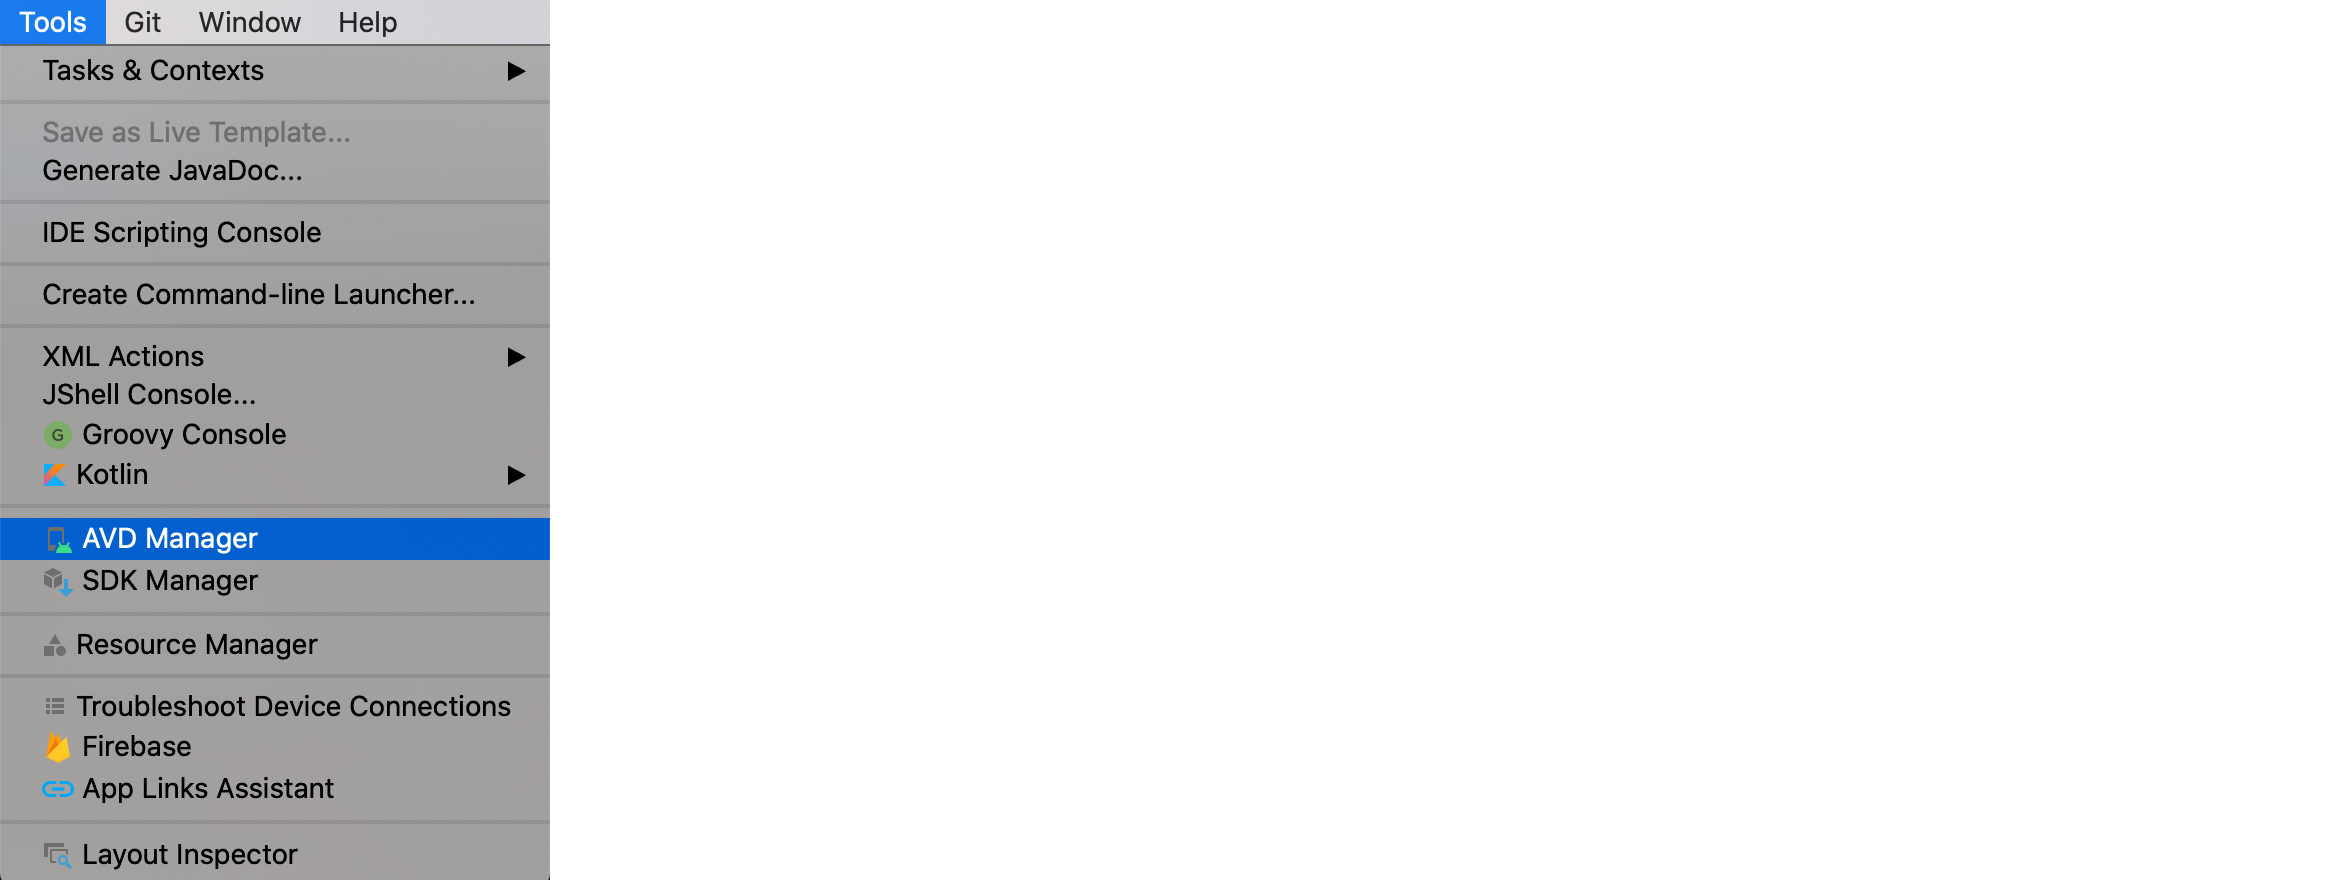
Open AVD Manager - select Tools / AVD Manager.
-
Click Create Virtual Device…, at the bottom of the AVD Manager dialog.

-
On Hardware Profile page please select Phone category, Pixel 2 hardware, and then click Next.
-
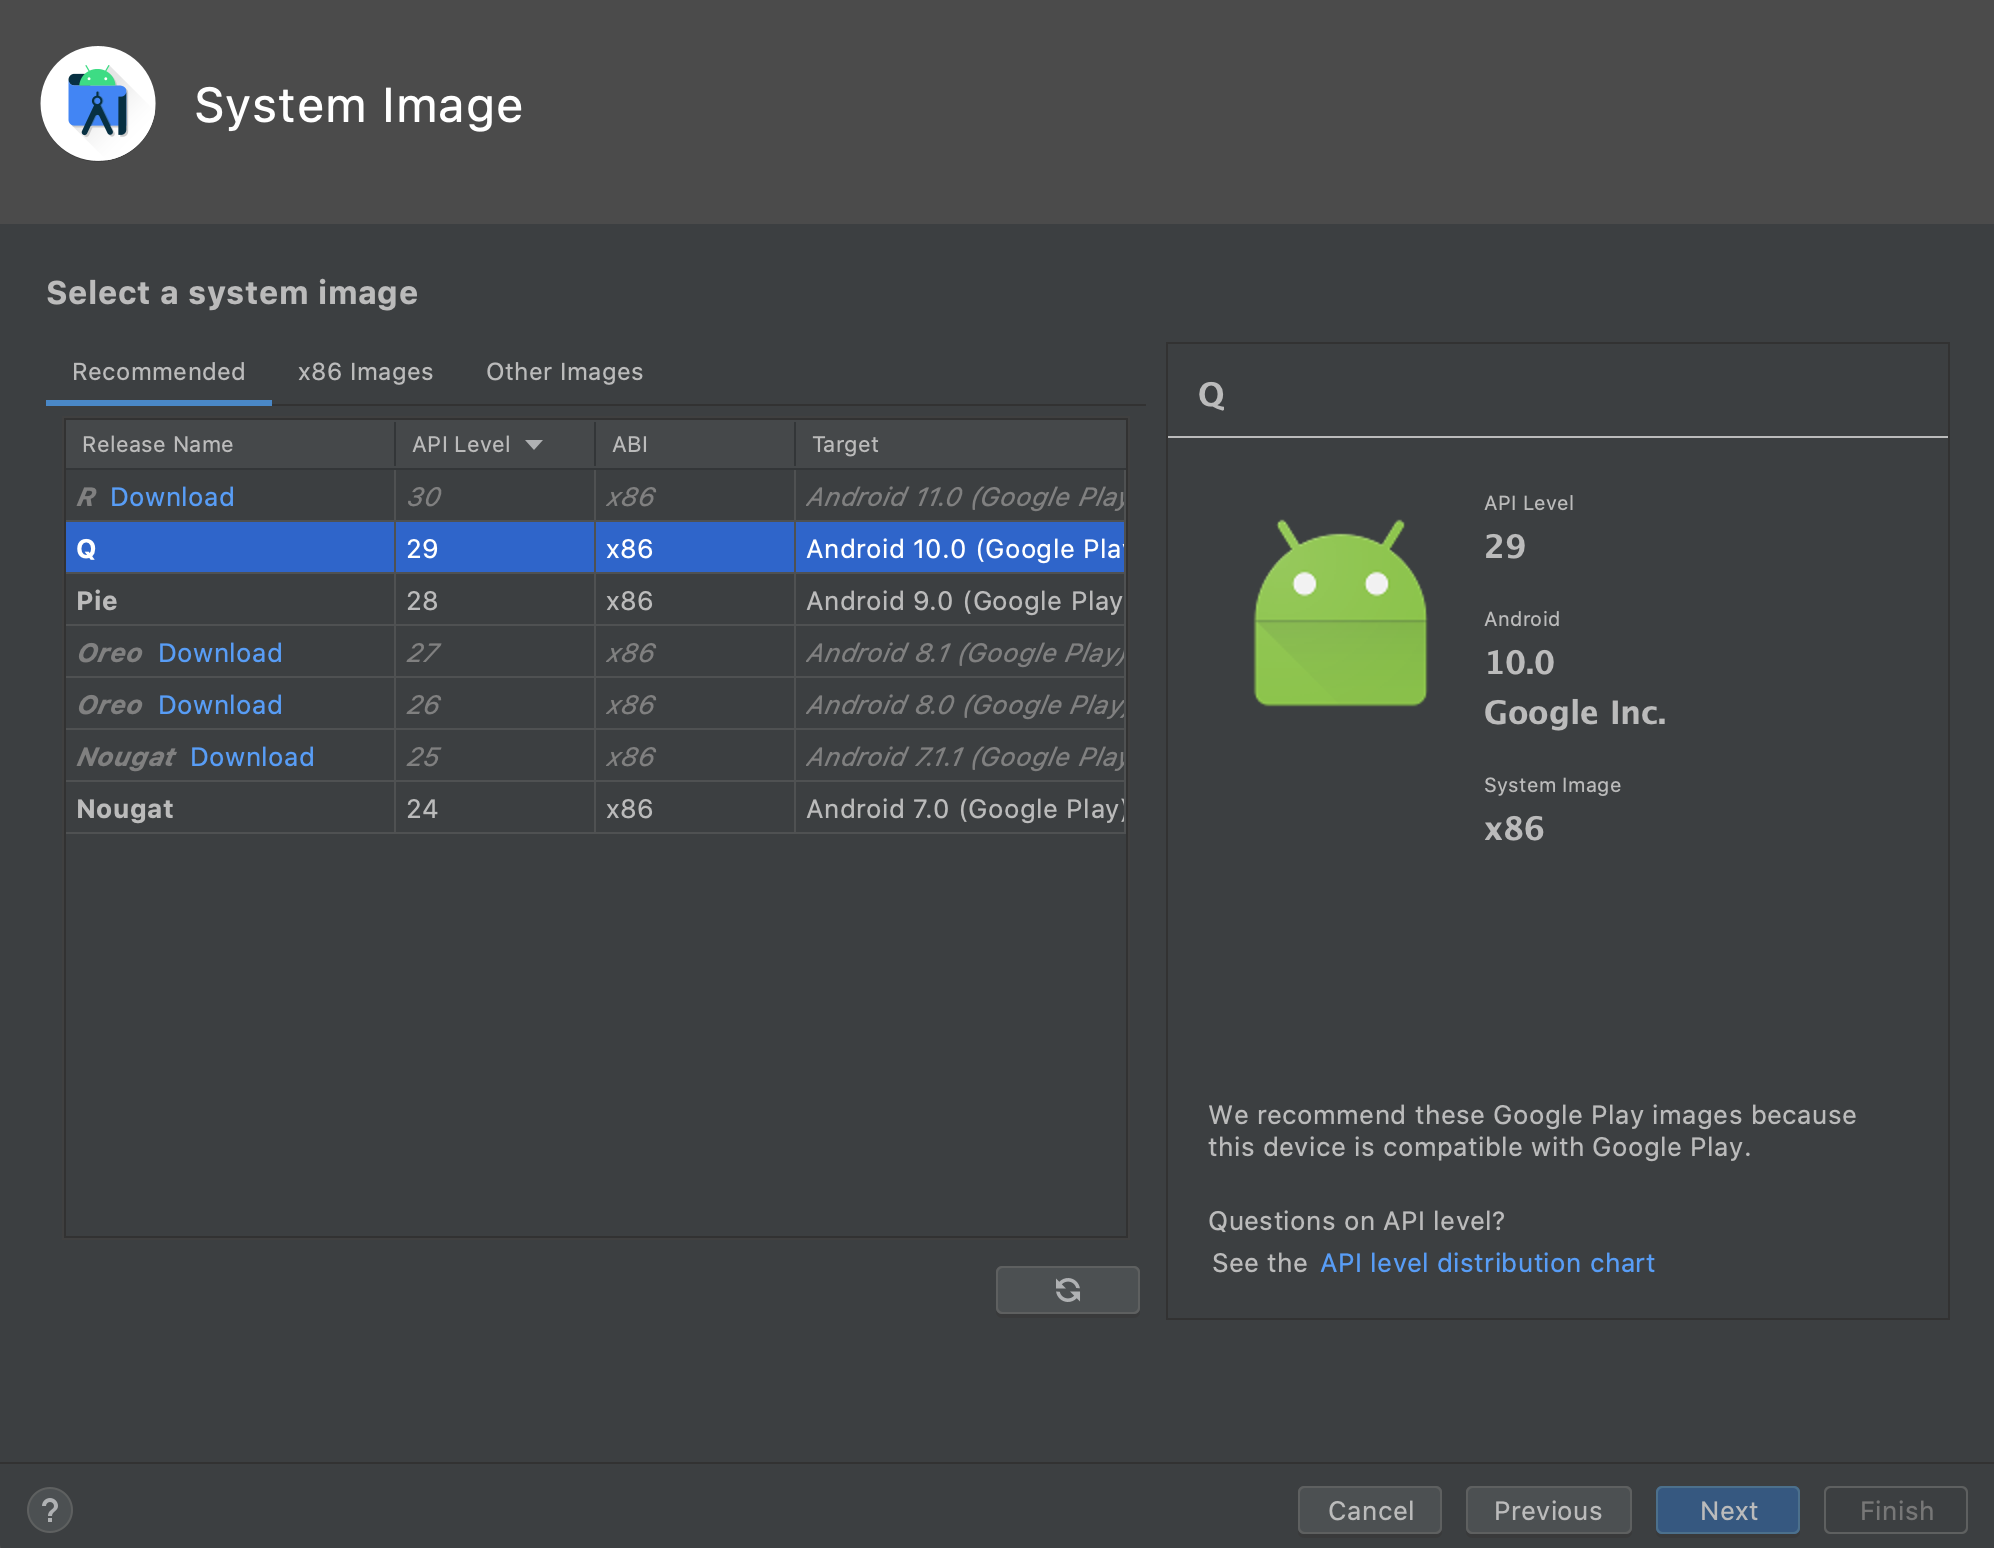
Select Android Q system image, then click Next. If you see Download next to the system image, you need to click it to download the system image. You must be connected to the internet to download it.
-
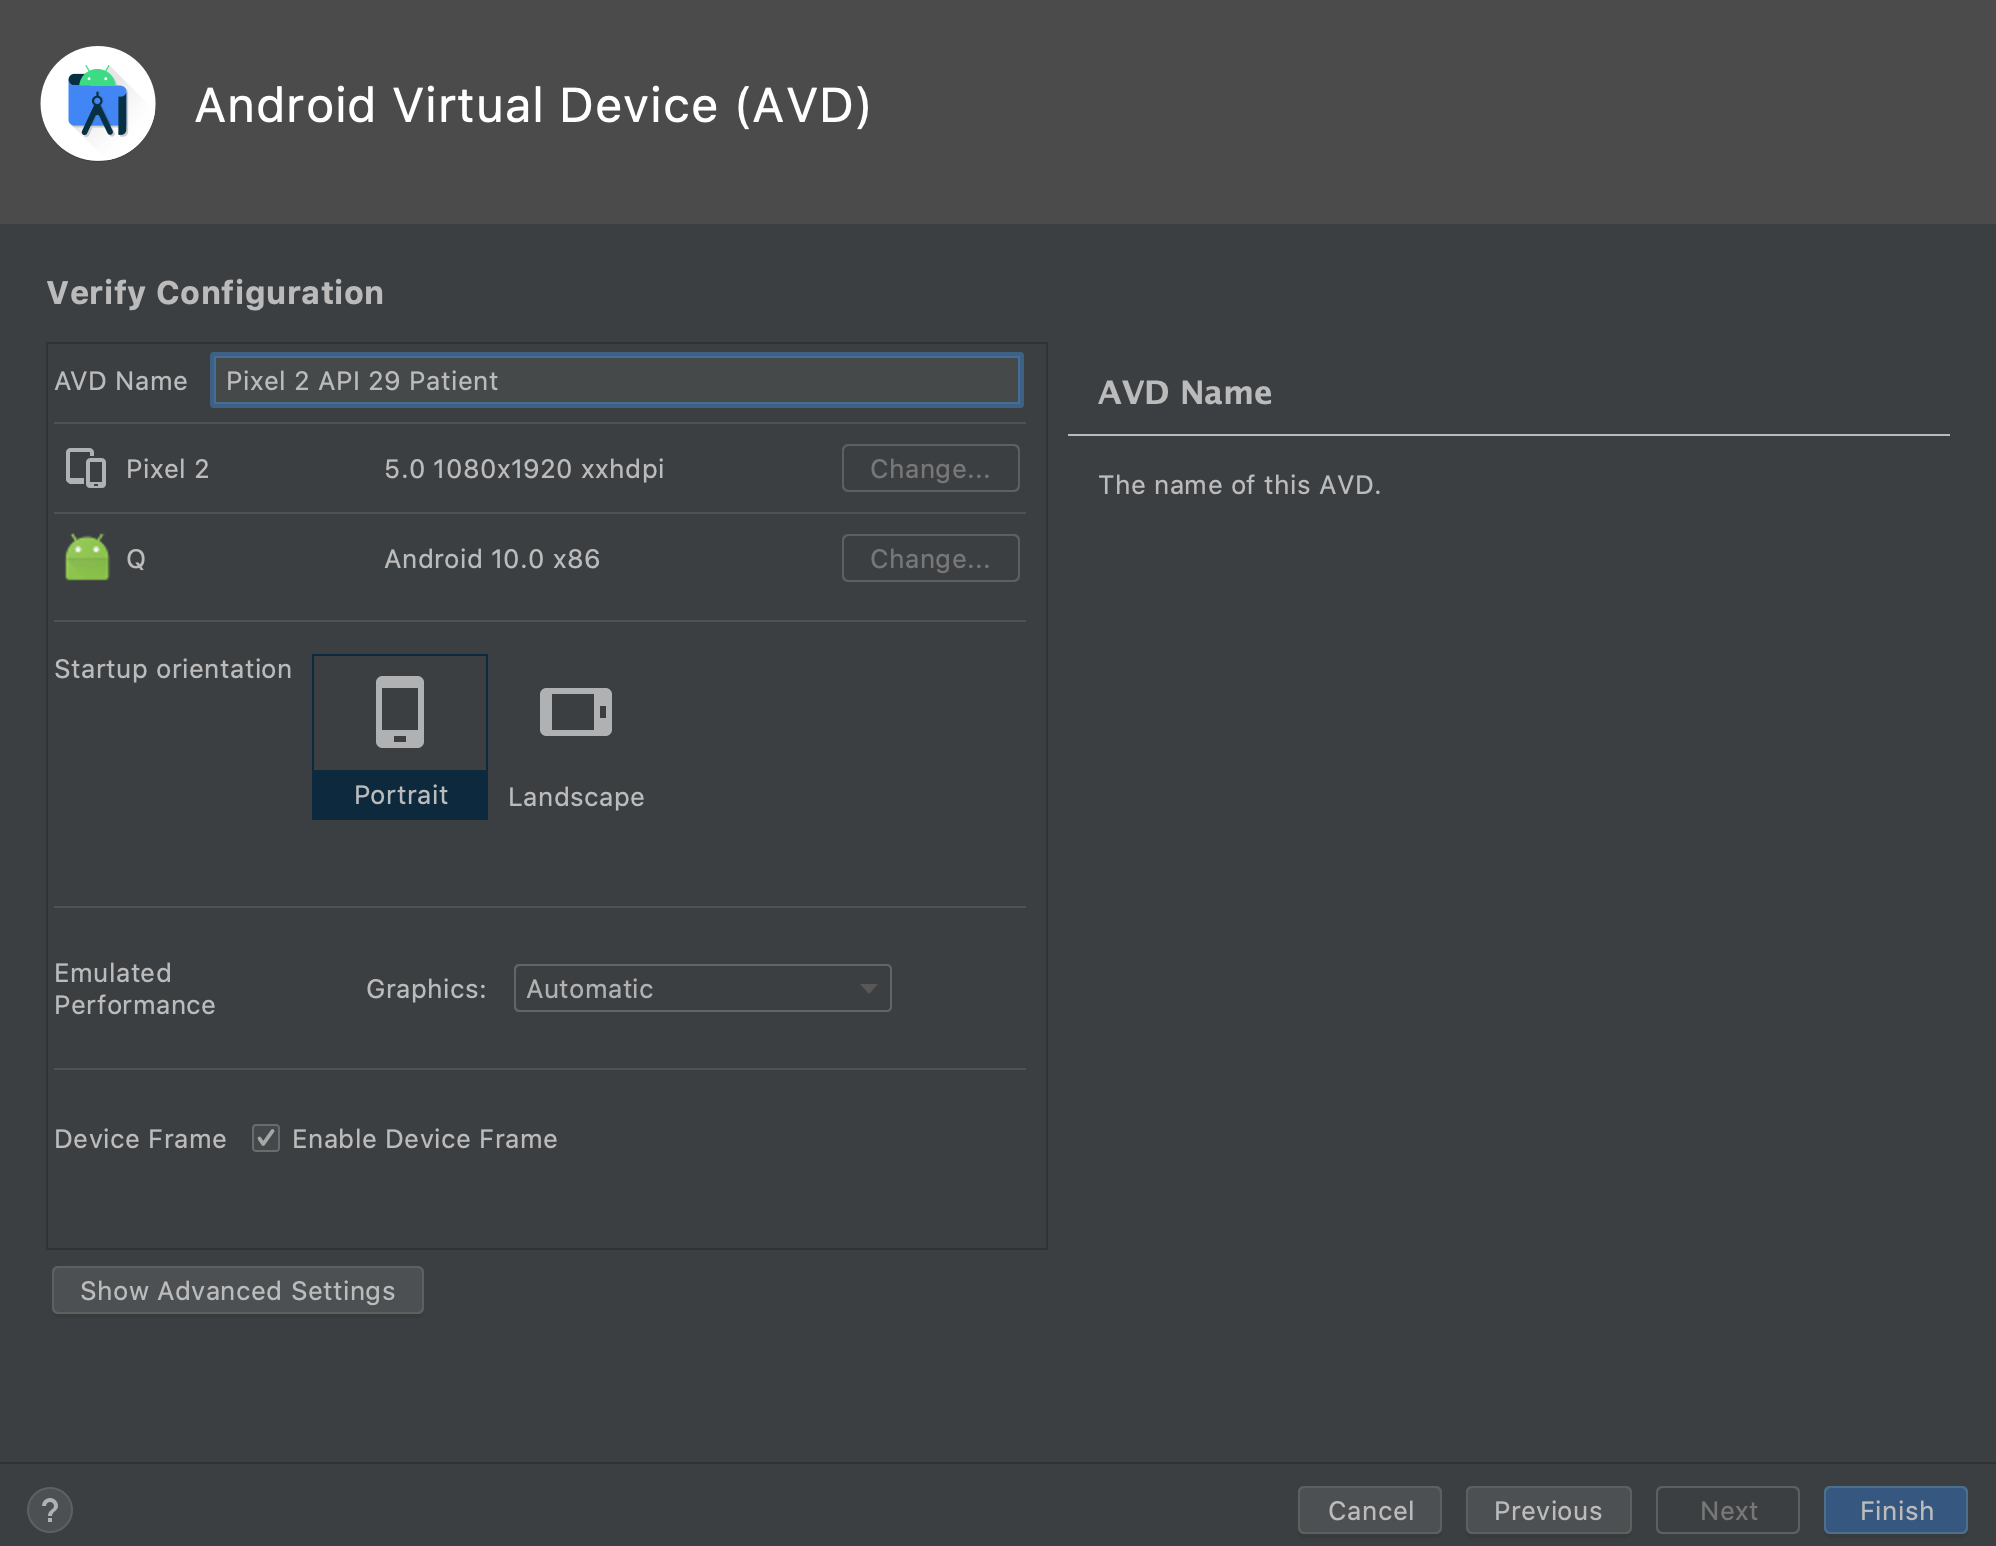
Provide your own device name in AVD Name field and click Finish.
-
Repeat these steps for creating the second emulator.


For more information please follow official guide to create and manage virtual devices.
You can change publish, subscribe and cipher key manually. To do it, please edit a gradle.properties file.